
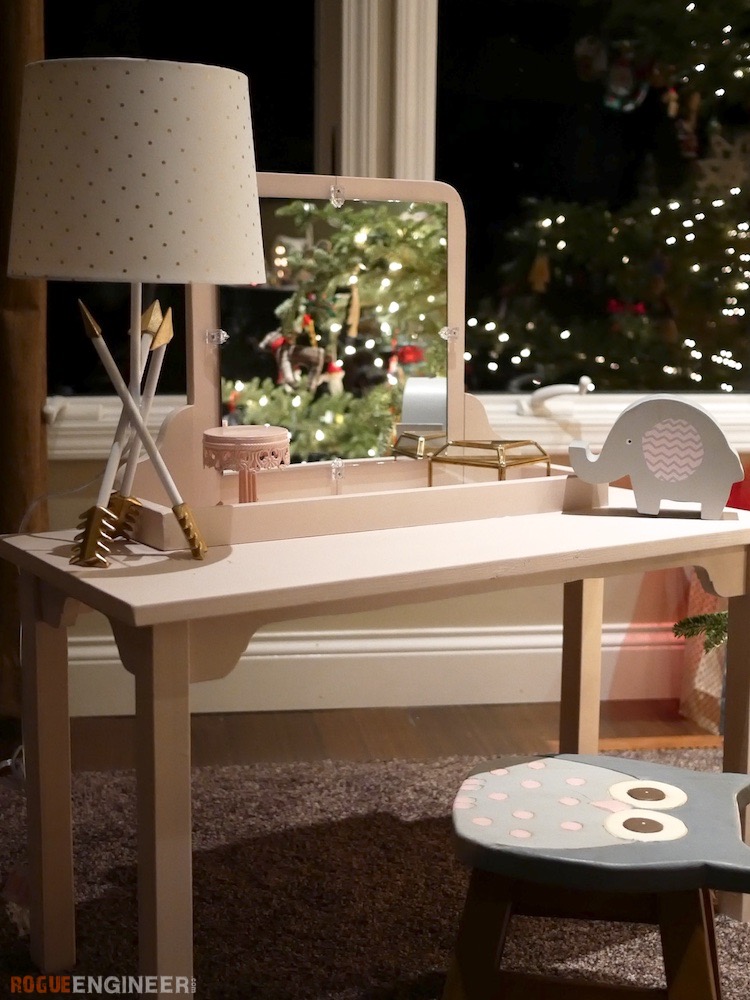
Kid’s Makeup Vanity
A few days before Christmas I realized, “Theres only a few days until Christmas!” I knew I wanted to build my [almost 3 year old] daughter Madison a makeup vanity because of how much she loves to get her nails painted and get dressed up, but I was a little behind schedule. I knew I wanted this vanity to look cute but not take up too much space and be to scale for her size. Since the vanity was going to be small I wanted to keep it simple and not add any drawers to reduce the risk of tipping. To replace the drawers or shelves we added a tray at the base of the mirror to hold all her stuff. When it came to picking out colors we knew it was going to have to be pink so we opted to go with Rust-Oleum’s Ultra Matte Chalked spray paint in Blush Pink. It turned out great and I think it was just the color that Maddie would have chosen herself. This project was built in an afternoon and finished the next day for a total cost of only about $40!
For sneak peeks of our upcoming projects be sure to follow me on Facebook and Instagram. Also, follow me on Pinterest to get tons of projects plans from all around the web!
Disclosure: While I was compensated by Rustoleum for this project, I wouldn’t have changed a thing and all the opinions are my own. Companies like this are what enables me to keep posting great content for free!

Required Tools
Materials
Disclosure: The links provided in the “materials” and “required tools” sections are affiliate links. If you would like to support our site and help keep our content free come find out more about how we can make money with no extra cost to you.
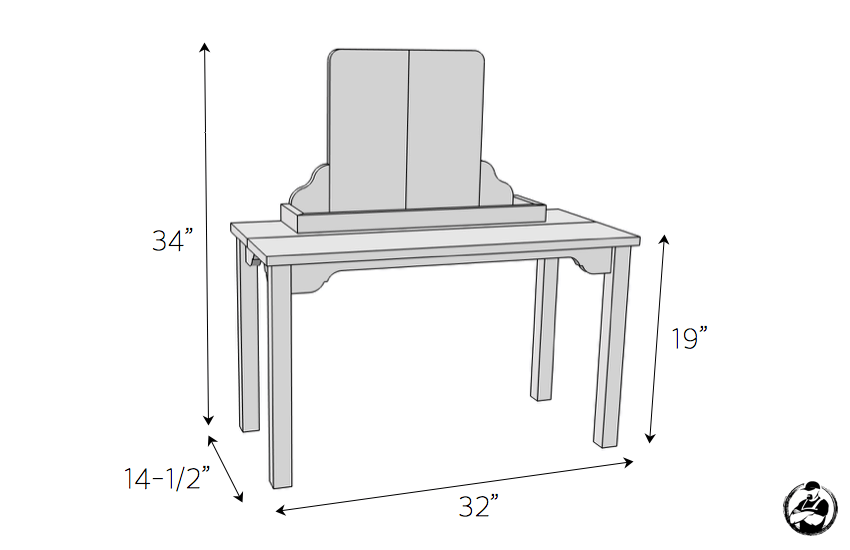
Dimensions
Cut List

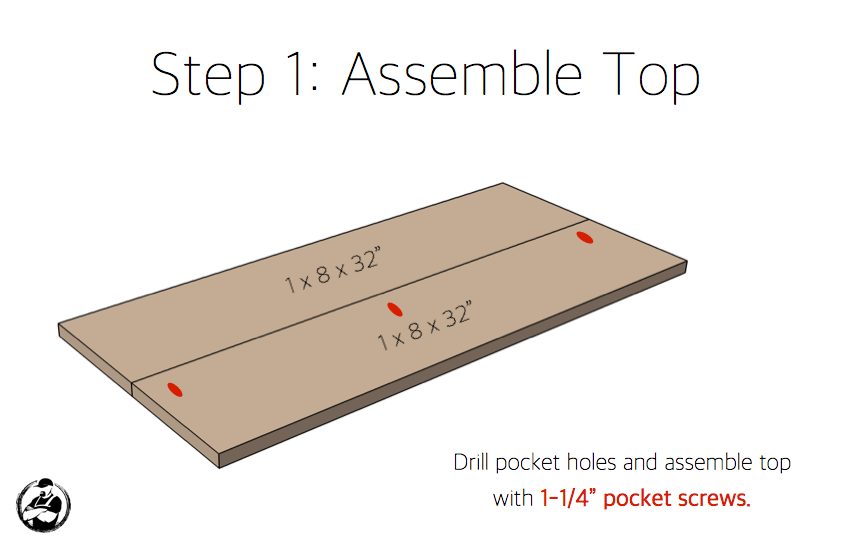
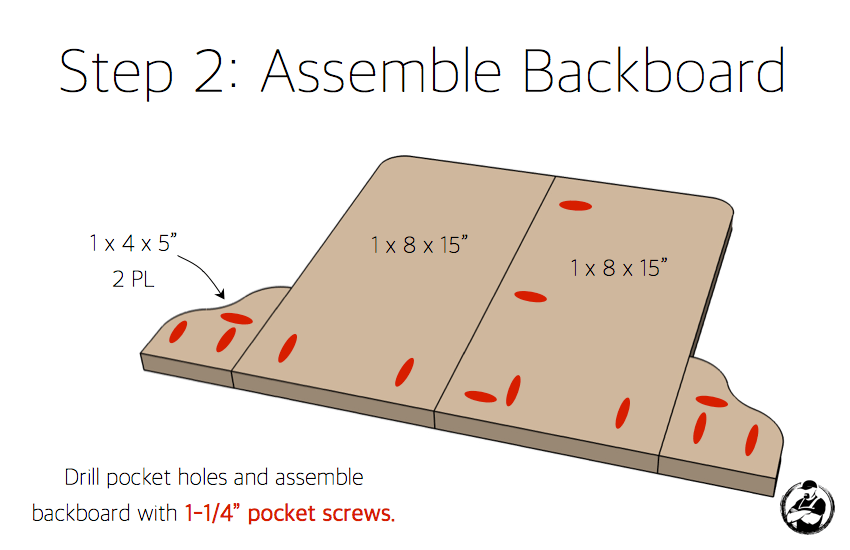
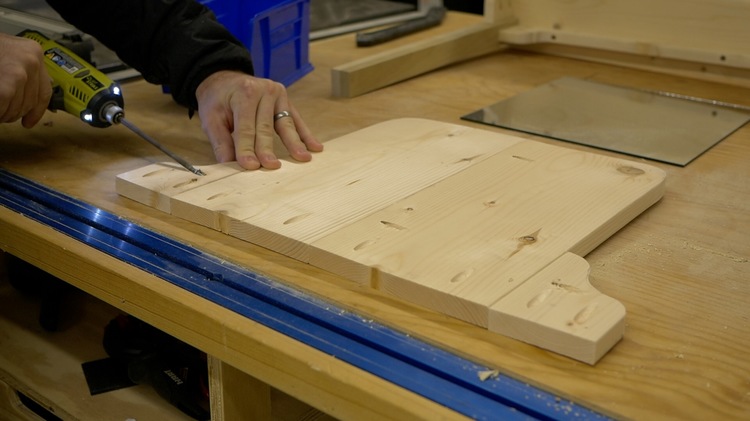
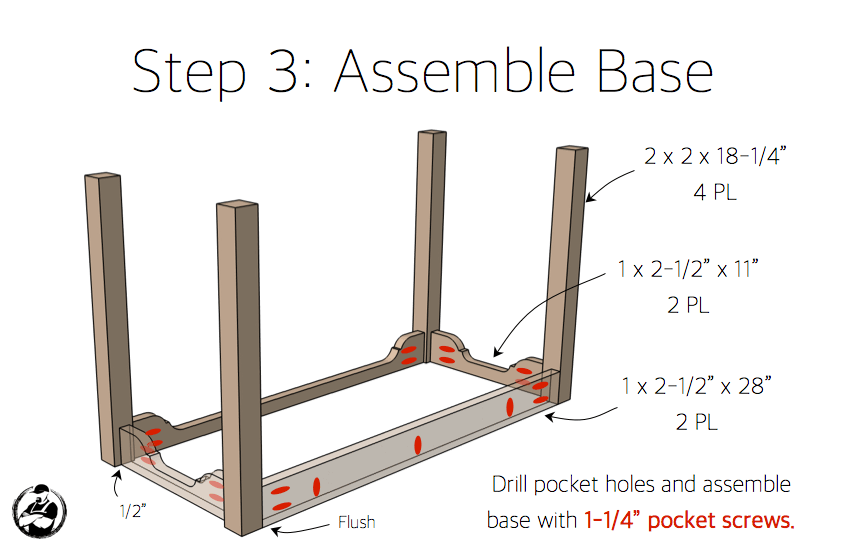
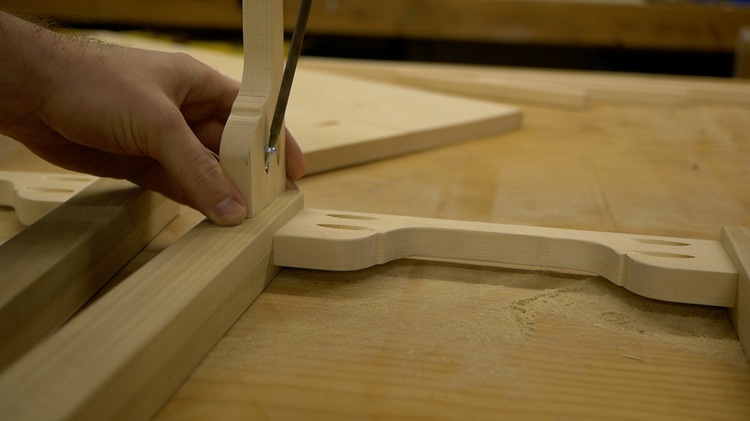
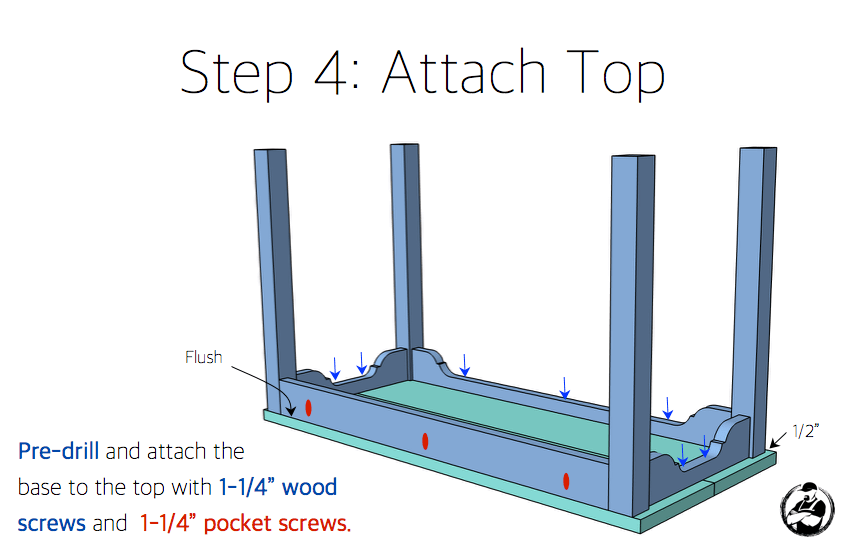
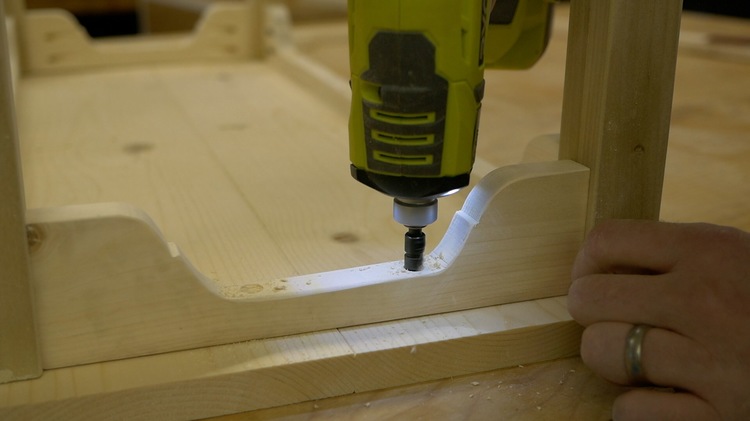
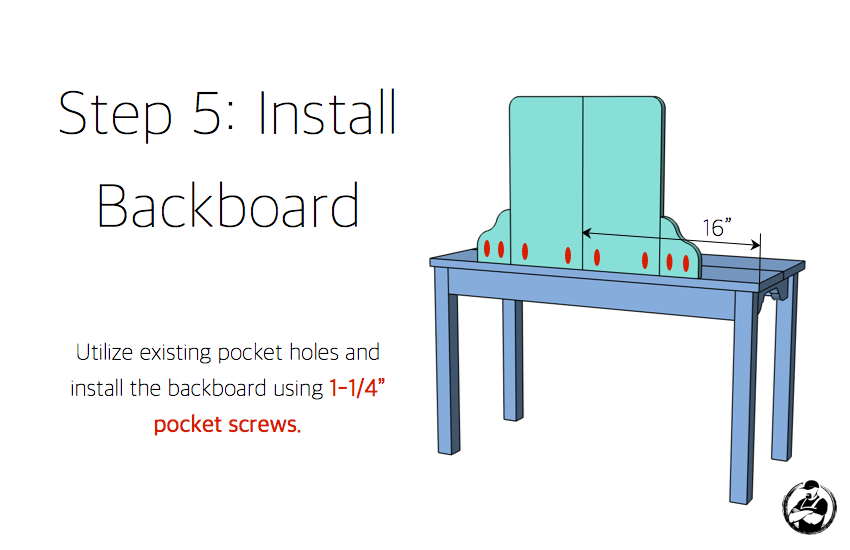
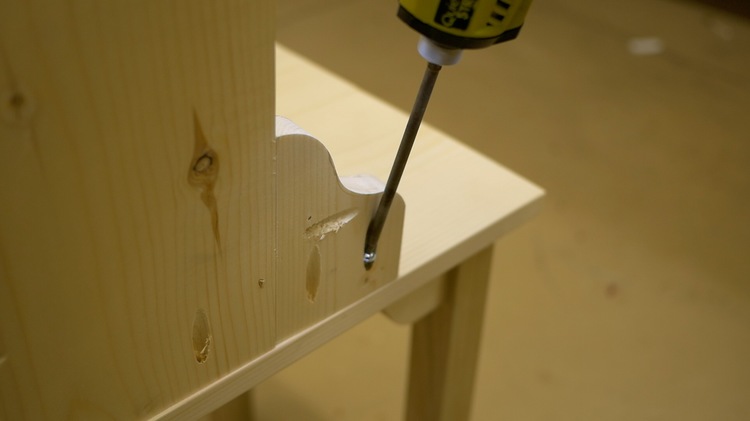
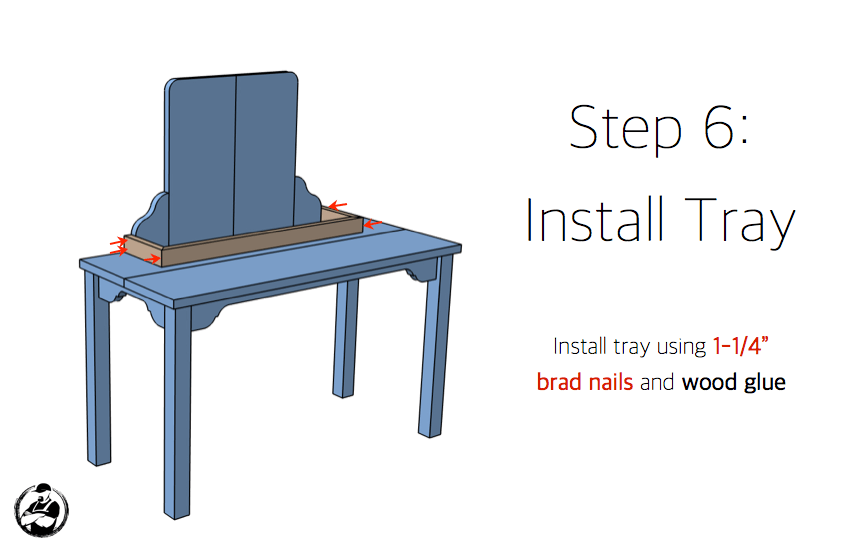
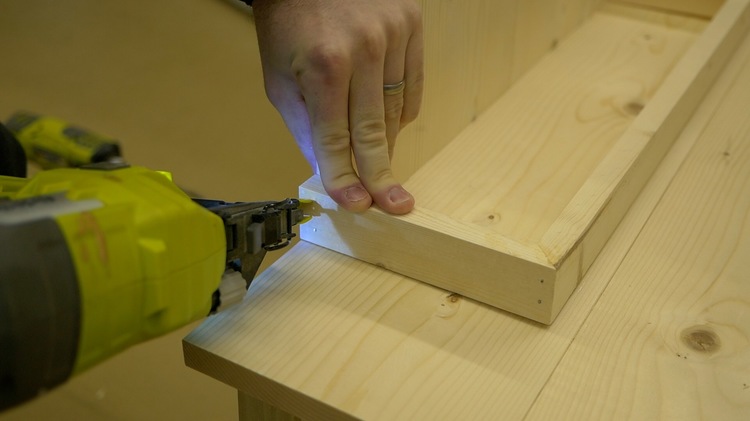
How to build a Kid’s Makeup Vanity
Finishing
Before I could even begin to paint this project we needed to sand all the surfaces with a fine grit sandpaper and round over any sharp edges. Once that was done we could blow off the dust and wipe it down to get ready for primer.
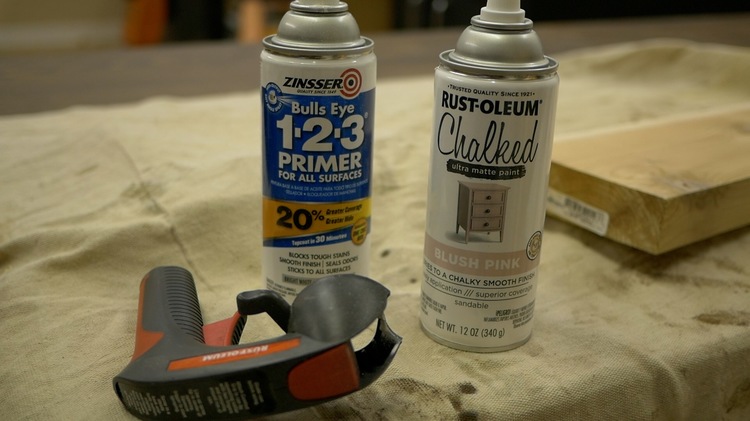
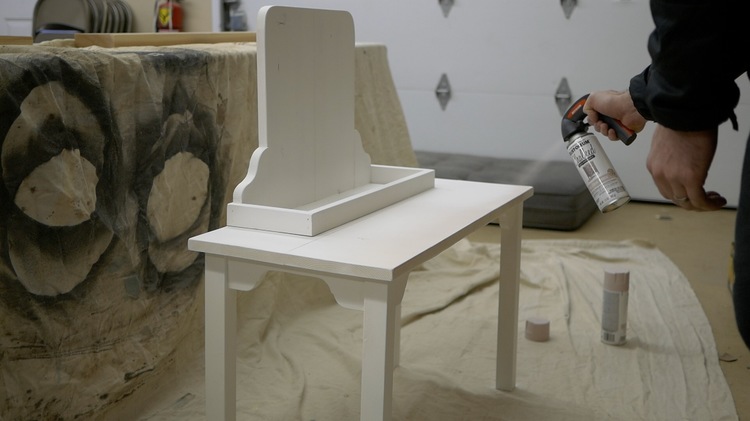
Whenever painting bare wood it is a good idea to prime it first. We went with Zinsser® Bulls Eye 1-2-3® Primer Spray and used a comfort grip to apply it with. One coat of primer will keep the knots from bleeding through and enable you to get ample coverage with fewer coats. Plus it only takes about 30 minutes to dry.
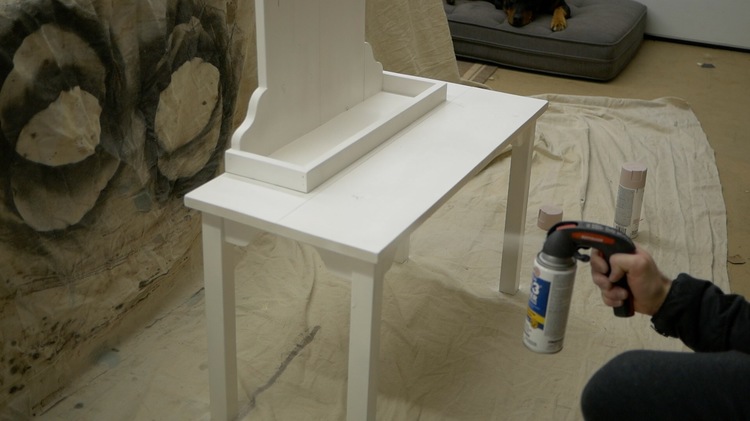
With the vanity primed we could now apply the paint. For this we used Rust-Oleum’s Ultra Matte Chalked spray paint in Blush Pink and the comfort grip to apply it with. I was glad I primed the vanity first because I was able to get great coverage with only two coats of the Chalked paint which was done with a single can.
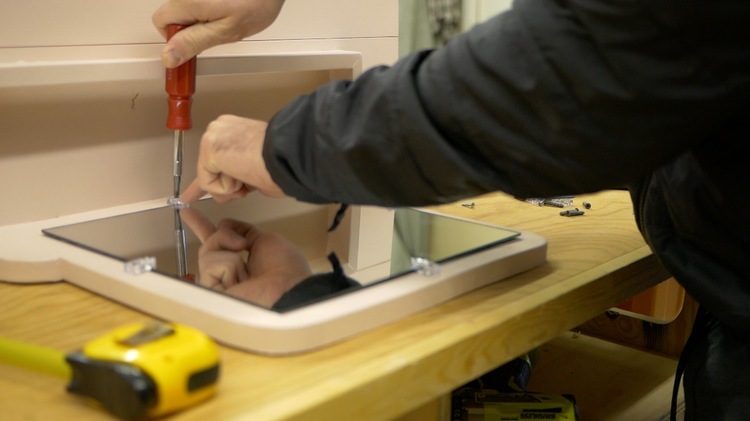
Installing the Mirror
After the vanity was painted and completely dry I centered the mirror as best I could and installed it using mirror clips and 3/4″ wood screws.
Questions? Comments?
As always, if you have any questions don’t hesitate to comment below and especially don’t forget to post pictures of your finished products in the comments! ENJOY!
Here is the one my wife and I made for our granddaughter. She is older than your daughter, so we made it taller, and also made a stool. She wanted Cinderella/Frozen colors rather than pink. My wife blinged it all out. Thanks for the plans!
https://uploads.disquscdn.com/images/6349e39f2e2852b254132cfbd21297902a7d0108e90f1b2c0c9c9125def8e576.jpg
Very nice! Thanks for sharing Brian.
hello there. nice build! i built a hollywood vanity for m daughter this past Christmas too. https://uploads.disquscdn.com/images/026301c68d1bd5683290132fa8416b340b1a691da256c0a59a0bc08e02e81081.jpg
Thanks! And very cool! The lights were a nice touch.
I so love seeing your plans each week. You are so creative and i really enjoy your plans as they are easy to follow and complete for a novice such as myself. I fully intend to make one of these for my granddaughter for her birthday in March. I know she will be very happy as she also loves to do her nails and play dressup so this is right up her alley. Thank you so very much for all the time you spend creating these plans for us.
Thank you for the kind words Eva!