

Lybrook Coffee Table
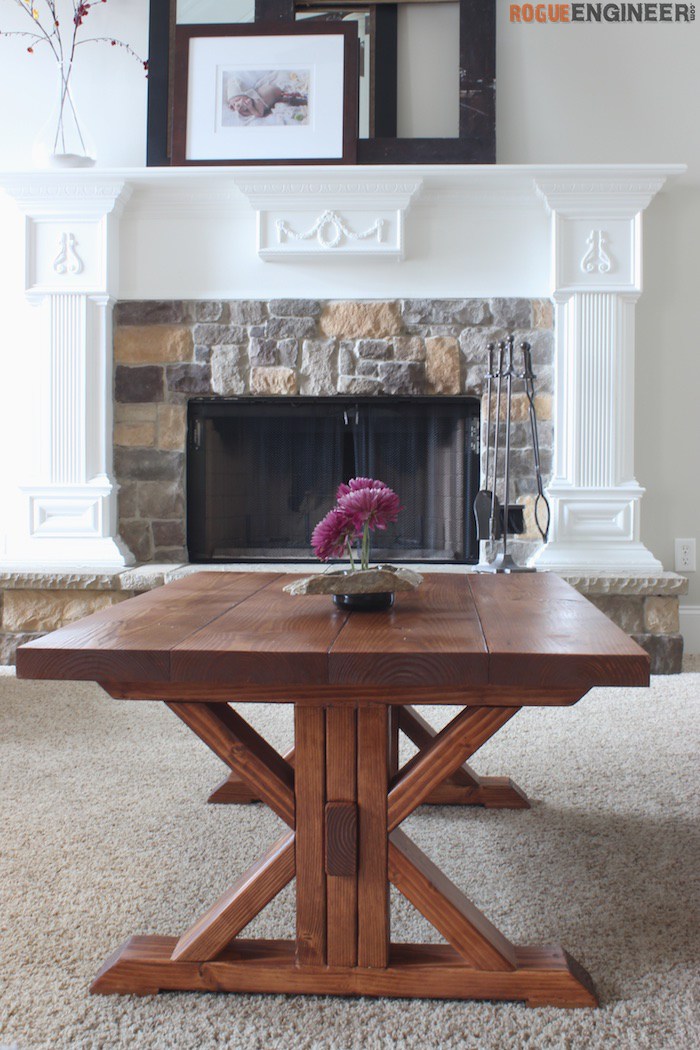
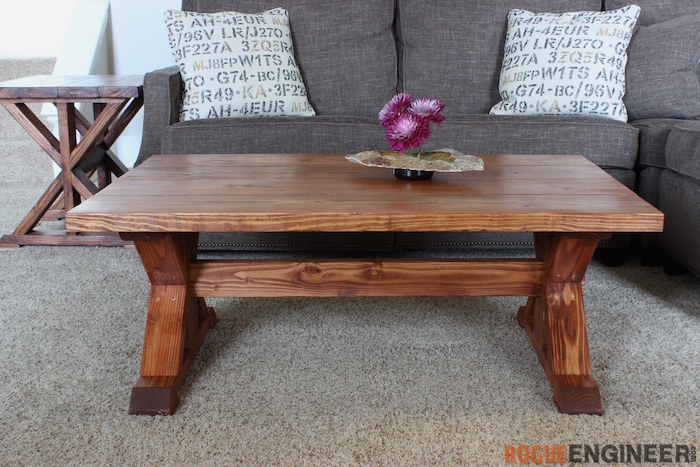
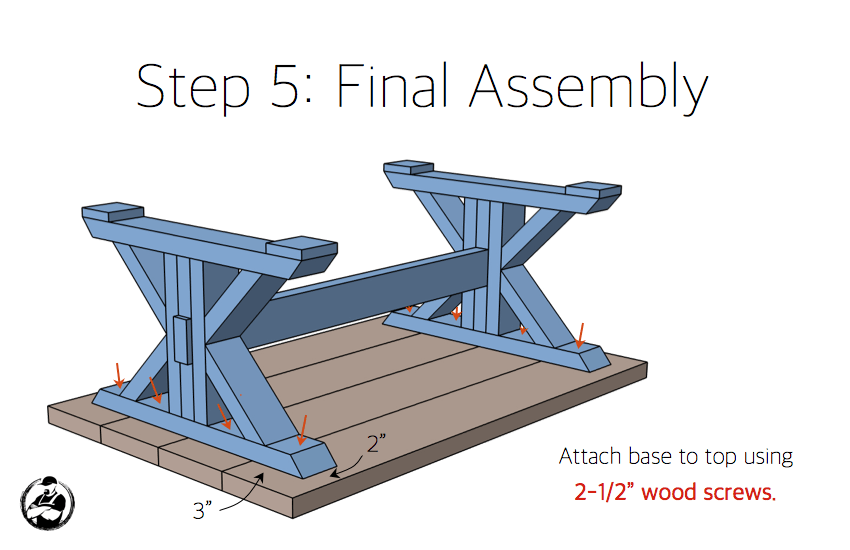
After we built the Lybrook side table we had several folks ask for a matching coffee table. With such a good response I had to go for it. With the size of a coffee table I had a little more room to play with the design. The trestle design was a must to tie the two together but the added width gave me the opportunity to introduce the exposed tenon look. I really like how it turned out overall and I hope you do too! But, for under $30, how could you not?!?
A huge thanks to HomeRight for sponsoring this project and helping to keep this content free for you all! HomeRight makes all kinds of cool stuff but my favorites are the Finish Max, Finish Max Pro and the Spray Shelter. If you want the ultimate smooth finish, whether it’s paint or polyurethane, you have to go with a sprayer like the Finish Max or Finish Max Pro.
For sneak peeks of our upcoming projects be sure to follow me on Facebook and Instagram. Also, follow me on Pinterest to get tons of projects plans from all around the web!

Required Tools
Materials
Disclosure: The links provided in the “materials” and “required tools” sections are affiliate links. If you would like to support our site and help keep our content free come find out more about how we can make money with no extra cost to you.
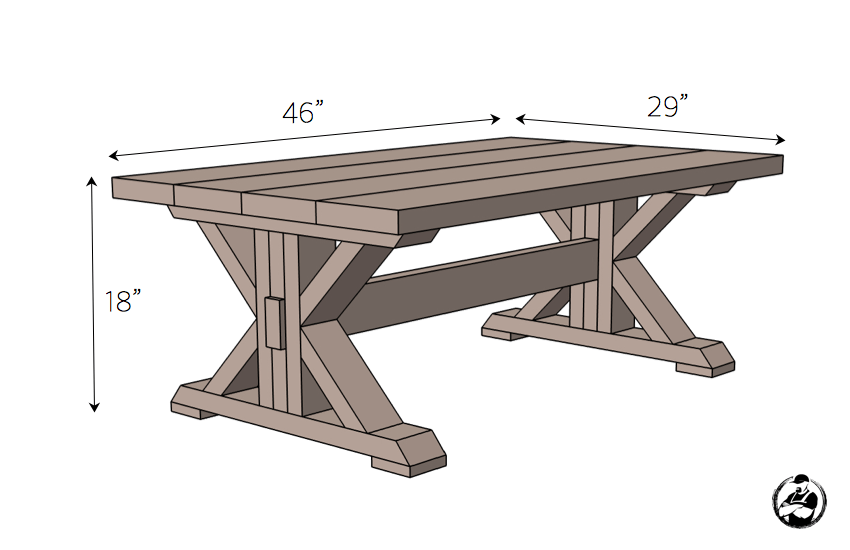
Dimensions
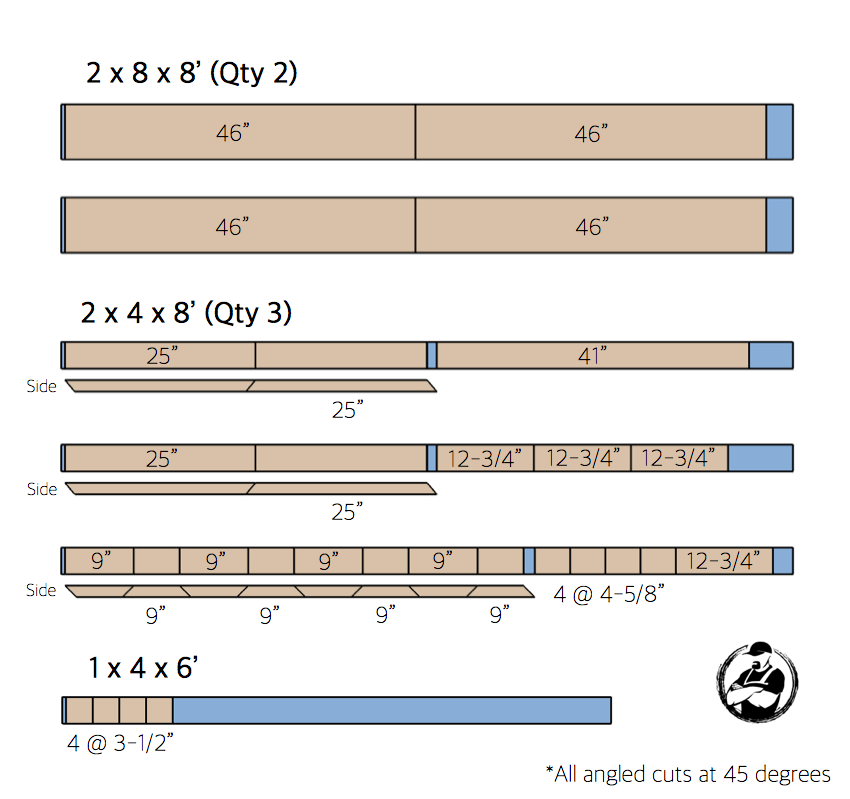
Cut List
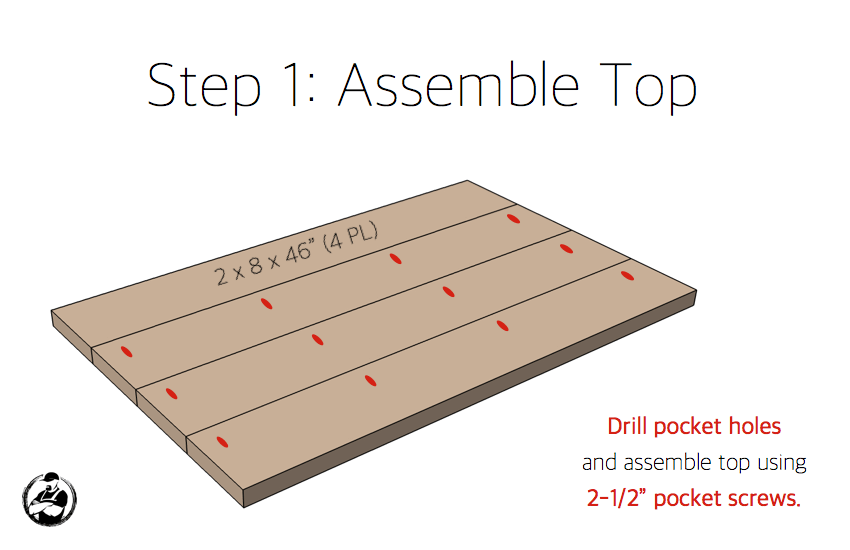
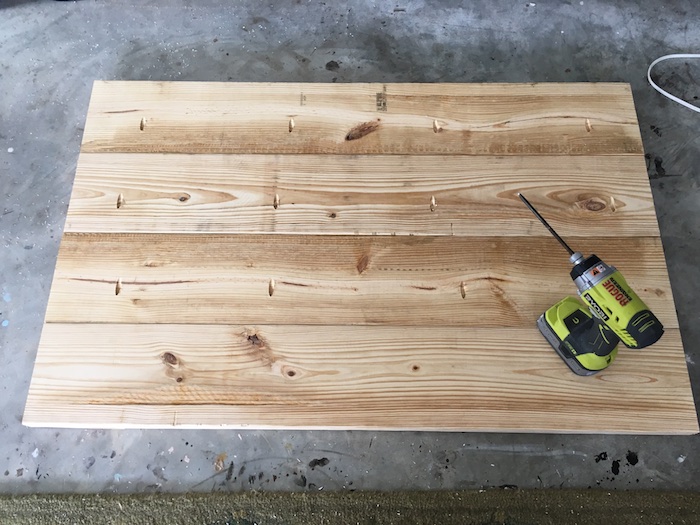
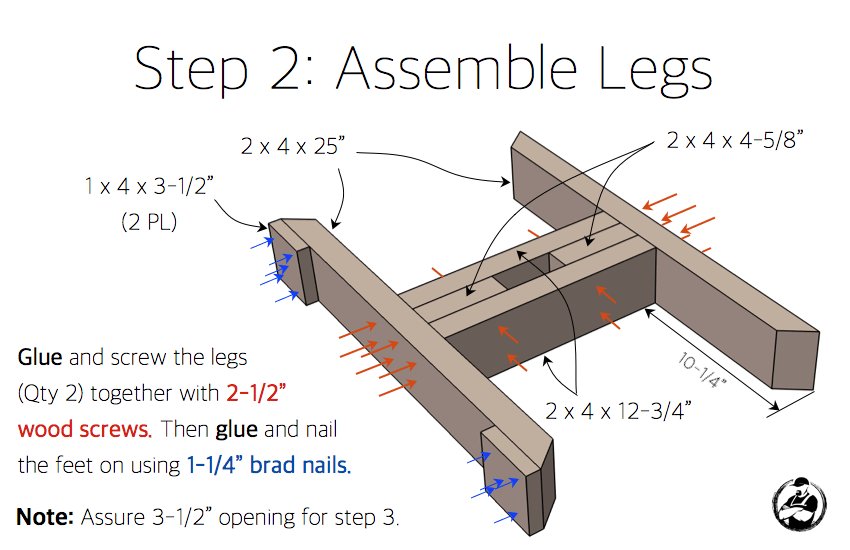
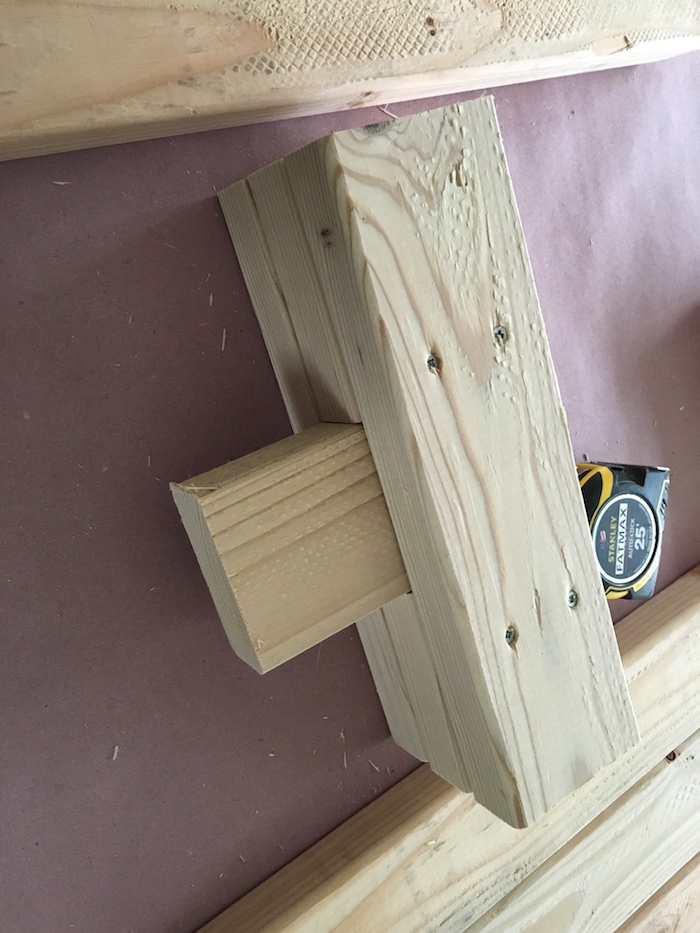
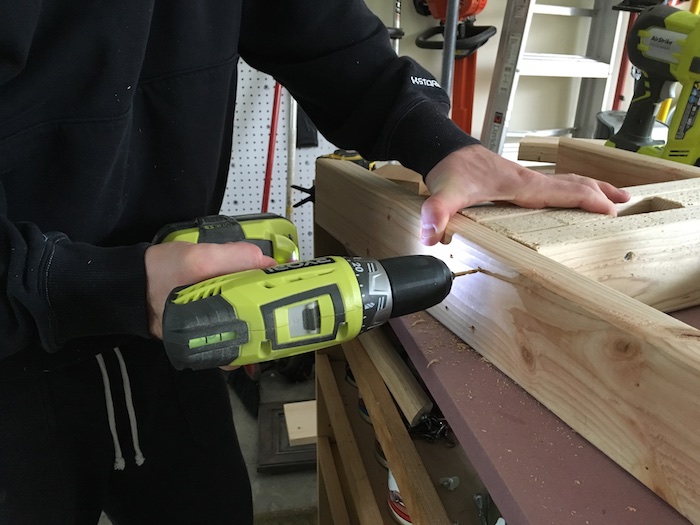
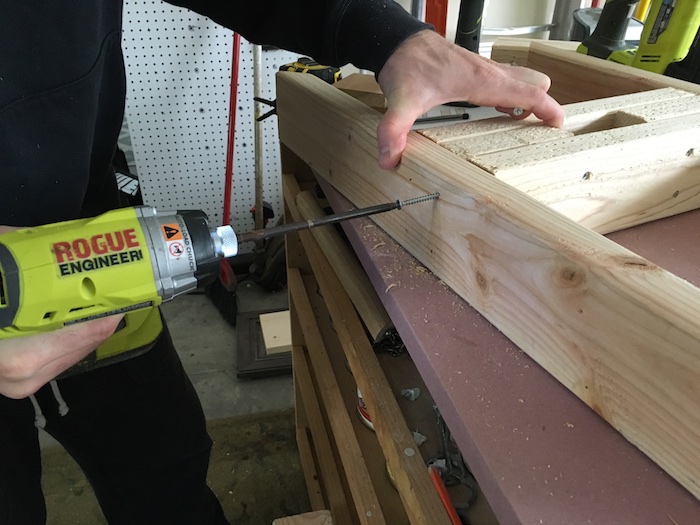
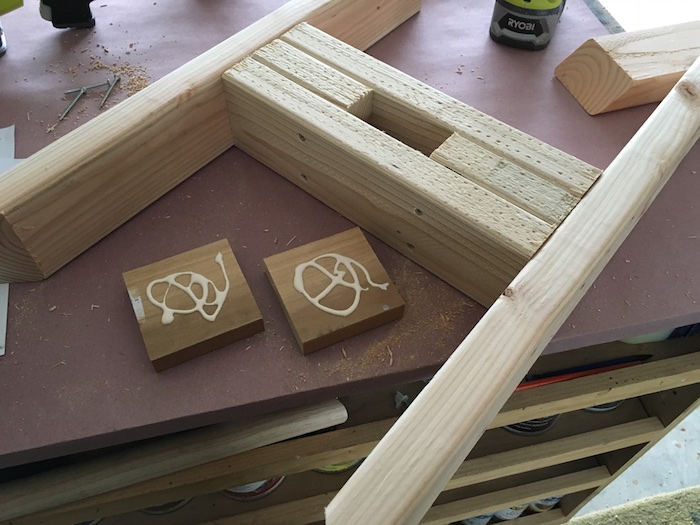
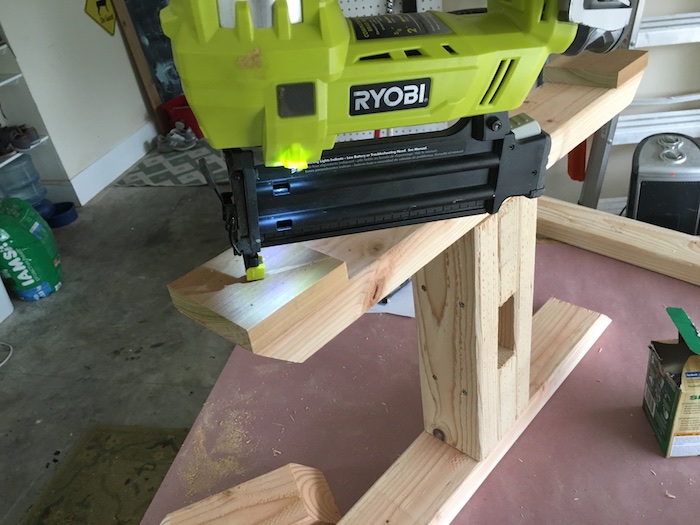
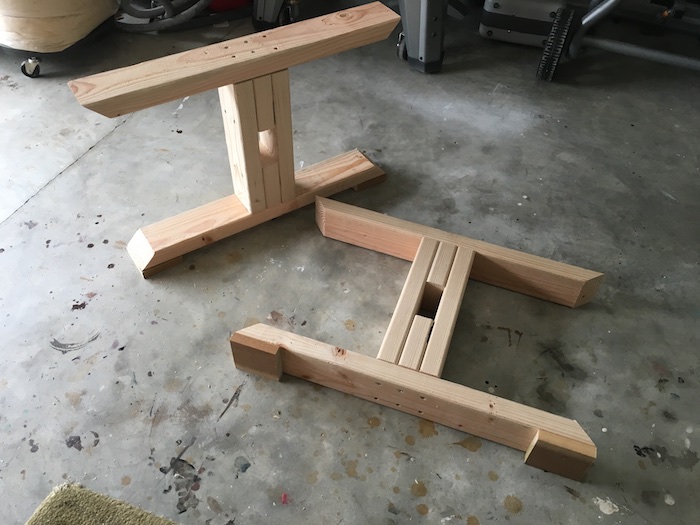
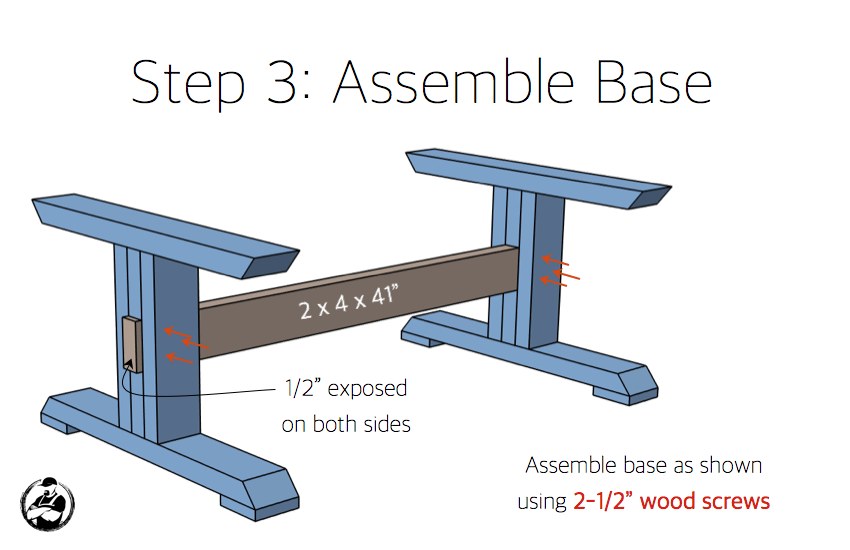
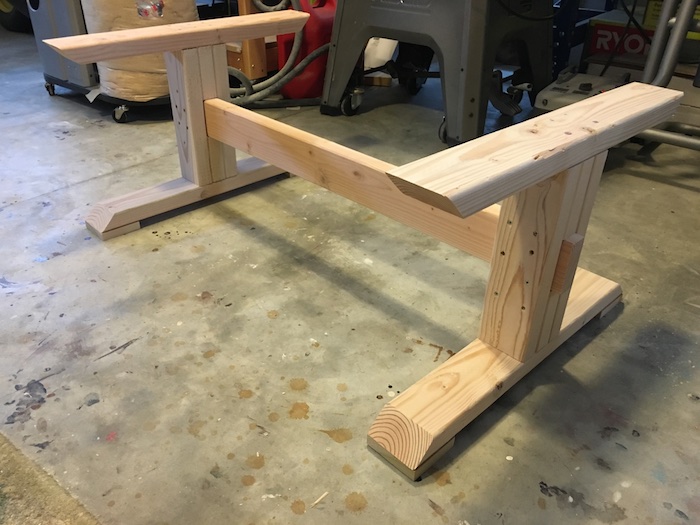
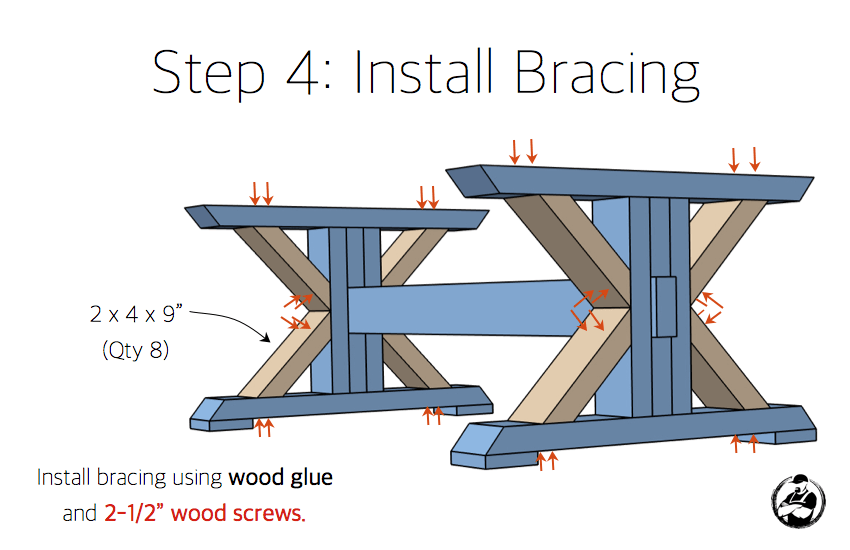
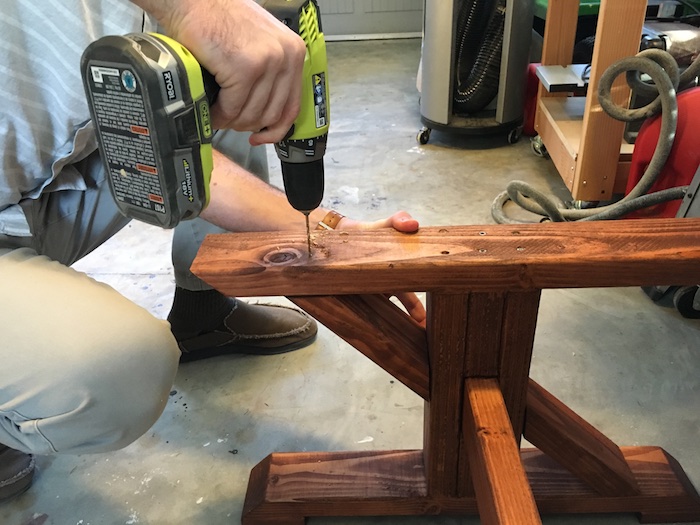
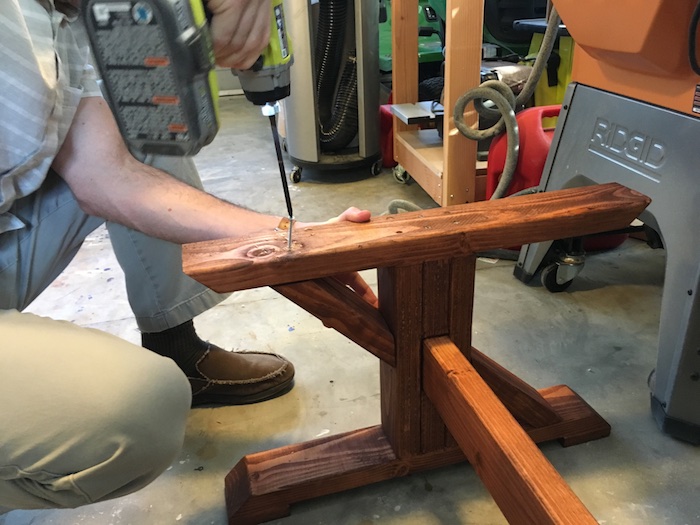
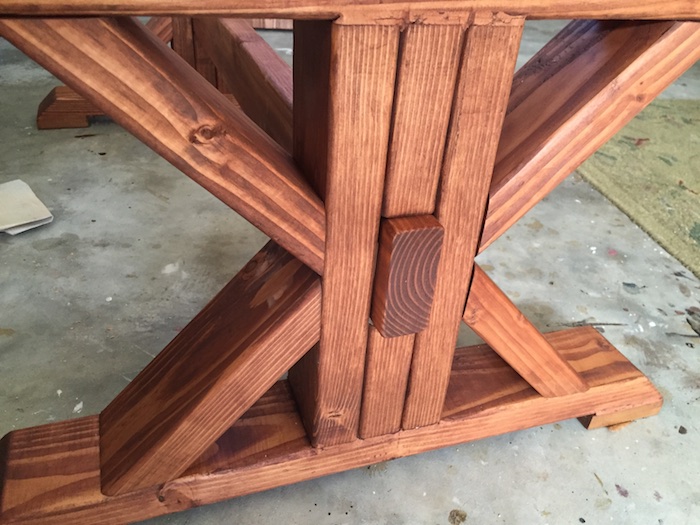
How to build a Trestle Coffee Table for under $30
Finishing
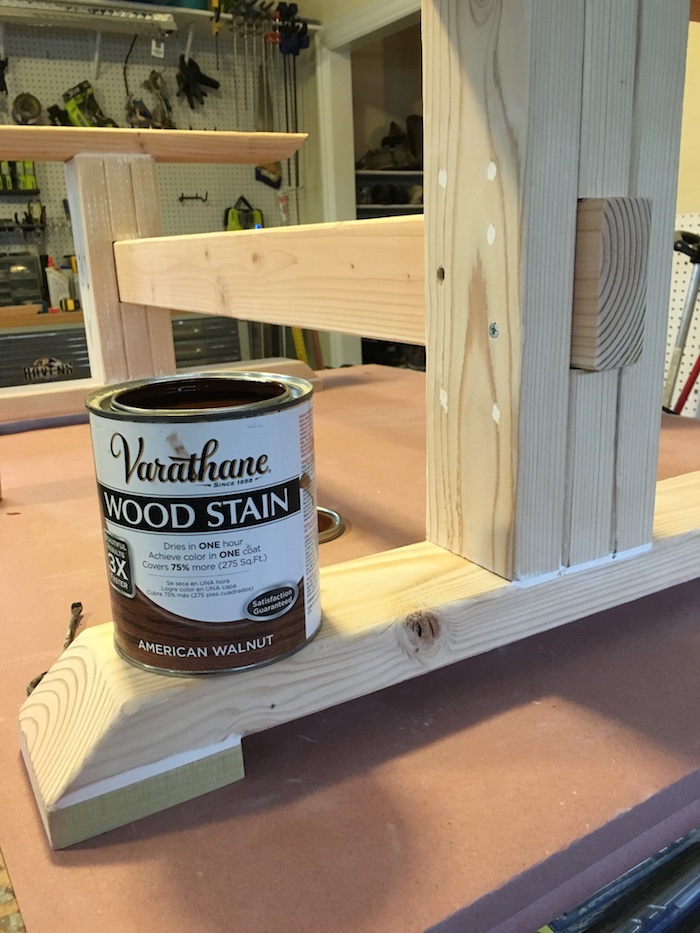
For the stain color we choose American Walnut by Varathane and sealed it with a semi-gloss polyurethane.
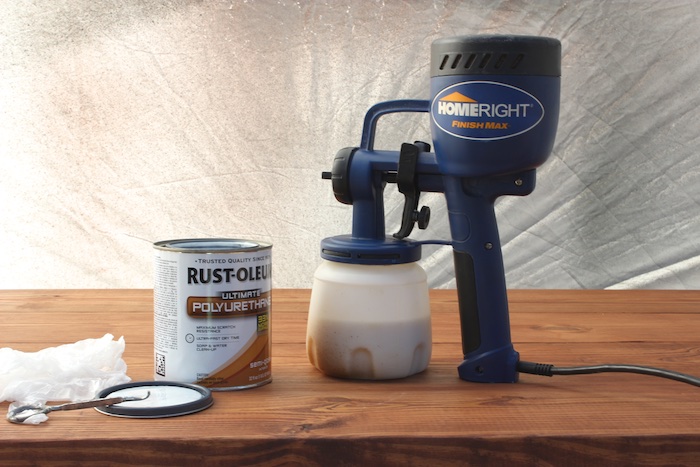
I used my amazing HomeRight Finish Max sprayer to spray three coats of semi gloss polyurethane. I lightly sanded between each coat with 220-grit sandpaper and buffed the final coat with a finishing pad.
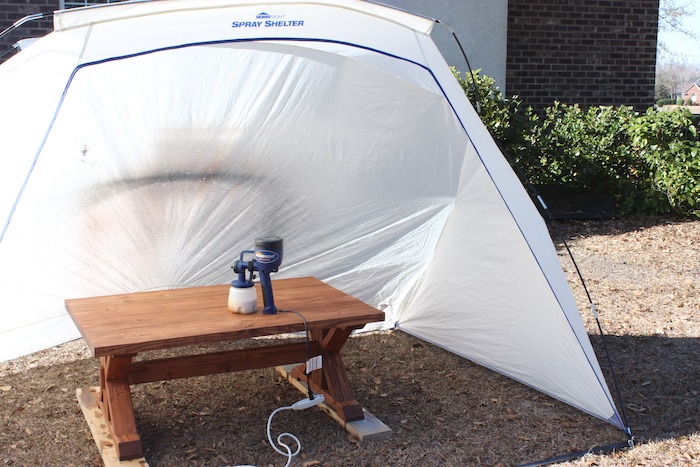
I spray most larger projects outside so I don’t have to worry about ventilation. Whenever I spray outside the Spray Shelter from HomeRight is a must to contain the finishing.
Questions? Comments?
As always, if you have any questions don’t hesitate to comment below and especially don’t forget to post pictures of your finished products in the comments! ENJOY!
Man that looks great! Going to make one to match my side table. What kind of wood filler do you use for the screw holes and around the feet?
Thanks! I used Elmer’s wood filler. It starts out pink and dries white. I was skeptical of how well it would stain but was pleasantly surprised at how well it turned out.
Nice! It does look like it takes stain well. I will try it out.
Beautiful table. I especially love the finish. Thanks for showing which sprayer you used. I have almost talked myself into purchasing one.
Thanks Linda. And I must say, a sprayer is worth the investment.
I just picked up the HomeRight sprayer and was surprised at the force of air it puts out. I found it to be a bit intimidating and hard to get comfortable with. I really want to get the hang of it because of the time it will save, but I don’t want to cause more work for myself by creating drips/runs or not getting enough coverage. Any tips? It’s supposed to be held as close to upright as possible if I understand the instructions correctly. How do you do horizontal/flat surfaces? Thanks in advance!
You can regulate the paint flow on the sprayer by adjusting the knob. I would suggest getting the flow correct on a scrap piece before starting on your project. Also be sure to have the correct consistency of the paint. If using a chalk paint, I add some water before spraying. The angle can be adjusted on the tip of the spray to spray from left to right, or up to down. You want to keep the sprayer upright, but you can turn it to get the angle that you need. I have never run into any problems when using the sprayer and reaching hard to paint surfaces. Using a sprayer saves a ton on time!
Great looking table. Looks like you did all your sanding and staining for the base before you added the angled braces. When you did attach the braces, did you use some wood filler for the brace holes and apply another coat of stain?
It was easier to stain the pieces before adding the angled braces. Once attached I used a some wood filler and retained.
Hey Jamison – Do you think this design could work for a desk? Wanted to follow the same design style but with 60″W X 30″D X 30″H. I checked out your desk designs but was hoping for something a little larger to go in my office. Opinions/recommendations appreciated!
Yes! I think this would make an awesome desk. It should be fairly simple to modify the length of the board to fit what you need.
I was wondering if you have the matching plans for a console table?
I don’t currently have plans for a matching console table.
Hey Jamison, I’m wondering how you keep the table top flat when making it. I’ve made the side table of this and the coffee table, and each time I get to the table top, the boards either warp and twist, or become misaligned and no longer flat. This seems to be the biggest hurdle I’ve encountered so far! Thanks in advance!
Hey Jamison, I’m currently just using the Kreg R3 and I was wondering how to correctly line it up on mitred cuts, such as the braces on this table base? I love your plans and am planning to start on the side tables tonight.
I went with 1x4s nailed to 34″ Plywood for the top. Would you recommend more bracing to support this top? I feel like at this span it will be fine but would like your opinion. Thanks for all the inspiration