

Lybrook Side Table
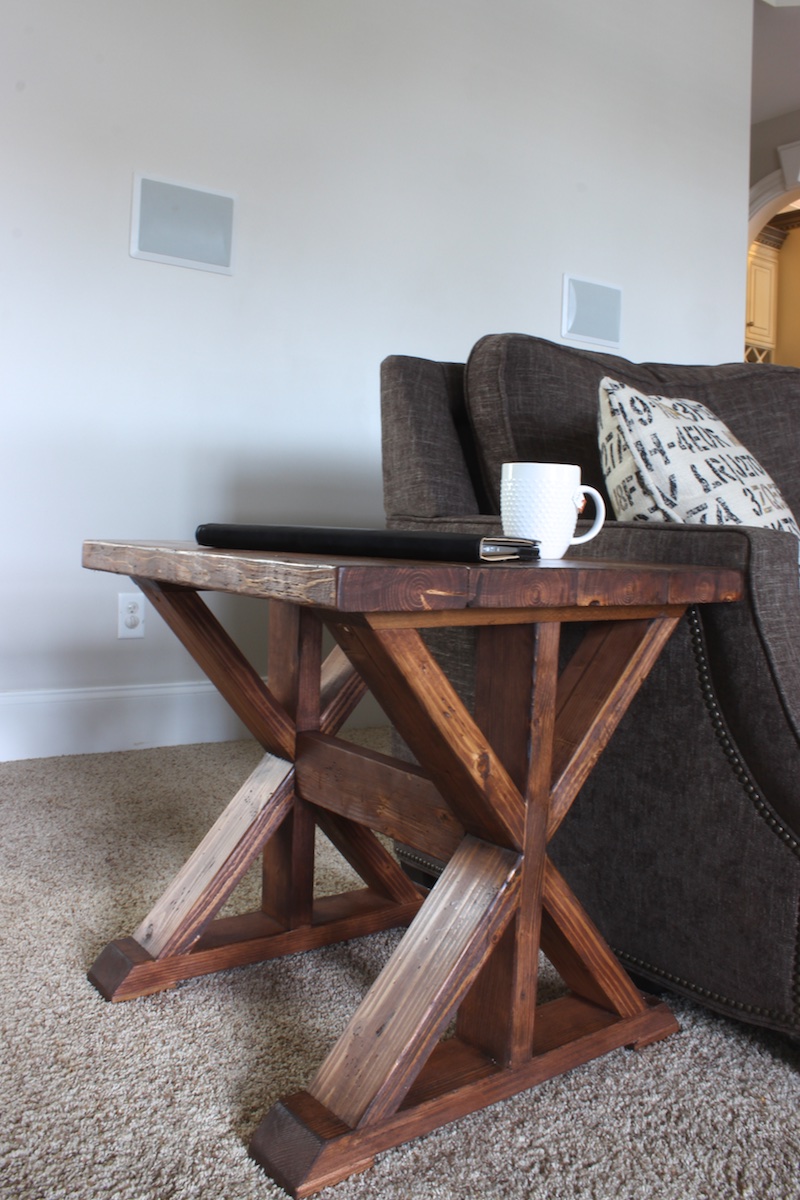
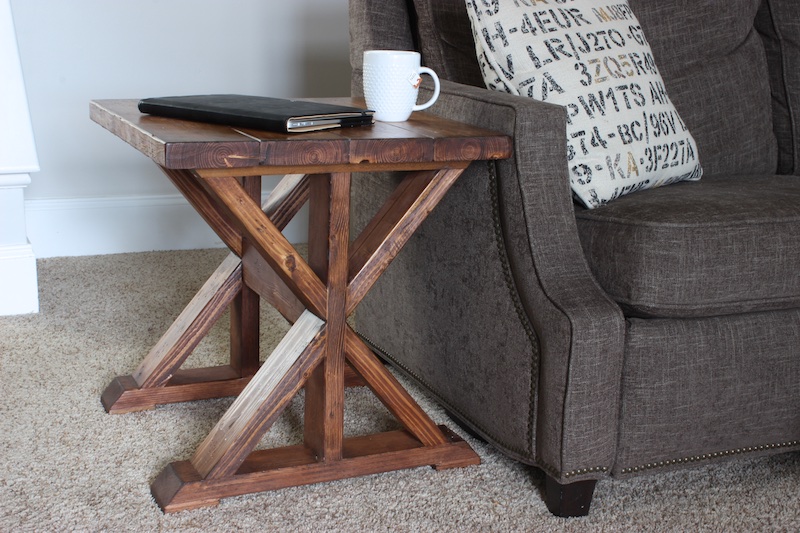
A side table is a must have in any living room and we’ve been wanting to replace our glass top side table for a while now. We stumbled across a table similar to this that cost a whopping $340 and we really liked it. Below I’m going to show you how to build a similar table for under $20, with limited power tools and easily within a weekend. Enjoy!
And if you are looking for the matching coffee table you can find that here!
For sneak peeks of our upcoming projects be sure to follow me on Facebook and Instagram. Also, follow me on Pinterest to get tons of projects plans from all around the web!
Required Tools
Materials
Disclosure: The links provided in the “materials” and “required tools” sections are affiliate links. If you would like to support our site and help keep our content free come find out more about how we can make money with no extra cost to you.
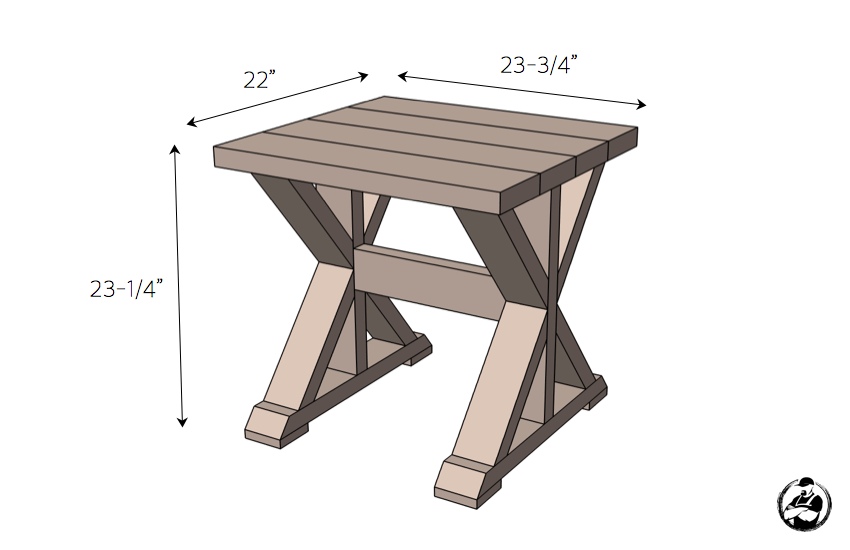
Dimensions
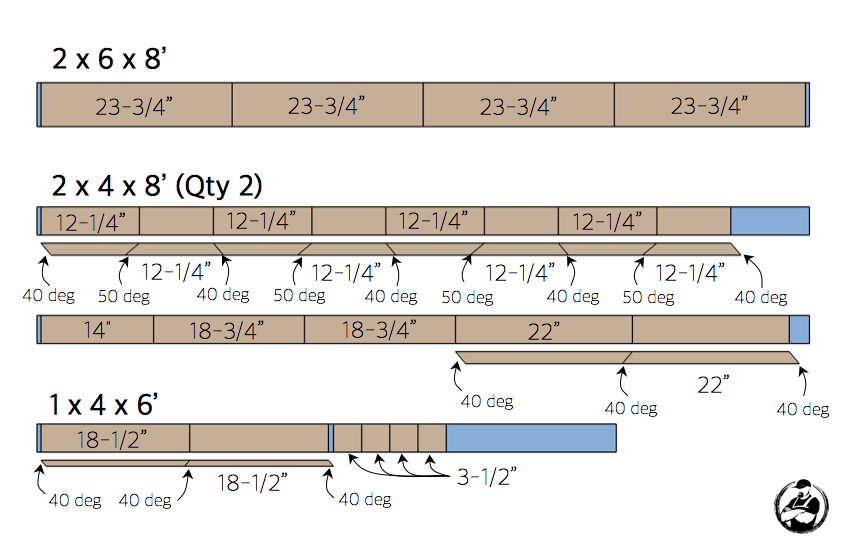
Cut List
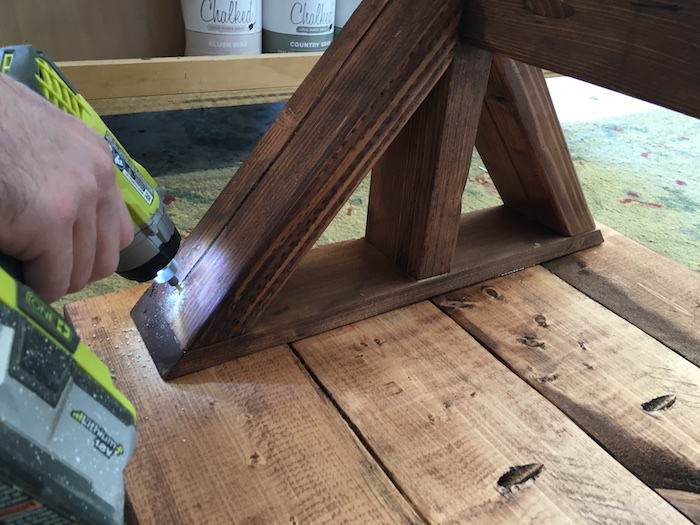
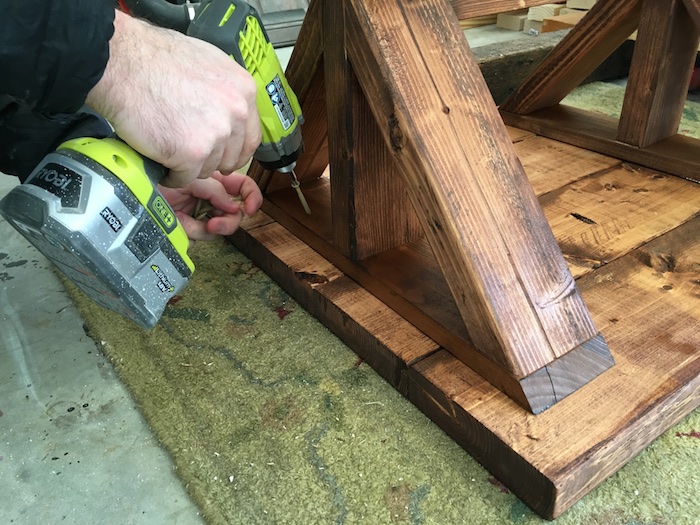
How to build a Side Table for under $20
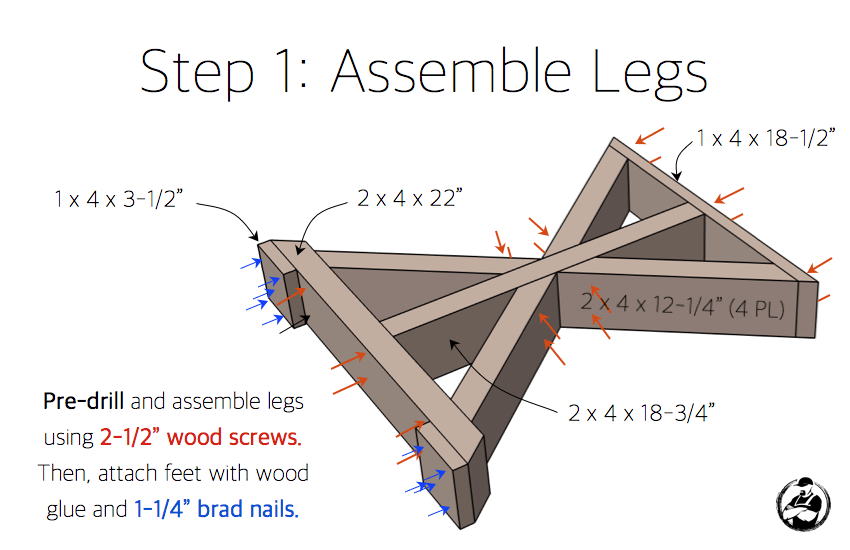


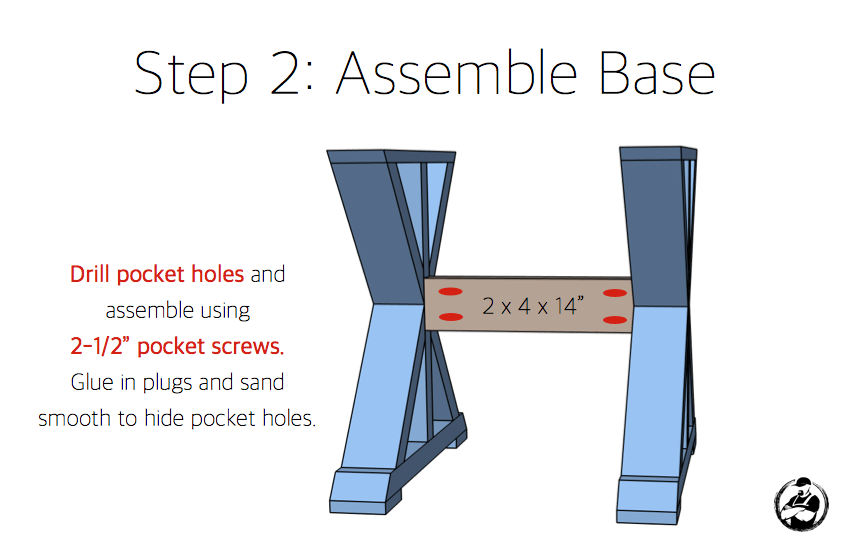
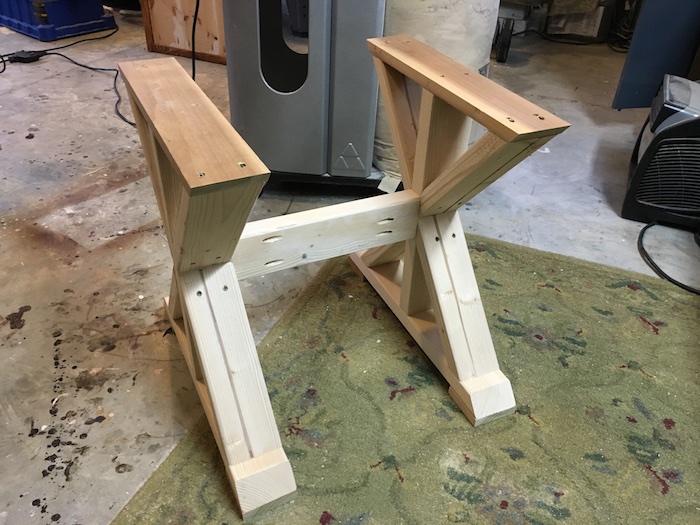
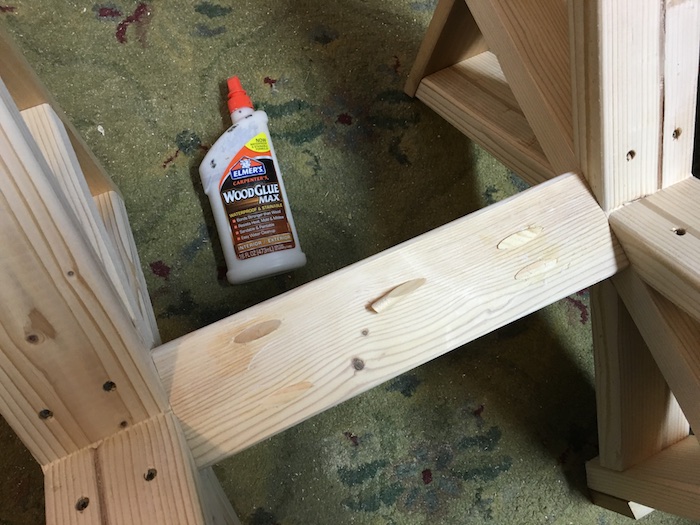
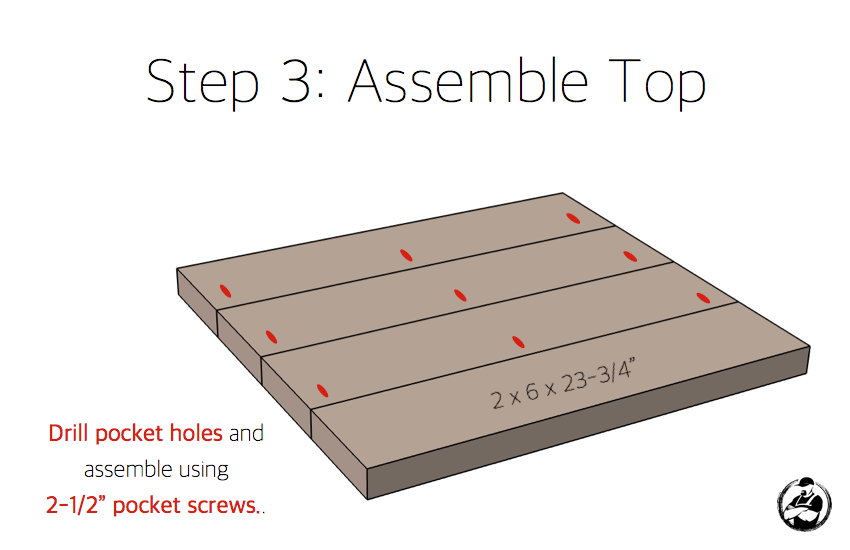
Finishing
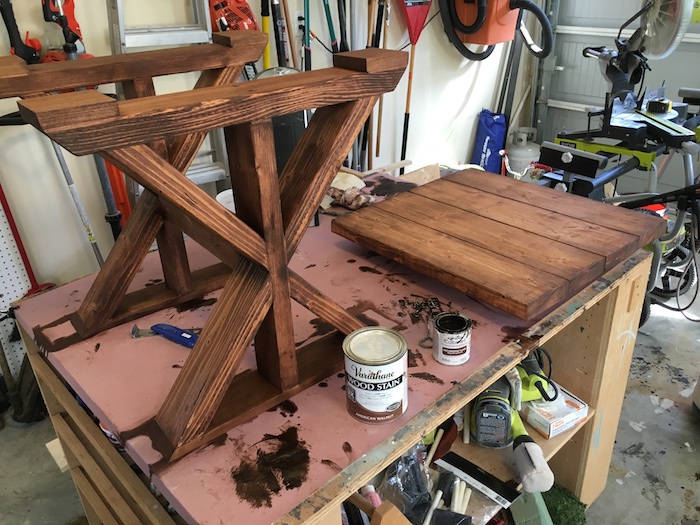
We opted to distress and stain before final assembly. We went with American Walnut from Varathane followed by a single coat of semi-gloss triple thick polyurethane.
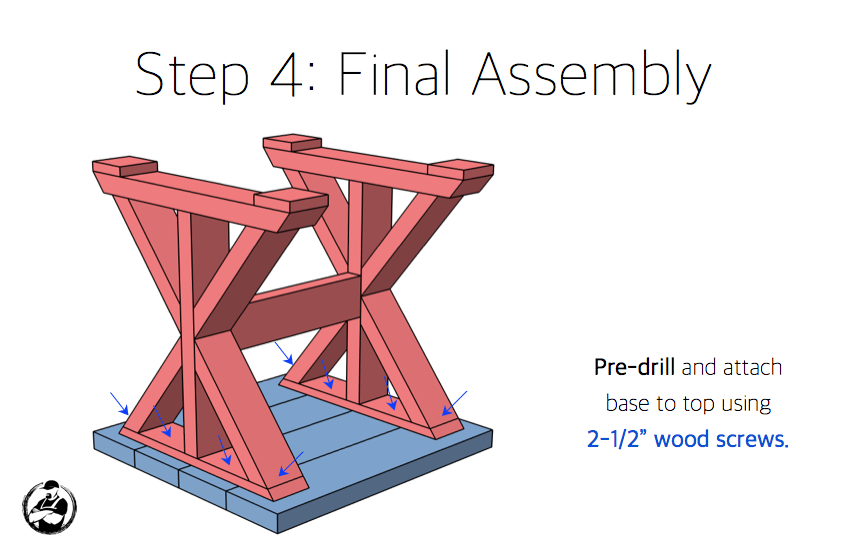
Questions? Comments?
As always, if you have any questions don’t hesitate to comment below and especially don’t forget to post pictures of your finished products in the comments! ENJOY!
So doing these this weekend! Yall are re-furnishing my house! Love it
Haha Rhiannon! That’s awesome.. can’t wait to see how it turns out!
Oh you have to do a matching coffee plan! I’m going to need to match my 2 side tables ;0)
Haha! Working on it right now.
quick question on the 50 degree angles, how did you do it with a miter saw. Mine only goes up to 48 degrees & i had to go old school with an old miter table.
My Ryobi goes to 47 on one side and 52 on the other side. My ridgid goes all the way to 65! But hey, old school works too!
I really need to buy a miter saw.
Everyone needs a miter saw
Absolutely love the plans that you share. Thanks for your time.
Thanks MJ!
The materials list and the cut list of the 2x4s do not match.
Fixed it. Thanks for the pick up.
this is one neat table… are you using tite-bond glue or gorilla glue.. i haven’t used the gorilla glue yet but curious is it any good..
Thanks Darrell! It is always a good idea to glue the joints for added strength. Gorilla glue works great as does titebond and Elmer’s. For an application like this it’s not critical but for some other applications you may want to be more picky.
Love this table! Really cool plans!
Thanks Anika!
I went and got the boards today. Going to build this tomorrow!!!!
Awesome! I would love to see a pic when you’re done!
Question for you, when you are making a tabletop with pocket screws, do you use glue also? I feel that I should know the answer to this but I’m building a smaller (50 x30…(4) 1 x 8″) table today and am questioning everything!
Glue will definitely make for a stronger joint. But, most of the time I choose not to because getting the glue out of the seams can be a real pain, and if you don’t, you’ll never get an even stain. With 1x8s you won’t have seams as much so clean up should be easier.
Here it is with Minwax Colonial Maple stain. Hope I did you project some justice.
That looks awesome Robert!! Thanks for sharing. It’s nice to see it in a lighter color.
Glad you like it. Would really like to build a coffee table to match.
I decided to do mine with an antiqued dining table finish. Walnut stain with sanded white over the top.
I decided to do mine with an antiqued dining table finish. Walnut stain with sanded white over the top.
Very nice finish Zach! Thanks for sharing.
Love this end table! Thanks for another great design.
That turned out great! Thanks for sharing man!
I’m confused by the cut sheet. How do you get 8 12 1/4″ boards from 8′ lumber?
Because it is cut at an angle. The opposite side is shorter.
We are right in the middle of this project. The angles on the 2×4’s that are supposed to be 40 and 50 degrees don’t match up. They are misaligned and it doesn’t come out as an “X.” Shouldn’t they be 45 degrees? Or am I missing something? Thank you.
No, they should be 40 and 50, with the 50 being against the center board where the X comes together. You could do them all at 45 but the lengths would change.
I don’t suppose you happen to have plans for this same table but with different dimensions do you? Lol
I have plans for the matching coffee table https://rogueengineer.com/diy-lybrook-coffee-table-plans.
Hey,
First off I want to say I really enjoy going through your plans. This is the first one I have attempted. In the materials it says 2″ wood screws, but in all the assembly instructions it says 2.5″ wood screws. Which ones should I be using?
Used a grey stain on mine and happy with the results. https://uploads.disquscdn.c…
Hi Jamison, your plans are awesome. My very first woodworking project …….. had never attempted anything like this in the past. I am still a beginner and still collecting woodworking tools, but your easy to understand plans led me to build this. I am looking forward to build many more ………… https://uploads.disquscdn.c…
Made a pair of side tables and a coffee table. Thanks for the plans!https://uploads.disquscdn.c…https://uploads.disquscdn.c…
This took a bit longer than I thought it would since it’s mainly my first attempt at creating something with so many angles! Thanks for the idea and inspiration. I think it turned out really great! https://uploads.disquscdn.c…