
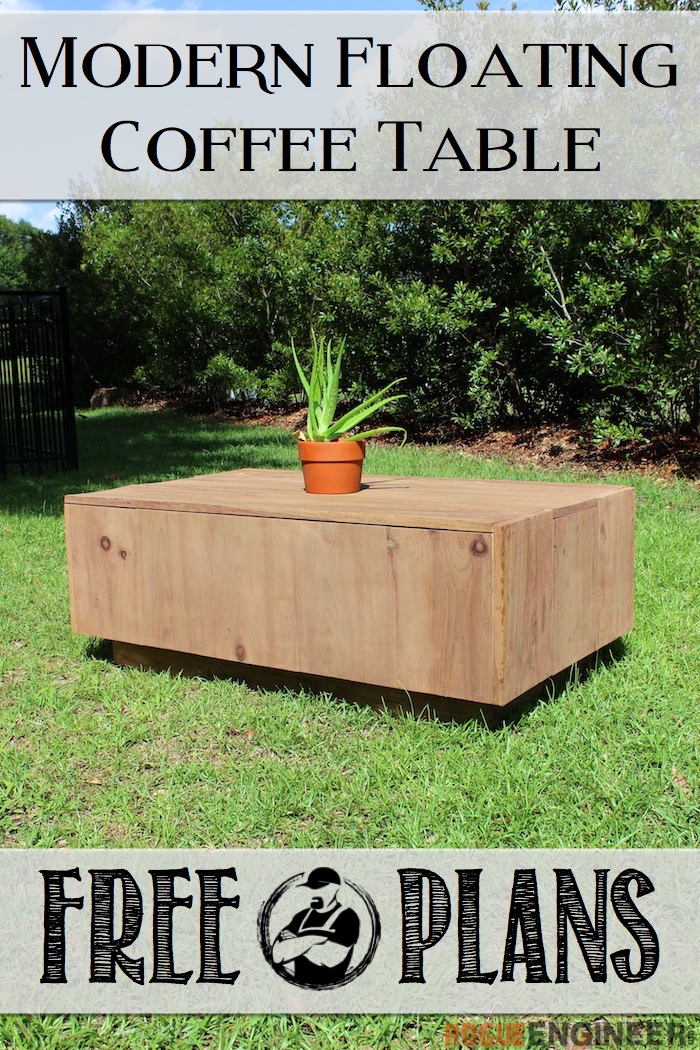
Modern Floating Coffee Table
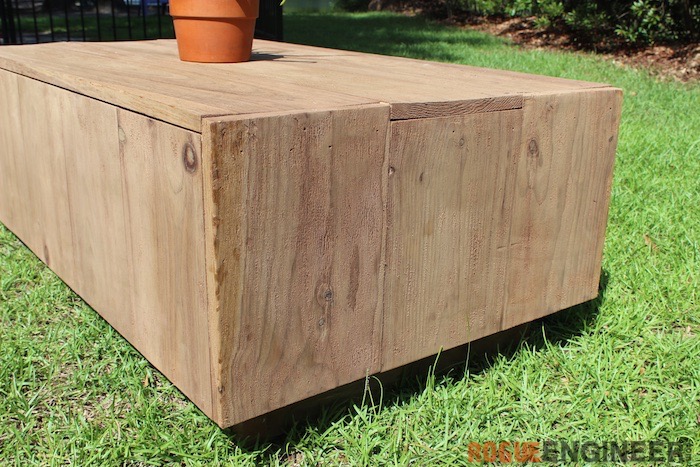
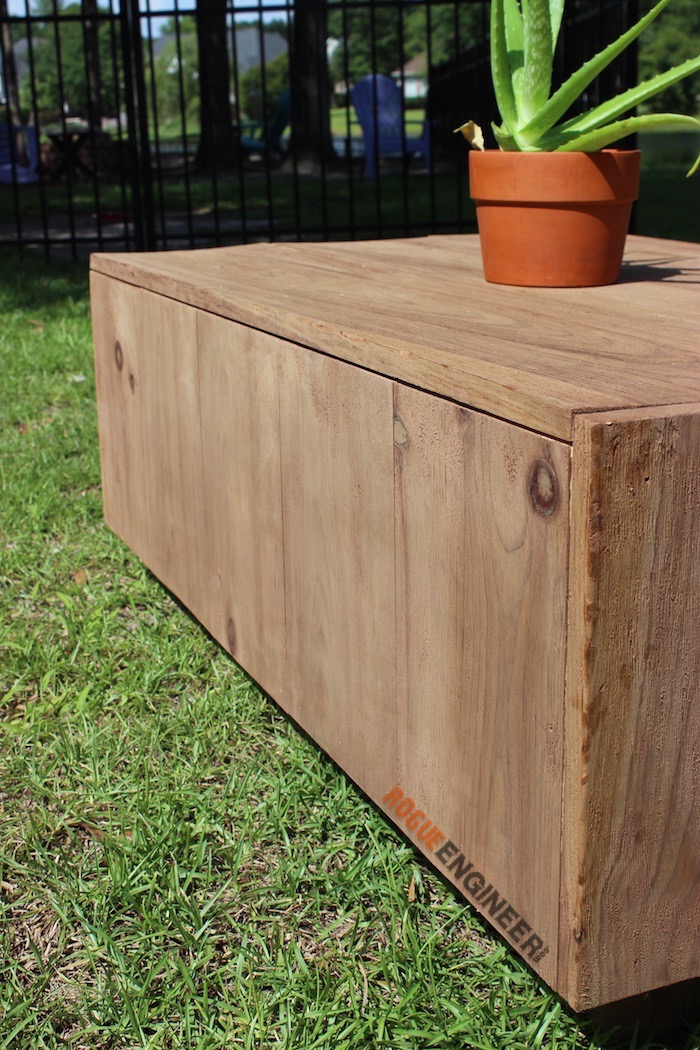
This floating coffee table would be a great addition to any living room. The style of this coffee table leans toward modern with its clean lines and the illusion that it’s floating in mid air but the use of reclaimed wood (or faux reclaimed wood) makes this coffee table blend nicely with any style.
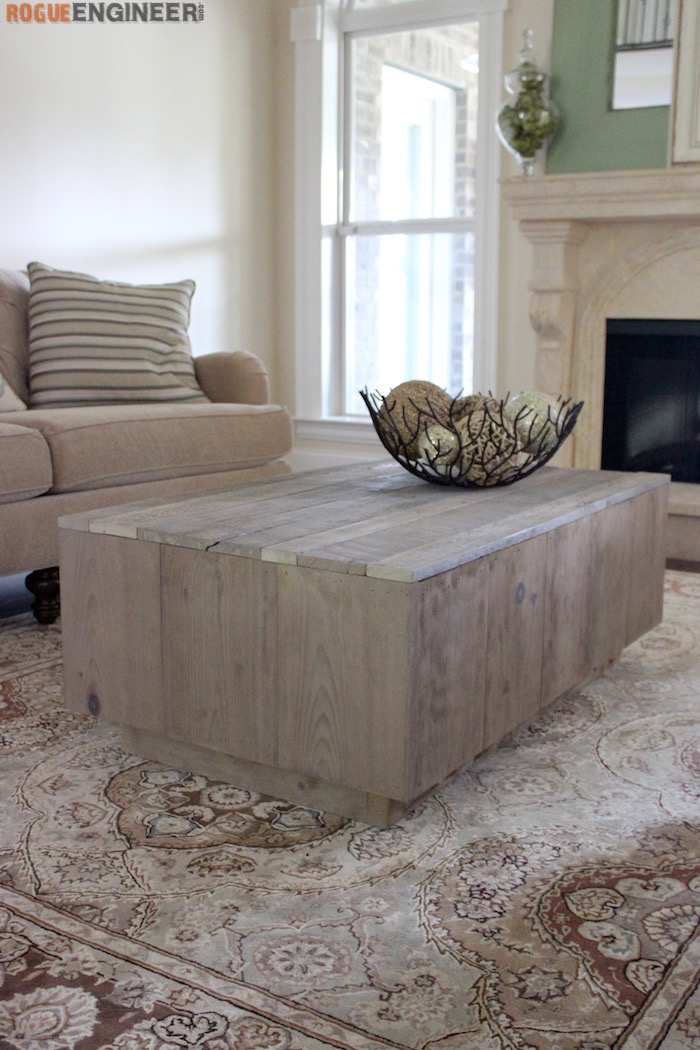
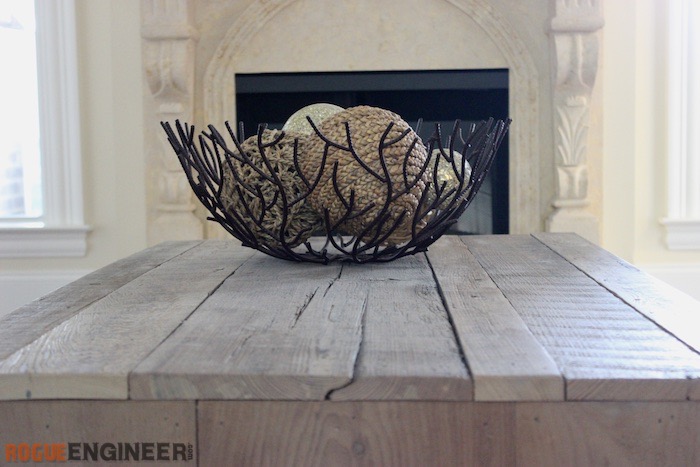
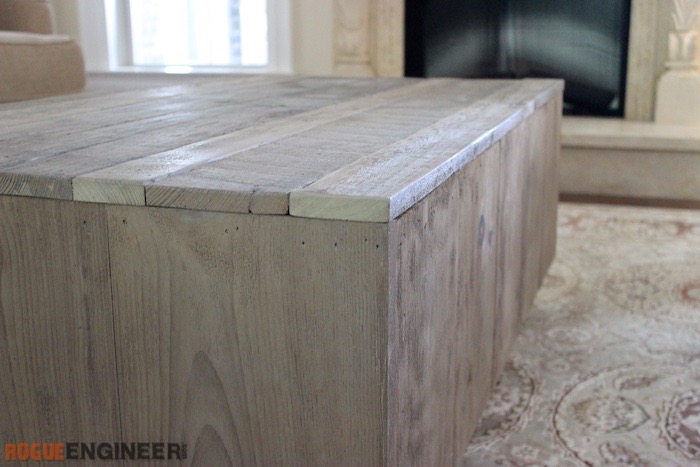
I ran into a little problem though. The 3 boards on the top started to cup and it really frustrated me. So what I end up doing was taking those off and replacing them with actual reclaimed wood. I’m very happy with how it turned out but wanted to include photos of the coffee table before I did that since that is what this design is based on. Scroll through to see how this table came together and the changes I had to make.
For sneak peeks of our upcoming projects be sure to follow me on Facebook and Instagram. Also, follow me on Pinterest to get tons of projects plans from all around the web!
Required Tools
Materials
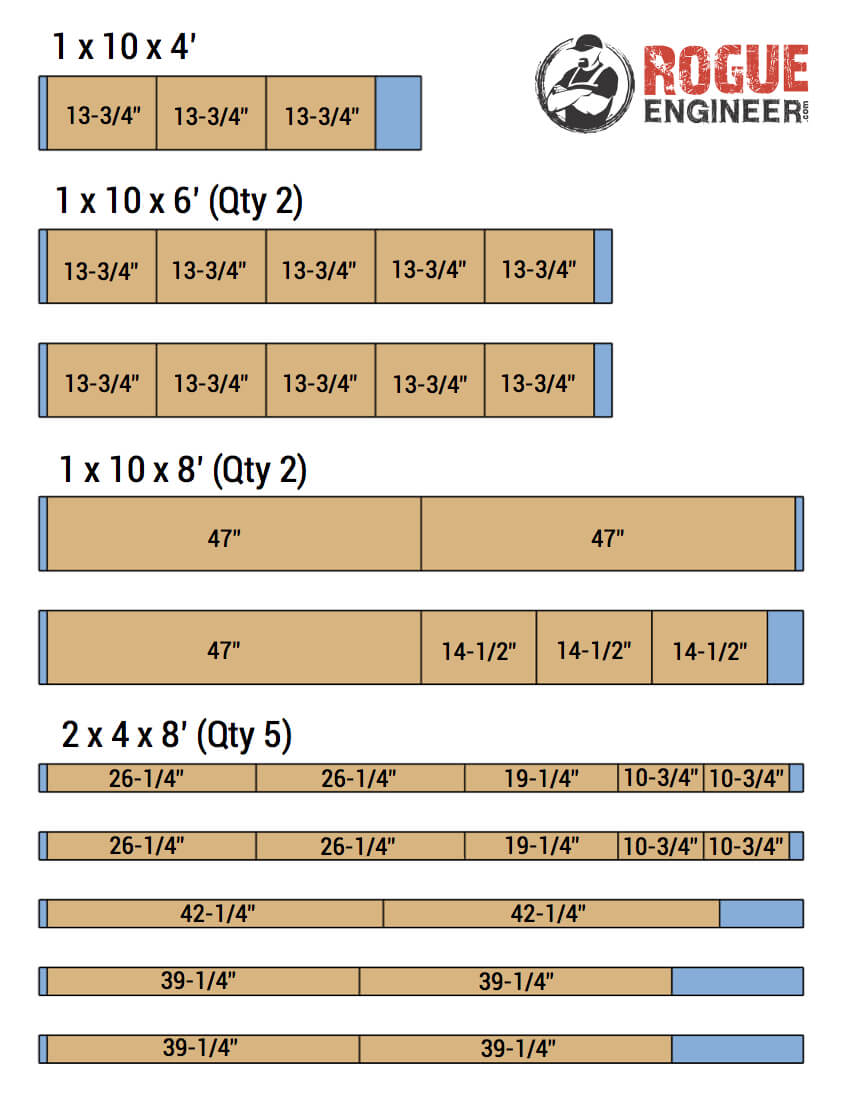
- 1x – 1 x 10 x 4′
- 2x – 1 x 10 x 6′
- 2x – 1 x 10 x 8′
- 2 x 4 x 96″ Premium Studs
- 2-1/2″ Kreg Pocket Hole Screws (Coarse)
- 1-1/4″ Brad Nails
- 2-1/2″ Wood Screws
- Wood Glue
Disclosure: The links provided in the “materials” and “required tools” sections are affiliate links. If you would like to support our site and help keep our content free come find out more about how we can make money with no extra cost to you.
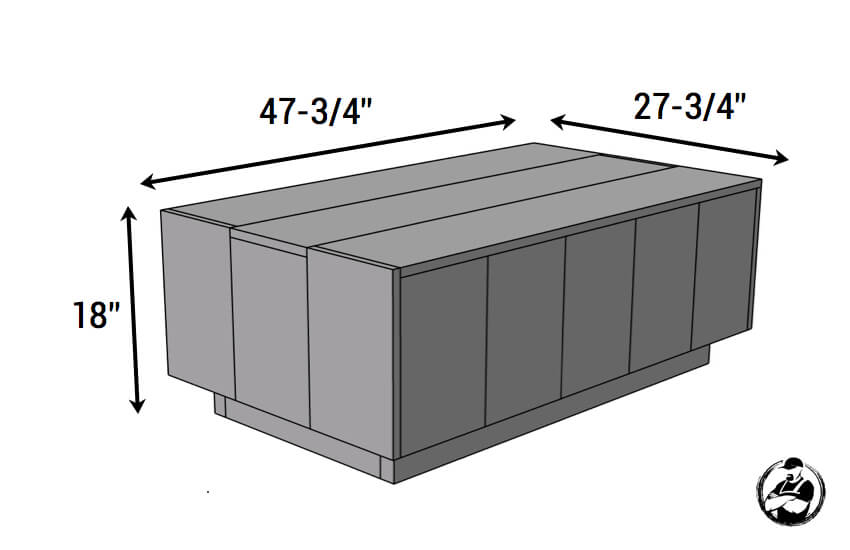
Dimensions
Cut List
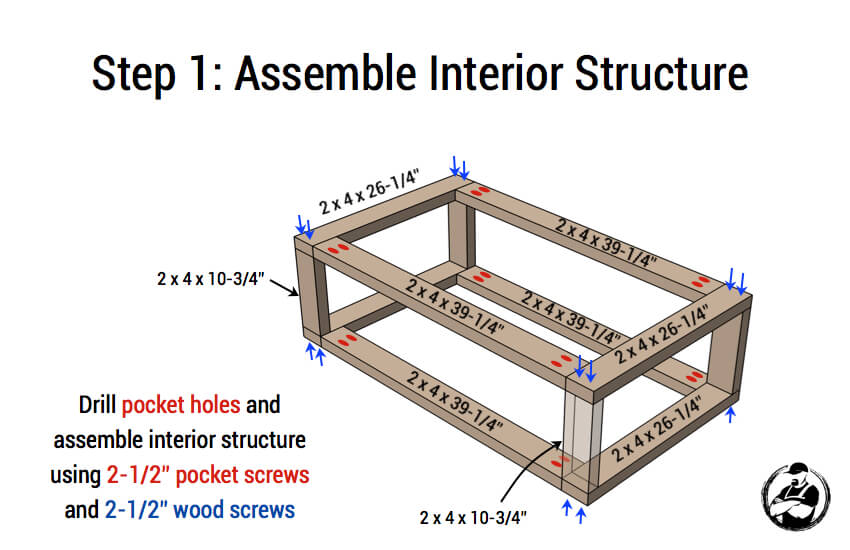
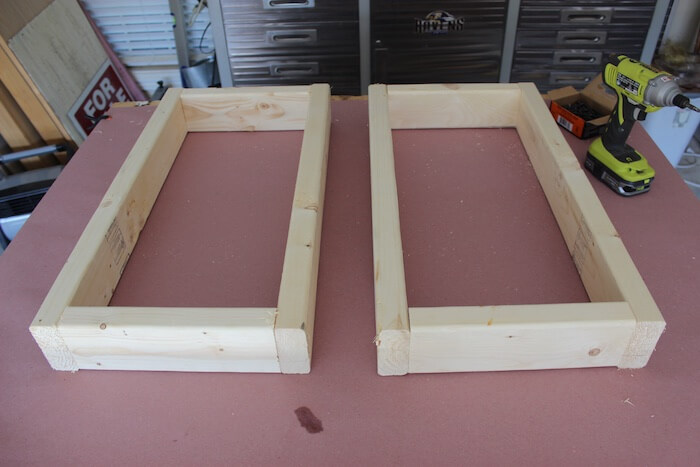
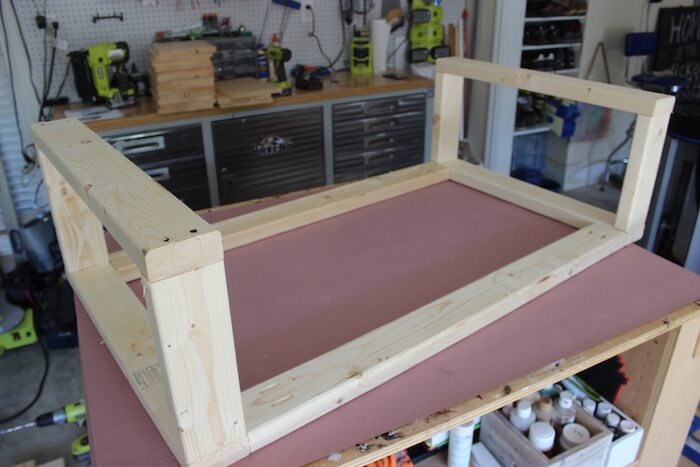
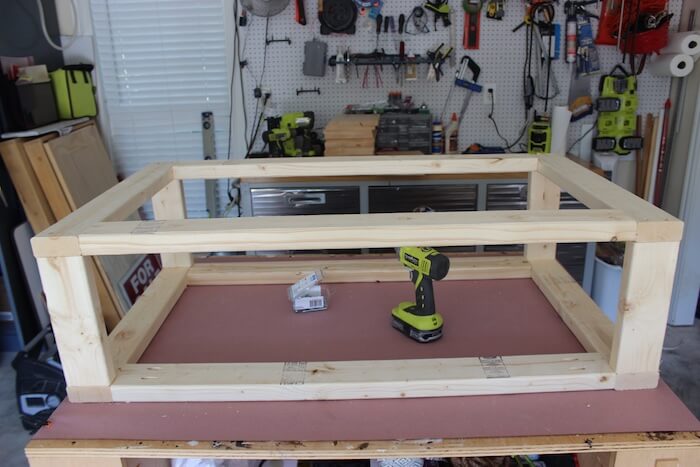
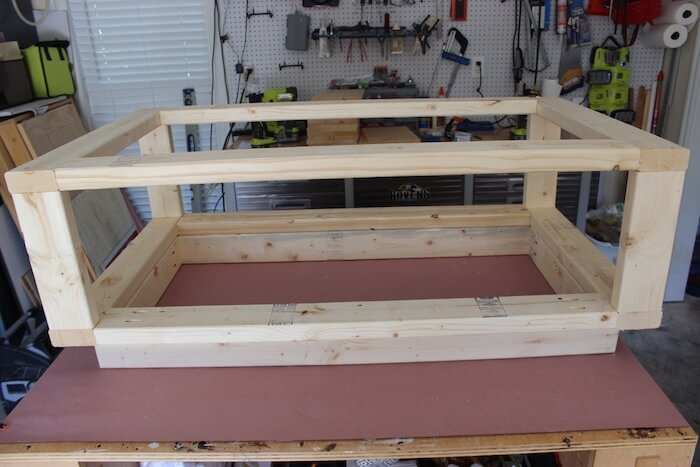
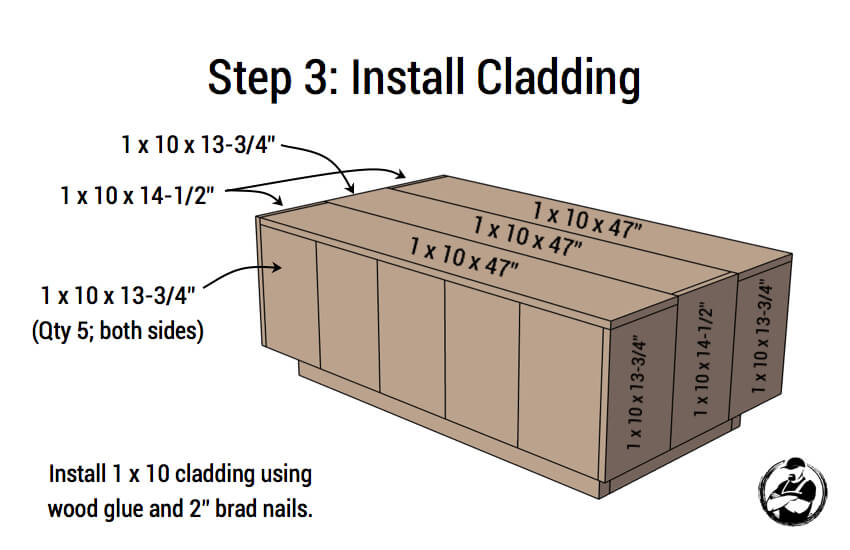
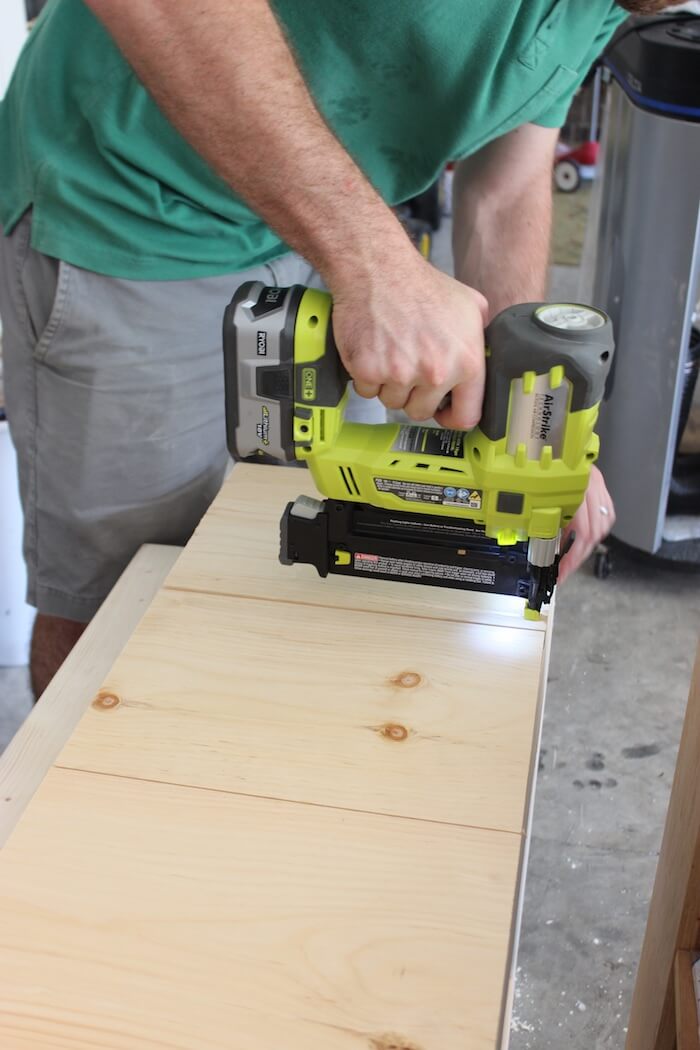
How to build a Modern Floating Coffee Table
These free and easy DIY plans will walk you through, step by step, exactly how to build a modern floating coffee table with reclaimed wood (or faux reclaimed wood). No woodworking experience required.


Finishing
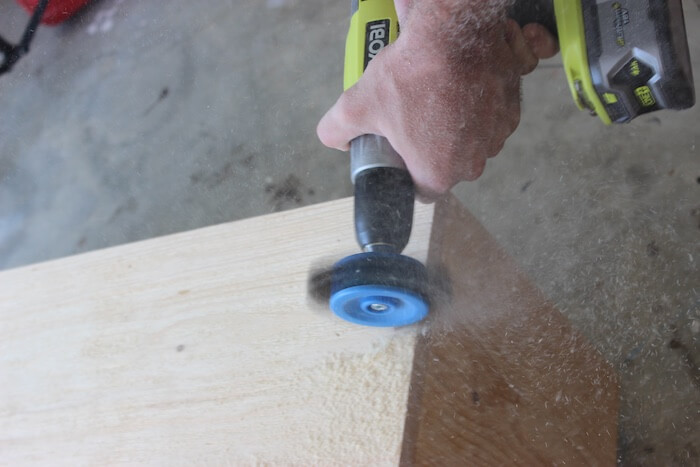
Even though this was stock lumber we really wanted this to look like reclaimed lumber. We mixed steel wool and vinegar (just enough to cover the steel wool) and let it sit for two days. This creates a rusty solution that will give the wood that aged look. Then we used a 4 in. Drill Mount Quick-Strip Wire Brush to strip away all the soft wood which raises the grain to create a more three dimensional, weathered finish. After that we lightly sanded and applied the steel wool vinegar mix to all the 1×10 cladding.
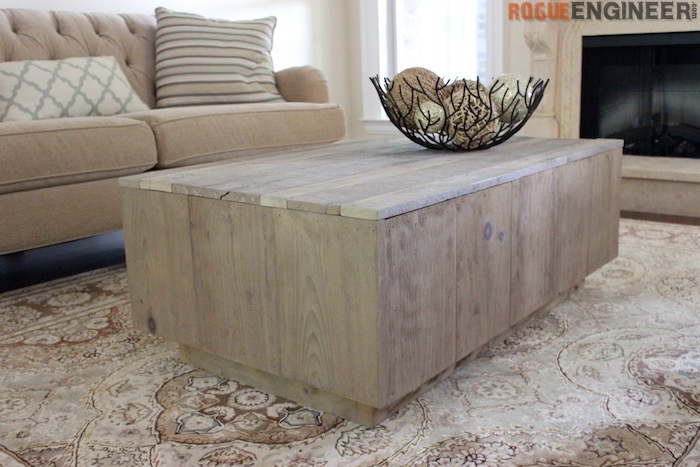
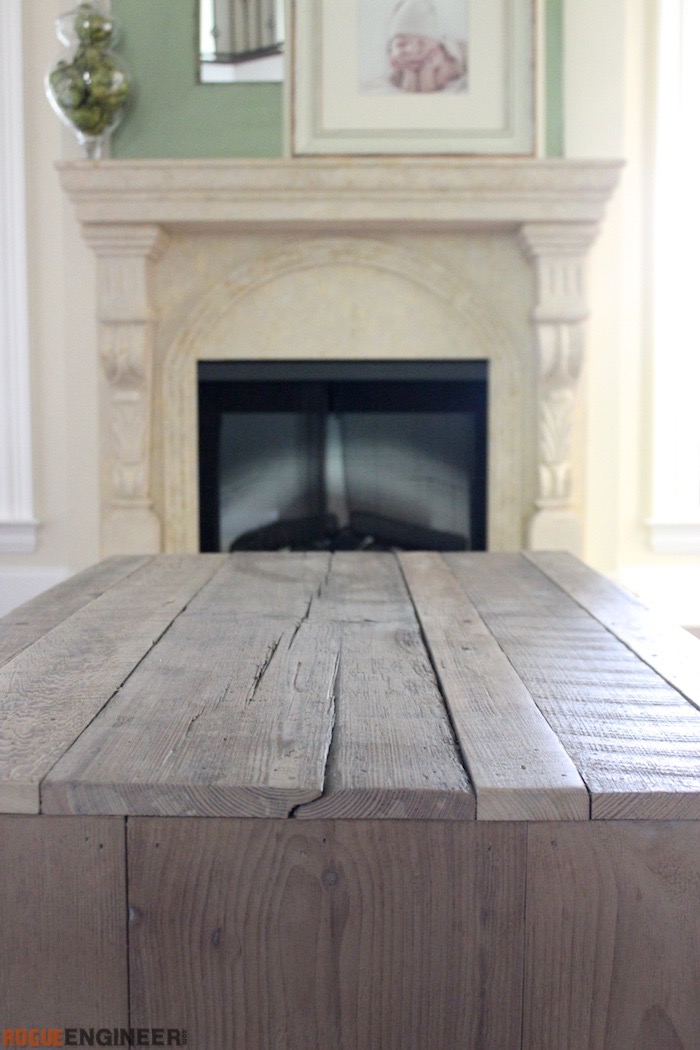
The problem is, that we applied a lot to the top…. and then left it out in the sun.. in Gerogia.. in the middle of summer. Sure enough, the top 3 boards started to cup like crazy. If you look closely in the pictures at the beginning of this post you’ll notice. I included these pictures because that was how the design was supposed to go. After much frustration I pulled them off and cut the longer side boards down 3/4″ and laid actual reclaimed wood down for the top. I love how it turned out!
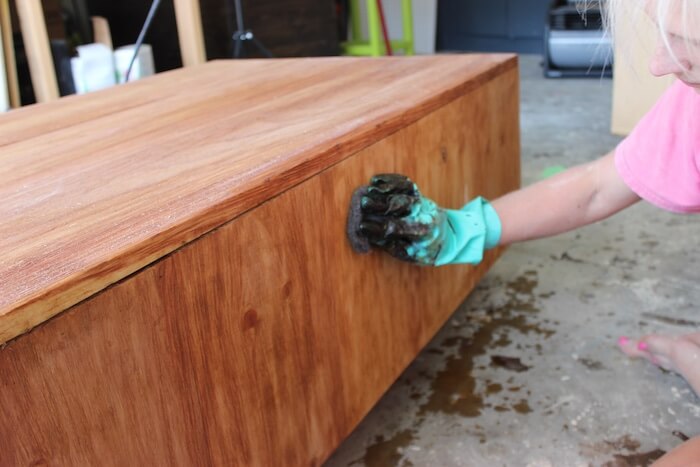
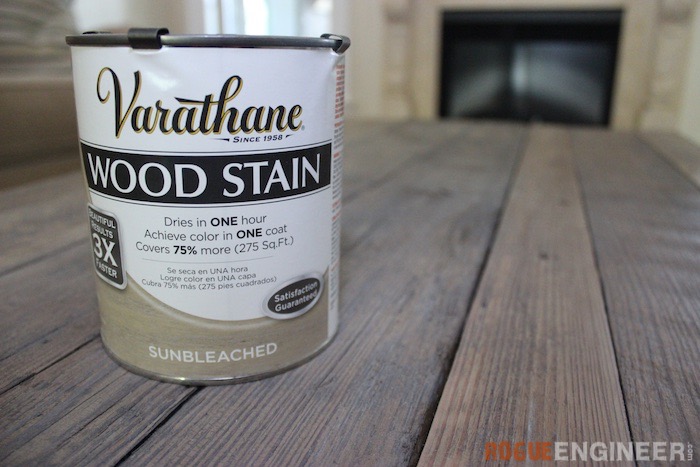
To give it a cohesive look we stained the entire table using sunbleached wood stain from Varathane. This brought the colors of the new wood and old wood together and looks amazing! Thank you Rustoleum/Varathane for saving the day!
Disclosure: This post was sponsored by Rustoleum. While I received compensation for including their products I was going to anyway (but don’t tell them that ;)) and all the opinions are mine.
Questions? Comments?
As always, if you have any questions don’t hesitate to comment below and especially don’t forget to post pictures of your finished products in the comments! ENJOY!
Did you do anything to the stain? I find mine is looking much more blue than yours. Wondering if I need a different top coat maybe?
We aged the wood prior to staining using a steel wool and vinegar mixture.
Finished sanding the oak top today. I am attempting to make a hinged top to allow for storage in the coffee table. I then started “weathering” the 1×10 sides. Unfortunately it appears the 1×10 sides will over hang by too much on the long sides. 🤔 Also have to combat the unevenness of the sides not sitting flat on the 2×4 frame. 🤔🤔 This is my first project so I am treating it like a big puzzle! Any tips are much appreciated! The design and instructions are great! But now I am spending too much on tools! Time to buy a Ridgid table saw through your link! Thanks for the idea and excellent plans!
https://uploads.disquscdn.com/images/6f36a1f32612fe4b921a657b3c5fd30ef92f238a0a107b9d78a6e8618b1d8426.jpg