DIY Modern Outdoor Bench: 4 Boards, Under $50
Quick build: You can build this modern outdoor bench from three 2x8x8 boards and one 2x4x8, for about $50 all in, using two power tools: a circular saw and a drill/driver. It finishes at 55″ wide with a 48″ seat and back. Every cut is a crosscut or a straight rip you can guide with a speed square, and a beginner can knock it out in a day. Documented by Jamison Rantz, August 2026.
Most outdoor benches are either fussy to build or they look like a board on four legs. I wanted the third option. Something with actual lines to it, angled legs, a floating slat seat, arms wide enough to set a coffee on, that still comes out of the cheapest rack at the lumberyard.
This is that bench. Three 2x8s and one 2×4. That’s the whole material list, and with screws and glue it lands right around $50.
No jigsaw, no router, no joinery to learn. The only specialty tool is a pocket-hole jig, and it comes out for exactly one joint. Two power tools do the rest.
The trick is in the cut list. Two of the 2x8s give up the four 48″ slats that become the seat and the back. The third 2×8 hands over both back legs and both front legs. That single 2×4 covers every arm and every support on the bench. Four boards in, one bench out, almost nothing in the offcut pile.
I think we nailed it.
What it costs to build
Lumber prices swing by region and by season, so I am not going to pretend I know what a 2×8 rings up for in your zip code. Here is the honest version: the complete material list, and what it came to for me.
| What you need | Quantity | Notes |
|---|---|---|
| 2x8x8 pressure-treated | 3 | Two become the four 48″ slats. The third yields all four legs. |
| 2x4x8 pressure-treated | 1 | Every arm rest, back support, and arm support |
| 2-1/2″ exterior wood screws | ~40 | Must be rated for treated lumber |
| 2-1/2″ Kreg XL pocket screws | ~8 | Back-support joint, and optionally the front-leg joint |
| Exterior wood glue | 1 bottle | |
| Exterior finish | optional | Not required on treated lumber |
| Total | About $50 all in |
That is the whole thing. The one optional add is a cushion. I sized the seat around a standard 48″ x 16″ outdoor cushion, so one drops straight in if you want it. There is a small change to make first, and it is down in the FAQ.
Tools and materials
Nothing exotic here. If you own a circular saw and a drill, you are most of the way there.
On the Kreg XL: I used the XL jig for one joint, where the back support meets the back leg. The XL screws are much beefier, closer to a lag screw, and that joint carries the whole back of the bench. Could you get away with a standard pocket-hole jig? Probably. I wanted the extra security there, and it is a nice tool to own.
On lumber: pressure-treated is what I built with and what I would recommend. It is weather-ready straight off the rack and it is the cheapest thing that survives outdoors. Whitewood and SPF are cheaper still but you have to seal them. Cedar costs more, stays flatter, and looks better under a clear finish.
How to build the modern outdoor bench
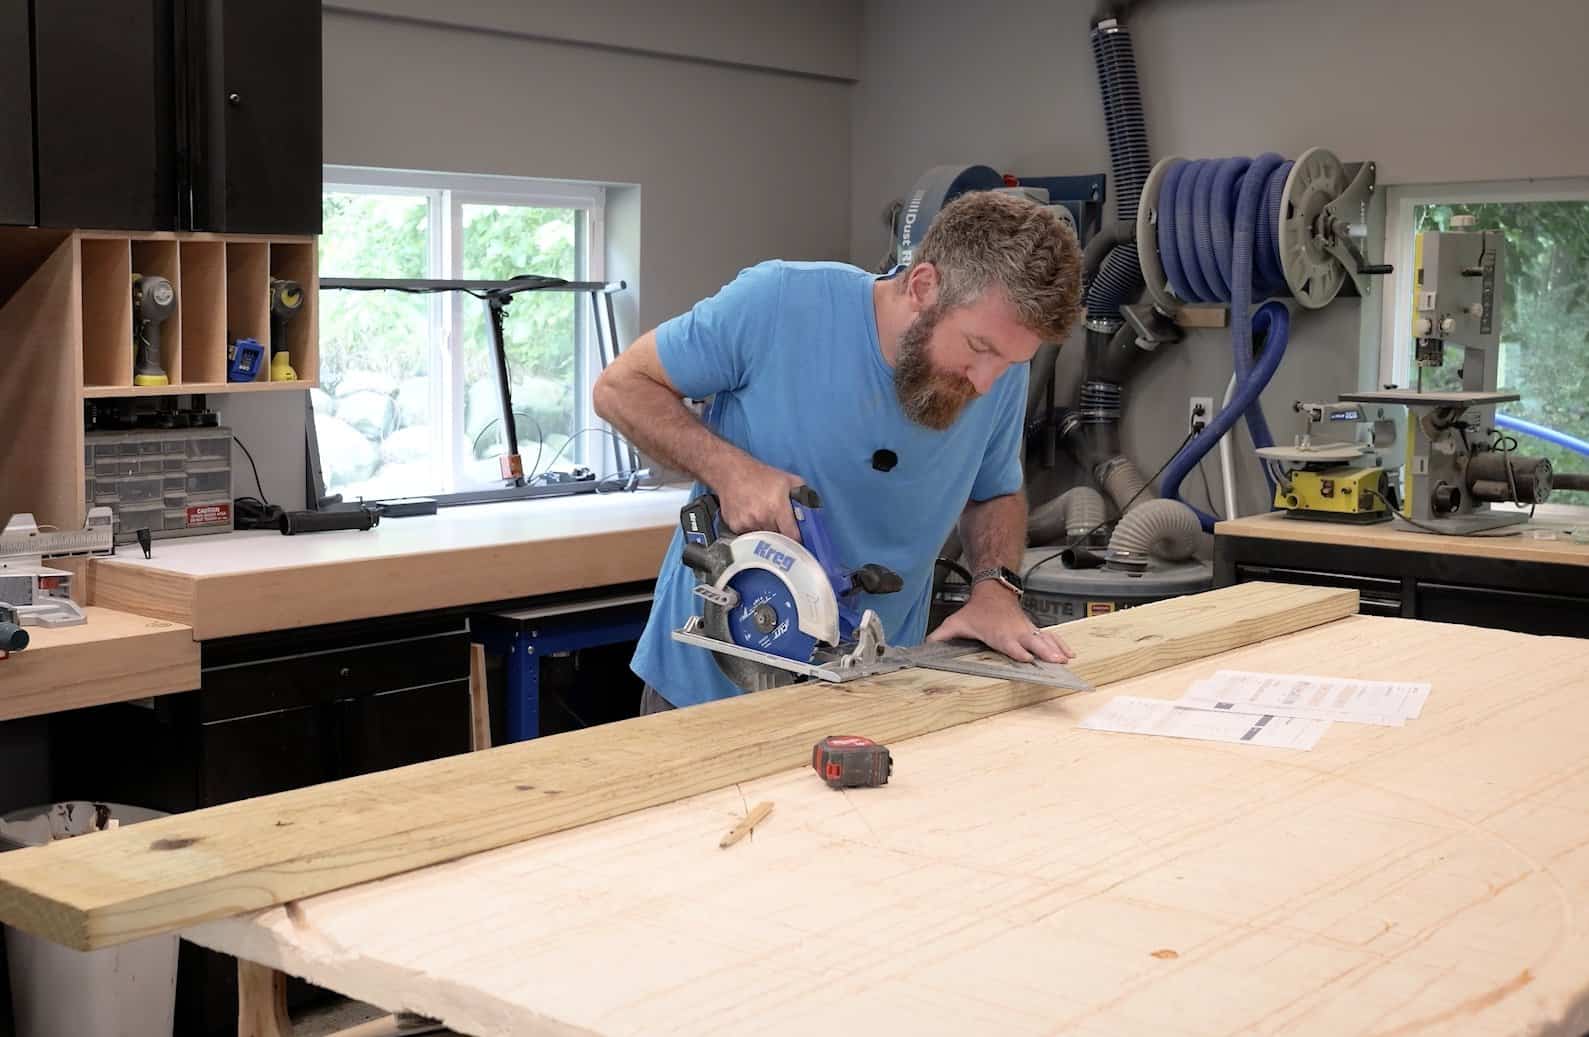
Before the first cut, lay a sheet of rigid foam insulation on your work surface. Mine is about an inch and a half thick and I have had the same sheet for at least five years. Set your circular saw depth so the blade just kisses the foam and lock it in.
The foam fully supports the board. No tipping, no pinching, no sawhorse dance. And it is a sacrificial surface you can cut into forever.
Start here: cut the four slats
This one is not a numbered step in the plan, it lives in the cut list, but it is the easiest place to start and it gets two whole boards off your pile.
Two of your 2x8s become the four 48″ slats. Here is the thing nobody tells you: most “8-foot” boards are not 96 inches. Mine measured 96-3/8″, which leaves plenty of room to pull two clean 48″ pieces out of one board.
Check yours before you commit. If a board is exactly 96″, or if the ends are chewed up and you want to trim them, shorten the slats a touch. Say 47-7/8″ instead of 48″. It makes no difference to the bench. What does matter is that all four slats end up exactly the same length. Cut one, then use it as a template for the rest.
For the cut itself, that big speed square earns its keep. Mark your line, then run the saw shoe against the square as a straight-edge guide.
Cut the back legs
The third 2×8 gives up all four legs, and the layout is what makes that possible. Read this one twice.
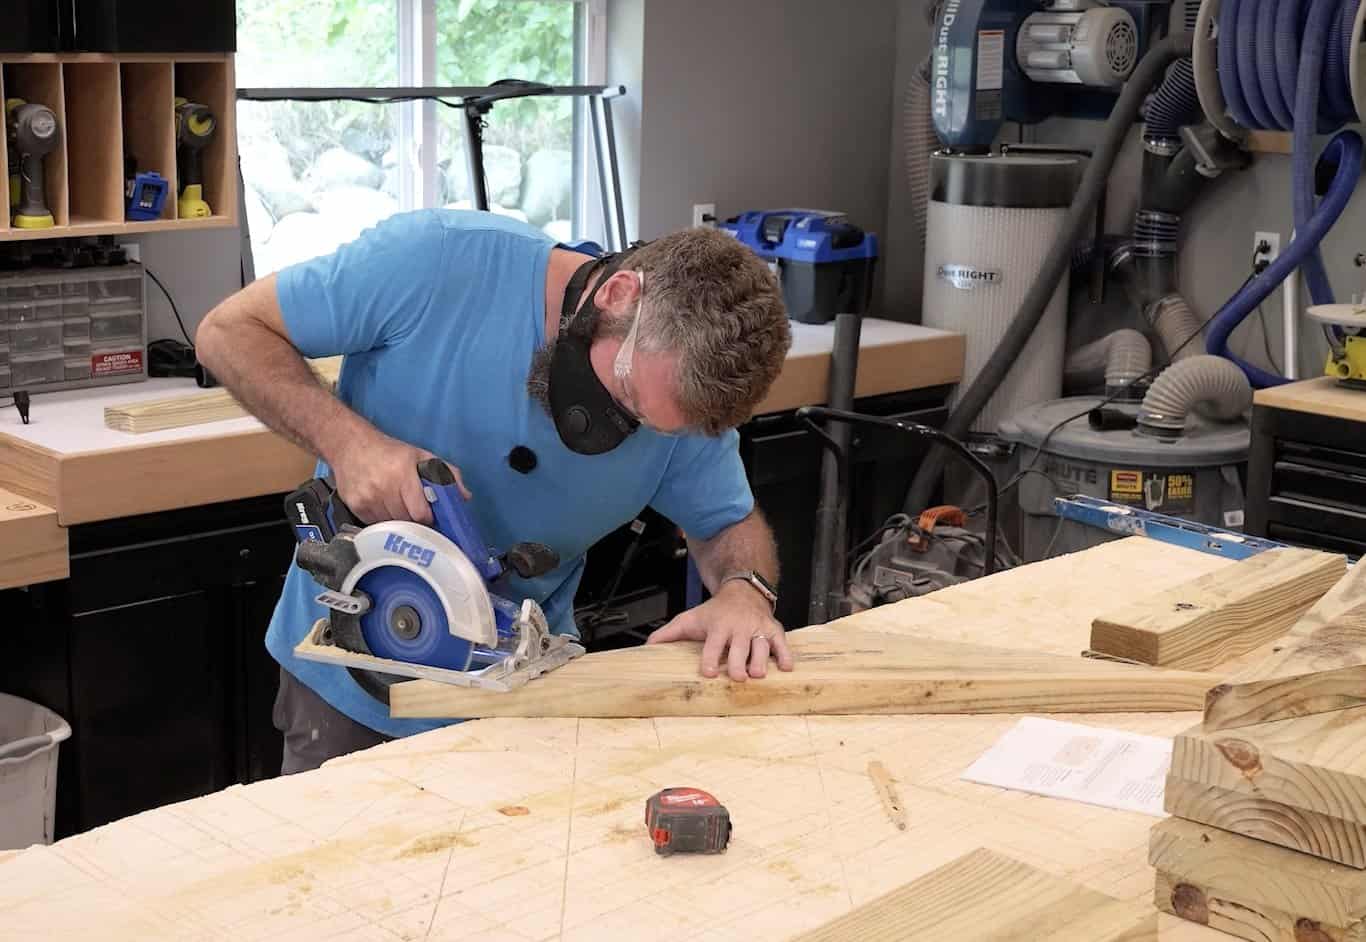
Working from one end of the board, lay out the leg profile: 37-3/4″ along the bottom edge, with marks at 15-1/2″ and 22-1/4″ across the top. Connect the points with a straight edge and cut the two long diagonals with your circular saw. You have just made a long, shallow trapezoid.
Now flip that piece over and use it as a template to mark its duplicate right next to it on the same board. The two profiles nest, one pointing up and one pointing down, so both back legs come out of a single stretch of board with almost nothing wasted.
Then trim the ends on each one. The back foot is 5-7/8″ along the bottom edge with a 3-1/2″ rise. The front point is 3-1/2″ along the bottom with a 3-1/4″ rise. That long shallow face left behind becomes your seat rail, and the tail behind it becomes the rear foot.
Cut the front legs
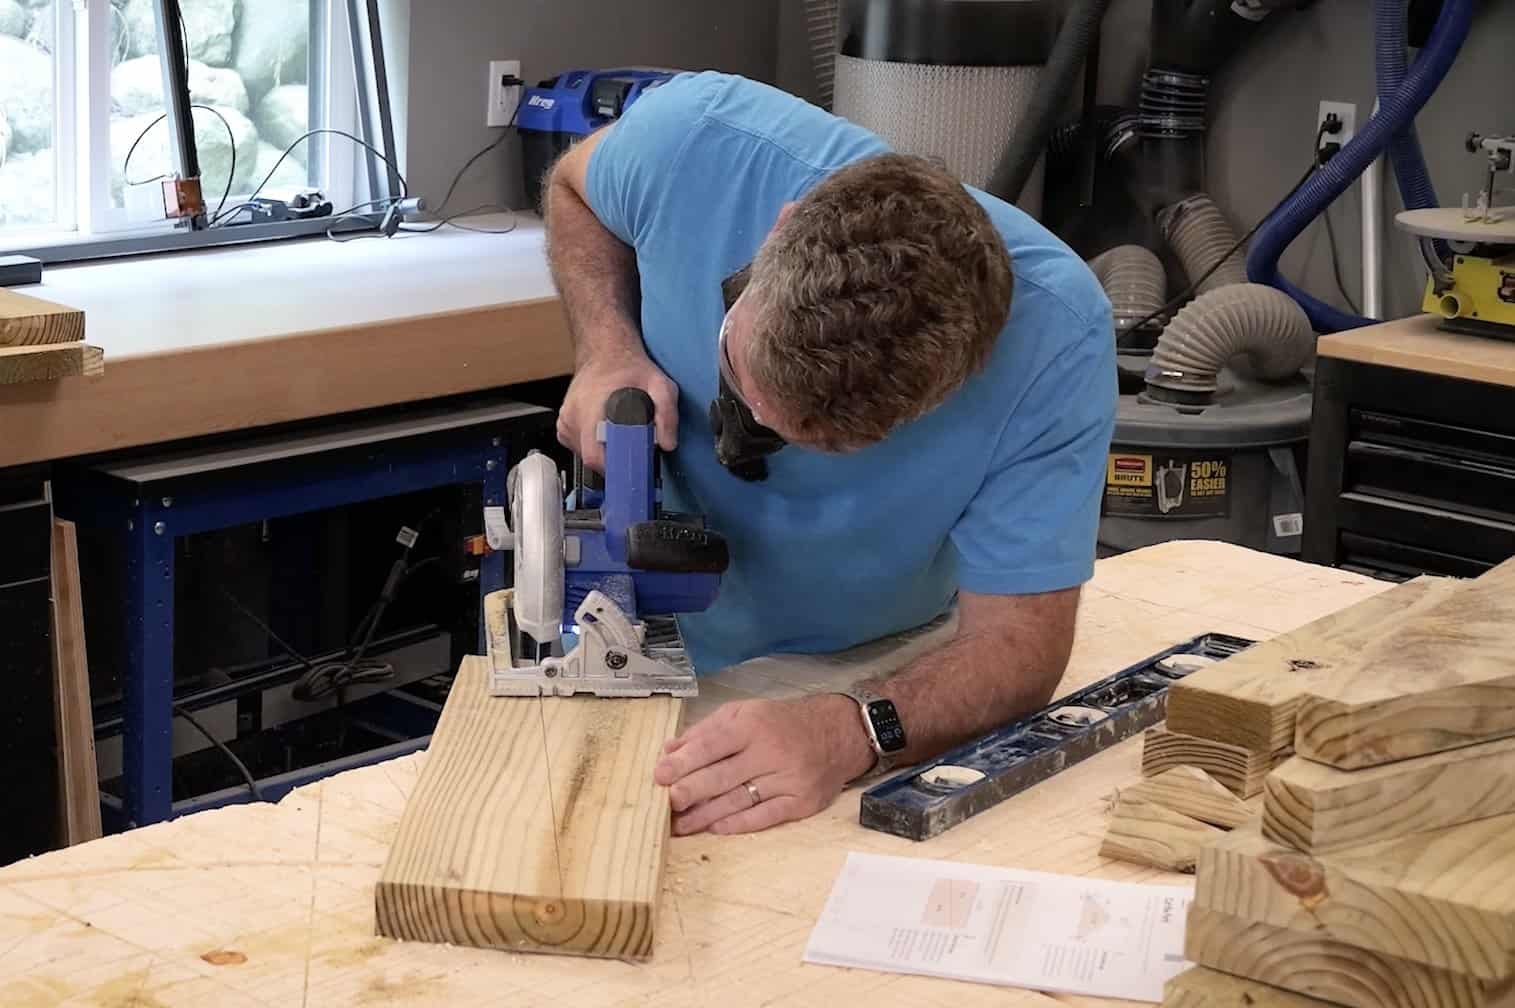
What is left of that board is a 22″ section with 5° ends, and it yields both front legs.
Mark 5″ up from the bottom at one end, 5″ down from the top at the other, connect the marks, and rip along that line against a clamped straight edge. The two halves are mirror images.
Cut the back supports and arm supports
Now the 2×4. The whole board breaks down into four pieces: two 20″ blanks (with a 15° angle on one end) and two 22-1/2″ blanks, with a short offcut left over.
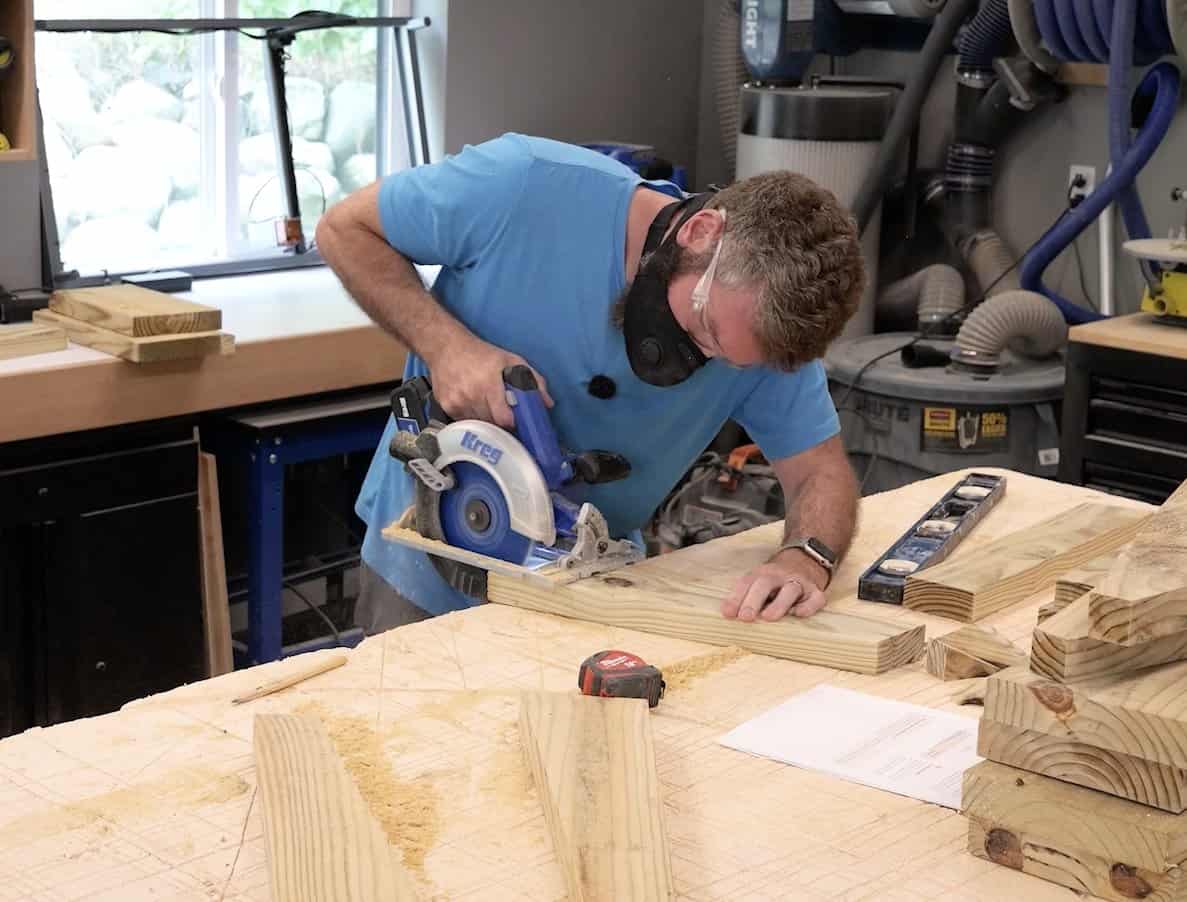
Start with the 20″ blanks. Mark 1-3/4″ up one end and 6-1/2″ along the bottom edge, then cut between the marks.
You get two parts out of one cut. The long tapered piece is the back support. That little triangle offcut is the arm support, so do not throw it away. You will need it in Step 9. Cut both blanks the same way, you need two of each.
If you are laying out angles without a miter saw, use the diagonal of your speed square. Pivot the square until the angle mark you want lines up with the edge of the board, then strike your line off the square.
Cut the arm rests
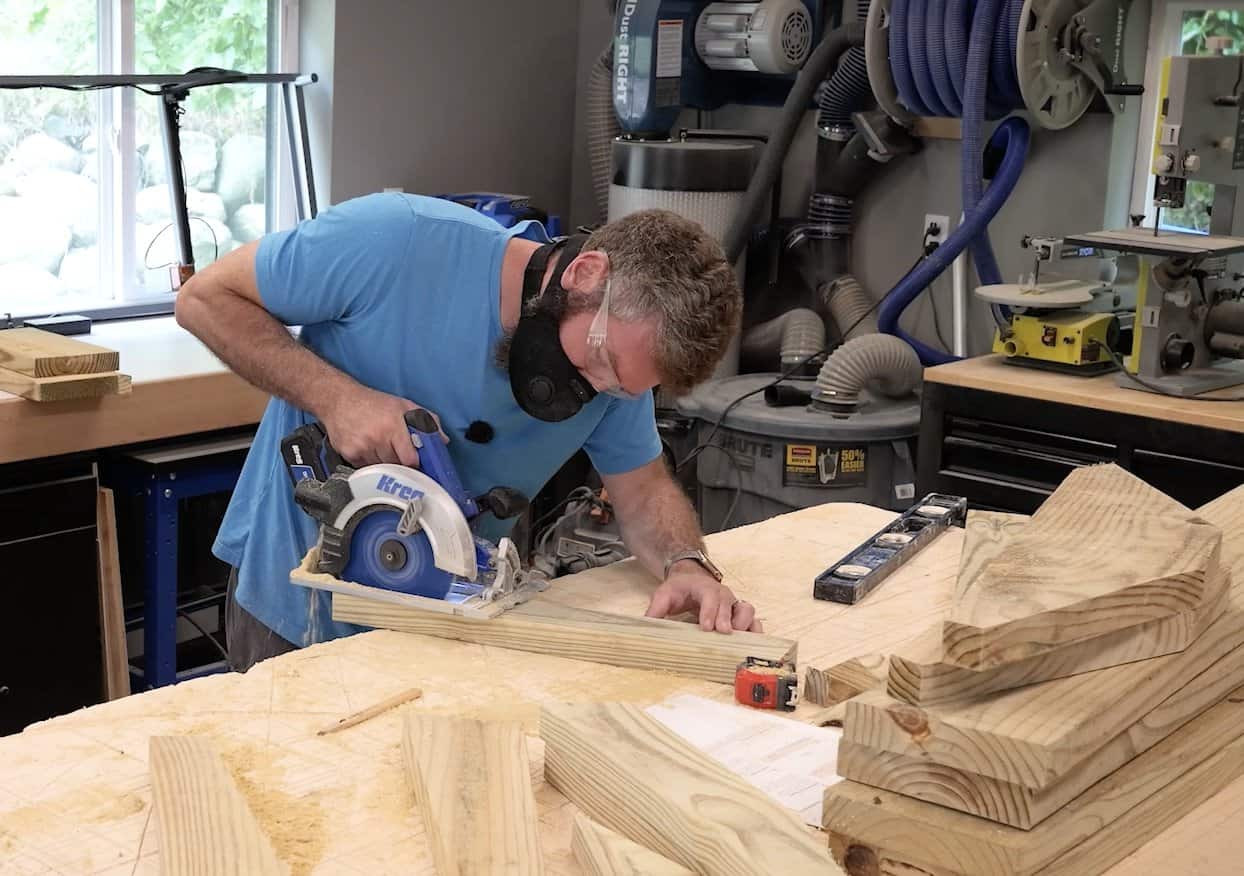
From two 2×4 x 22-1/2″ blanks, mark 15″ along the bottom edge and 1-1/2″ up the front end, then cut the shallow taper off.
That taper is purely cosmetic. It is also the difference between an arm rest and a plank. Cut both the same.
Join the back legs to the back supports
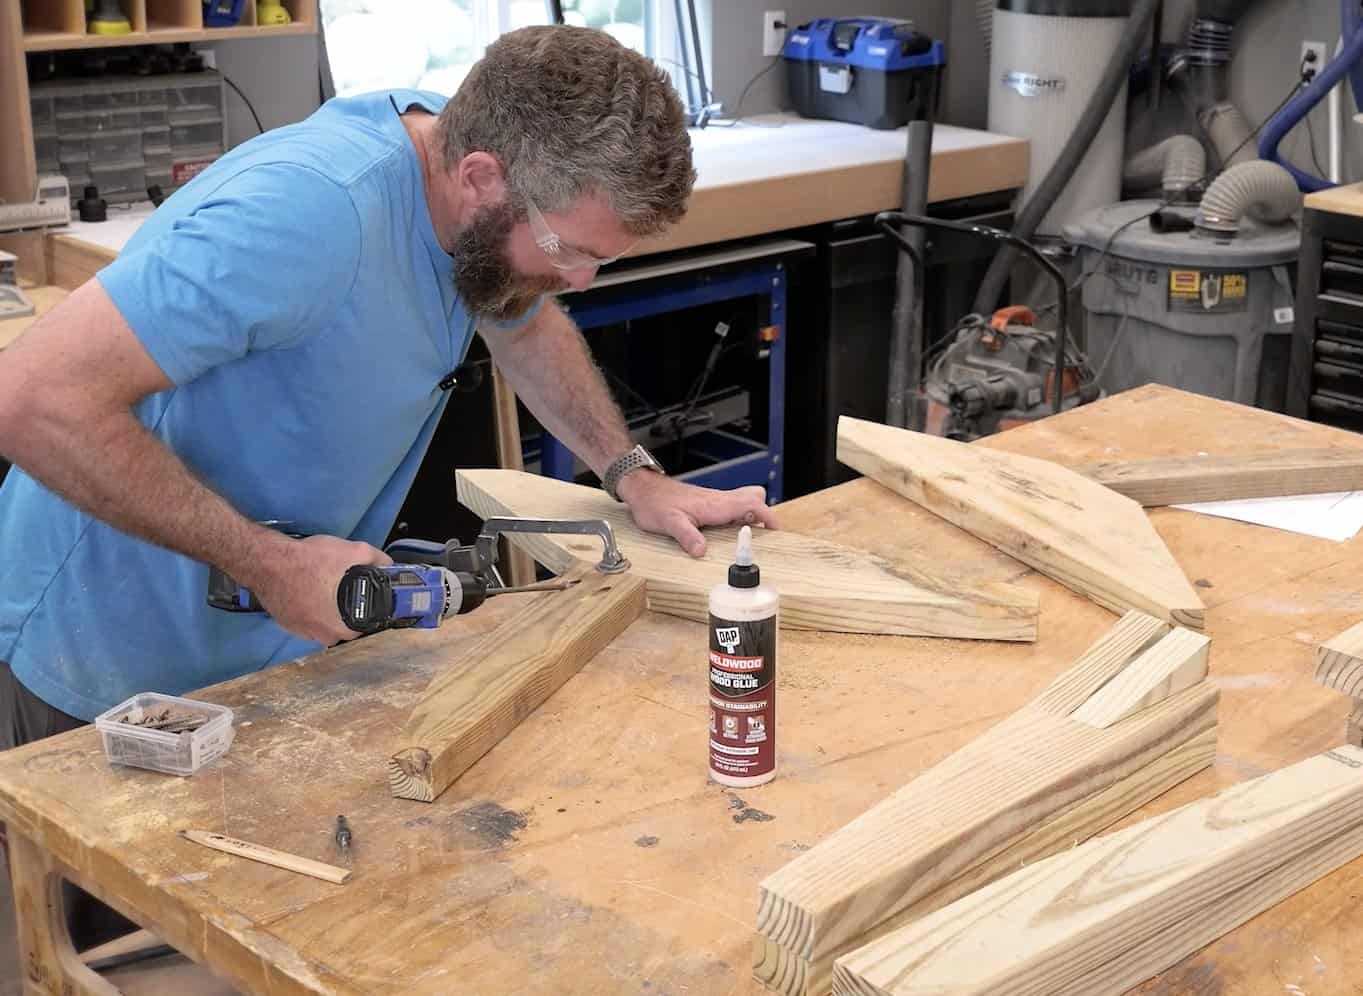
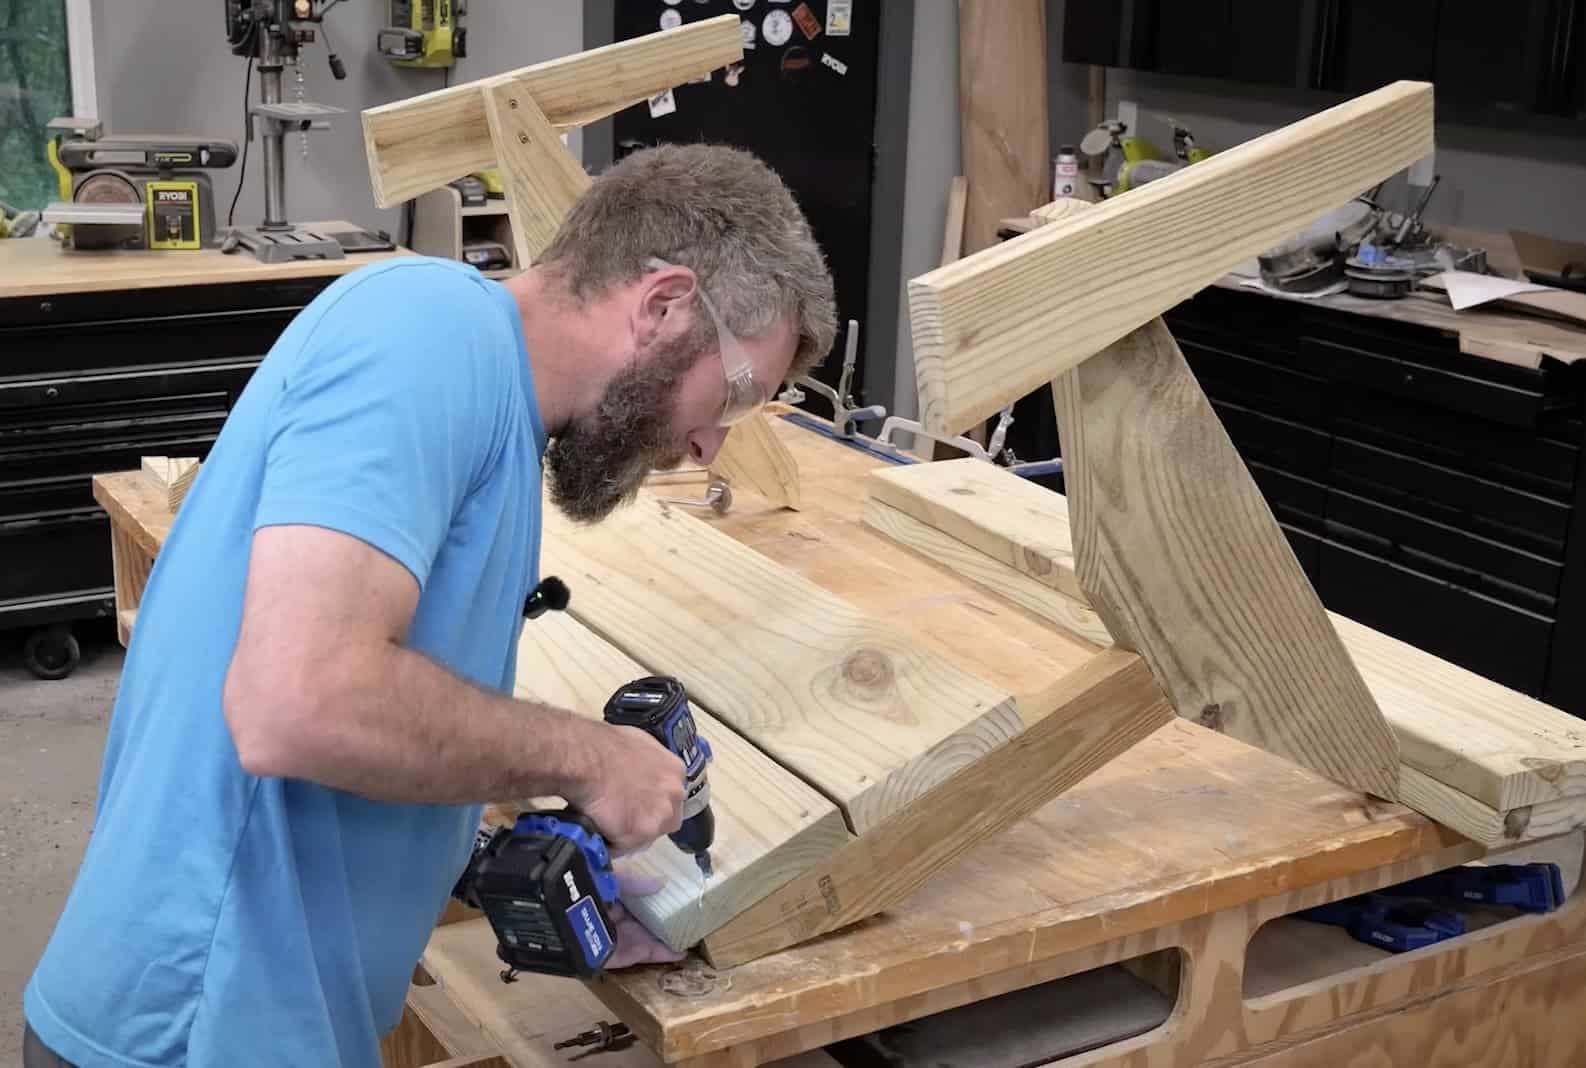
Drill two pocket holes in the bottom end of each back support, and put them on the inside face. I want this bench to look clean from the sides, and pocket holes on the outside would ruin that.
Stand the support on the back leg so the two cut points meet exactly. They butt against each other, they do not overlap. Get this wrong and the back angle changes, which means the slats will not sit flat later. Dry-fit it, clamp it, then glue and drive the Kreg XL screws.
Build the second assembly mirrored, with its pocket holes on the opposite face, so both sets end up hidden inside the finished bench.
Add the front legs
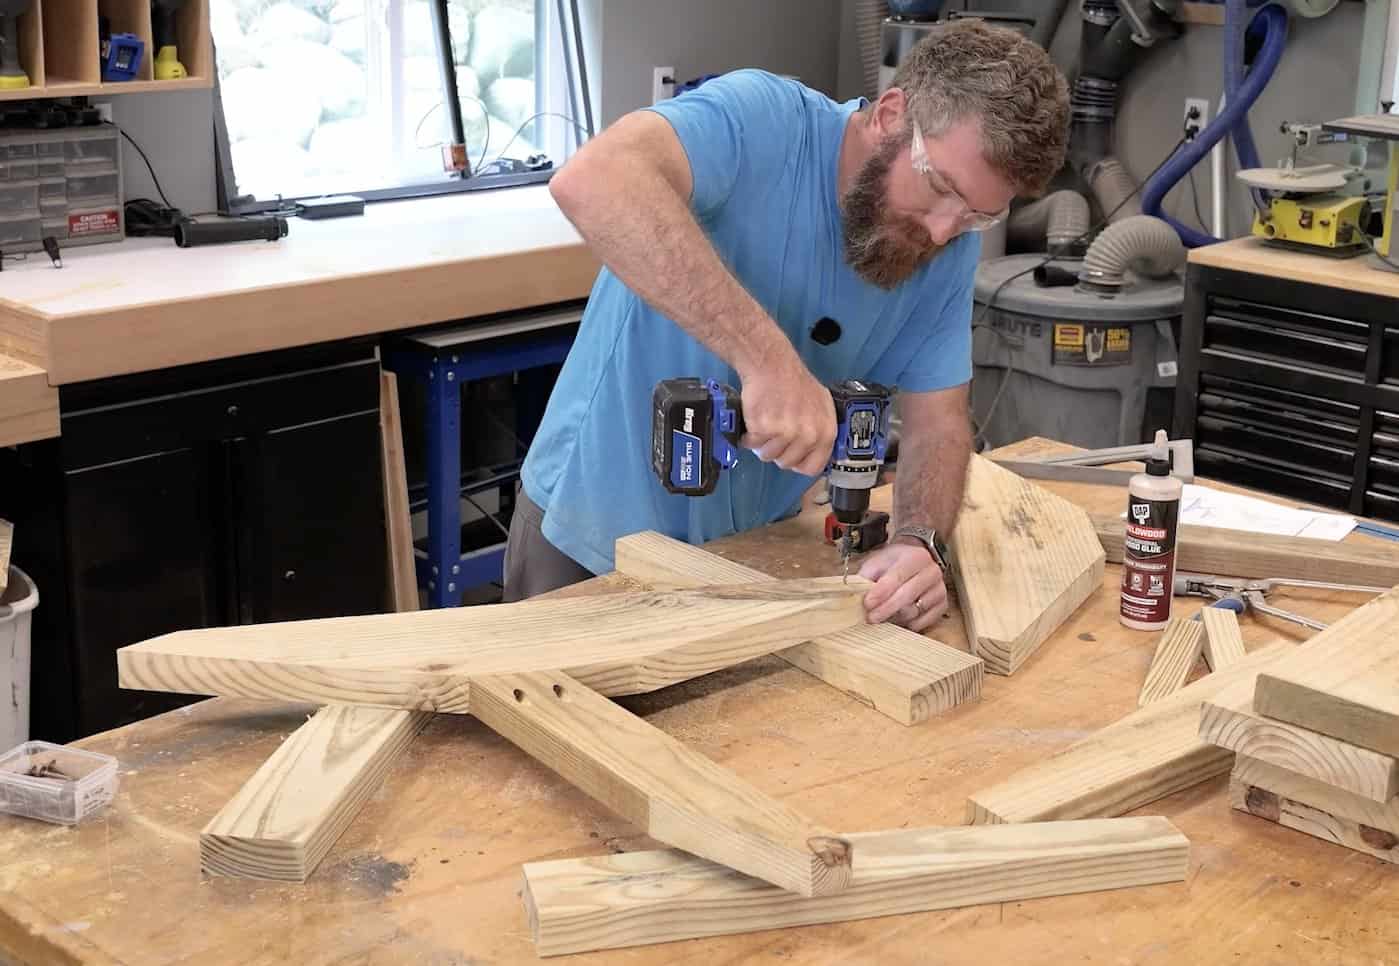
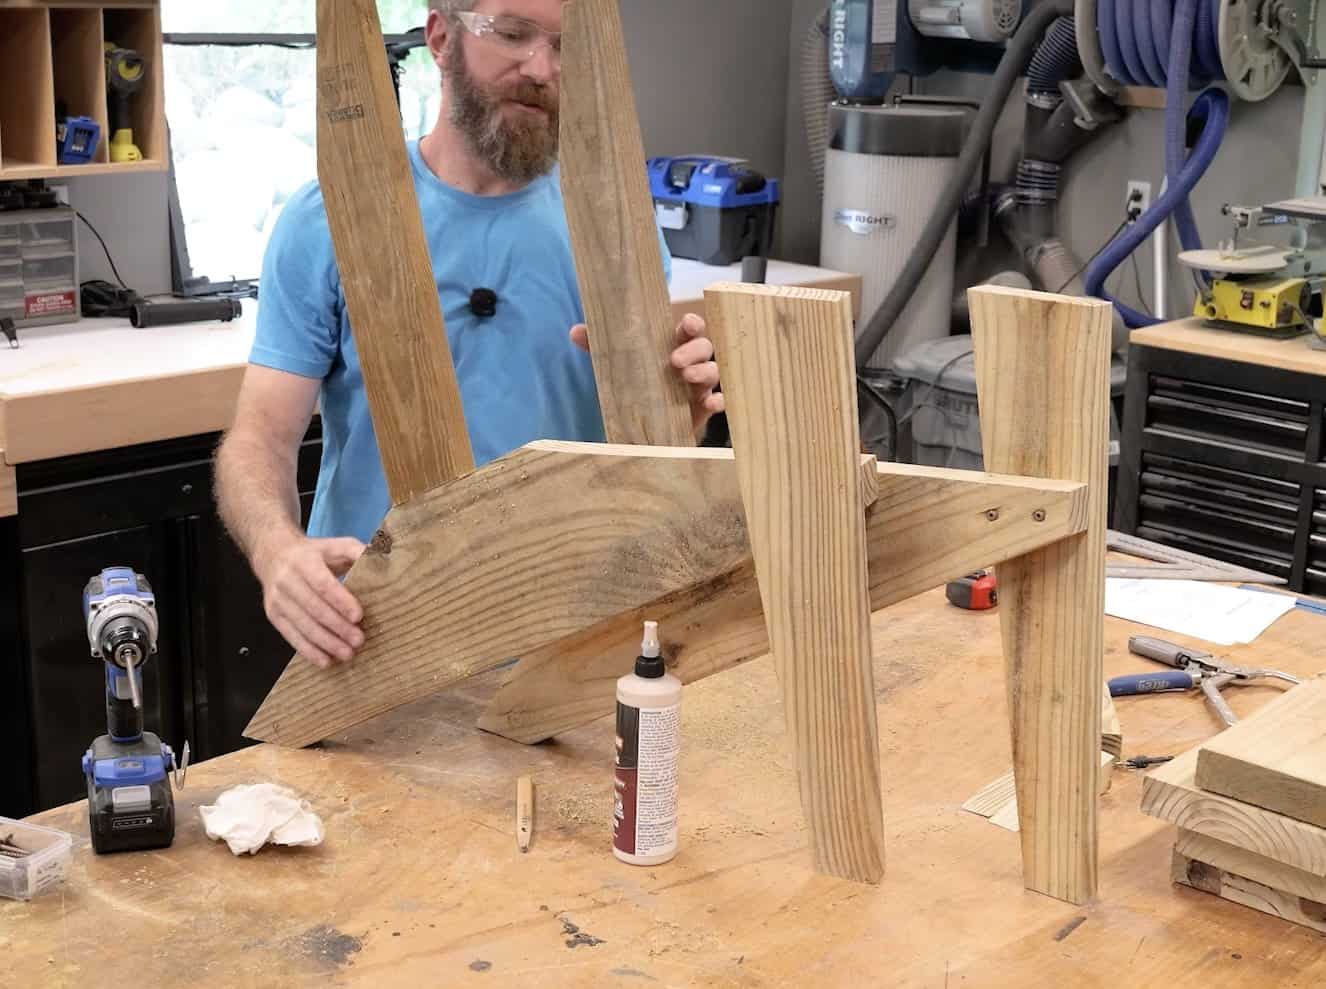
Measure up 14-1/4″ along the front face of the front leg and 12-3/8″ along the rear (tapered) edge. Strike a line between the two marks. That line is where the bottom of the back leg sits.
Glue it, pre-drill it, then fasten with 2-1/2″ exterior screws. Before you commit, lay a straight edge across both feet to make sure they land in the same plane. That is what keeps the finished bench from rocking. Then mirror everything for the second side.
Install the seat and back slats
Here is where I changed the order from how I first planned it. Do the slats before the arms.
Once the seat and back are on, the two side assemblies are tied together and the bench stands up on its own. Do the arms first and you are trying to balance two loose leg assemblies upright while you level an arm across them and drive screws. I had the arms queued up next and stopped when I pictured it. Slats first is just easier.
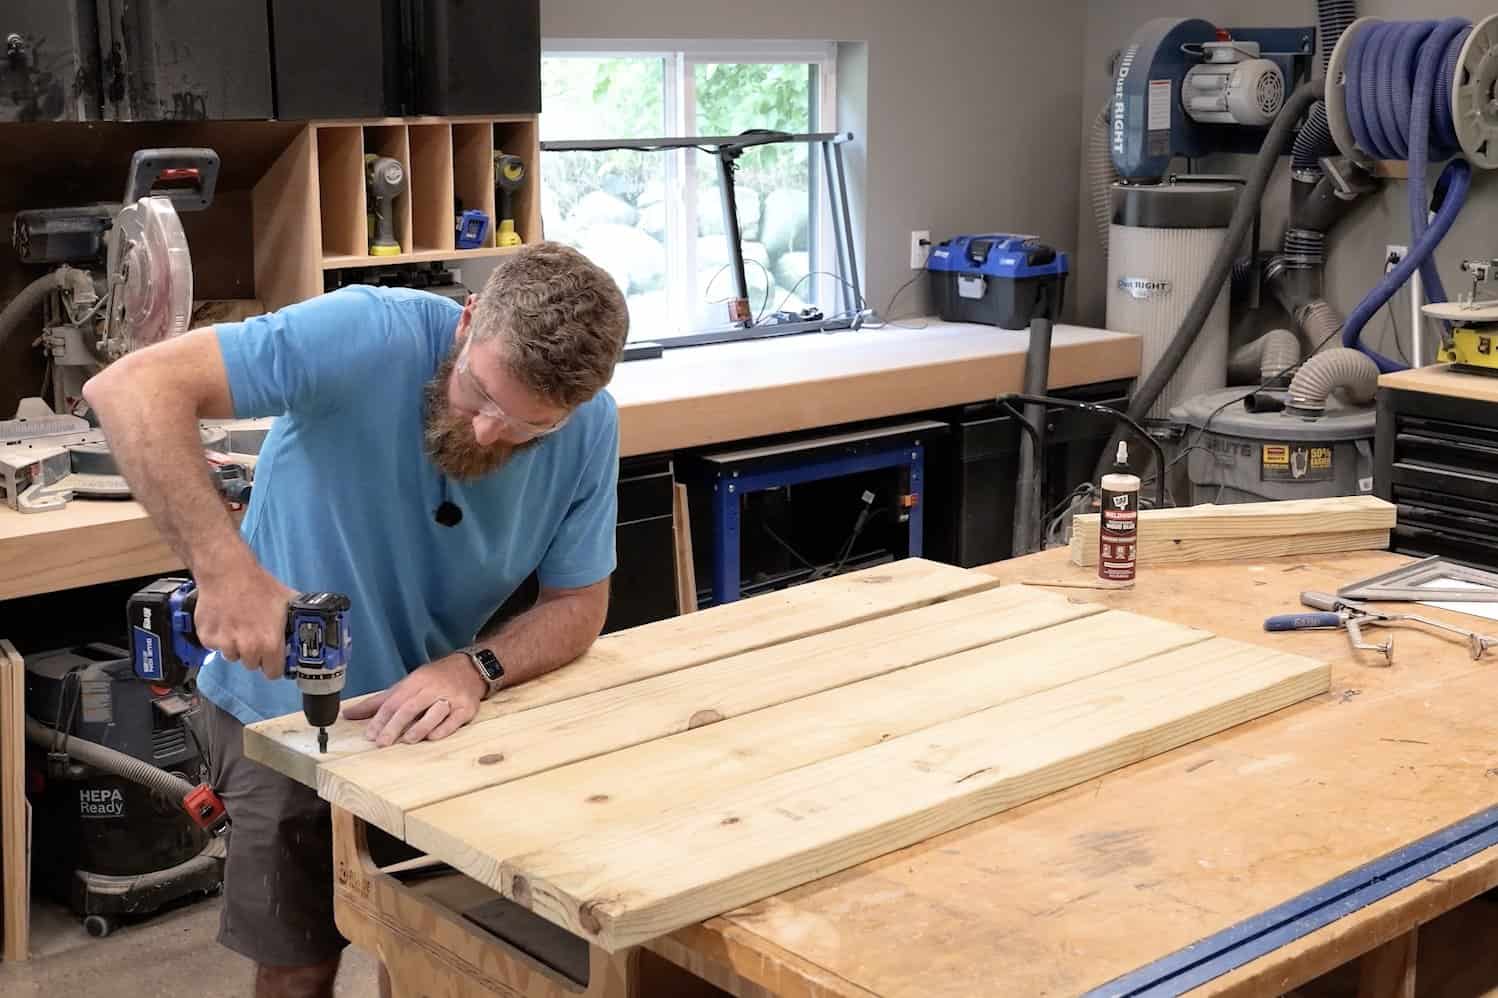
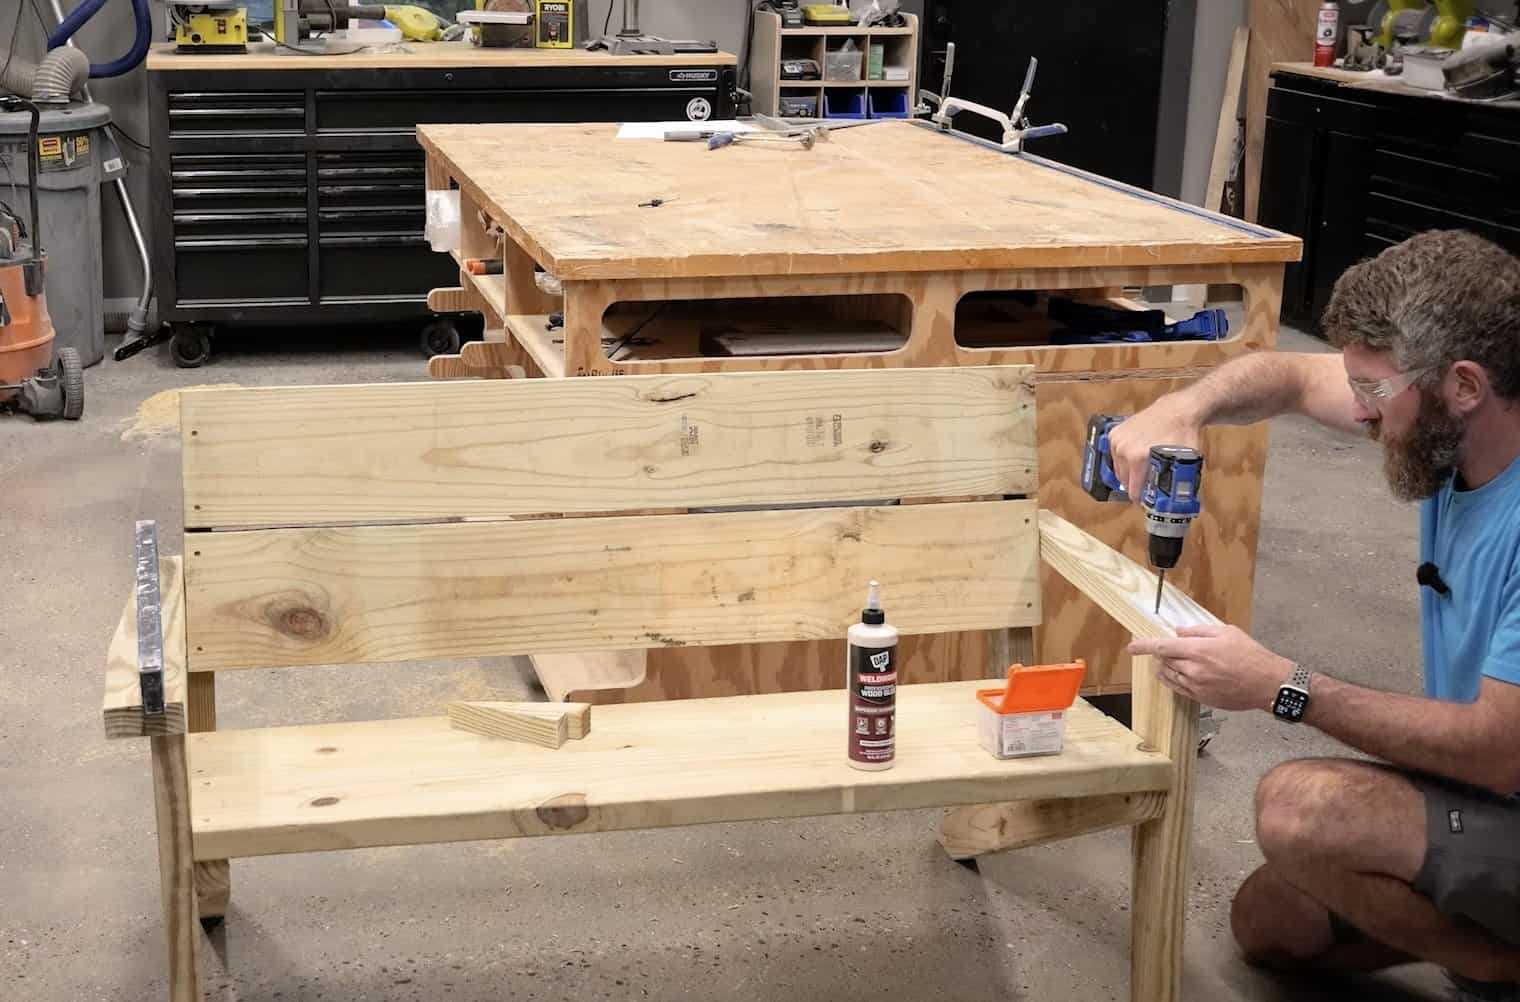
Pre-drill every slat, two holes at each end. Set them in about 3/4″ from the end so the screw lands in the middle of the inch-and-a-half rail underneath, and keep them at least 1″ in from the long edges of the slat. Pressure-treated pine splits if you skip this.
Then fasten with glue and 2-1/2″ exterior screws: two slats across the seat rails, two up the back supports. Hold a 1/2″ overhang at the front of the seat, a 1″ overhang at the top of the back, and a 1/4″ gap between each pair of slats. A carpenter pencil laid flat makes a fine spacer, or use a 1/4″ offcut. It does not have to be exact. It has to be consistent.
Install the arm rests
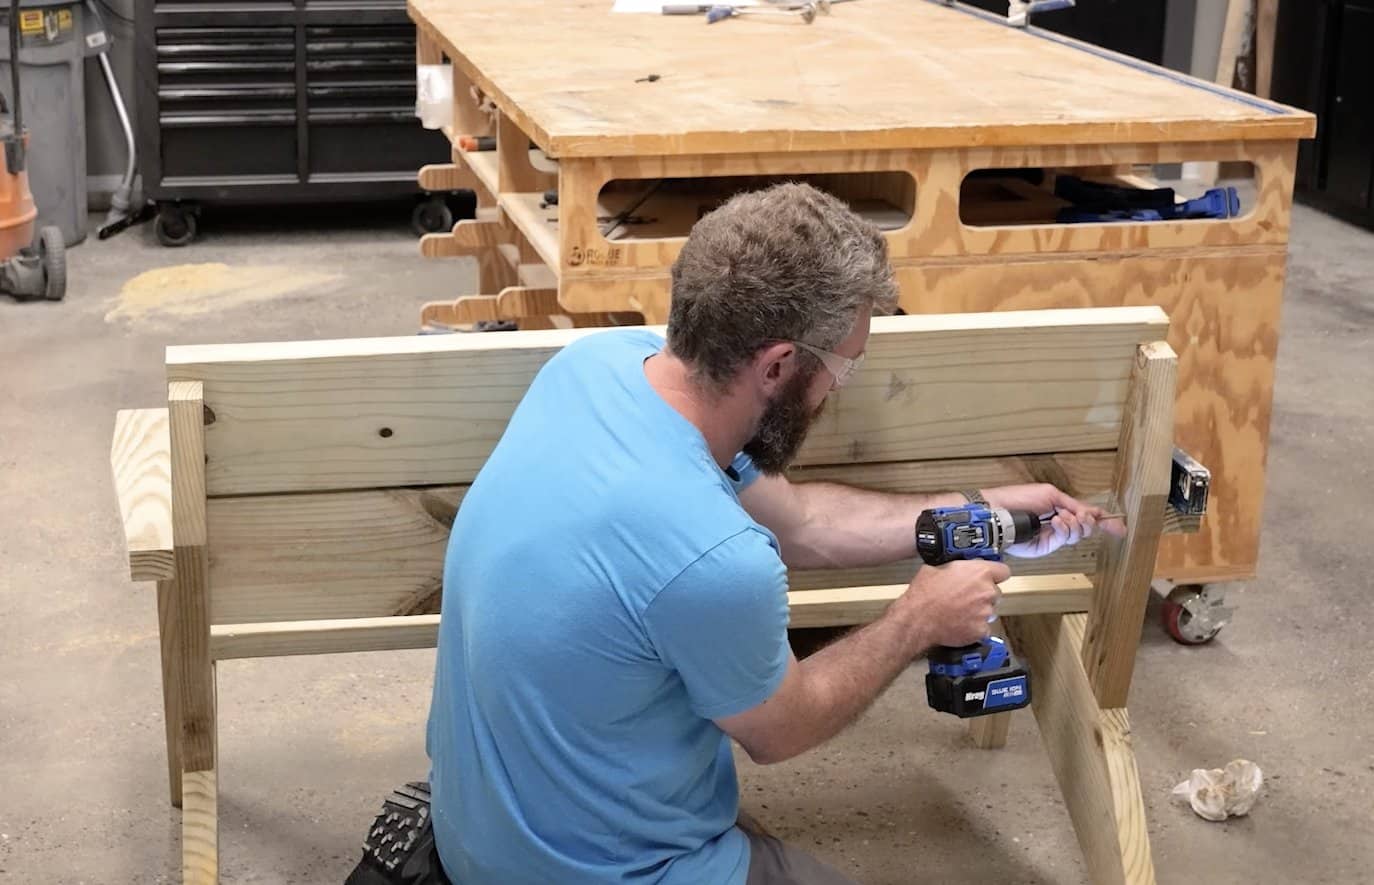
Set each arm rest across the front leg and the back support with a 3/4″ overhang past the front leg and the outside face flush. Pre-drill, then glue and fasten with 2-1/2″ exterior screws.
Install the arm rest supports
Remember that little triangle from Step 3? This is its job.
The arm hangs a fair way off the front leg, and without support it will flex every time somebody pushes themselves up out of the bench. Slide each support up under the arm against the front leg, set back about 1/2″ from the front face of the leg. Pre-drill, then glue and fasten. One screw down through the arm, one across into the leg.
It is a small part and it takes two minutes. Do not skip it.
The finished bench
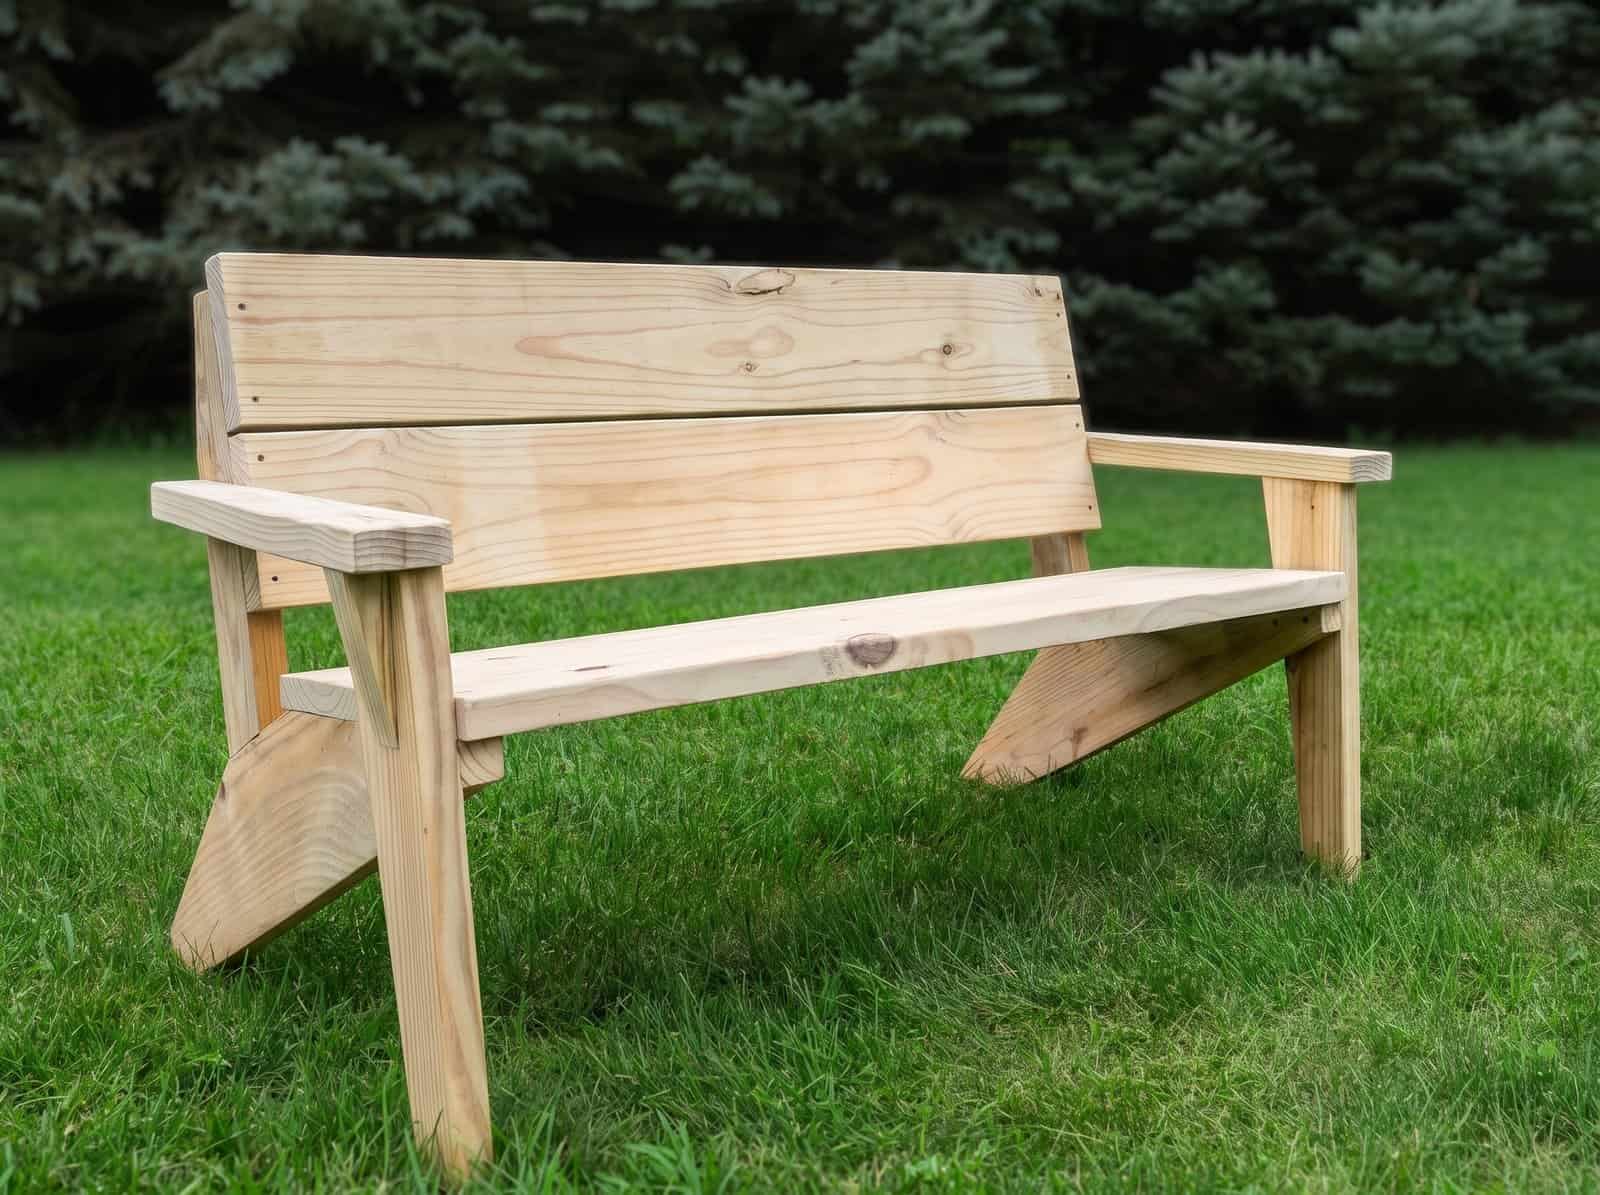
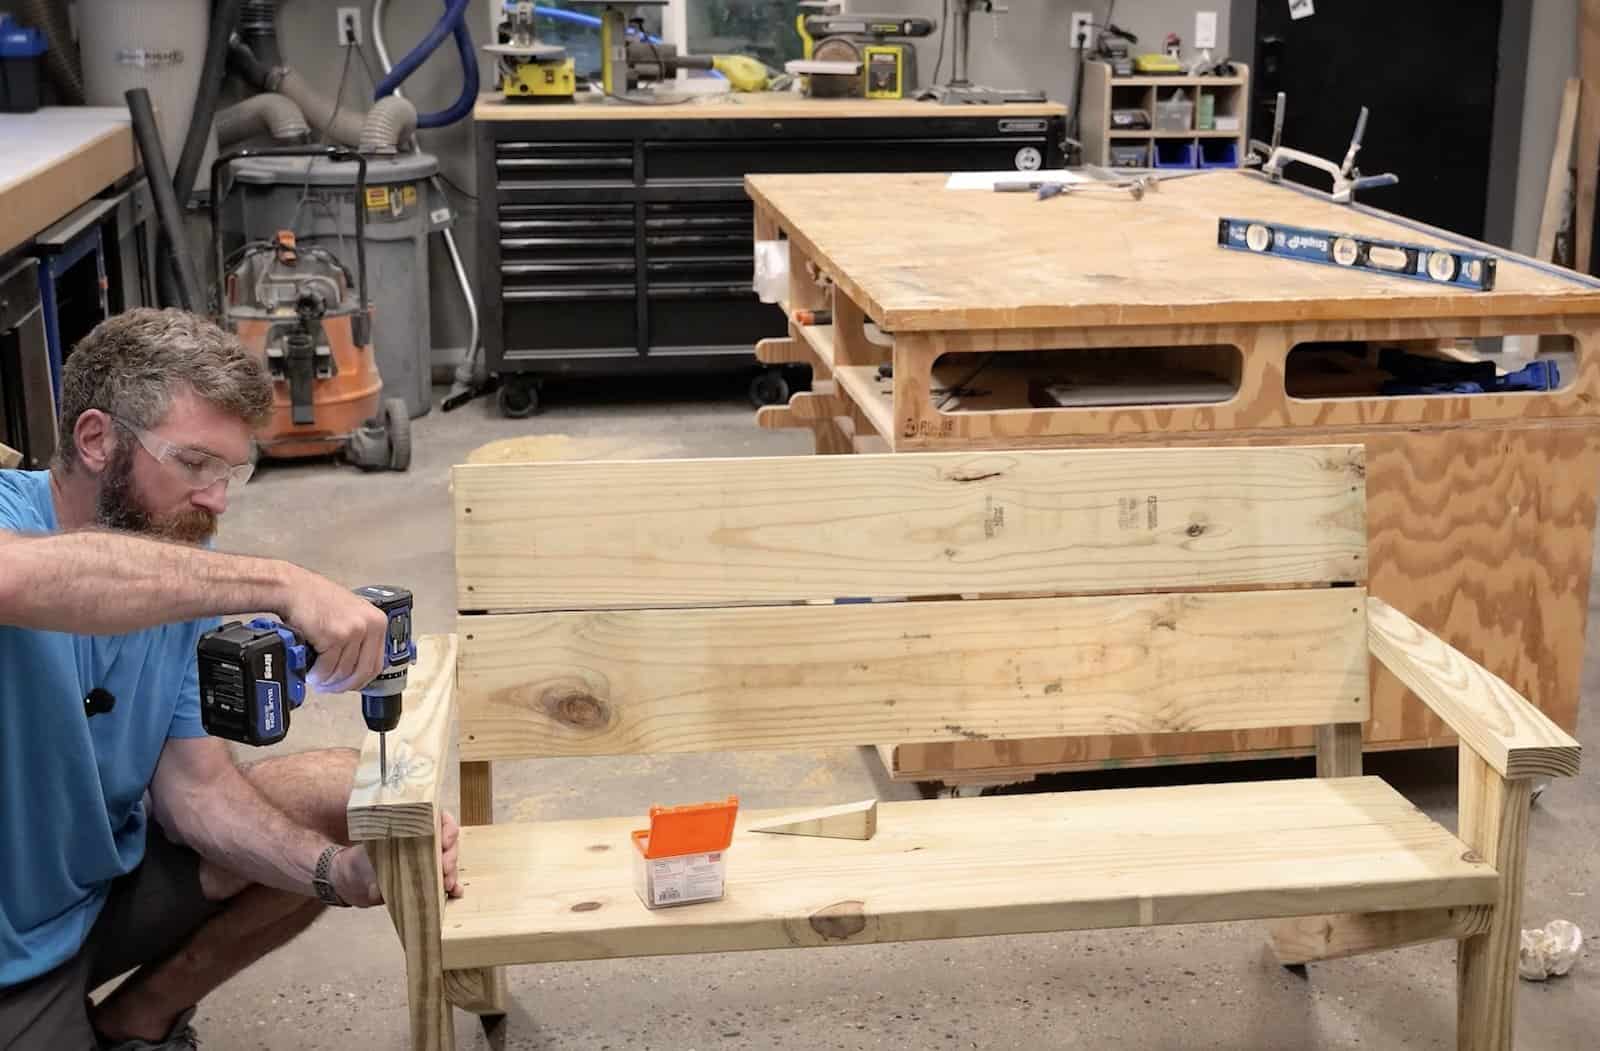
Four boards. About $50. Two power tools and a day in the shop.
It is 55″ wide overall. The seat and back are 48″ and the arms add the rest, so it seats two comfortably. On pressure-treated lumber you can leave the finish off entirely and let it grey out, or seal it if you want to hold onto the color.
If you like this one, the outdoor bench with 4×4 legs is a chunkier take on the same idea. And if you want to see how the whole lineup stacks up before you commit, we have seven outdoor bench plans compared.
Frequently asked questions
How much does this modern outdoor bench cost to build?
About $50 all in. Three 2x8x8 boards and one 2x4x8, plus a handful of exterior screws and some glue. Lumber prices swing by region and season, so check your local rack before you count on that number. The printable plan is $10.
What tools do I actually need?
A circular saw and a drill/driver do almost all of it. Add a large speed square (it doubles as your saw guide), a straight edge, a level, and clamps. The one extra I would call for is a Kreg XL pocket-hole jig for the back-support joint. A miter saw makes the straight and angled crosscuts faster and more precise, but the long diagonal rips still have to be done with a circular saw. Nice to have, not required.
How wide is the finished bench?
55″ overall. The seat and back slats are 48″, and the arms add about 3-1/2″ per side.
Can I use a cushion with it?
Yes. I sized the seat around a standard 48″ x 16″ outdoor cushion. One change to make first: cut your front leg blank at 25″ instead of 22″. That raises the arm rest so it still sits at a comfortable height above the cushion. Worth knowing, the longer front leg raises the arm rest, not the seat. Seat height is set by where the back leg lands in Step 6.
What if my boards are not exactly 8 feet?
Most are not. Mine measured 96-3/8″, and that is a good thing. It gives you room to pull two 48″ slats out of one board with a little trim. If yours is exactly 96″, shorten the slats slightly (47-7/8″ works fine) and make sure all four match each other.
What kind of screws should I use?
Exterior screws rated for pressure-treated lumber. Standard deck screws are perfect. Do not substitute interior screws. 2-1/2″ is the length you want throughout.
Do the plans come in metric?
Yes. The printable Modern Outdoor Bench plans include both imperial and metric editions, and you pick your units at checkout.
Is this a good beginner build?
It is. There is no joinery to learn and nothing you cannot lay out with a tape and a speed square. The one skill it asks for is the long diagonal rips on the legs. Clamp a straight edge and guide the saw against it rather than freehanding, and they come out crisp. The other two places to slow down: keeping all four slats exactly the same length, and getting the leg geometry right in Steps 5 and 6.
Your move
The gap between what this bench costs and what it looks like is the whole point. Four boards off the cheapest rack in the store, and what comes out the other side has actual lines to it.
Grab three 2x8s and a 2×4 this weekend. Pull up the plan, set your saw depth on a sheet of foam, and start with the slats. And when you get to the back supports, check which side that angle goes on before you cut. Trust me on that one.
As always, if you have any questions do not hesitate to comment below, and especially do not forget to post pictures of your finished bench in the comments. I love seeing them.
Be safe and happy building,
Jamison