

Mudroom Lockers with Bench
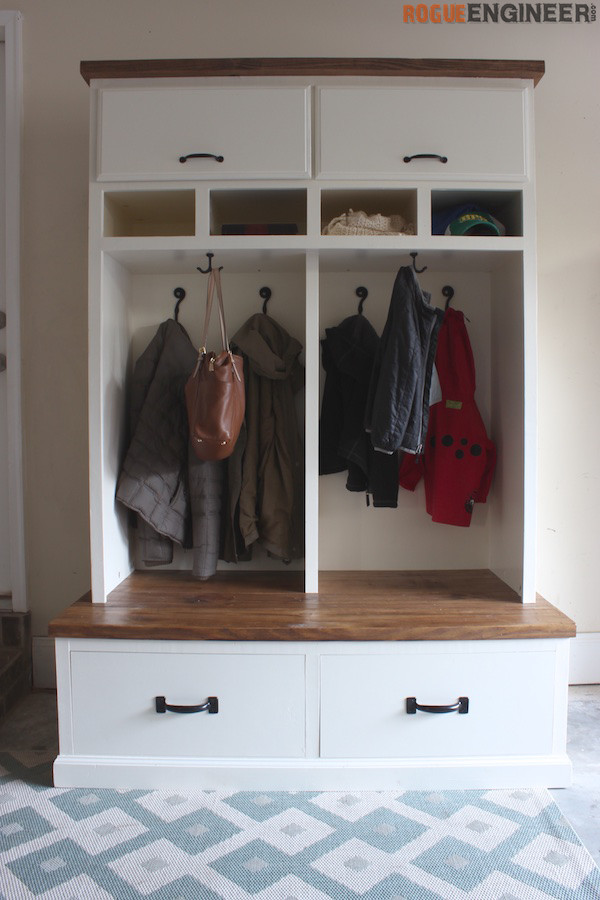
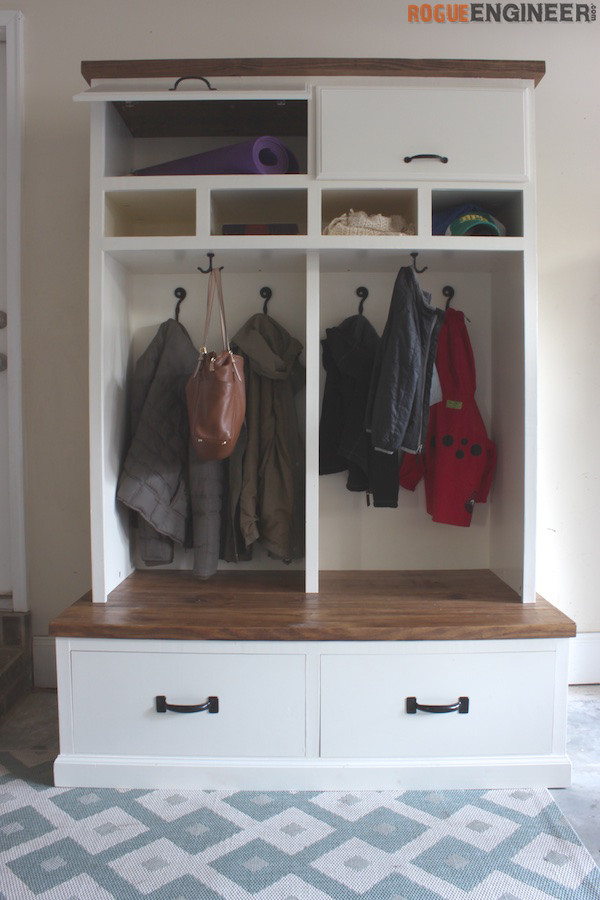
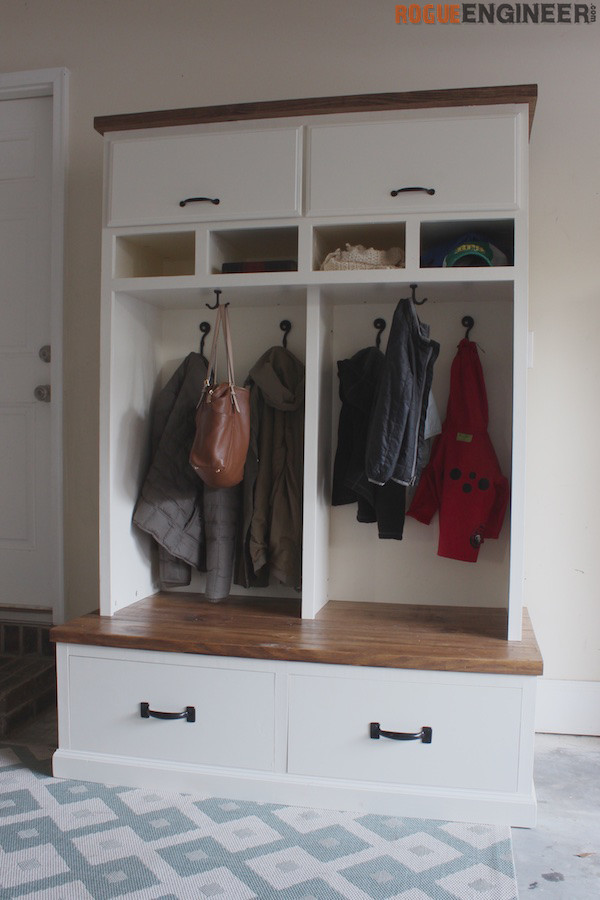
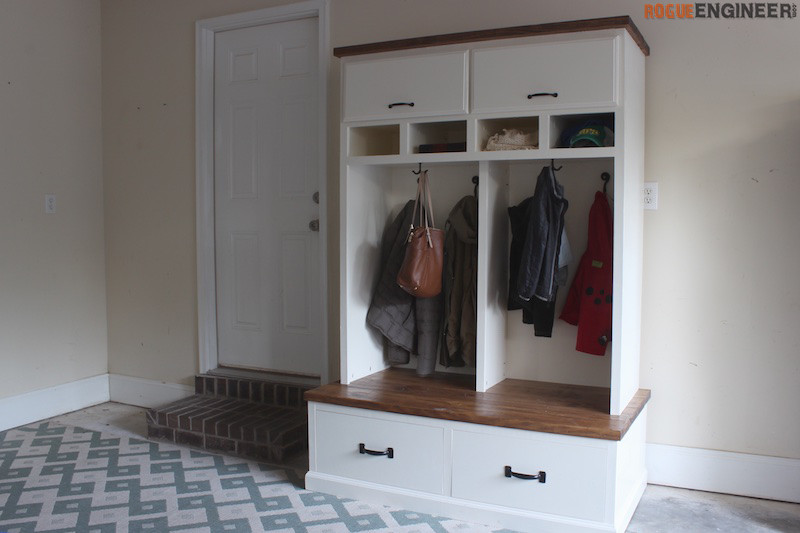
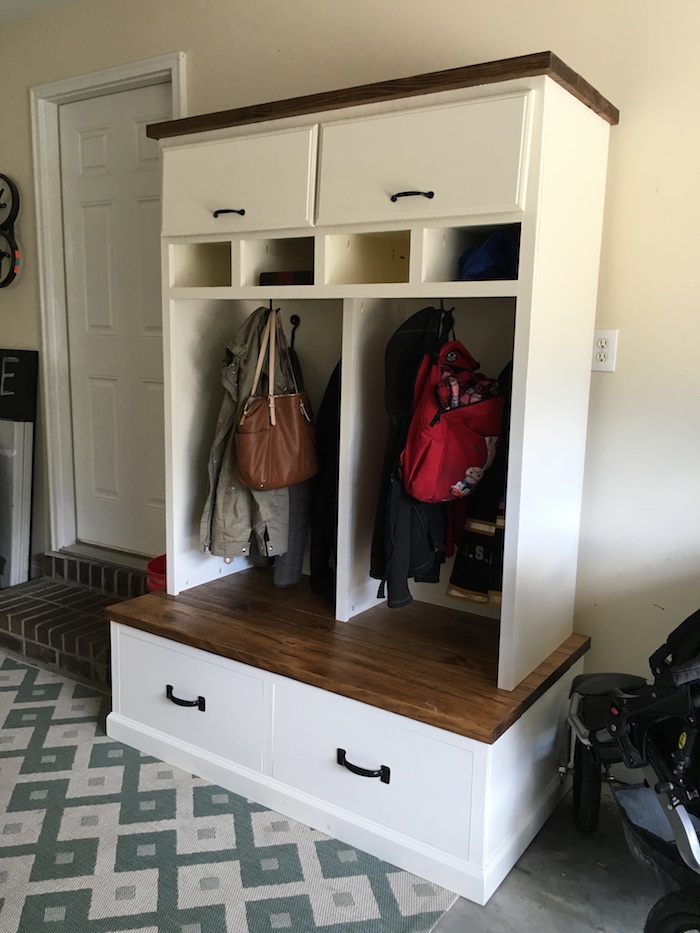
Our coat rack in our entryway has gotten out of control lately and this has been a project that I’ve wanted to tackle for a long time. We have a pretty narrow entryway off the garage door so I decided to add a large set of mudroom lockers with a bench in the garage. This is typically where we take off our shoes and such anyways so it seemed appropriate. I finally settled on a style and what I wanted in the way of storage. With the two huge drawers we plan on using one for toys and one for the kids shoes. Since there are four of us each on of us has a hook and a cubby. Plus there are extra hooks and upper storage to house a lot of extra stuff. Well, I’m really happy with how it turned out. It’s exactly what we needed to wrangle our entryway.

I wanted to give a big thanks to the folks at PureBond for supporting Rogue Engineer and helping to keep this content free for you all. One thing I know is that they really care about their product, what’s used in it, and where it comes from. That’s why they use an award-winning soy-based, formaldehyde-free formulation, that is safe to work around and to live with. Plus, they’re plywood is made with renewable, responsibly-harvested North American hardwoods. So make sure you return the favor and pick up their hardwood plywood next time you are at Home Depot.
For sneak peeks of our upcoming projects be sure to follow me on Facebook and Instagram. Also, follow me on Pinterest to get tons of projects plans from all around the web!
Required Tools

Materials
- 3-1/4 Sheets – 3/4″ Birch PureBond Plywood
- 1/2 Sheet – 1/4″ Birch PureBond Plywood
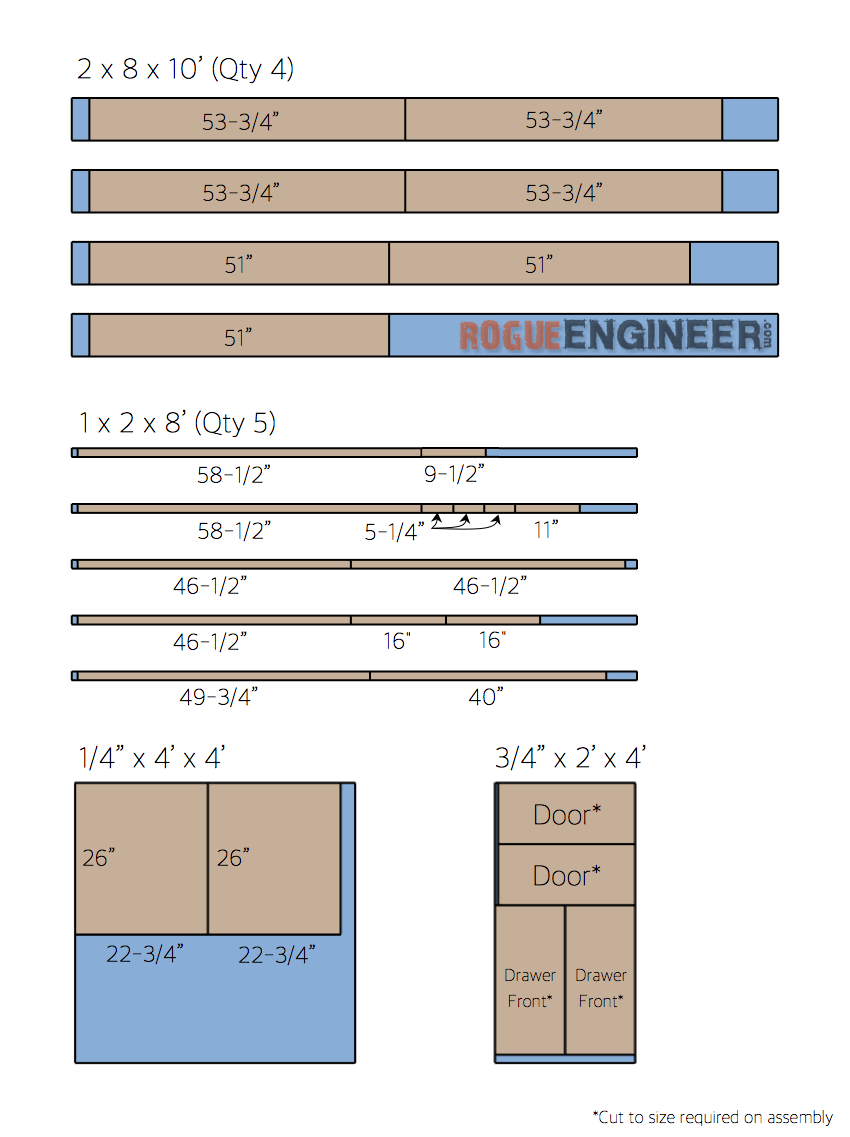
- Qty 4 – 2 x 8 x 10′ Untreated Lumber
- Qty 5 – 1 x 2 x 8′ Common Boards
- 2-1/2″ Kreg Pocket Hole Screws (Coarse)
- 1-1/4″ Kreg Pocket Hole Screws (Coarse)
- 1-1/4″ Brad Nails
- 2″ Wood Screws
- 1-1/4″ Wood Screws
- 3/4″ Wood Screws
- Wood Glue
- Qty 2 – 26″ Drawer Slides
- Qty 2 – Large Drawer Pulls
- I used gate handles
- Qty 2 – Small Cabinet Knobs/Handles
- I used light duty black handles
- Qty 4 – Hooks
- We purchased ours from Hobby Lobby
- Qty 2 – Ceiling Hooks
- Qty 4 – Hinges
- Note: I used Lift Up Hinges (meh.. they’re cool but don’t work as well as I imagined.)
- What you use will be determined by which door style you choose
Disclosure: The links provided in the “materials” and “required tools” sections are affiliate links. If you would like to support our site and help keep our content free come find out more about how we can make money with no extra cost to you.
Dimensions
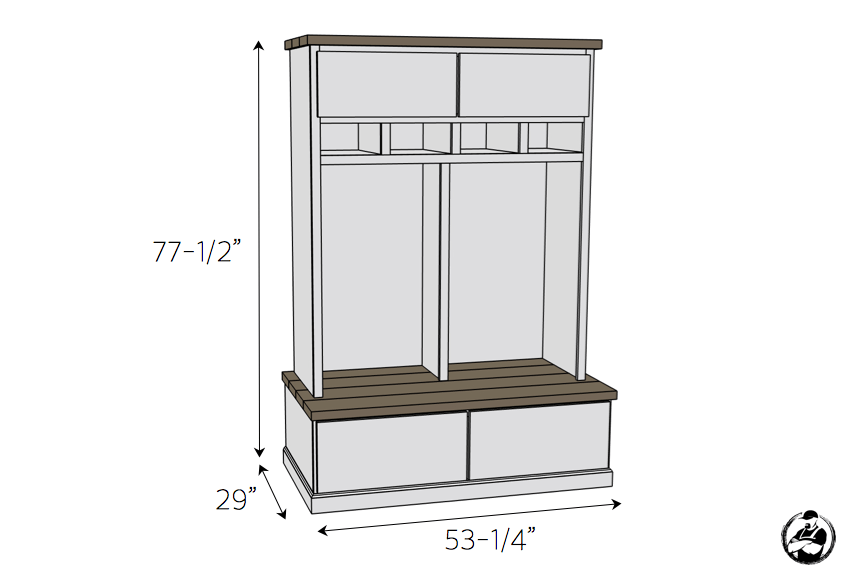
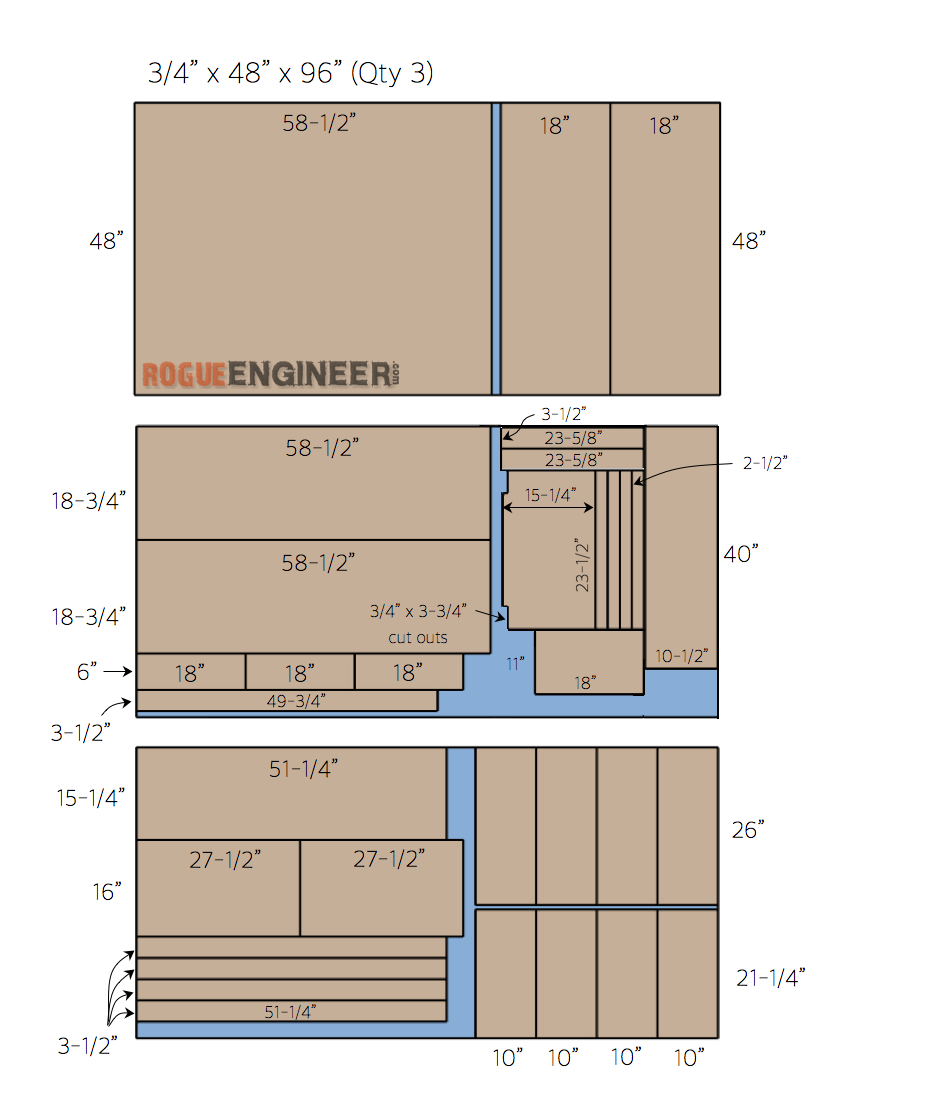
Cut List
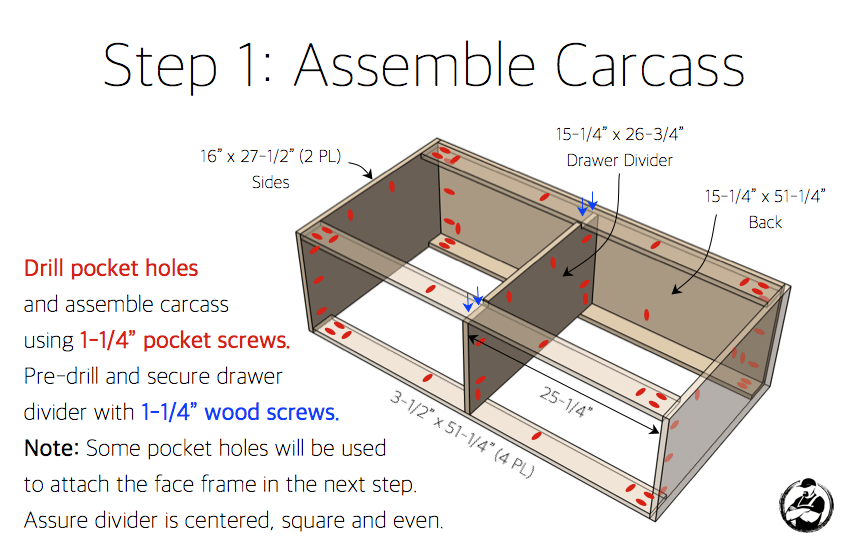
How to build Mudroom Lockers with a Bench
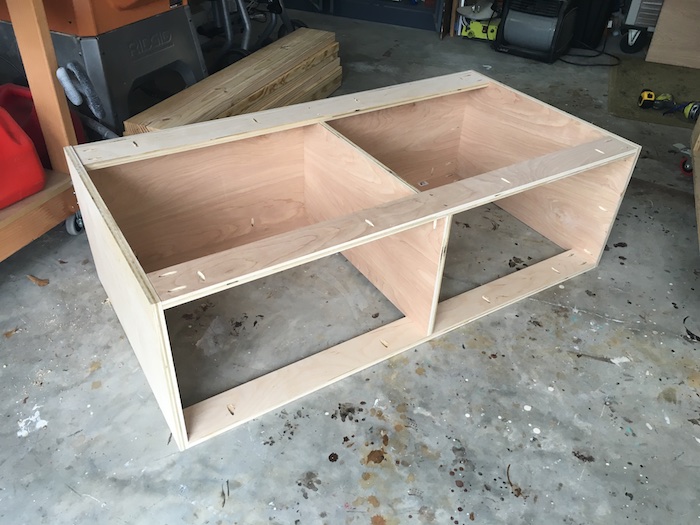
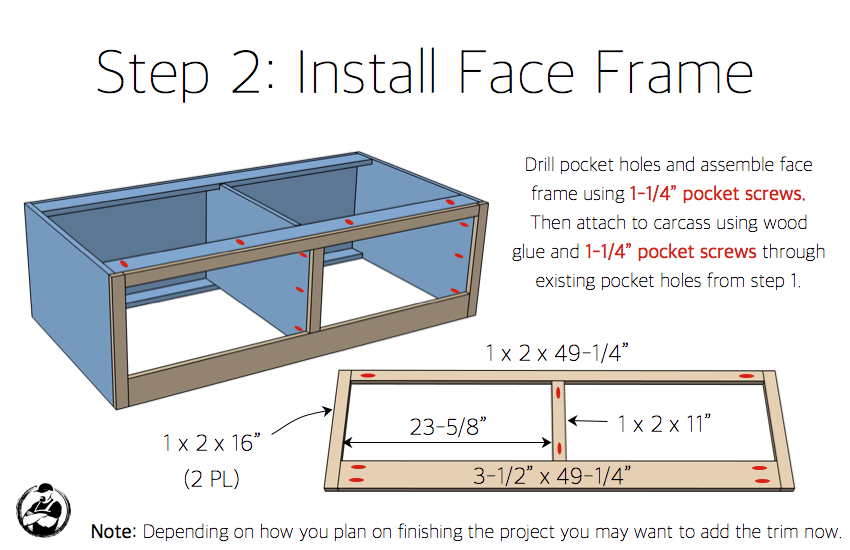
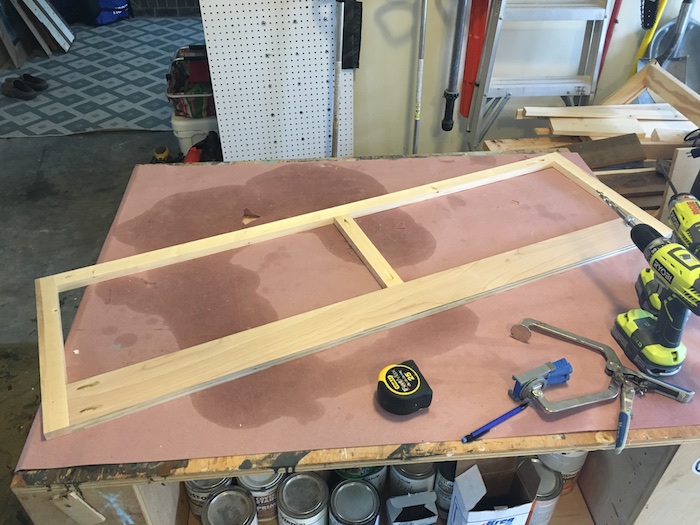
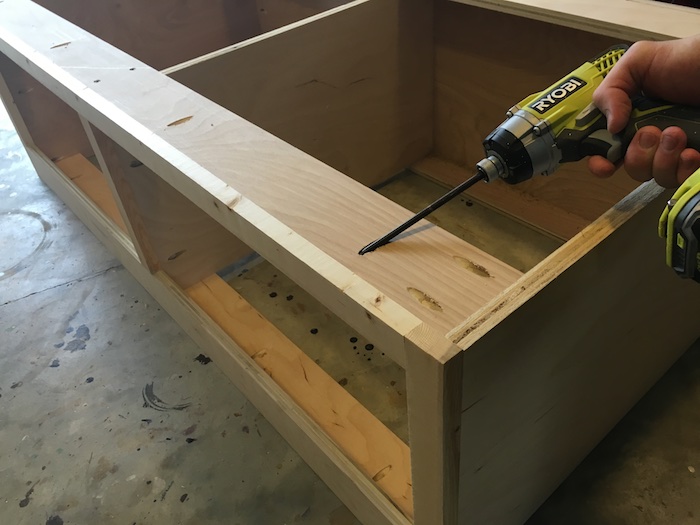
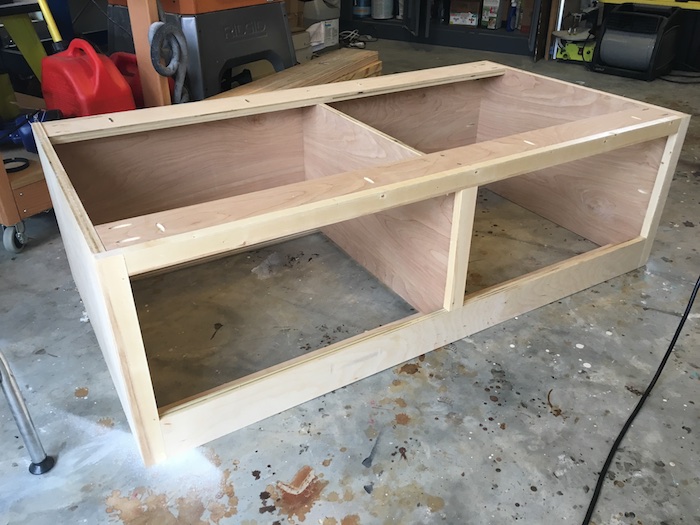
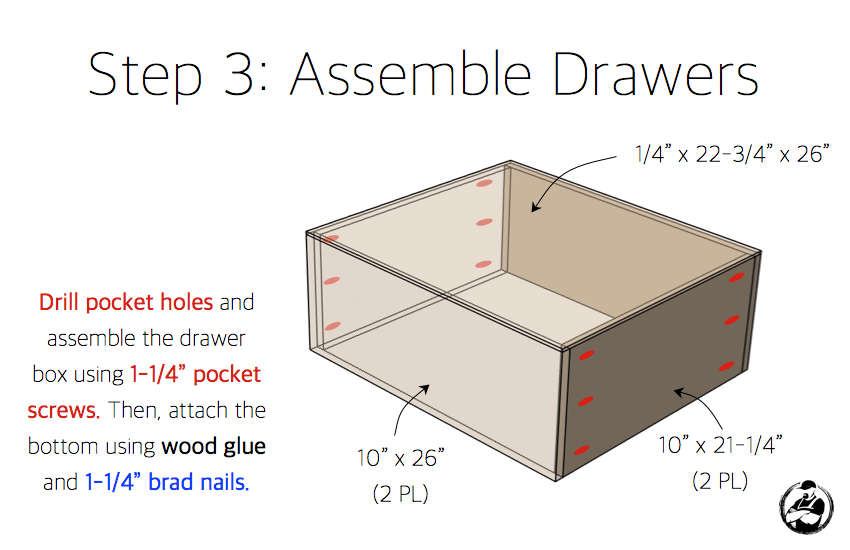
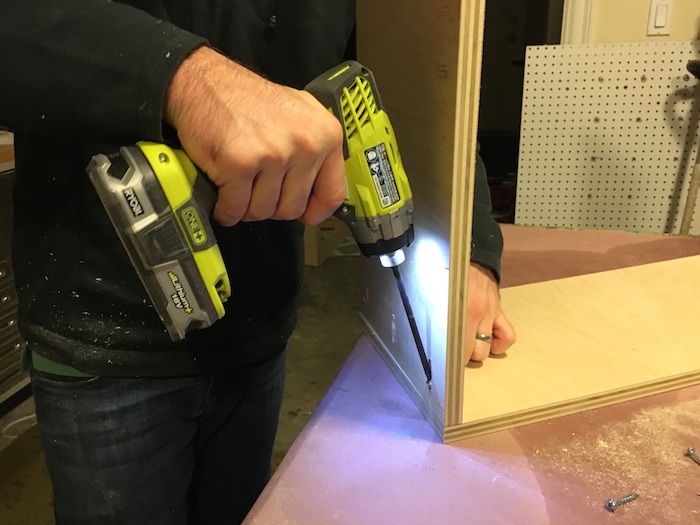
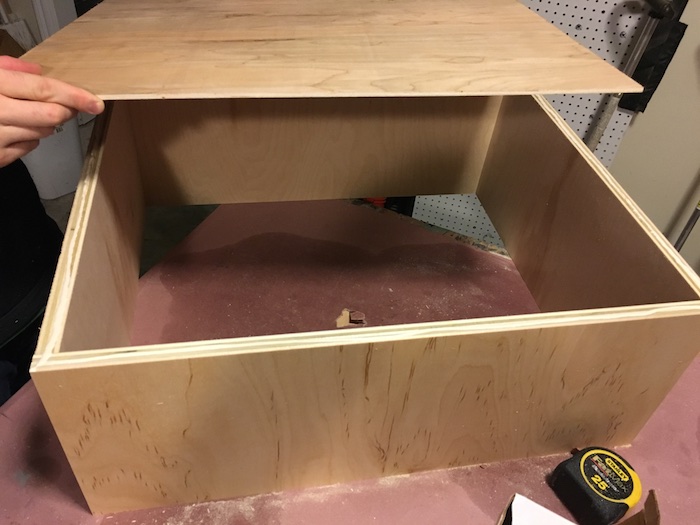
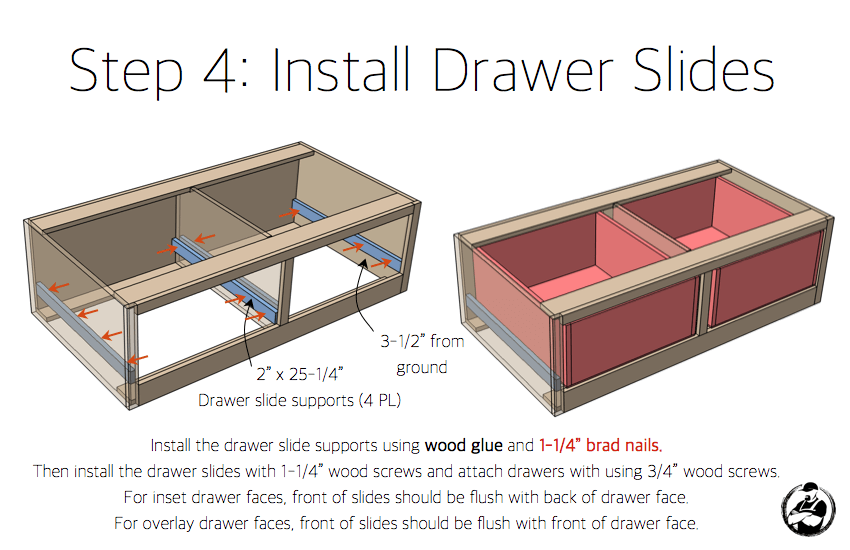
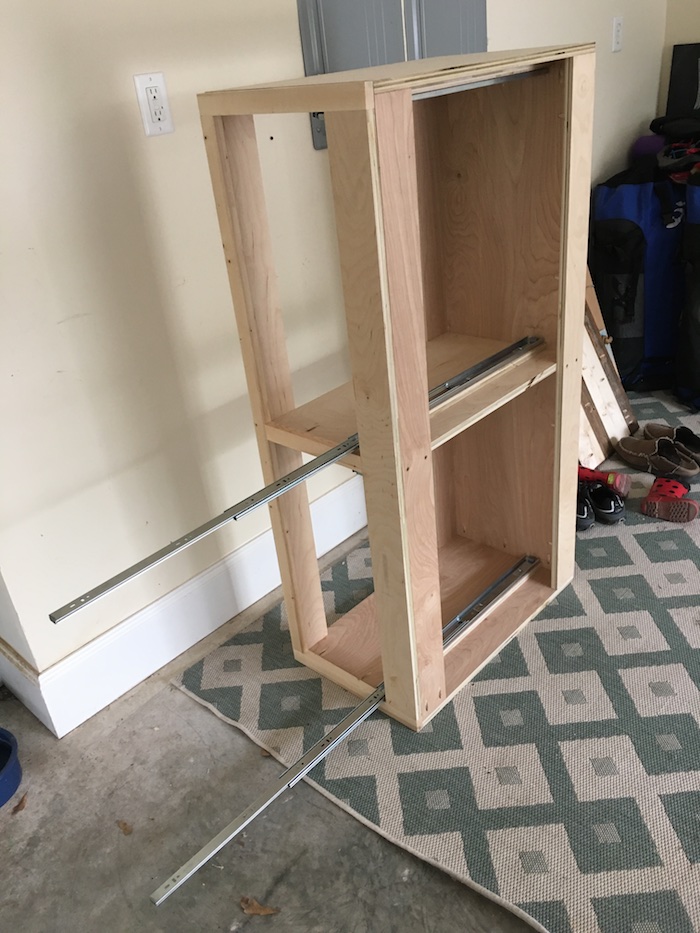
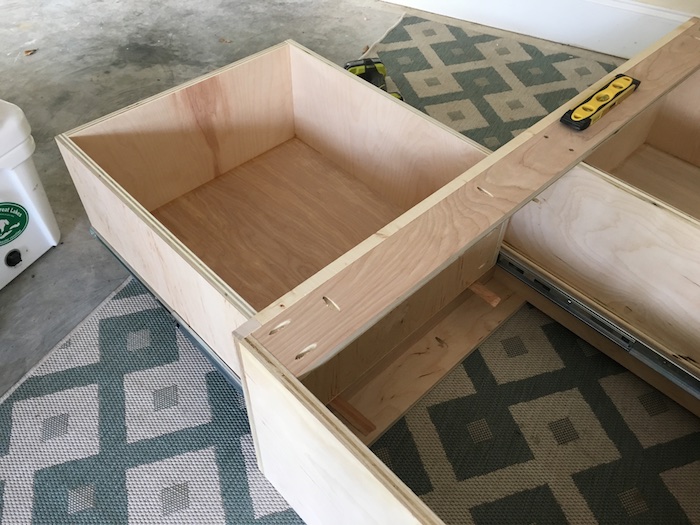
Put the drawer in place with 1/4″ shims under the front. Extend the slides and screws in the first hole with a 3/4″ wood screws.
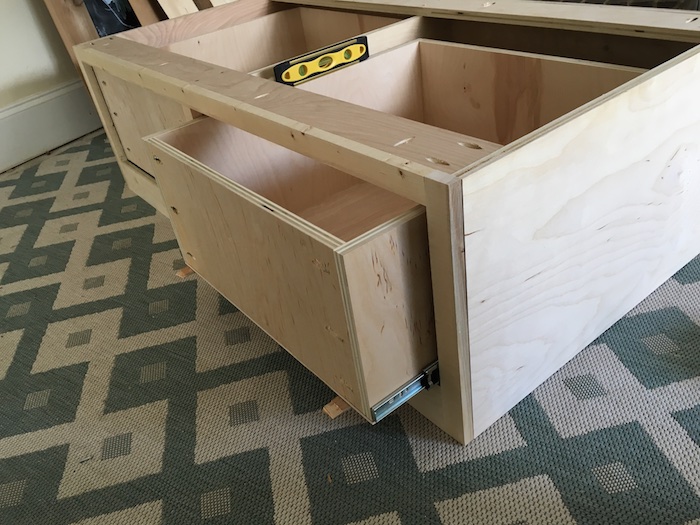
Pull the drawer almost all the way out and place the 1/4″ shims under the back. Then finish attaching the slides to the drawer.
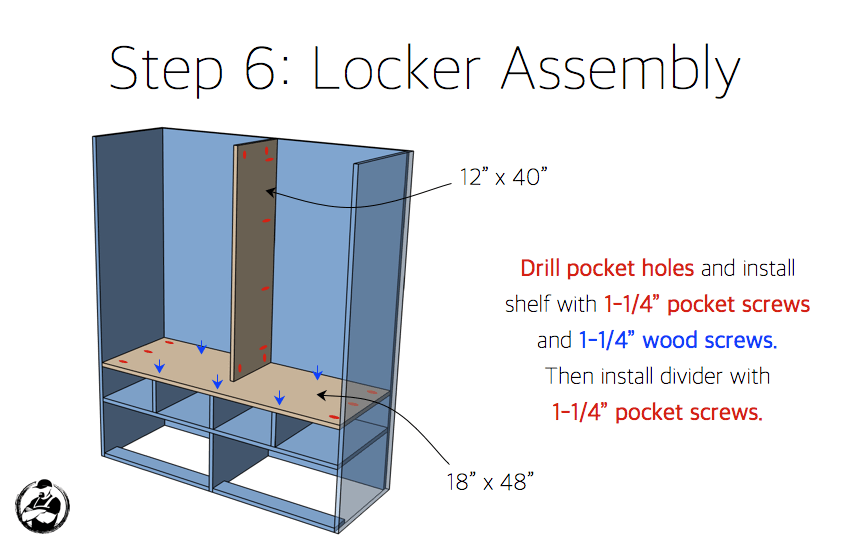
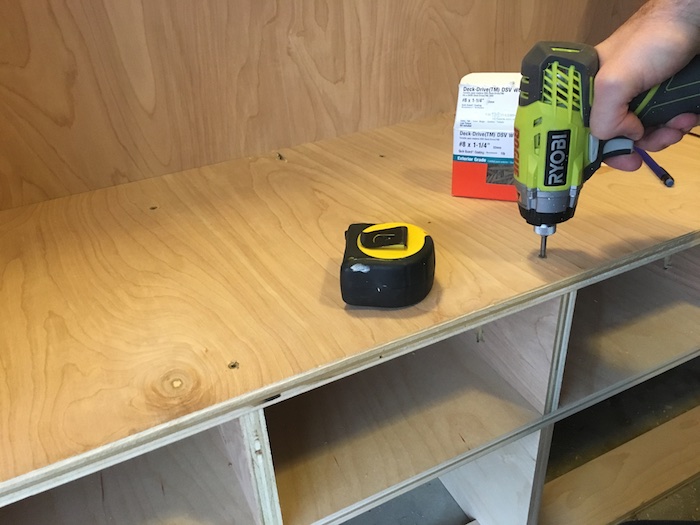
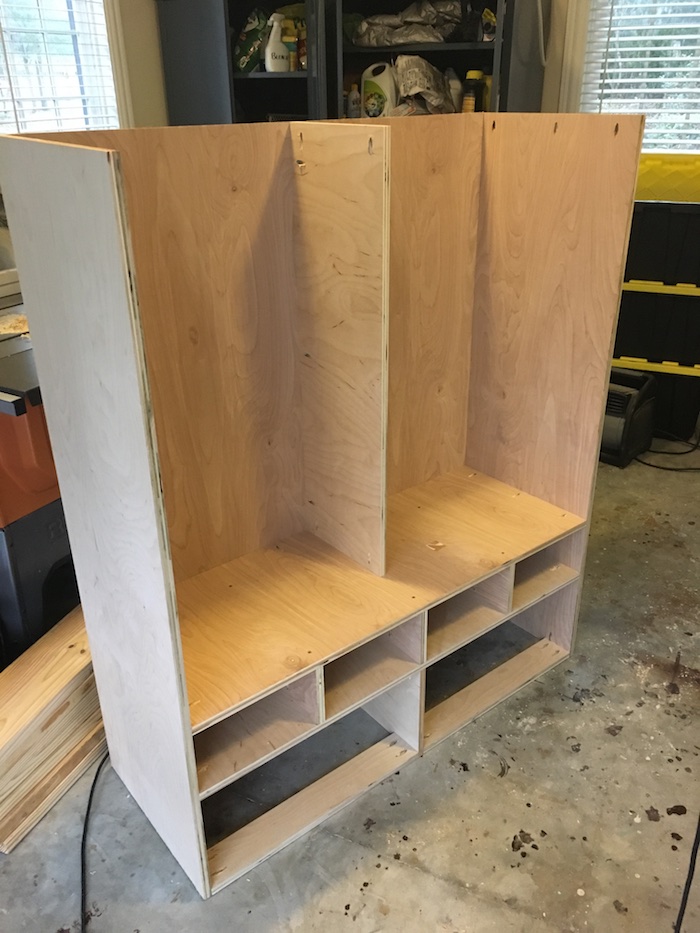
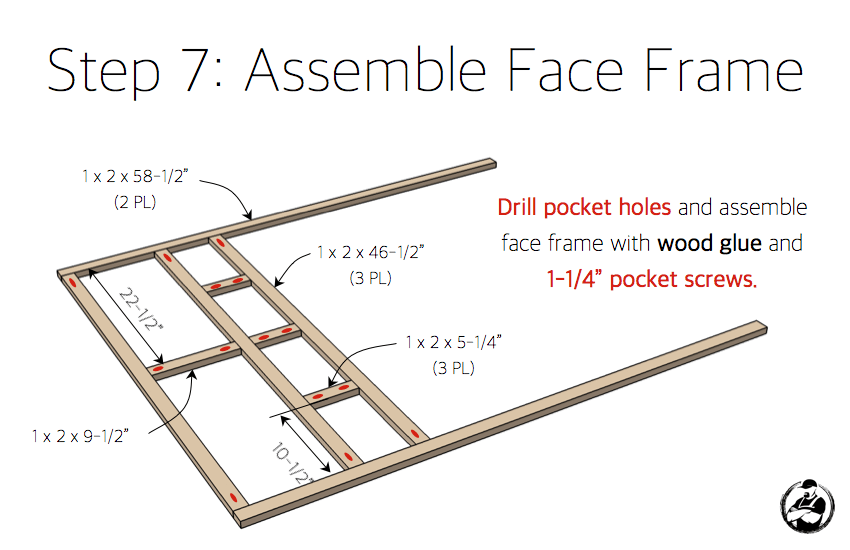
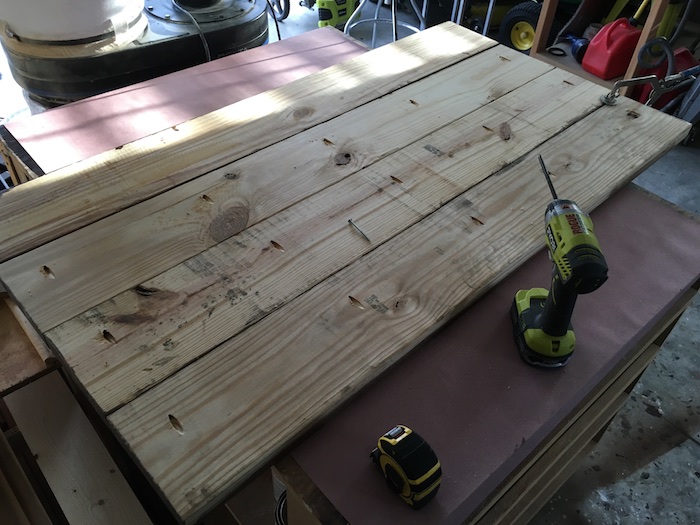
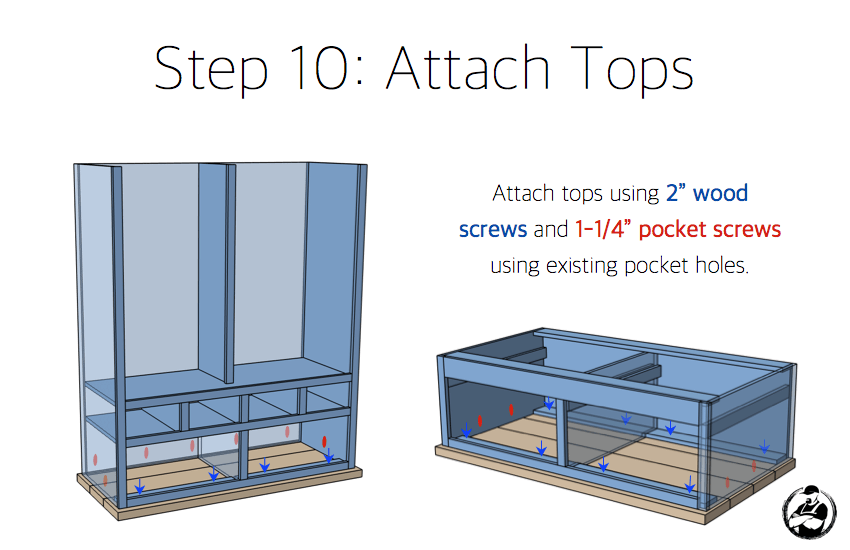
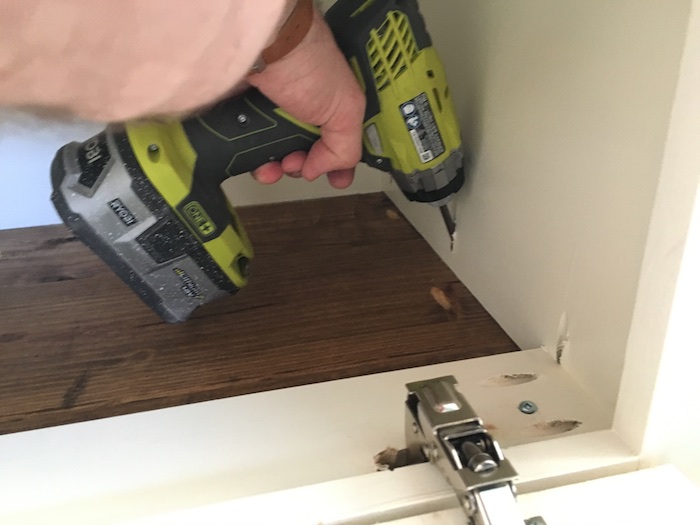
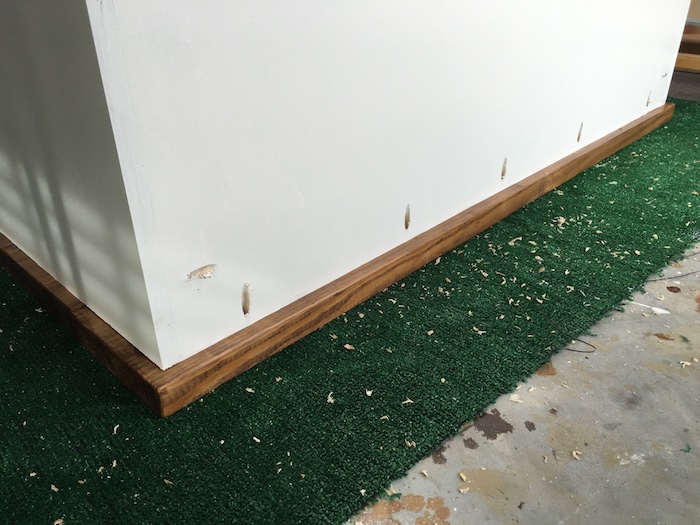
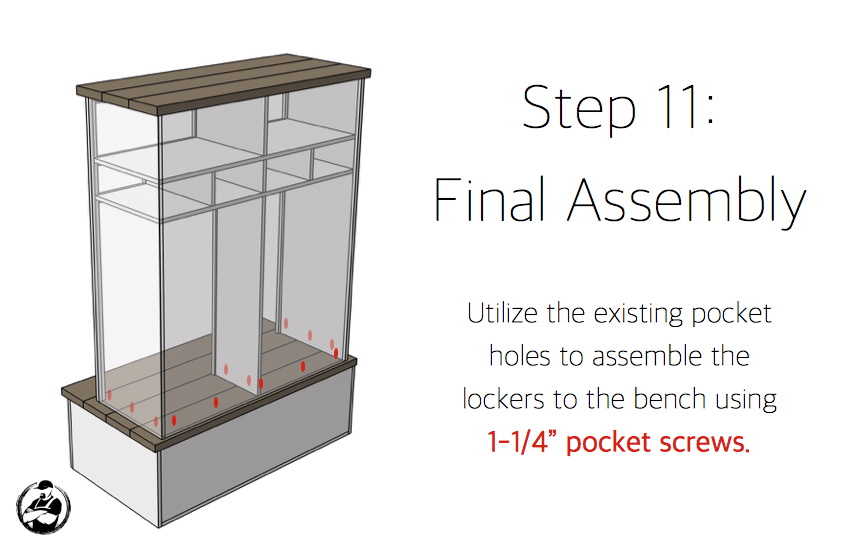
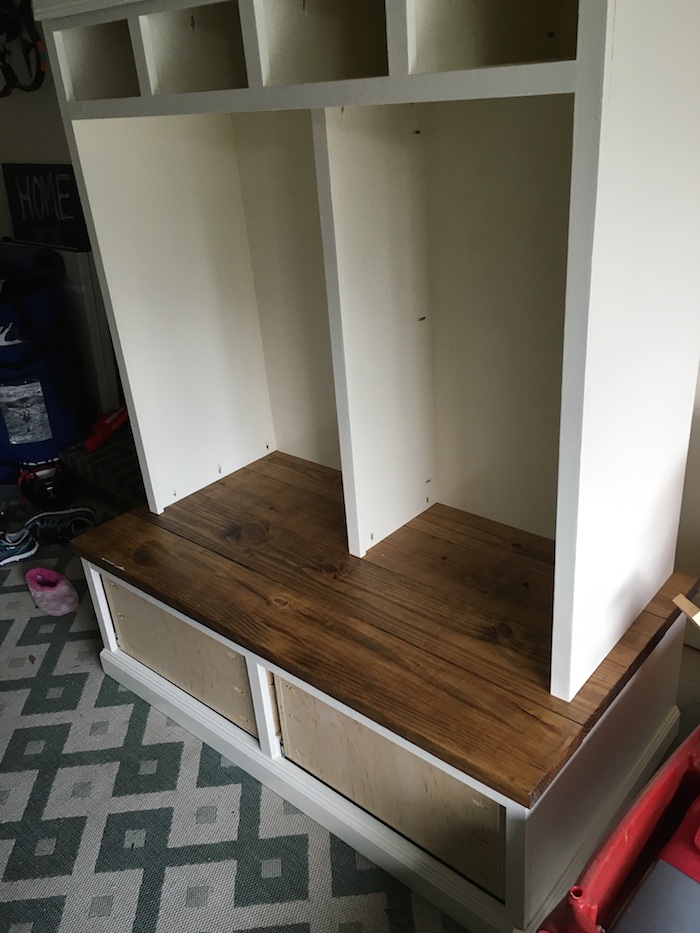
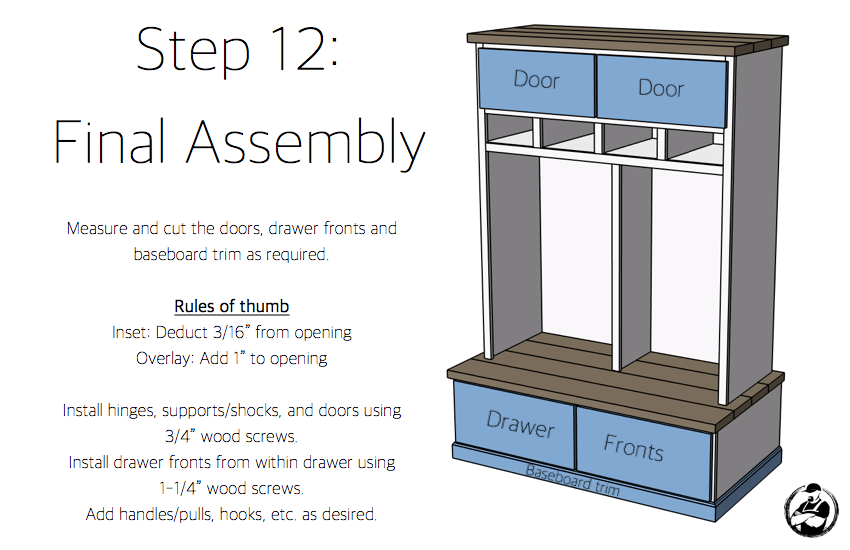
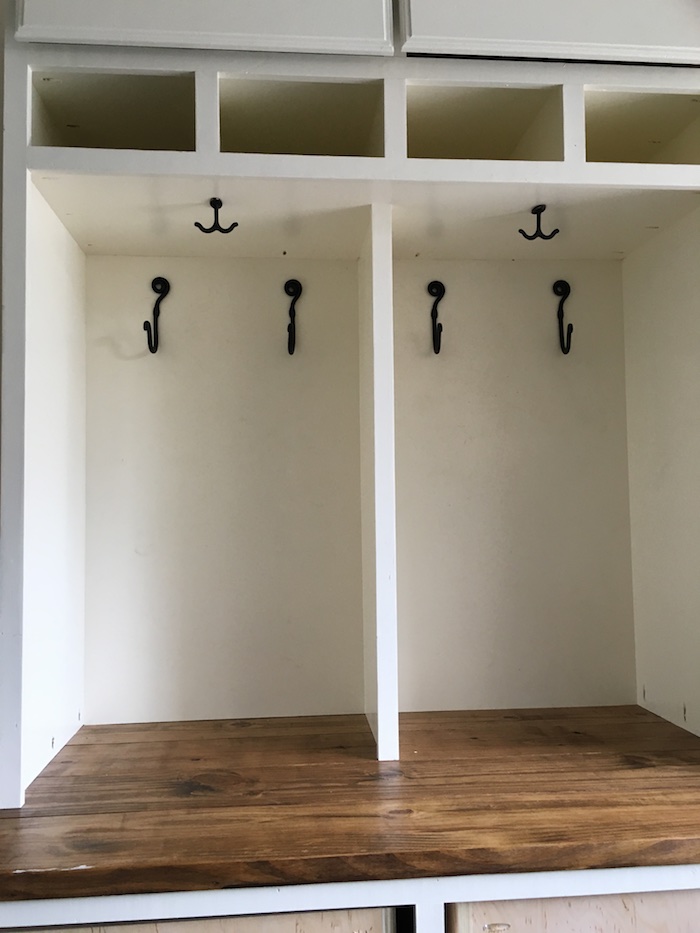
Finishing
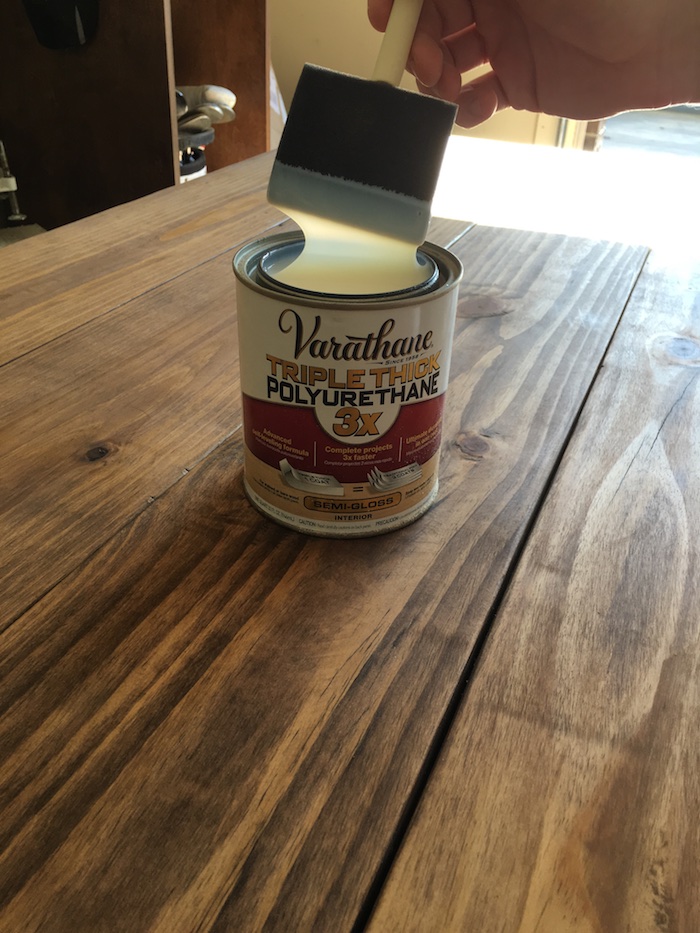
I really like the stained wood and white paint combo. Before finishing I filled all the nail holes with wood filler and sanded all the surfaces to 220-grit. For the paint I used polished pearl from Behr with a semi-gloss finish to clear up easily. For the stained wood I used Varathane Dark Walnut and sealed with Varathane’s Triple Thick Semi-Gloss Polyurethane.
Questions? Comments?
As always, if you have any questions don’t hesitate to comment below and especially don’t forget to post pictures of your finished products in the comments! ENJOY!
Shouldn’t the Plywood description on the top of the cut list read 3/4″ x 48″ x 96″ (now it reads 3/4″ x 24″ x 48″)
Good job. Looks very nice.
It absolutely should be. Thanks for the pick up.
I loved this plan and am super excited to share my project. Made some modifications, but technique and structure were all based on your plans. Awaiting more baskets for the top section. I went to the ceiling in my mudroom and used crown molding to finish the top off. Also had to work around switches and alarm pad. Used a 5/4″ piece of pine stained and poly’d for the top (actually it is 2 pieces that I joined together with glue and pocket screws – you actually can’t tell).
WOW! that looks awesome. Thanks for sharing. Glad to see people take my plans and make it work for their needs. Turned out great!
Anyway you can send the dimensions of this and what you changed and how much extra wood you needed via email? [email protected]
Did you ever get the dimensions of the modified project? I’d love to do the same but it would be super helpful to have more info.
Hi, I’m pretty new to working with wood and really appreciate these plans. They are an excellent tool! I have one question: on the cut list the drawer divider is 23 1/2 inches long, but on step 1 of the assembly detail its listed as 26 3/4 inches long. The piece I cut at 23 1/2 definitely doesn’t fit so I think the detail measurement of 26 3/4 is the right one.
Should I try to join a piece to my divider to get to 26 3/4 inches since it’s an interior piece or go out and buy another sheet of plywood and cut it correctly?
Thanks again for the plans and for the advice!
the drawer divider and the locker divider are both different dimensions. Wish I figured that out before making all the cuts! Ah well, more scrap to fix mistakes with!
Your plans inspired me to fill my back room entrance – Made a simple shoe rack / coat hanger / seat 🙂
Thanks for the encouraging plans !!
https://uploads.disquscdn.com/images/ff32a28fa8e1
502f76b3dbfdb0bf4744eb6e034baf4a38305593a56dadce81d3.jpg
Awesome plans! Expanded them a bit and got a lot of great storage.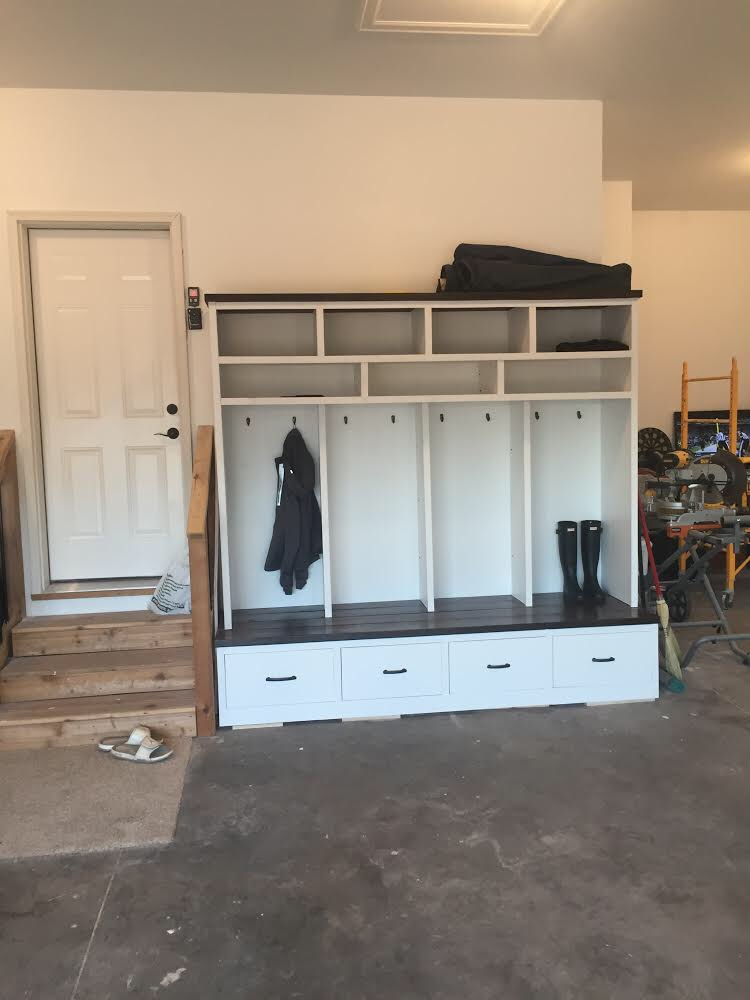
Awesome! I am wanting to do the exact thing (4 openings). Did you happen to make up plans for this?
Unfortunately I put them on a scrap piece of paper as I went, which ended up in the dumpster. I mainly just doubled everything Jamison did. I had to make a few adjustments so it would fit the width of my wall and I made the top 67” tall instead of 58 1/2” so longer coats wouldn’t drag on the bench.
Thanks so much for your reply!
Thanks for the great plans!
Please be aware you have 2 different dimensions for the draw divider on the cut list and diagram for step 1. The 26 3/4 inch long piece shown in step 1 is correct.
Yeah the cut list got me messed up a bit! Also the divider for the top part says 10 1/2 x 40, but down low it has 12 x 40. Same thing with the drawer peices. 2 inch down in the picture but 2 1/2 up top. good thing I bought 4 boards!
Your plans inspired me to fill my back room entrance – Made a simple shoe rack / coat hanger / seat 🙂

Thanks for the encouraging plans !!
I modified the plans a little to make some more space, but it turned out ok!! Thanks for the plans Jamison! https://uploads.disquscdn.c…
This is sweet. Pretty much exactly what I’m thinking. Want the 4x because we have the space and want one for each family member.
What is the estimated cost for this project?
I modified the plan. Only 48″ wide due to space limitation and shelf instead of doors up top.
Thank you so much for this inspiration and your plans!
I Extended them a bit to have space for the whole family.
Awesome project – thank you very much! I expanded your plans a little bit and built a locker with 4 openings. I wrote a small blog post (in german) about my project. https://uploads.disquscdn.c…
Thanks so much for your building plans. Here is my rendition. Just finished this weekend. Cheers, kind stranger. https://uploads.disquscdn.c…
Could I ask how much this might have cost? My wife would like one of these for our entryway, and we’re on a tight budget as I’m a Youth Pastor and she’s a teacher.
About $200 in materials but that was a couple of years ago. Lumber costs have gone up, so expect materials to cost more, maybe as much as $300 total.
When I click get the downloadable pdf I get page not found. Any help in getting the pdf would be appreciated.