
Scrap Wood Shelf
I always love a project that I can create from the overwhelming pile of scrap wood I accumulate. Check out this simple scrap wood shelf that we threw together.
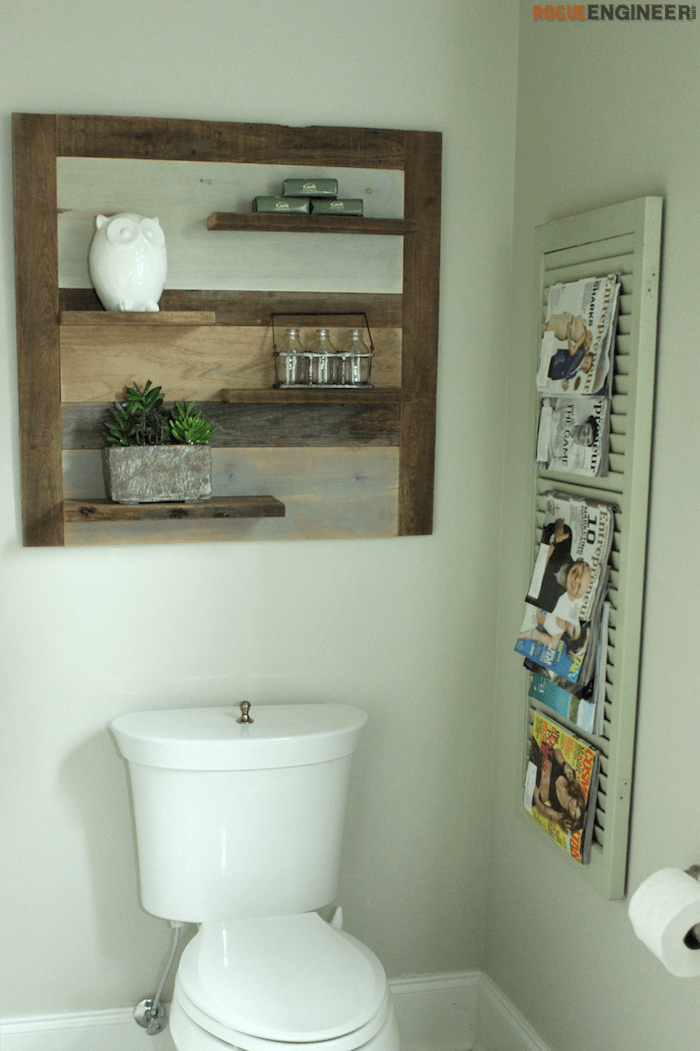
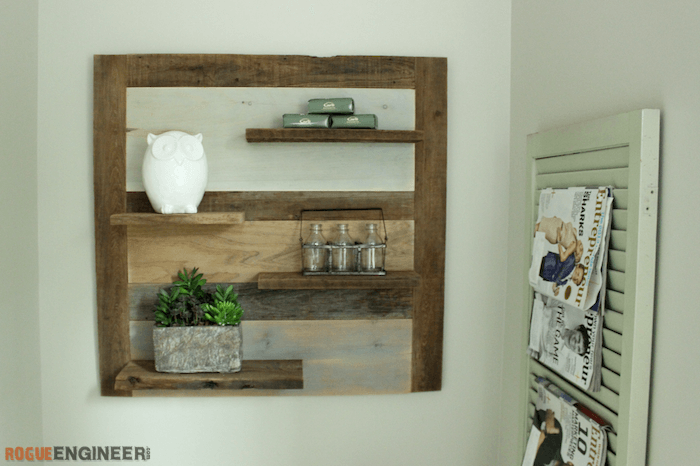
Since we moved into our current house, the wall behind the toilet in our master bathroom has been bare. Not that that is a problem, but we thought this was a great opportunity to decorate and make it feel more homey. Plus it’s scrap wood so it’s free right!?!
For sneak peeks of our upcoming projects be sure to follow me on Facebook and Instagram. Also, follow me on Pinterest to get tons of projects plans from all around the web!
Required Tools
Disclosure: The links provided in the “materials” and “required tools” sections are affiliate links. If you would like to support our site and help keep our content free come find out more about how we can make money with no extra cost to you.
How to build a Scrap Wood Shelf
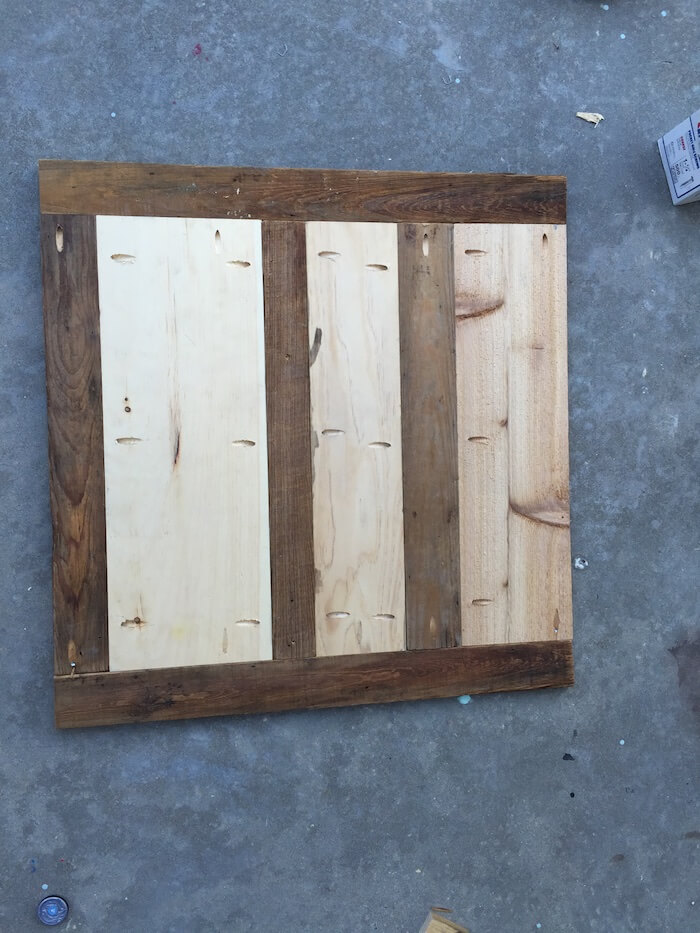
We had some scrap 1×4’s, 1×6’s, 1×8’s, and 1×10’s lying around and cut them all to 26″. You could make this however large or small you want. Using the Kreg jig we drilled pocket holes on the back of the boards to attach them to each other and one pocket hole on each in to attach the side boards in the next step. We then screwed the boards together with 1 1/4″ pocket hole screws.
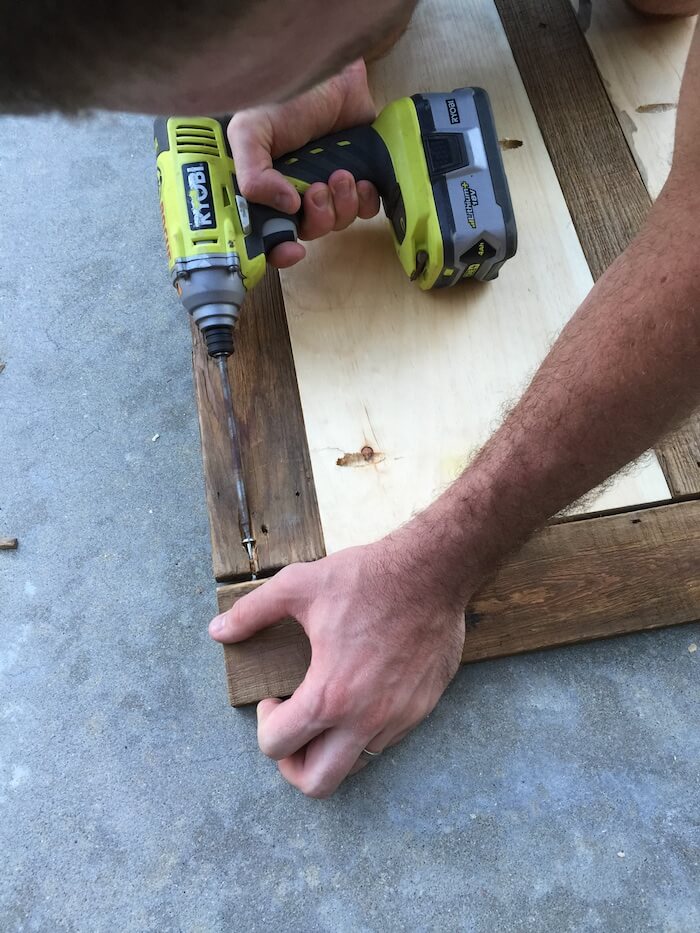
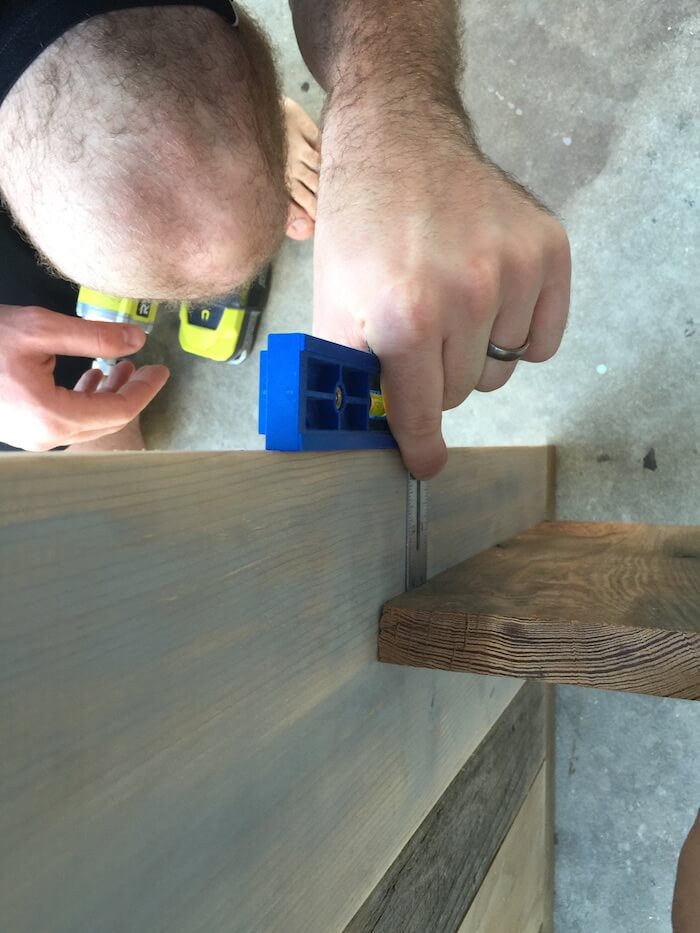
Once the boards were screwed together, we measured the length and cut two 1×4’s to screw onto the edges of the boards. This helps to keep the board sturdy. We attached the side boards with 1 1/4″ screws in the pocket holes that were drilled in the previous step.

Since we had some awesome reclaimed scrap wood lying around I left them as they were. For the newer boards I added a thin coat of Rust-Oluem Chalked paint in Serenity Blue and Country Gray the lightly sanded overtop once dry.
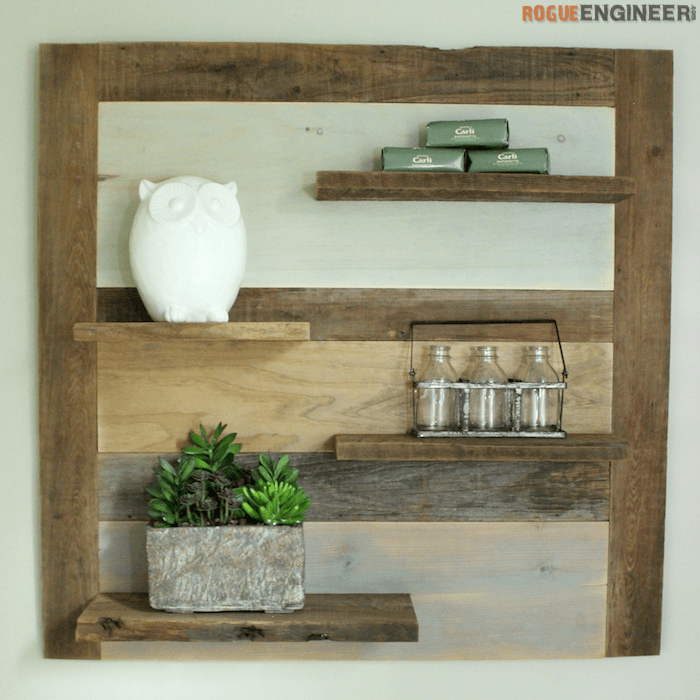
The next step is to attach the shelves. We randomly decided on the shelf pattern. Once we had an idea of what we wanted to do, we measured where the shelf would be placed, and marked the location on the back.
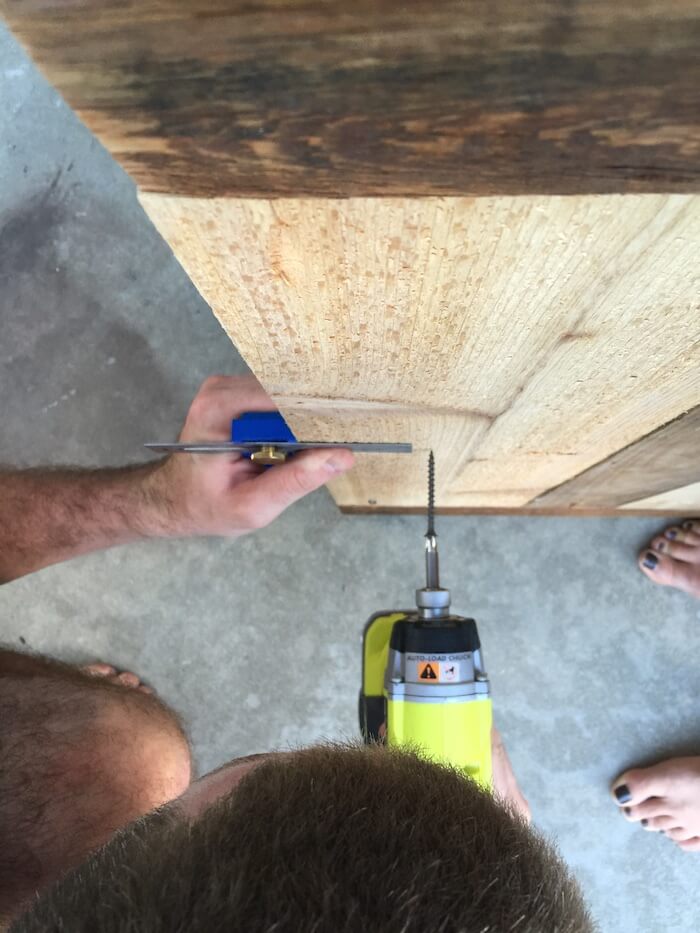
We then used 2″ wood screws to attach the shelves.
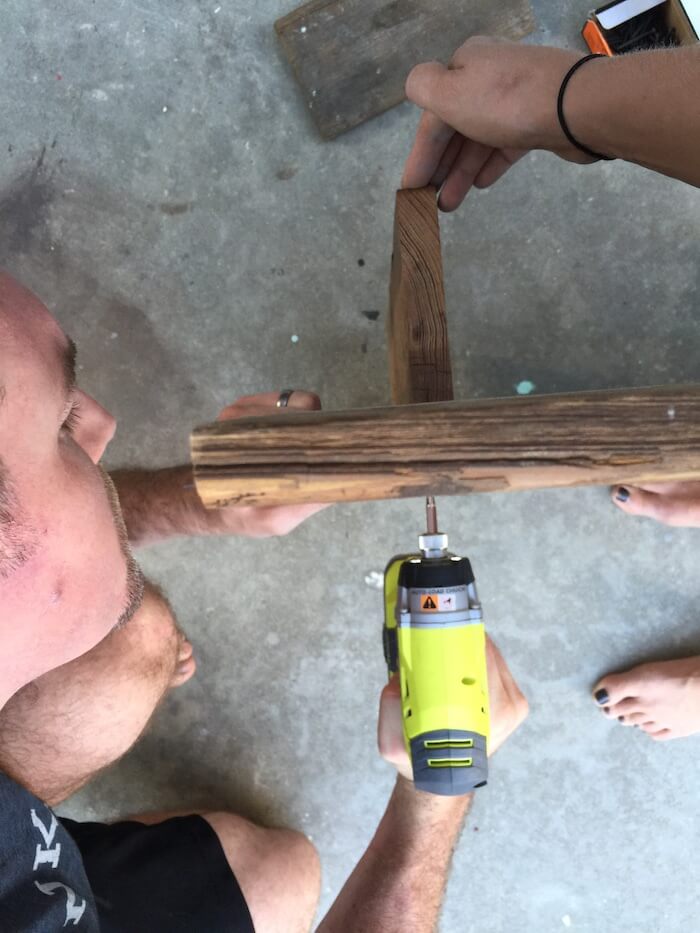
Two of the shelves were placed on the edge of the board, so no measuring was required. Makes things easier. Hope you enjoyed our scrap wood weekend project!

Questions? Comments?
As always, if you have any questions don’t hesitate to comment below and especially don’t forget to post pictures of your finished products in the comments! ENJOY!
Great use of scraps and I like the touch of color you added. Very nice !
Thanks Malissa. With so much scrap wood, it’s nice to come up with some great projects to put it to use.
You have an artist’s eye. The combination of muted colors, multiple textures, and half shelves take the project from practical to decorative. I really like it and will be looking through my scrap pile tonight.
Thanks so much, but I have to give the credit to my wife on this one 🙂
I have had wood cut for weeks now, to cover the electrical panel that is in the middle of my dinning room wall (who does that). All the wood is scrap that we’ve just had laying around, it’s all cut to length but rather then using the kreg jig I had planned on gluing and clamping to hold it together. As soon as the husband gets the clamps down out of the rafters (yes that is my excuse as to why this project isn’t finished). I like the shelves you attached to yours, I have been rustling with ideas as to what to do with this piece once it was finished. I have a question though, 1 – did you predrill the shelves for the screws, if not how did it not split, that would be my luck. 2 – where the shelves also made from 1 x 4’s hard to tell in pictures, and can’t find where it was mentioned.
Hey Rhoni! Yes, pre-drilling is definitely a good idea to prevent splitting. I didn’t and I did have one board split. 🙁 Also, the shelves were 1″ thick which was just enough. 3/4″ thick boards might be challenging.
Ever think about making step by step videos?
I have. I actually just got all my equipment to start making some videos, so stay tuned!
Love your projects. My wife is liking this shelf. Just curious how you mounted it to the wall?
I mounted it with heavy duty picture wire but it is really heavy and still kinda sketches me out to this day but it hasn’t fallen yet. I would recommend just driving screws through it into studs or using keyhole picture hangers. http://amzn.to/1Zu6m8I (affiliate link)
I mounted it with heavy duty picture wire but it is really heavy and still kinda sketches me out to this day but it hasn’t fallen yet. I would recommend just driving screws through it into studs or using keyhole picture hangers. http://amzn.to/1Zu6m8I (affiliate link)
Or u can use Z-hangers – they are flush against the wall and I used them for hanging wooden corbels( pretty heavy ones)