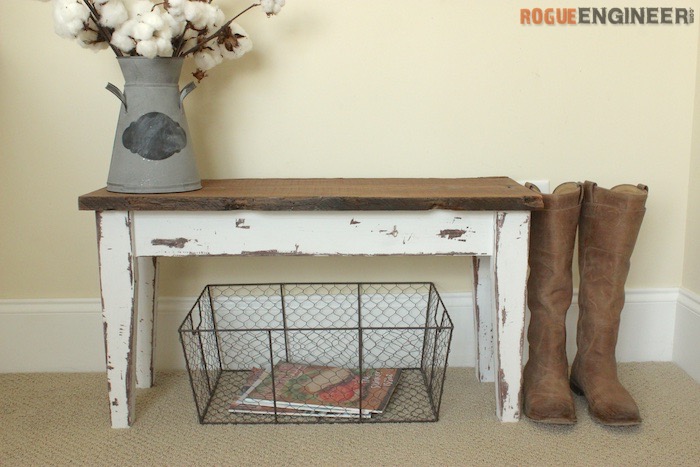
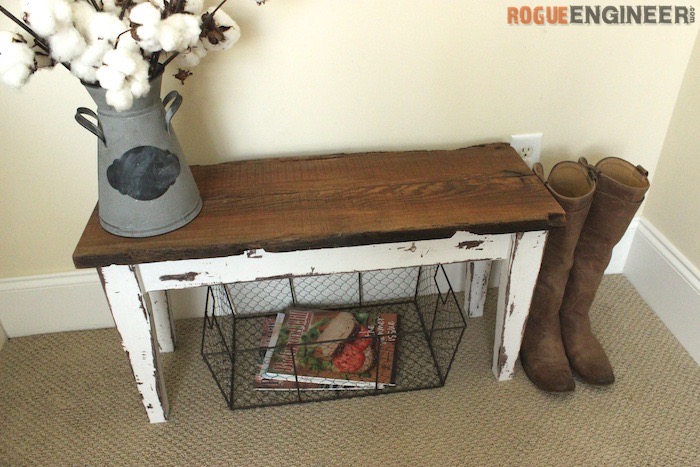
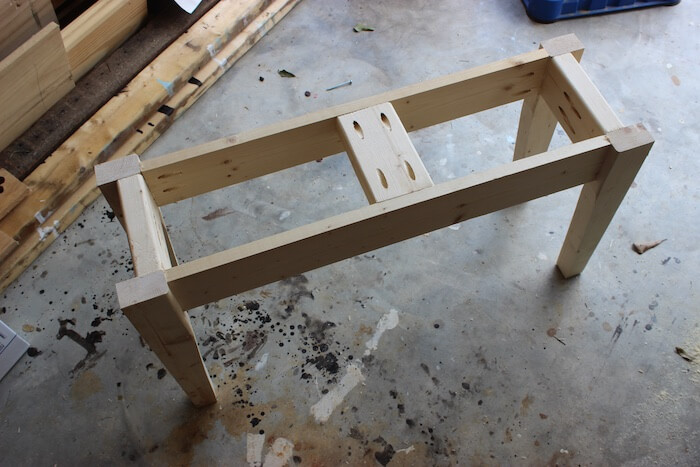
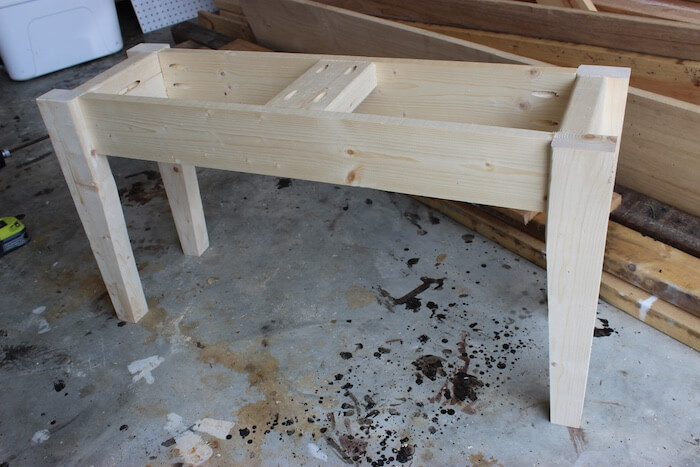
So our dream, well goal, is to live in a farmhouse in the mountains. Raise our kids running around barefoot outdoors and teaching them values that cannot be taught through an iPad. I could go on forever, but I’ll get to the point. My wife is in love with the farmhouse style, so we made this sweet little entry bench that we hope will one day fit perfectly in our quaint little mountain farmhouse. Enjoy!
For sneak peeks of our upcoming projects be sure to follow me on Facebook and Instagram. Also, follow me on Pinterest to get tons of projects plans from all around the web!
Required Tools
- Pocket Hole Jig
- Drill
- Miter Saw
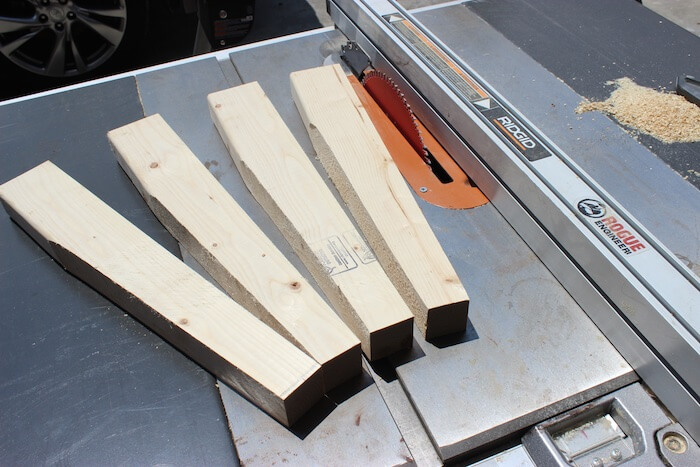
- Table Saw (or access to 2x3s; see cut list)
- Tape Measure
- Pencil
- Safety Glasses
- Hearing Protection
Materials
Disclosure: The links provided in the “materials” and “required tools” sections are affiliate links. If you would like to support our site and help keep our content free come find out more about how we can make money with no extra cost to you.
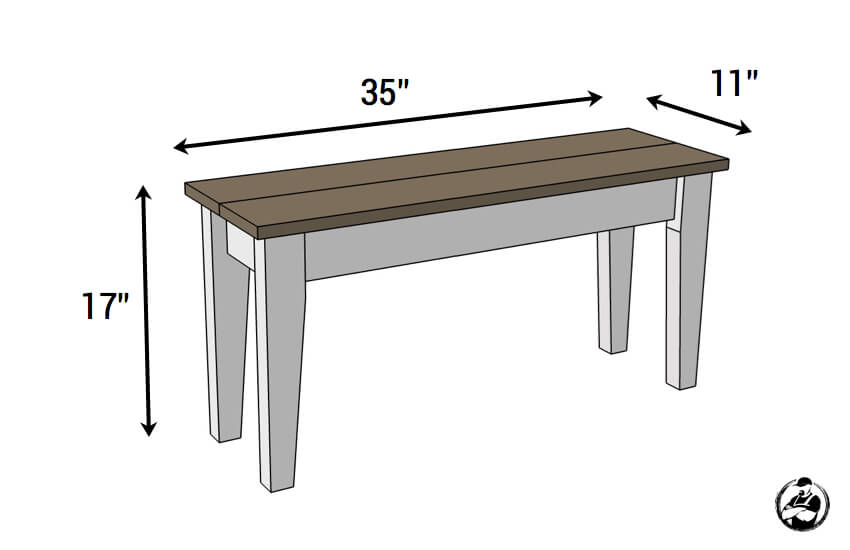
Dimensions
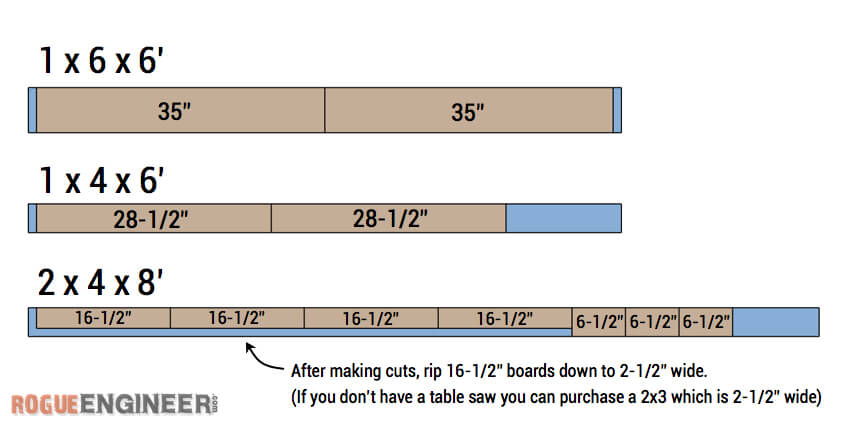
Cut List
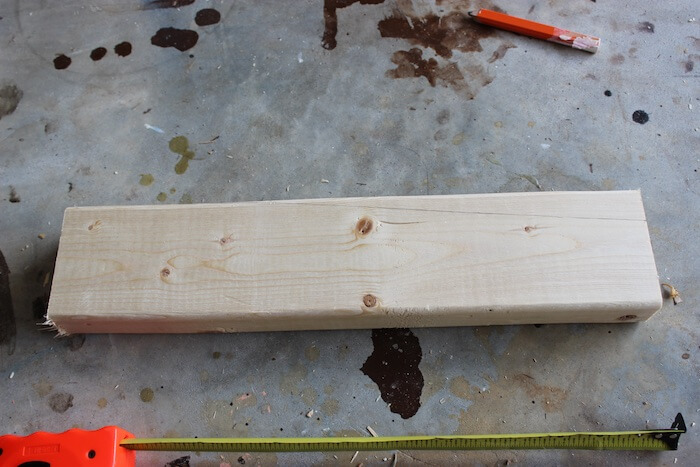
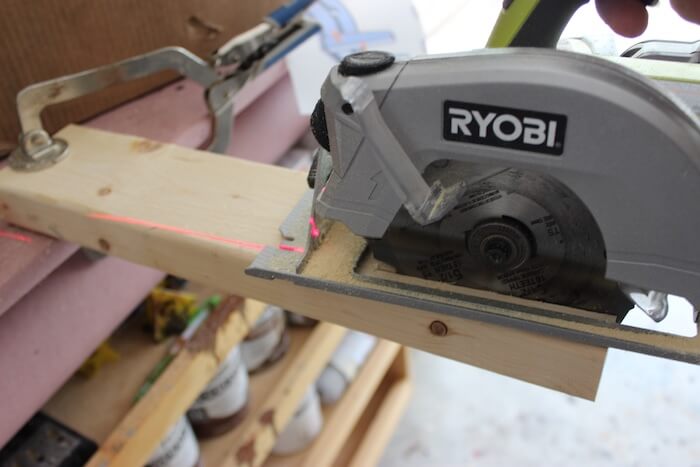
Believe it or not you can actually find 2x3s (actual width = 2-1/2″) at most big box stores, so if you don’t have a table saw you can still build this project.
How to build a small entry bench
Free and easy DIY plans for a small entry bench with farmhouse finish. No woodworking experience required.
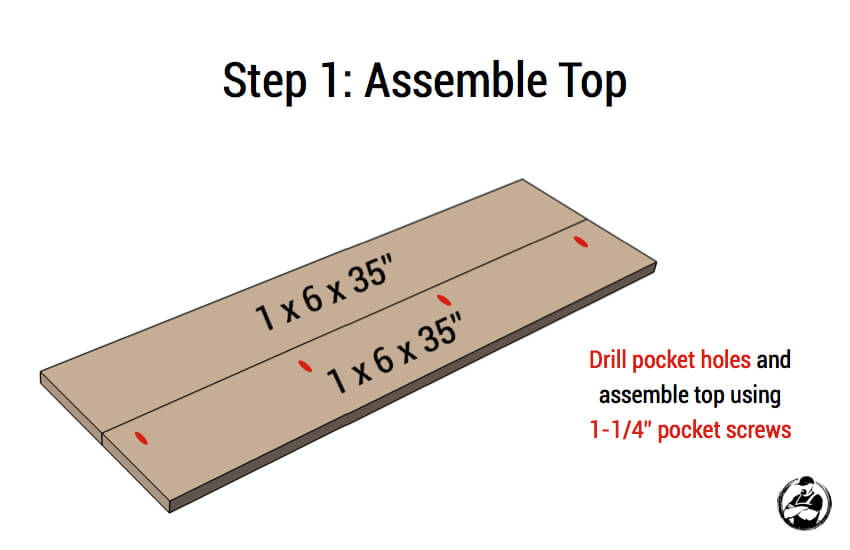
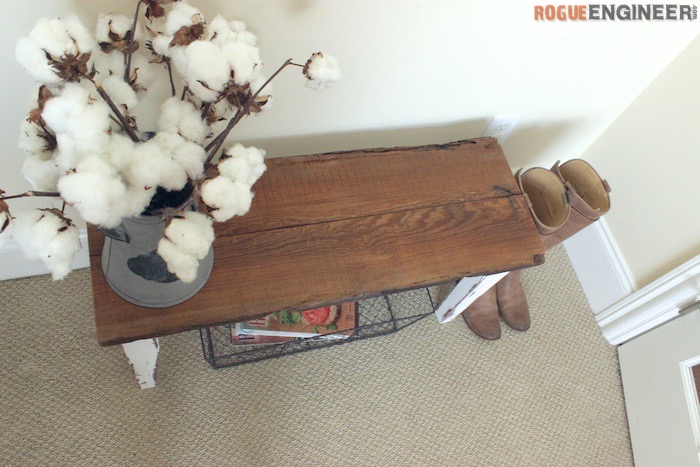
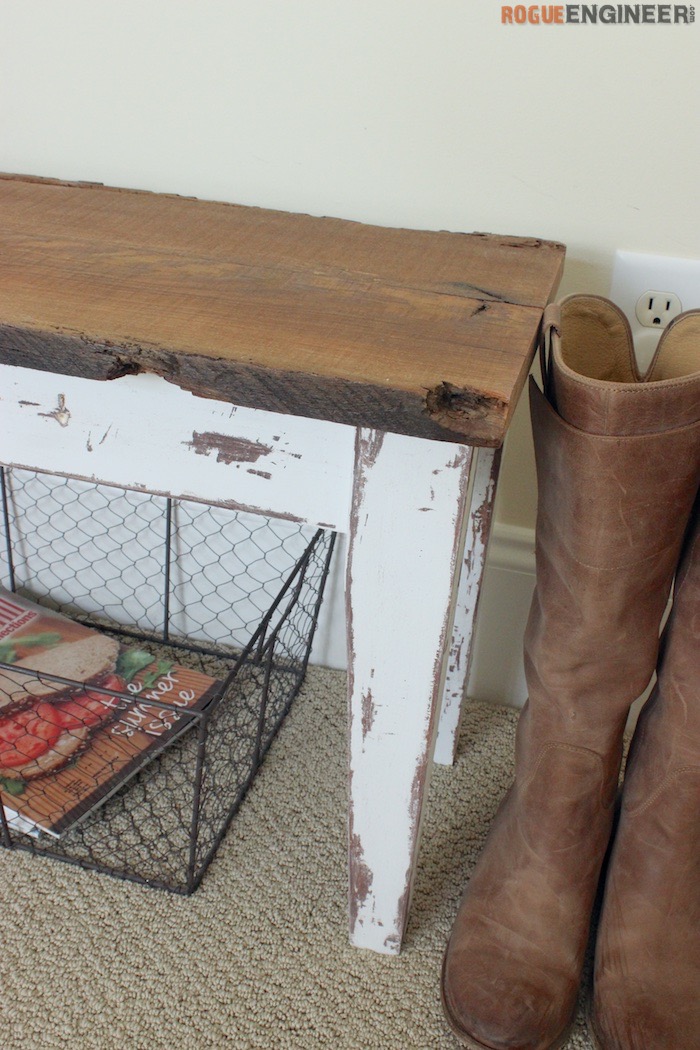
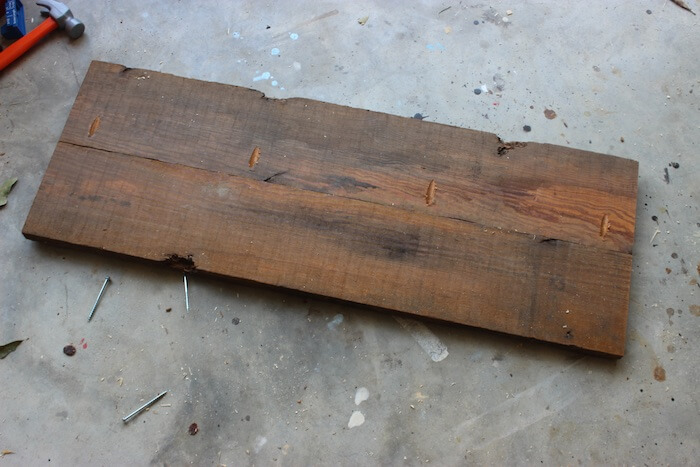
I used some reclaimed lumber I had laying around. It’s super distressed and I think it turned out perfect for this project. You could just as easily use stock 1×6 lumber from the box stores and distress it yourself.
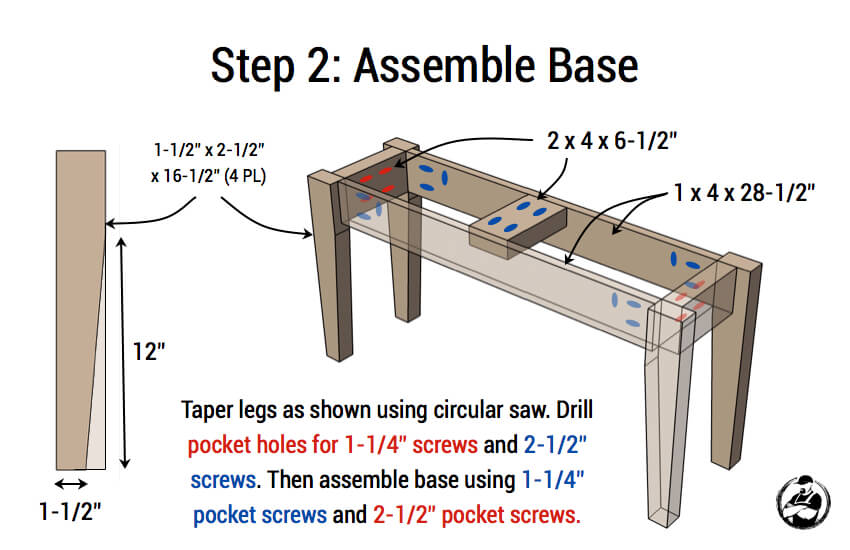
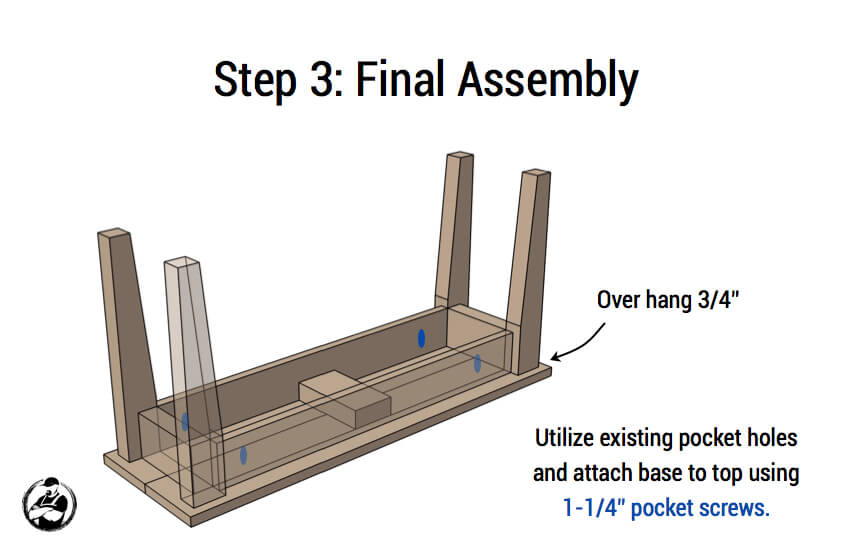
Since our base and top are two different finishes we actually finished them prior to step three to make it easier on ourselves.
Finishing
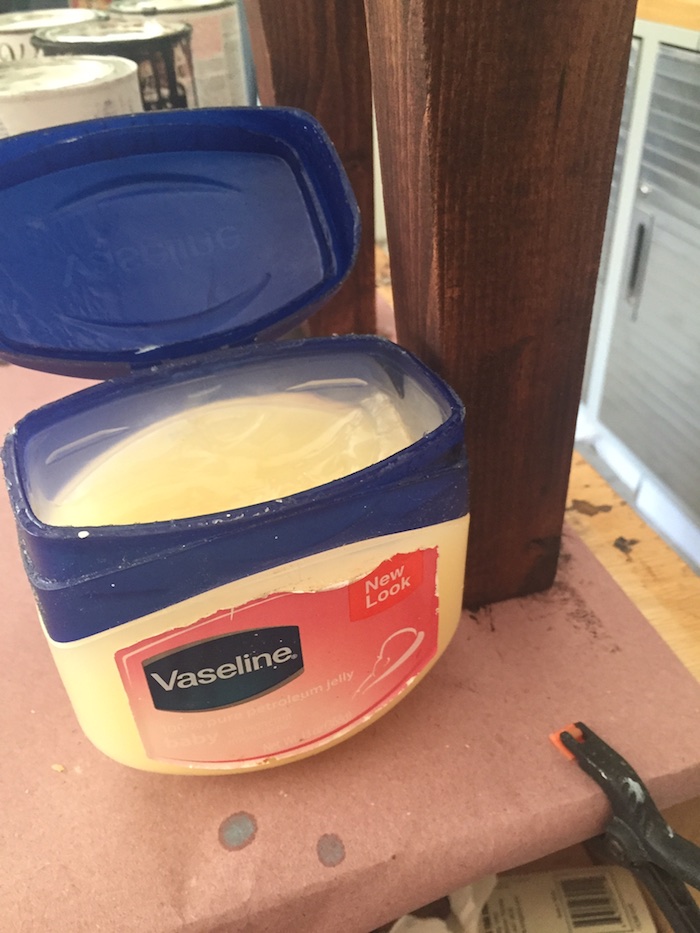
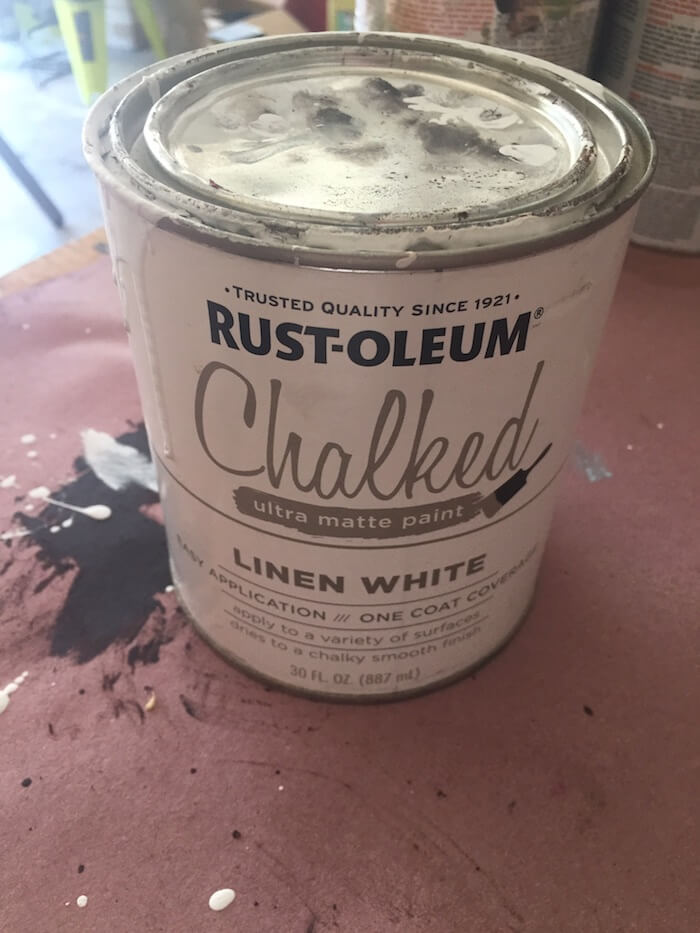
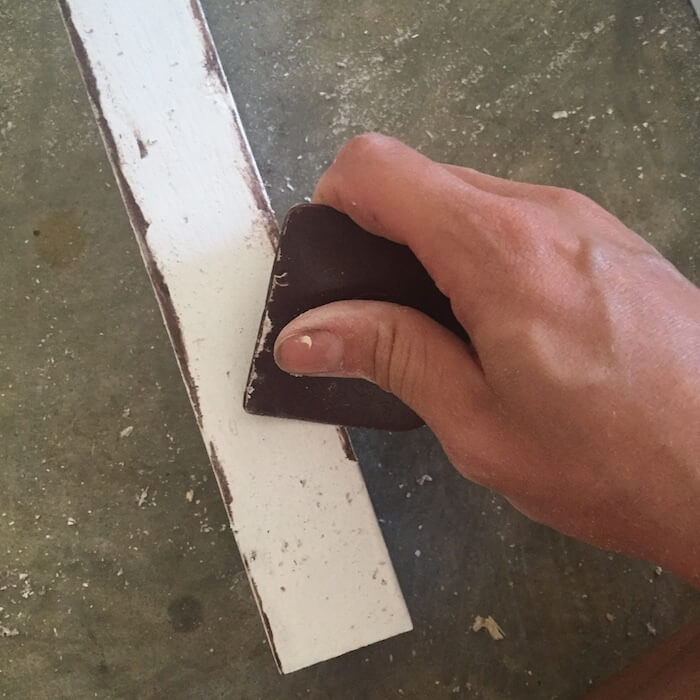
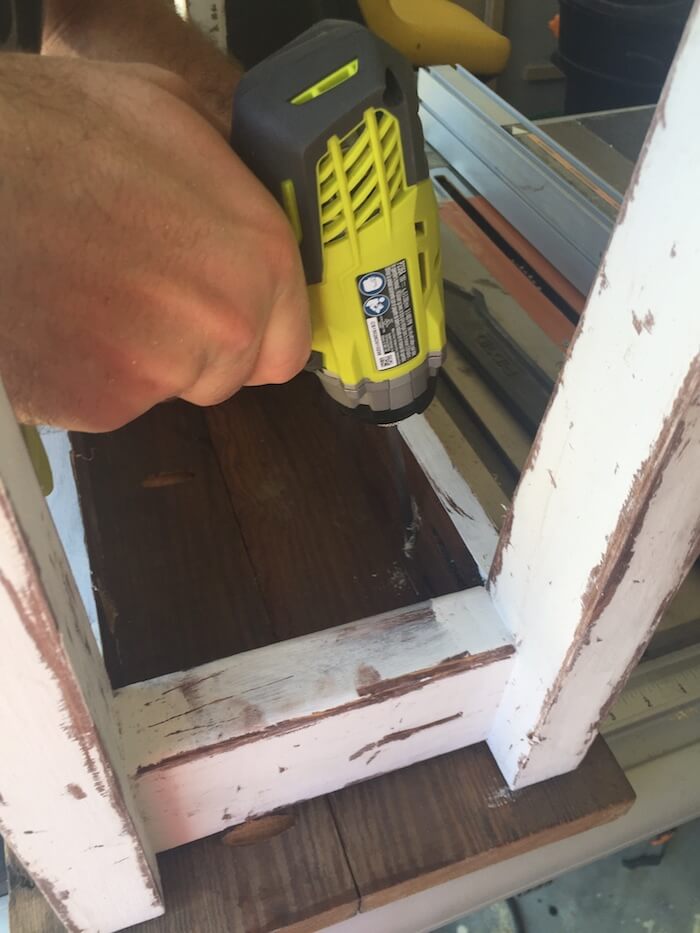
When we were deciding on a finish we really liked to the look of the natural finish for the top so to enhance and protect the natural beauty we used a tung oil finish. For the base we wanted that chippy white paint finish so we started off with Carrington wood stain from Varathane. Then, we applied Vaseline in the areas that we wanted to distress followed by three coats linen white Chalked paint all over. After the paint dried we came back with 220 grit sandpaper and a plastic scraper to distress and remove the paint in the areas where the Vaseline was applied.
Questions? Comments?
As always, if you have any questions don’t hesitate to comment below and especially don’t forget to post pictures of your finished products in the comments! ENJOY!

