
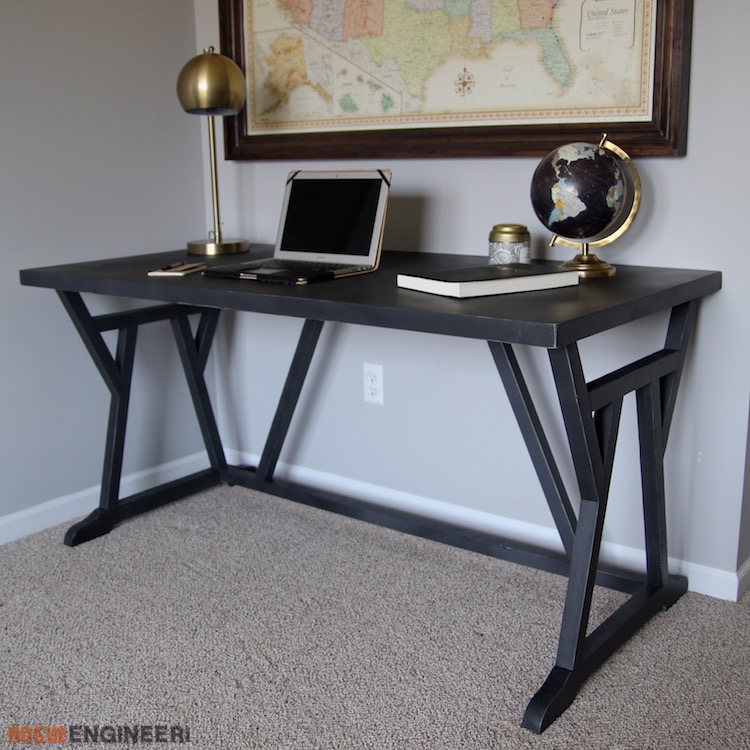
Truss Desk
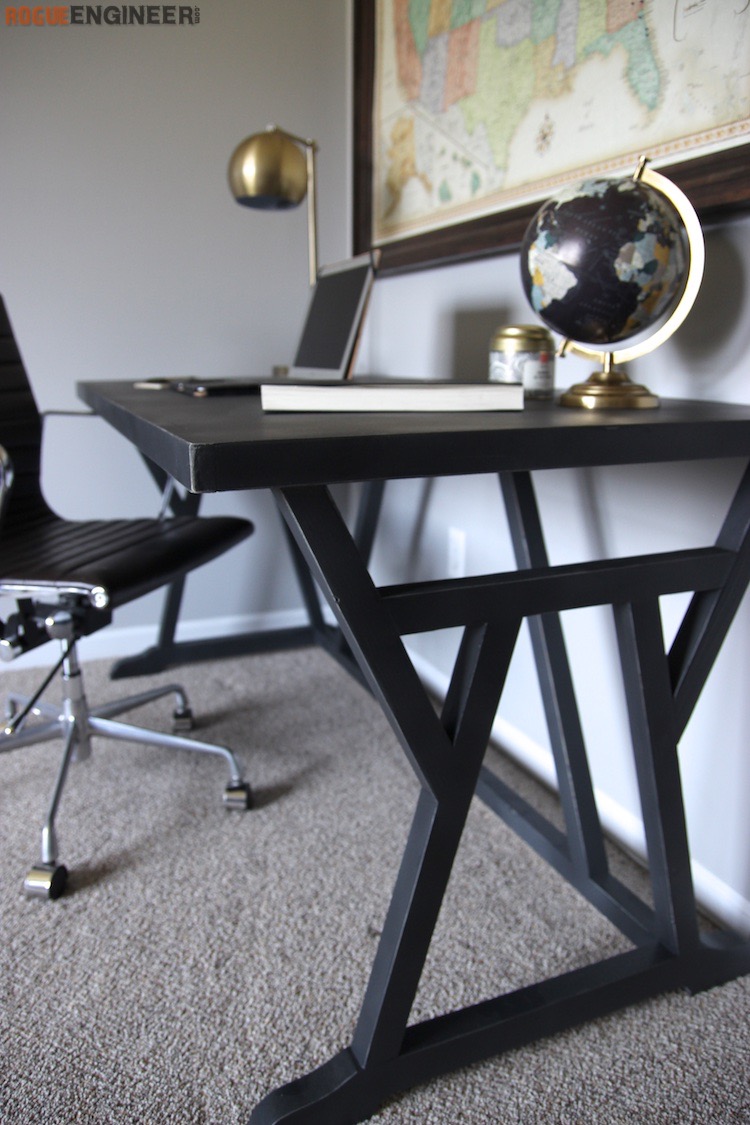
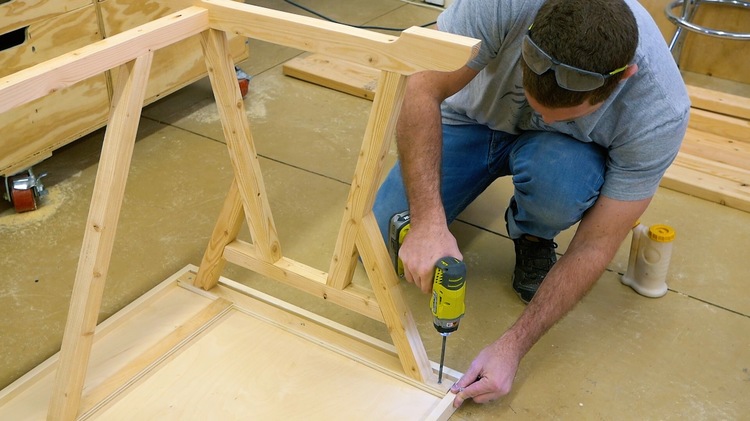
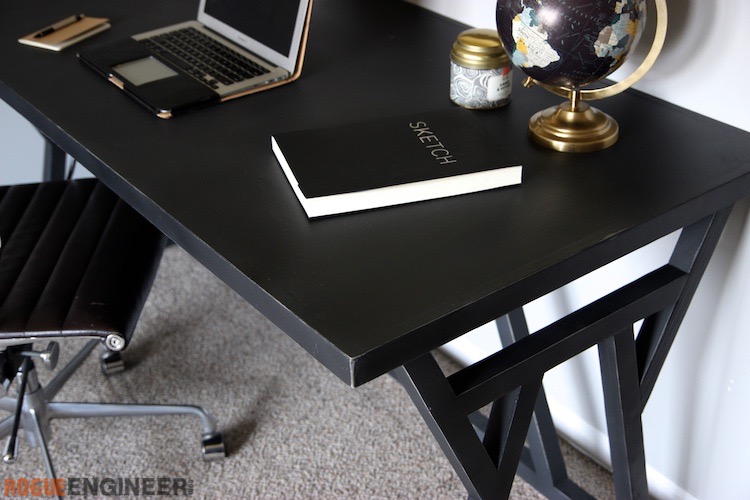
This truss style desk not only looks great but is lightweight and very strong. Not only do the angles add to the style of the table but they increase the stability and strength. That being said, the angles look fan-freakin-tabulous if I must say so myself. And to be honest, they weren’t all that hard to put together.
We were able to build this project in a day and finish it the next day for a total cost of about $75. ($50 of that being the plywood). I was very impressed with the finish that Jamie went with which was a gray primer from Zinsser, Charcoal Chalked paint from Rustoleum (Vaseline and scrape edges to reveal primer) and followed by the Matte Clear specifically for Chalked paints. Enjoy!
Disclosure: This post is sponsored by Rustoleum/Zinsser but the design, color choices, and opinions has not been influenced by this one bit. If you like free content like this, please take a minute to check out their products because it is companies like this that enable me to keep all this content free!
Time to Complete
1 Wknd
Estimated Cost
$75
Skill Level
Intermediate
Required Tools
Materials
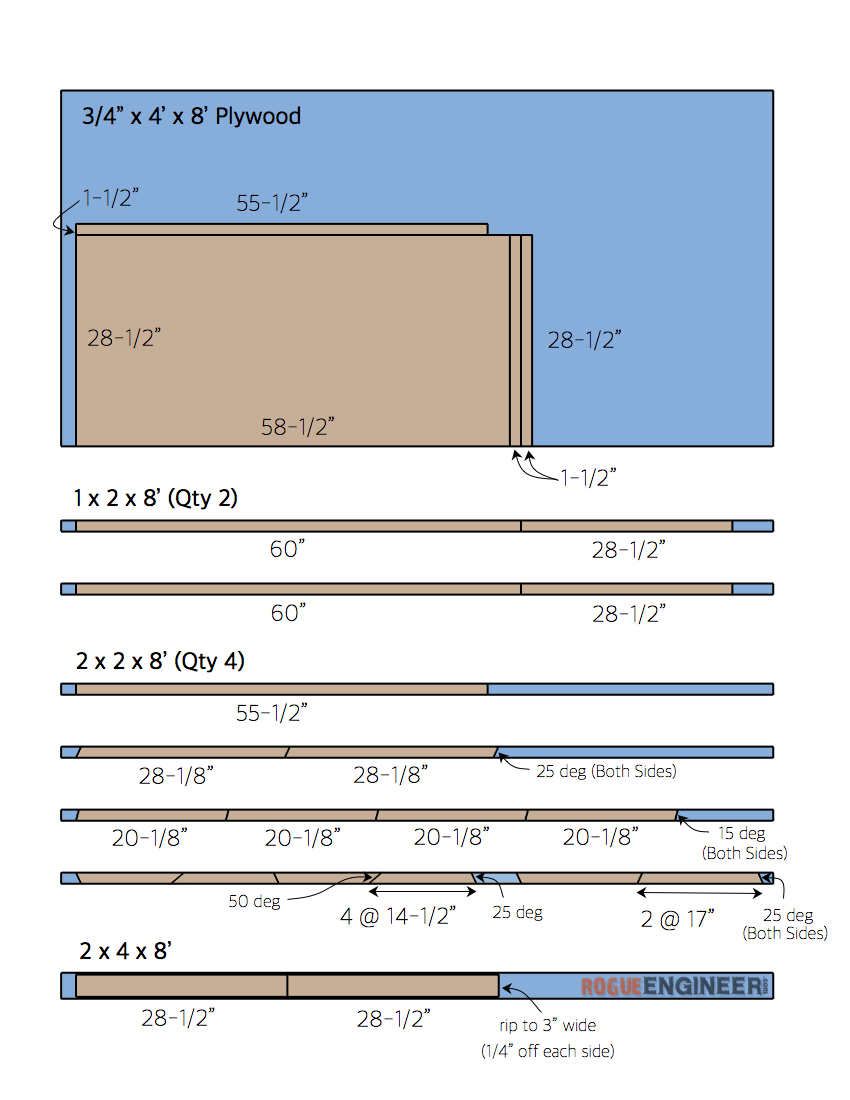
- Qty 1 – 3/4″ x 4′ x 8′ Plywood
- Qty 2 – 1 x 2 x 8’
- Qty 4 – 2 x 2 x 8’
- Qty 1 – 2 x 4 x 8’
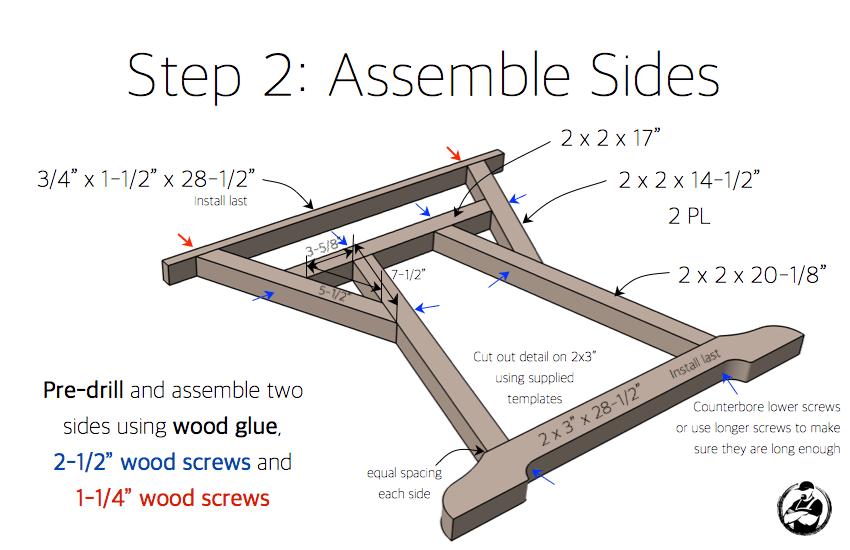
- 2-1/2” Wood Screws
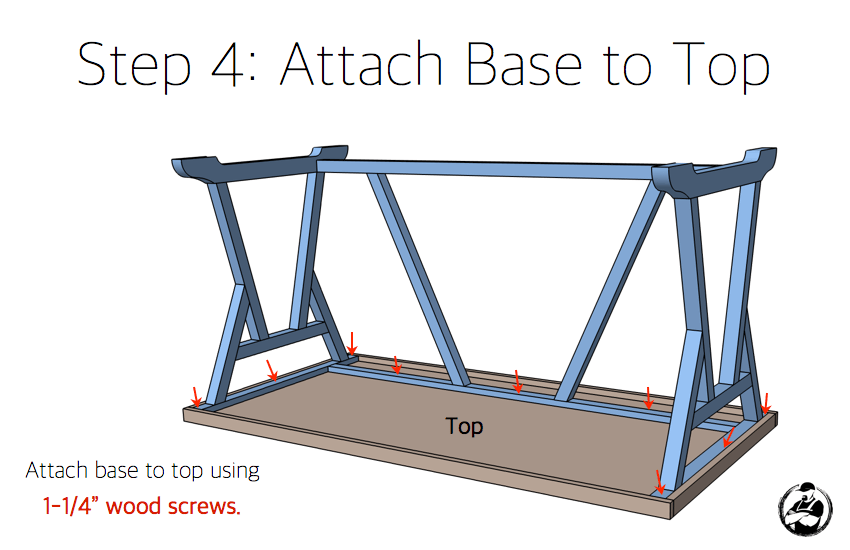
- 1-1/4” Wood Screws
- 2-1/2” Pocket Hole Screws
- 1-1/4” Pocket Hole Screws
- Primer – Gray
- Chalked Paint – Charcoal
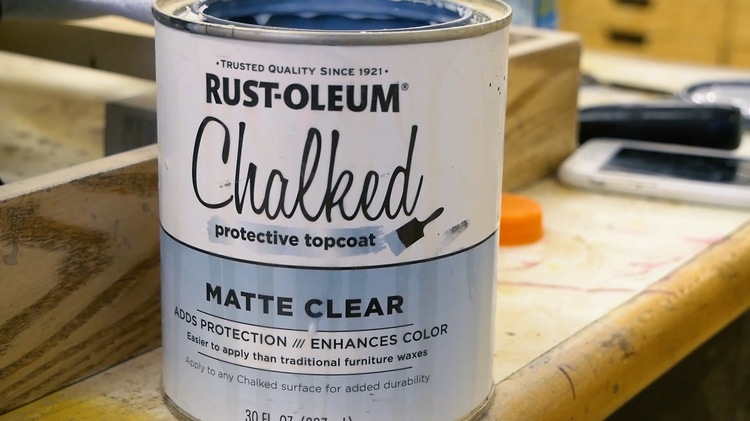
- Matte Clear Protective Topcoat
Disclosure: The links provided in the “materials” and “required tools” sections are affiliate links. If you would like to support our site and help keep our content free come find out more about how we can make money with no extra cost to you.
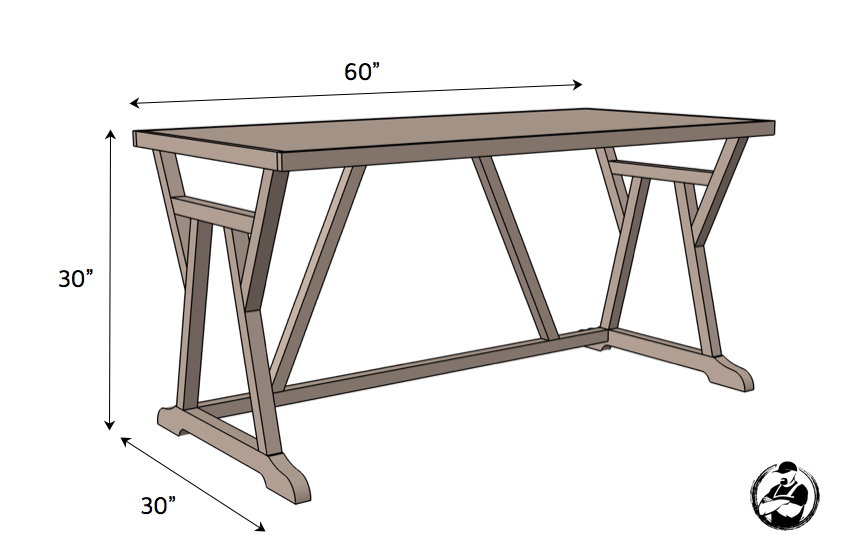
Dimensions
Cut List


Finishing
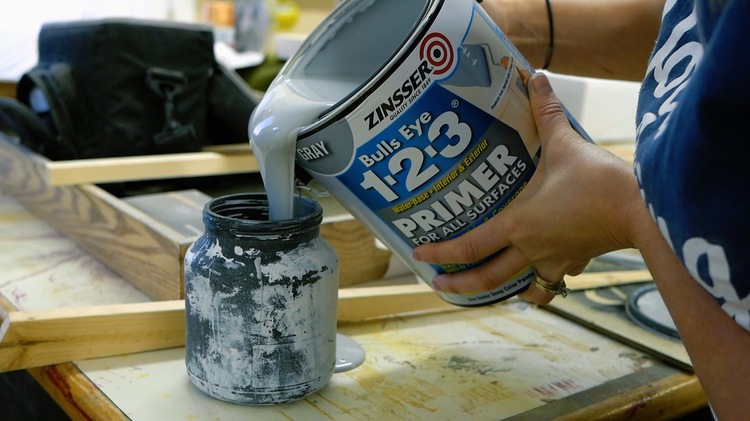
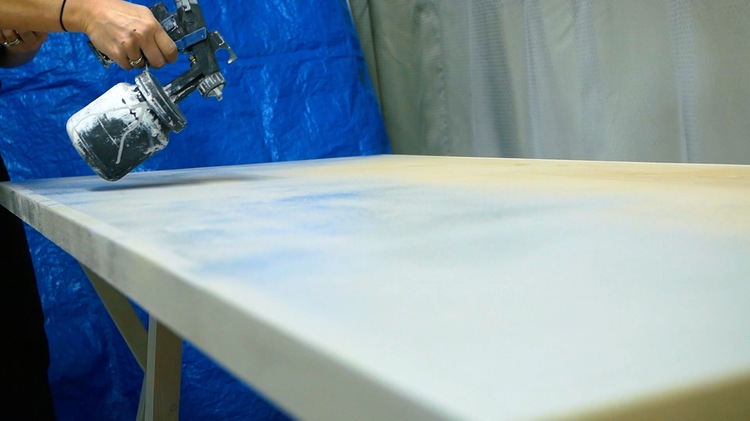
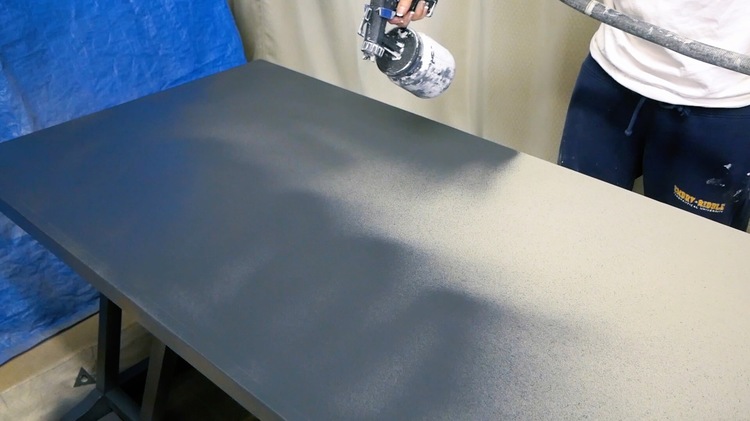
Before applying a finish, Jamie first sanded the entire piece with 220 grit sandpaper. After the dust was removed she then primed the bare wood with a gray primer from Zinsser. This product is great for deeper darker colors instead of the regular white primer because it helps provide a more even coverage for the topcoat.
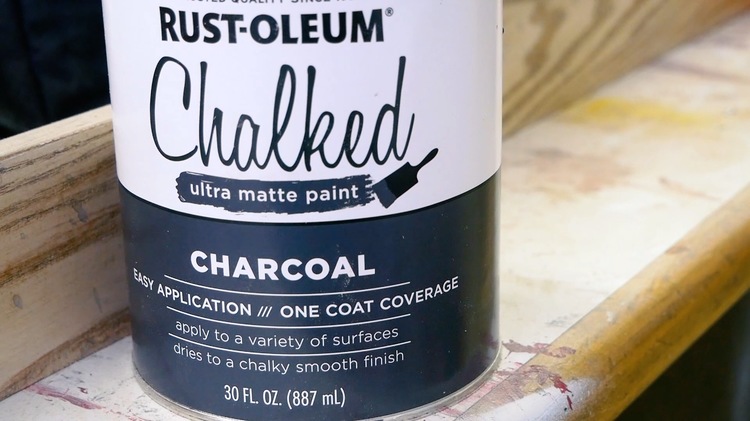
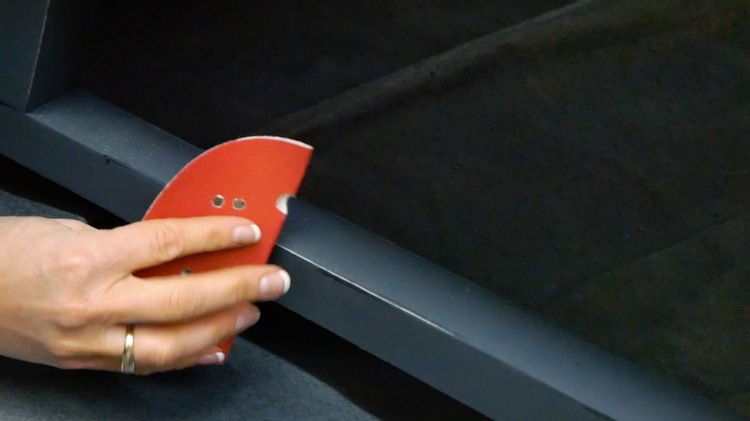
After that dried she then added just a little vaseline to the edges so the top coat could be removed easily to expose the gray primer. Then she finished it off with Chalked paint from Rustoleum in Charcoal. Once that was dry she used some sandpaper to lightly scrape the edges, removing the topcoat only, to expose the gray primer. Finally, since this project will be seeing a lot of use we wanted to make sure it was protected so we did so with a Matte Clear specifically for Chalked paints.

Questions? Comments?
As always, if you have any questions don’t hesitate to comment below and especially don’t forget to post pictures of your finished products in the comments! ENJOY!
I’m a bit confused, looking at the cut list it shows a couple of pieces of plywood or is it just the one for the top and the rest is some kind of hardwood of choice. Are those other measurements the 1 1/2 trim pieces cut from the top or cut separately. In other words, you have one big piece of ply for the top cut to 28 1/2 x 58 1/2″ are those 1 1/2 ” pieces the trim made out of plywood?
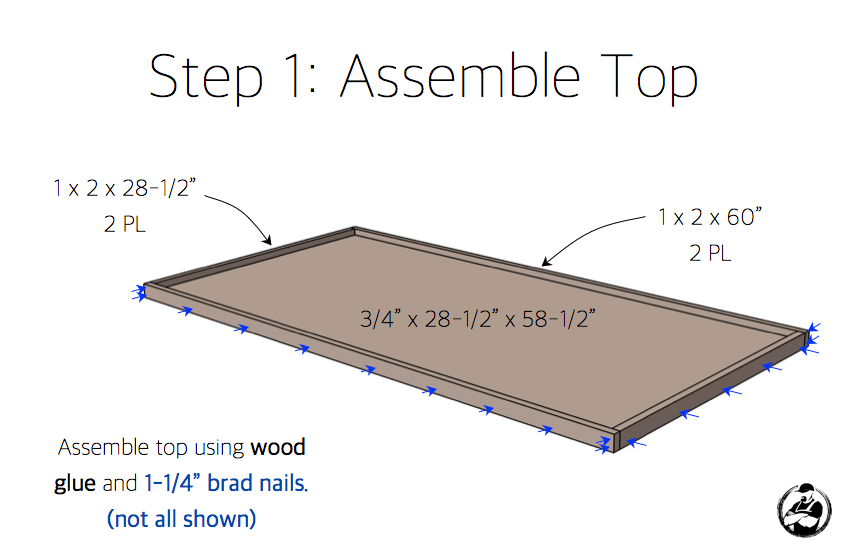
looks like those pieces go under the top between the legs and the top
Okay, now looking at the picture the rear legs don’t seam to go to the end of the top piece, looks inside that end by a few inches???
I love this design and currently trying to scale it down slightly for my guest room. However, I am not entirely sure how short I could make the 2x2x17″ support on the sides without causing structural problems? (I would like to use a 45×21″ piece of plywood for the top)
https://uploads.disquscdn.com/images/71a98cbd3d12c6d38c6ad9658c72fbf16bf500b0b916ebe15b691b8234ff1a53.jpg https://uploads.disquscdn.com/images/df64c8eabef017d3fcd03d041a57658954c9c9834122dec49b369d95851735fe.jpg Sweet one Saturday project
Stained, Painted and done!!!
https://uploads.disquscdn.com/images/22c26157352eedf282e489404d7e19709d011b653882d8ccebbeffef1e12cf4c.jpg