
Vision Board
My inspiration for this board came from many long talks with my husband about our future, goals, and dreams for our family. We can picture exactly where we want to be and how to want our children to grow up. I can see my sweet baby girl running into the house with a handful of wildflowers or out back picking raspberries with her mama while my son runs wild with our dog.
Our hope is to one day be living our vision board. But as for now, we can wake up every morning and see exactly what we are working towards. As you can imagine, running Rogue Engineer requires some serious hours. On top of the website my husband works full time as a aerospace engineer and we have two small children. Lately it seems like we work non-stop! But when we are working on the website we are doing something we LOVE and we get to do it together.
That is why I wanted to make this board and to share it here with you all, who have supported us and continue to support us along the way! Every time you build our projects, share our pictures, tell a friend, leave a comment, like our pictures on social media, or simply just browse the website; you are helping our family get one step closer to living our dream. I can’t thank you all enough for the support and encouragement.
OK and now that I’ve gone on forever, here is how you can make your own vision board and start working towards your goals!

For sneak peeks of our upcoming projects be sure to follow me on Facebook and Instagram. Also, follow me on Pinterest to get tons of projects plans from all around the web!
Pinterst Photo
Required Tools
- Pocket Hole Jig
- Drill
- Miter Saw
- Brad Nailer
- Table Saw or Circular Saw
- Hammer
- Sander
- Spray Adhesive
- Tape Measure
- Pencil
- Safety Glasses
- Hearing Protection
- Staple Gun
- Scissors
Materials
- 1 x 4 x 8′ Common Boards; Pine
- 1/2″ plywood (I used scrap)
- 1 Yard Cotton Linen Natural Fabric
- Upholstery Nails
- Clothespins
- Twine
- 1-1/4″ Pocket Hole Screws
- 1″ Brad Nails
Disclosure: The links provided in the “materials” and “required tools” sections are affiliate links. If you would like to support our site and help keep our content free come find out more about how we can make money with no extra cost to you.
How to build a Vision Board
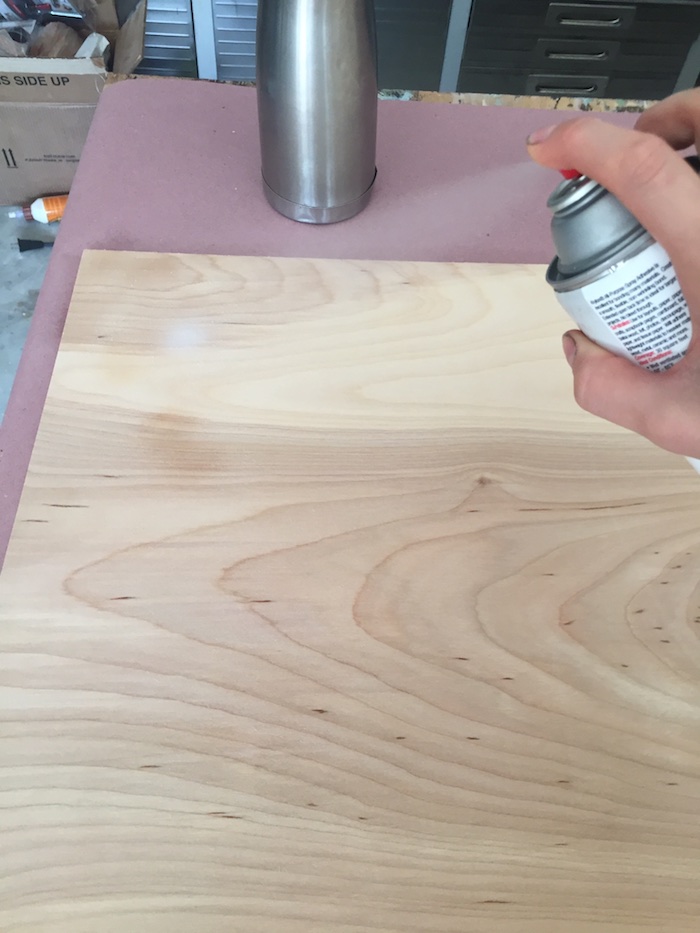
Step 1: Assembling the backboard
I cut the 1/2″ plywood using a table saw to 27″ by 32″. You can make this step any size that you wish to fit the area that you are going to hang your vision board, just be sure you have enough of the fabric to cover the board. Spray the board using the adhesive spray.
Place the glue side of the board down on top of the fabric. This keeps the fabric from moving around on you.
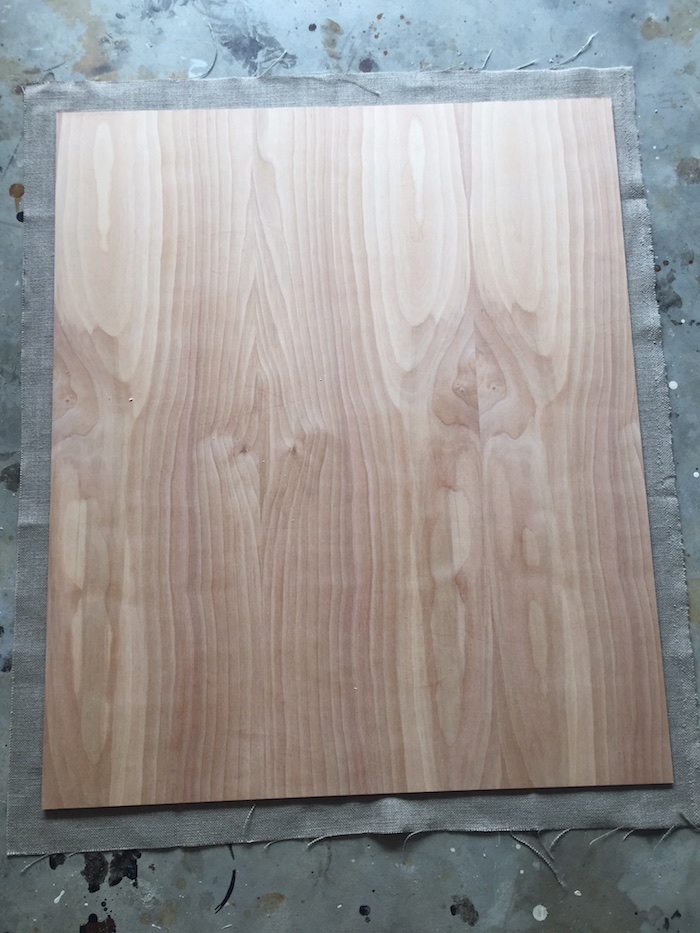
I then turned the board over and used my hands to smooth out any bumps in the fabric. Once the fabric is smooth you can flip the board back over and being wrapping the fabric around the edges and stapling into place.

Step 2: Assemble the frame
To make the frame I cut my 1X4 board into 2 pieces at 25″ and 2 pieces at 37″. Then using the my Kreg jig I drilled 2 pocket holes on each side of the 25″ boards.
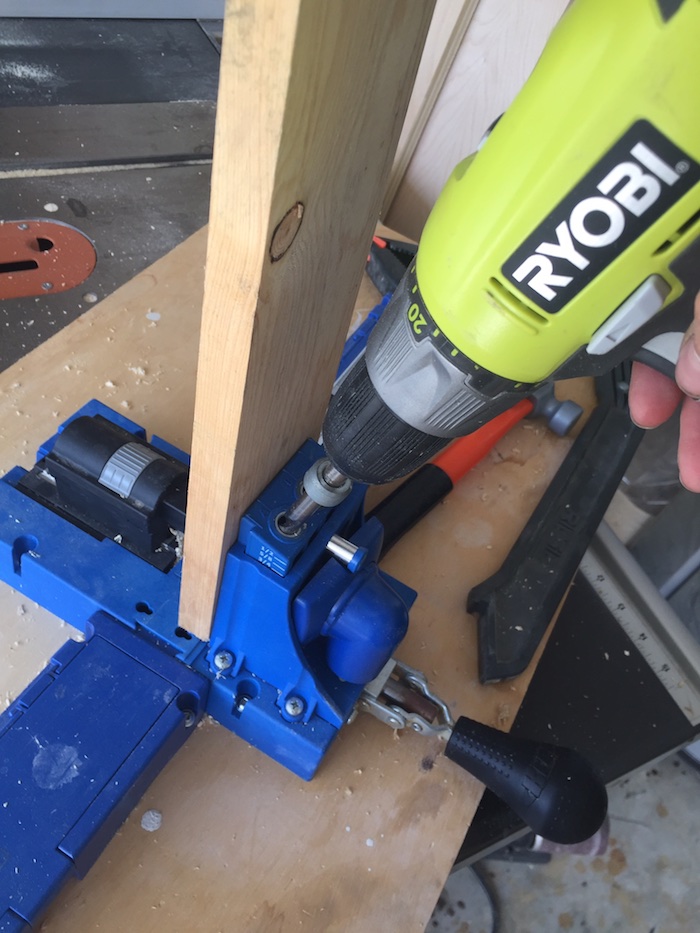
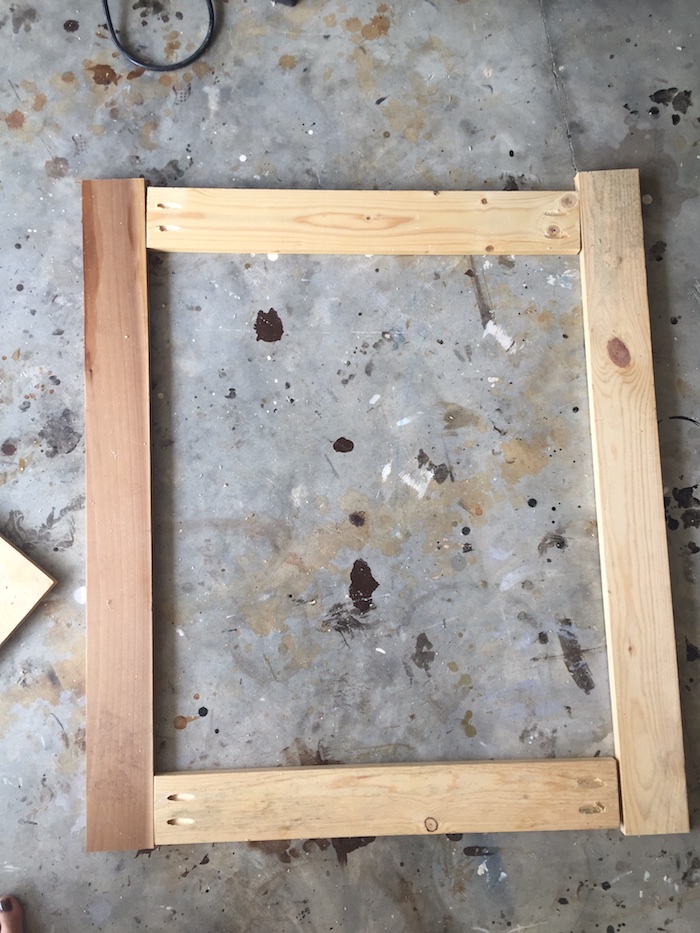
Then using your drill and 1 1/4″ pocket hold screws, screw the boards together.
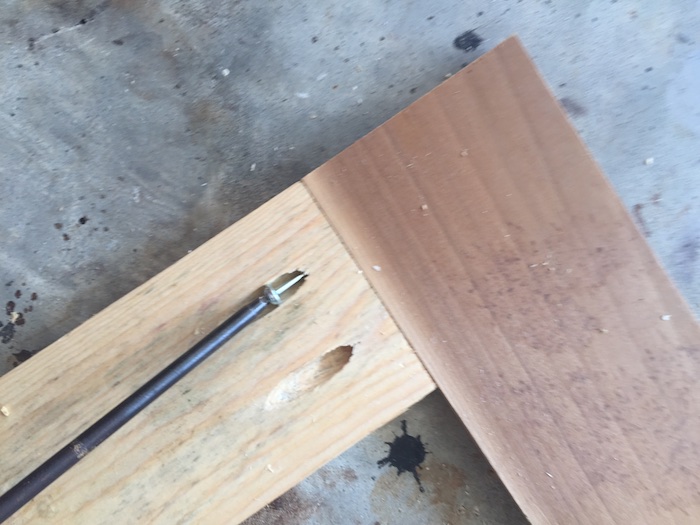
Step 3: Finishing Frame
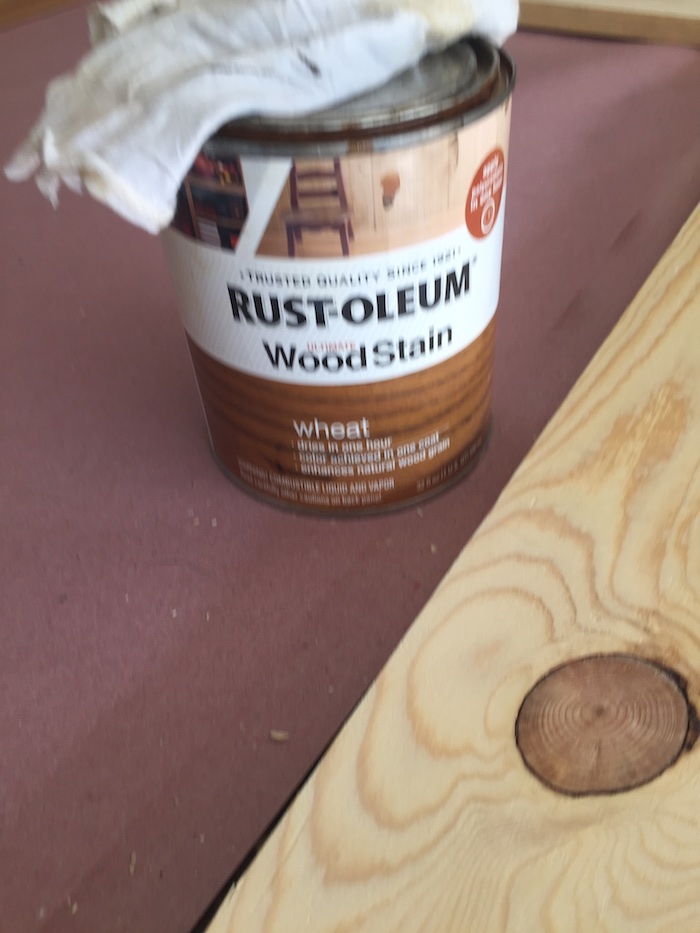
Before attaching the backboard, sand and finish the frame. I started this process by first prepping my frame using an orbital sander and 220 grit sand paper. Once I had a smooth frame I applied Rust-Oleum Wheat to the edges of the frame using a stain rag. I wasn’t worried about doing a great job because the next step will be painting and distressing.
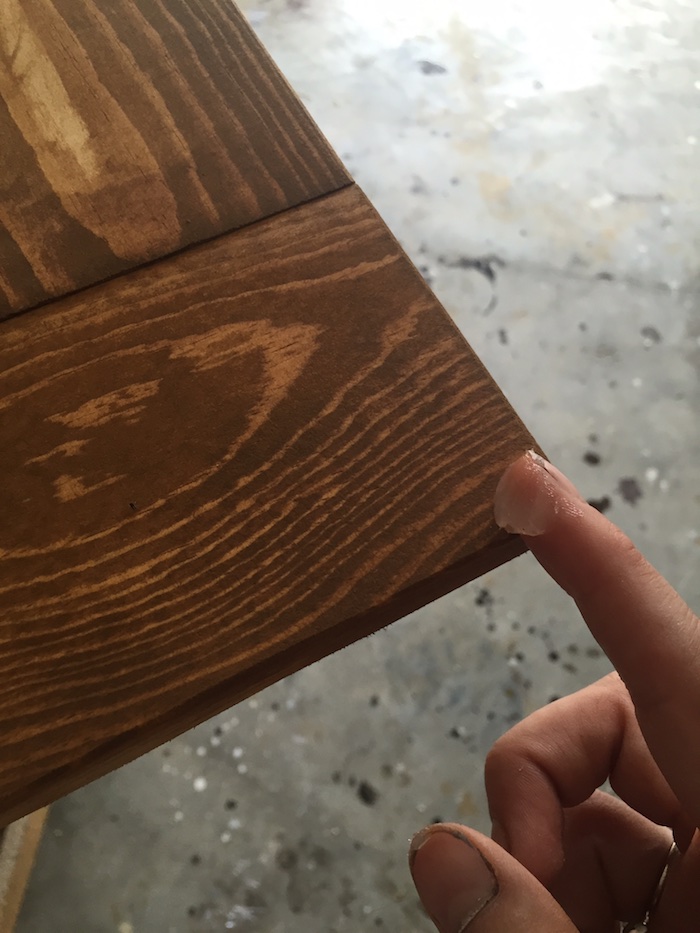
Once the stain has dried, I applied vaseline to the edges of the frame where i wanted to distress and let the stain show through. You can see more on this technique here.
I then applied 1 coast of Rust-Oleum Chalked Paint in Charcoal using a paint brush. After about 30 minutes I went back over the edges lightly with 220 grit sand paper to distress the frame.
Step 4: Attach backboard to frame
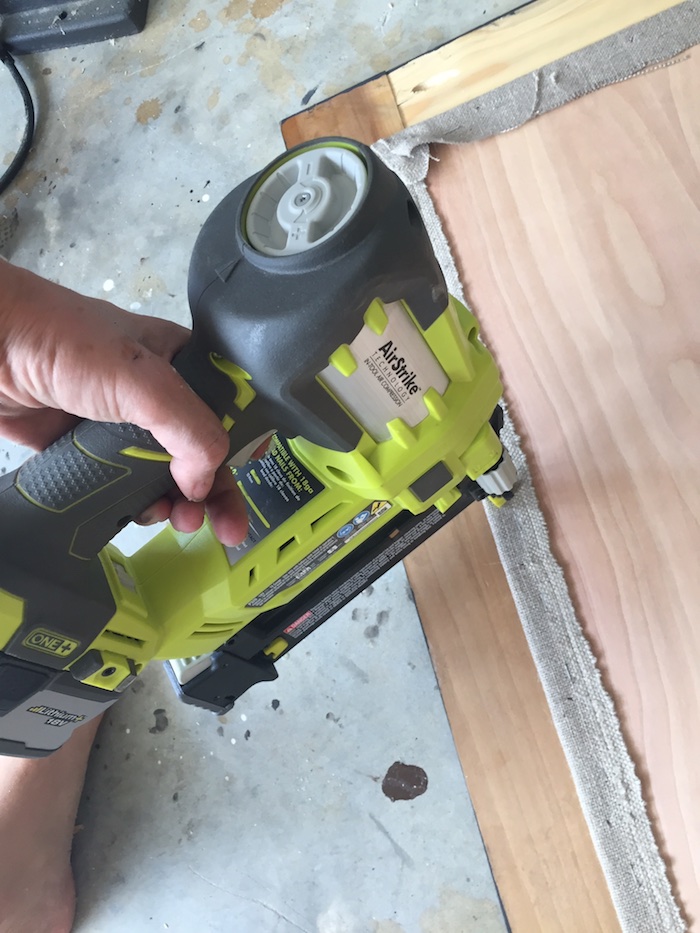
Place the backboard on the backside of the frame, fabric side down. The backboard will sit about 1″ in on each side of the frame. Using the brad nailer and 3/4″ brad nails nail the backboard to the frame.
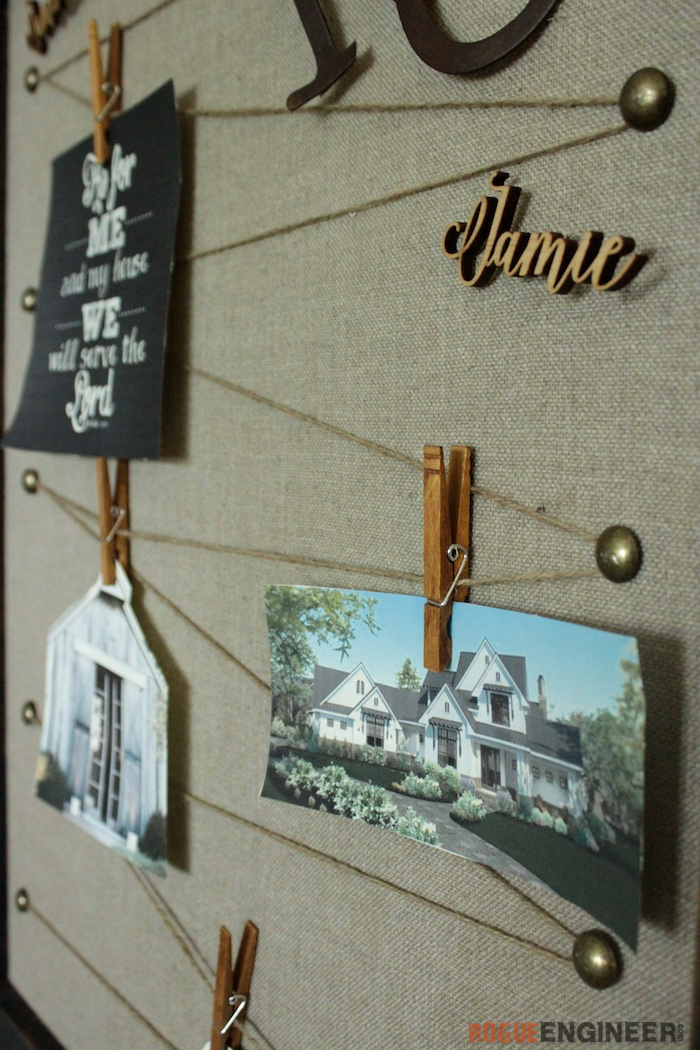
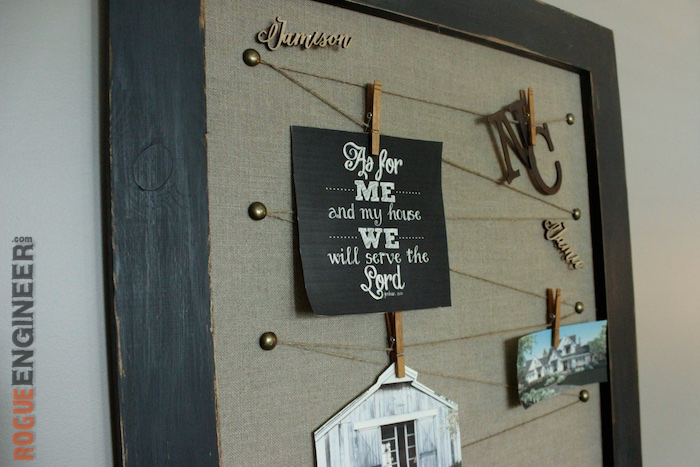
Step 5: Add the details
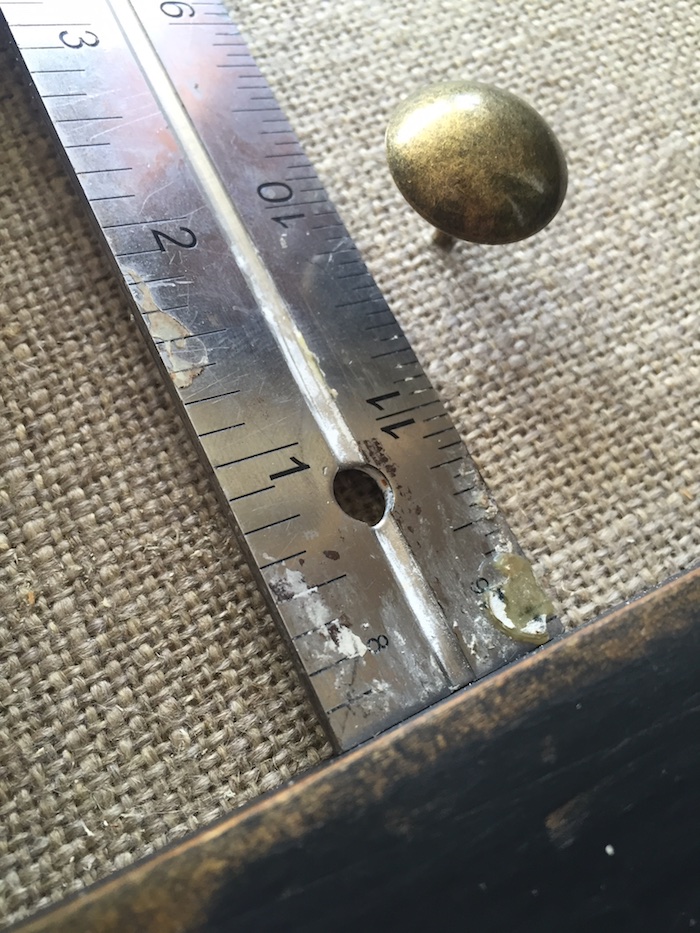
Here you can decide how many and where you would like to attach your string and nail heads. I chose to do 5 down each side and zig zag my string across. To start I measure the center of the backboard, and marked where my pin would go. From there I measure towards the edges with about 6″ in between each nail and placed the nails about 2″ from the edge of the frame.
Note: Marking and measuring here will make sure your nail heads are straight perfect, mine got a little funky because I am better at telling people what to do then actually doing it 🙂
Tie a knot around the first nail. This nail will be on the top corner of the board. Oh, and lets not judge my dirty paint stained hands… I’ve been busy building things!
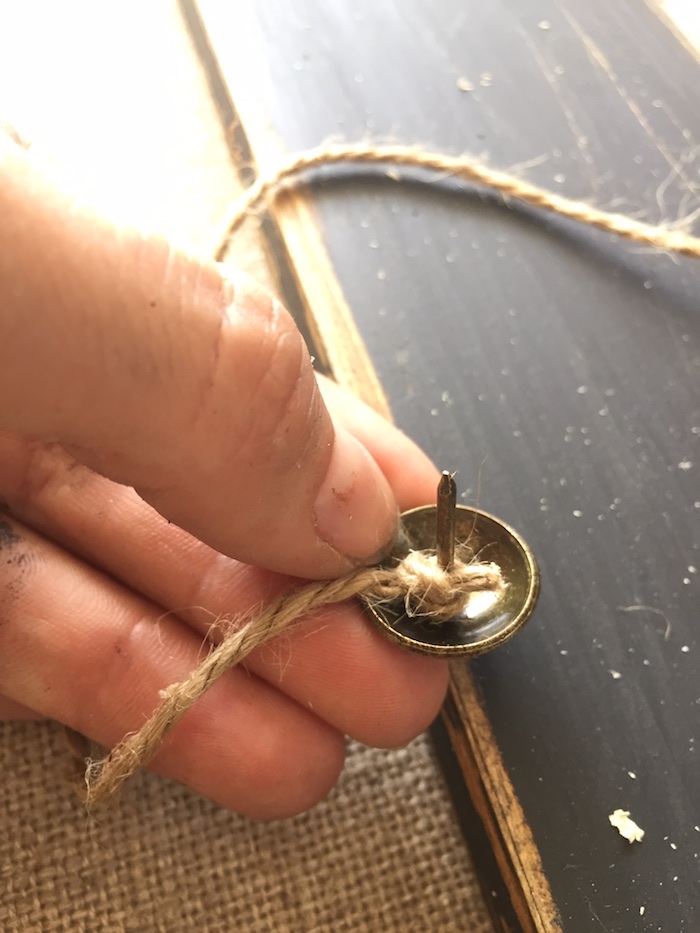
Using the hammer nail the first nail into the board. Then pull the string over to the other side where you will be placing the second nail directly across. Loop the string around the nail, and hammer the second nail into place. 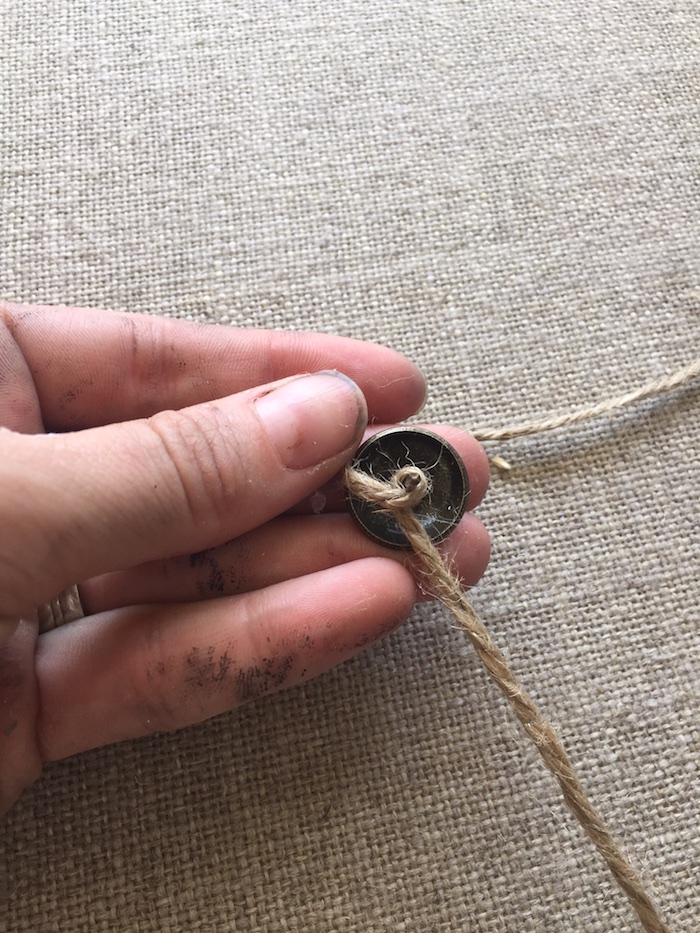
Continue looping the string around the nail heads and hammering into place in a zig zag pattern. Once you get to the end nail, tie the string around the nail, cut off excess string, and hammer into place!
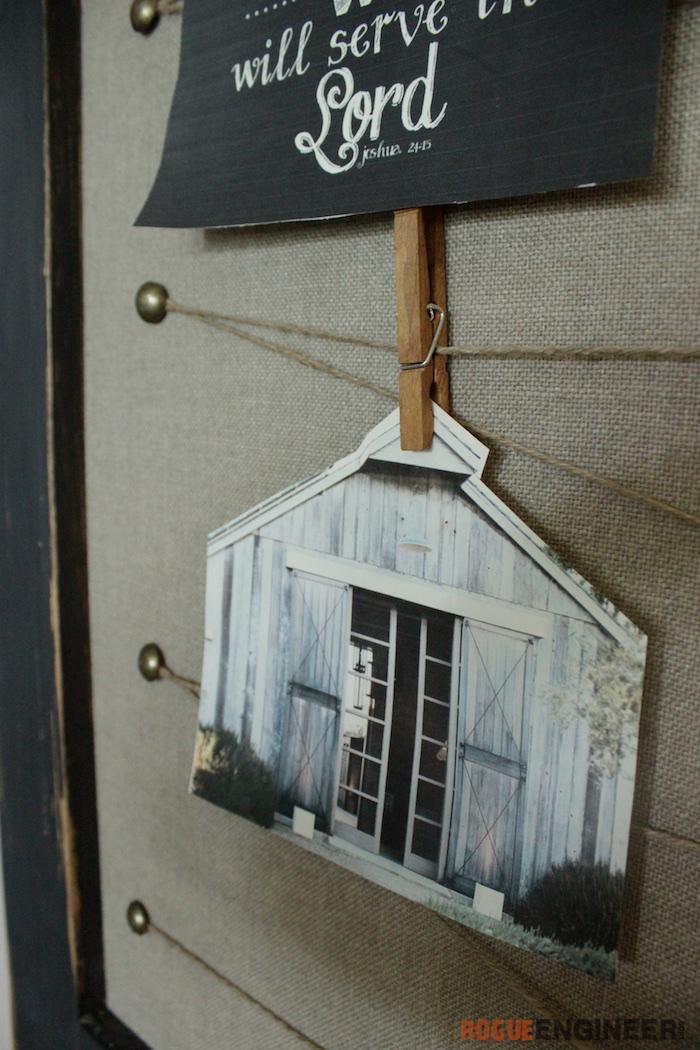
Step 6: Use the clothespins to create your vision
Remember your dreams are only your dreams until you write them down… then they are goals!
Questions? Comments?
As always, if you have any questions don’t hesitate to comment below and especially don’t forget to post pictures of your finished products in the comments! ENJOY!
Where did you find the cute little pins with your names on them to put on your board!? I’m in love with them and can’t find where to buy some!
We actually received them at an event. I have no idea where they came from.
Great instructions! I would just like to kindly mention the dimensions noted for the 1x4x8′ Frame doesn’t quite match up with the required 2 pieces at 25″ and 2 pieces at 37″.
25″x2=4.16′
37″x2=6.16′
Total required length is 10.32 feet
Luckily I had spare lying around that I could make the difference but just wanted to give the heads up.