
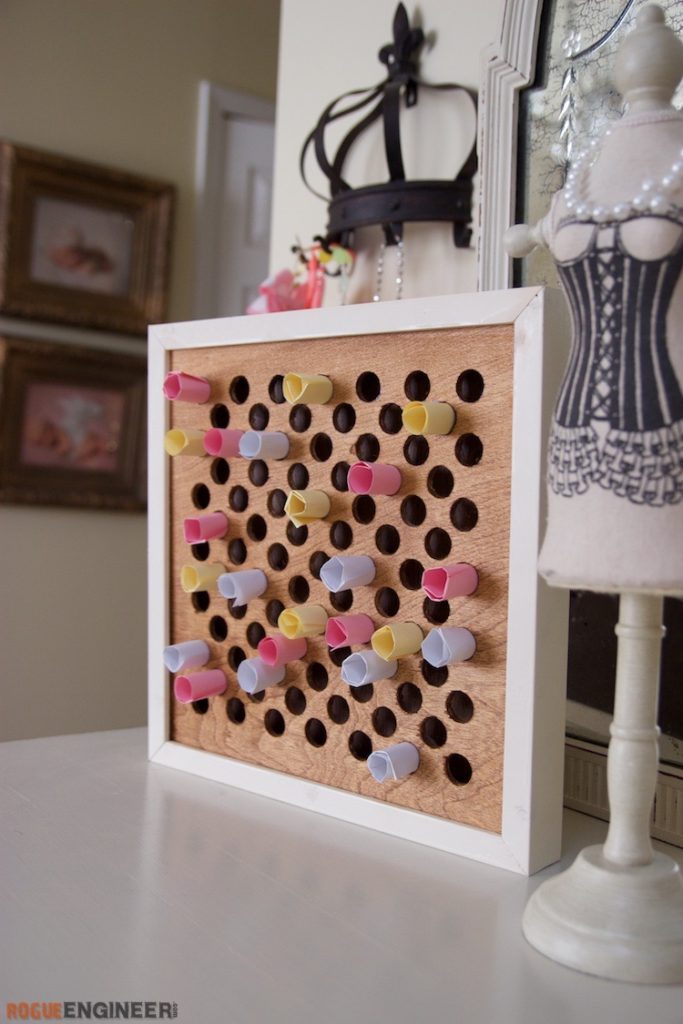
Wishing Wall
A wishing wall is traditionally used for a crowd of people to leave notes of hand written wishes to another. This is a great idea for a wedding, baby shower, or other gatherings like that. Jamie came up with the idea to make a smaller version of this and write a bunch of notes to our children so that they may have something uplifting to look at for years to come. These could be motivational quotes, heart-felt messages, words of wisdom, bible verses, etc. While this is a small project, it will take some time and a whole lot of patience to complete. So if you are looking for a meaningful gift for that special someone or couple in your life then this is it. Enjoy!
For sneak peeks of our upcoming projects be sure to follow me on Facebook and Instagram. Also, follow me on Pinterest to get tons of projects plans from all around the web!
Required Tools
Materials
- Qty 1 – 1/4″ x 2′ x 2′ Plywood
- Qty 1 – 1 x 2 x 8′
- 1-1/4″ Brad Nails
- Wood Glue
Disclosure: The links provided in the “materials” and “required tools” sections are affiliate links. If you would like to support our site and help keep our content free come find out more about how we can make money with no extra cost to you.
How to build a Wishing Wall
Step 1: Cutting the Panels
Cut two 1/4″ thick plywood squares at 12″ x 12″ or slightly under if your panel is exactly 24″ x 24″.
Step 2: Drilling the Holes
This is the fun part. NOT. Evenly space and locate the holes, then drill 3/4″ holes through one panel using a 3/4″ forstner bit. While this can be a pain, I hope to ease that pain buy providing a template for laying out the hole locations. I would recommend drilling the holes using a drill press but if not a cordless drill will work too. If you opt to make a different size frame then this template may or may not work for you.

Step 3: Cutting the Frame
Now it is time to make the picture frame. We made ours out of a stock 1×2″ and mitered the corners at 45 degrees. There are many methods of cutting a picture frame but the one I have found to work the best is using a cross cut sled or miter gauge combined with an electronic angle gage to make sure your table saw blade is set to exactly 45 degrees. Now that you’ve got the angle right you’ll need to cut them to the right length. Since we will be setting the 12″ square panel into a 1/4″ deep dado (cut in the next step), the inside of out frame should be 11-1/2″, making the long side 13″.
Note: You can always cut these miters on a miter saw or with a hand saw and miter box as well.
Step 4: Cutting the Dados
Swap out the traditional blade on your table saw for a 1/4″ dado blade stack. Then cut two 1/4″ deep dados on the inside of your frame pieces, one set back 1/4″ from the front and another 1/4″ from the back.
Step 5: Finishing
You may finish however you like be we opted to go with with the following:
- Frame – Bullseye Primer then Chiffron Cream Chalked paint
- Front Panel – Provincial Stain by Varathane
- Rear Panel – Dark Walnut Stain by Varathane
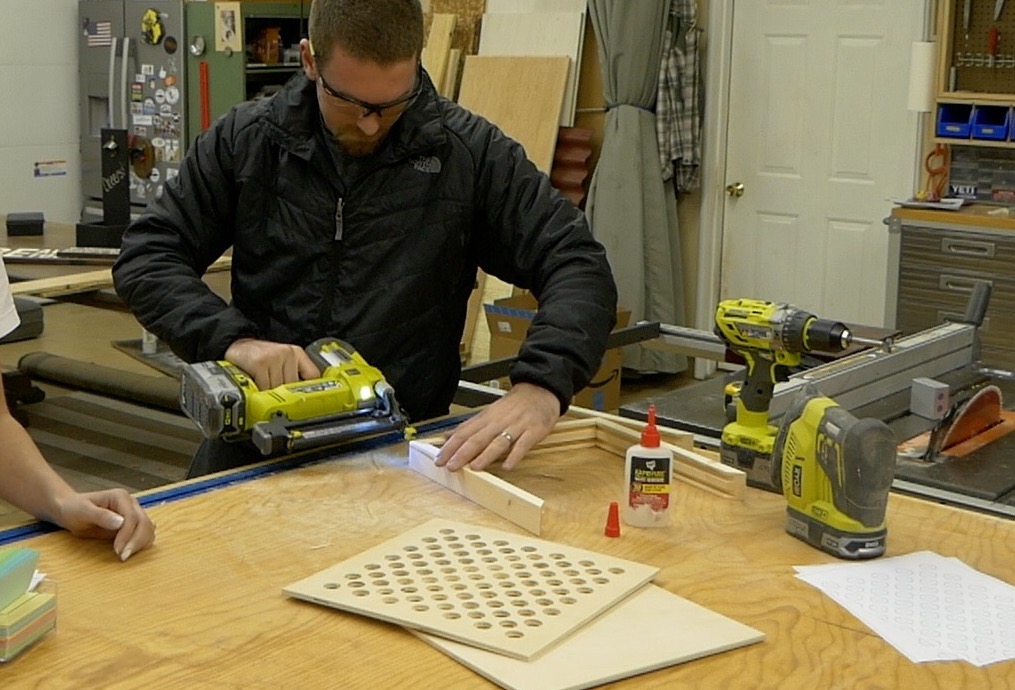
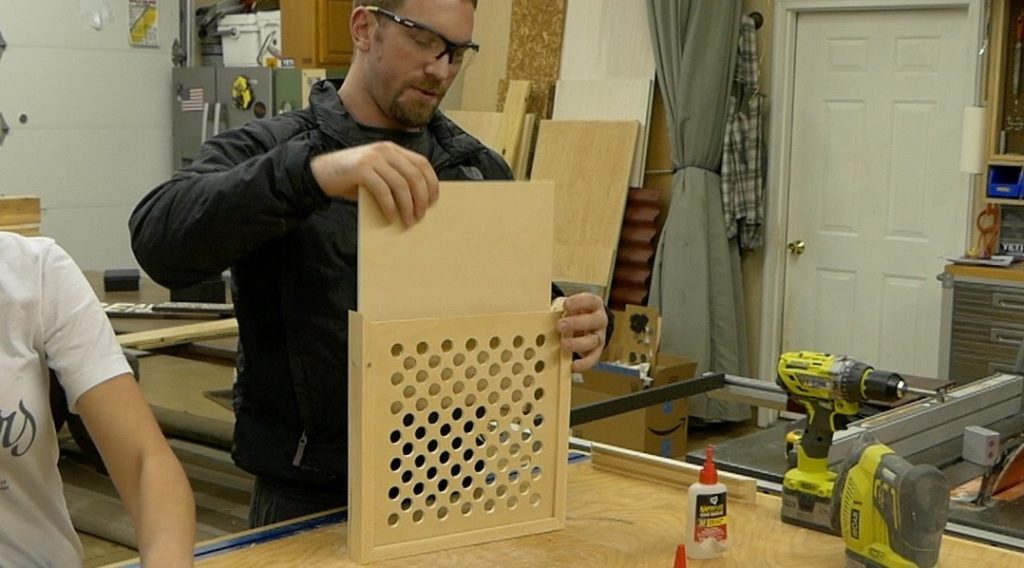
Step 6: Final Assembly
This is the easiest part. Glue and nail 3 pieces of the frame together with 1-1/4″ brad nails. Then place some glue in the slots and insert the panels. Finally, add glue to the last frame piece and nail in place with 1-1/4″ brad nails and you are done!
Questions? Comments?
As always, if you have any questions don’t hesitate to comment below and especially don’t forget to post pictures of your finished products in the comments! ENJOY!