

X-Brace Bench
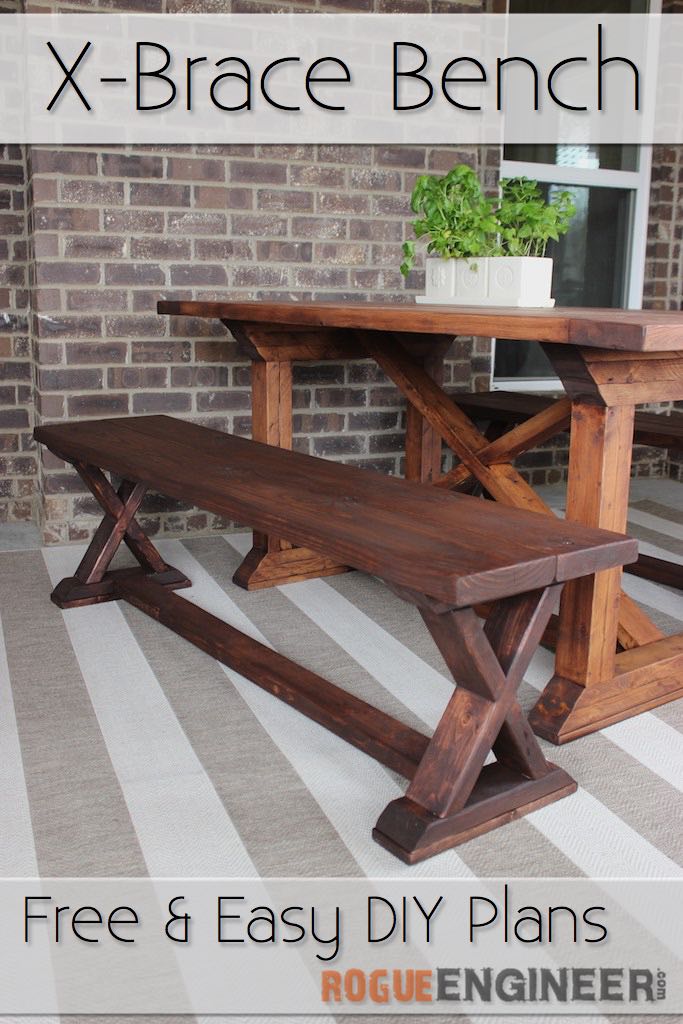
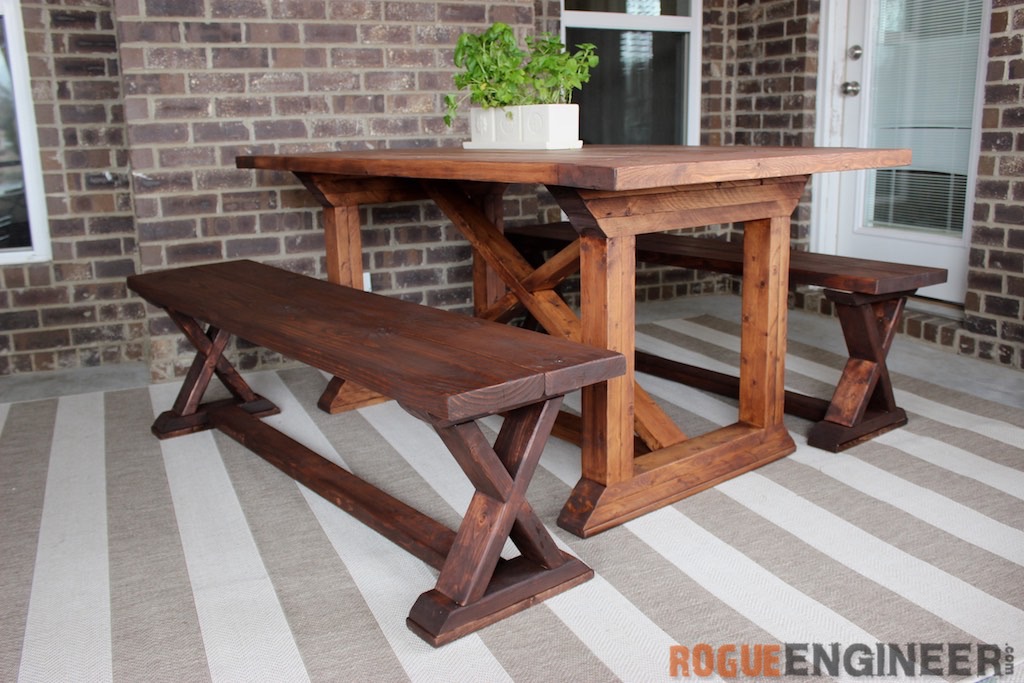
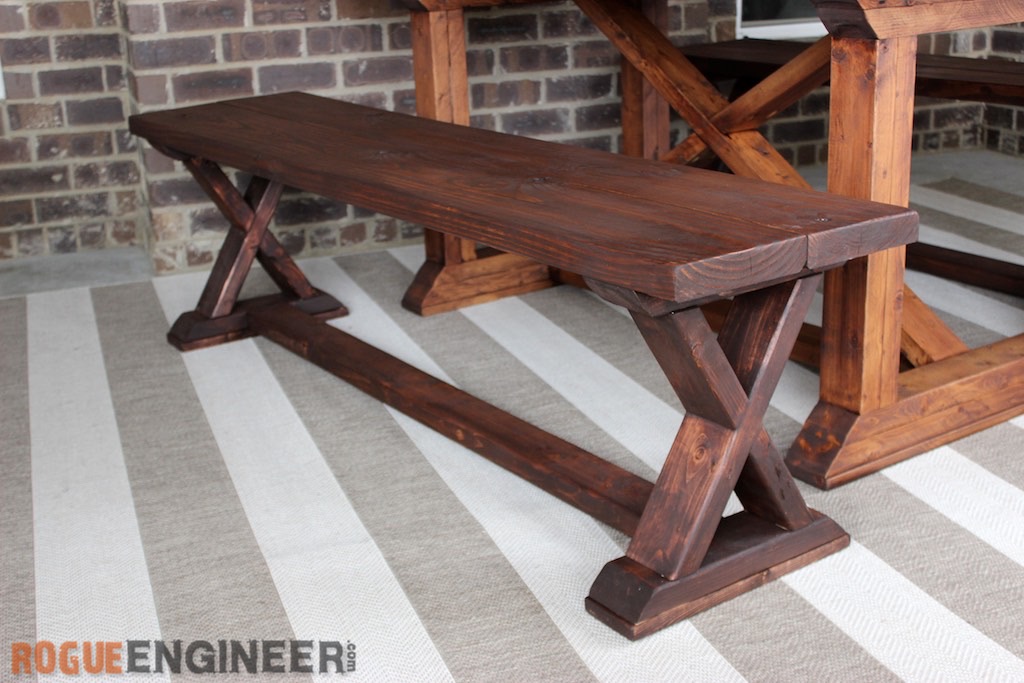
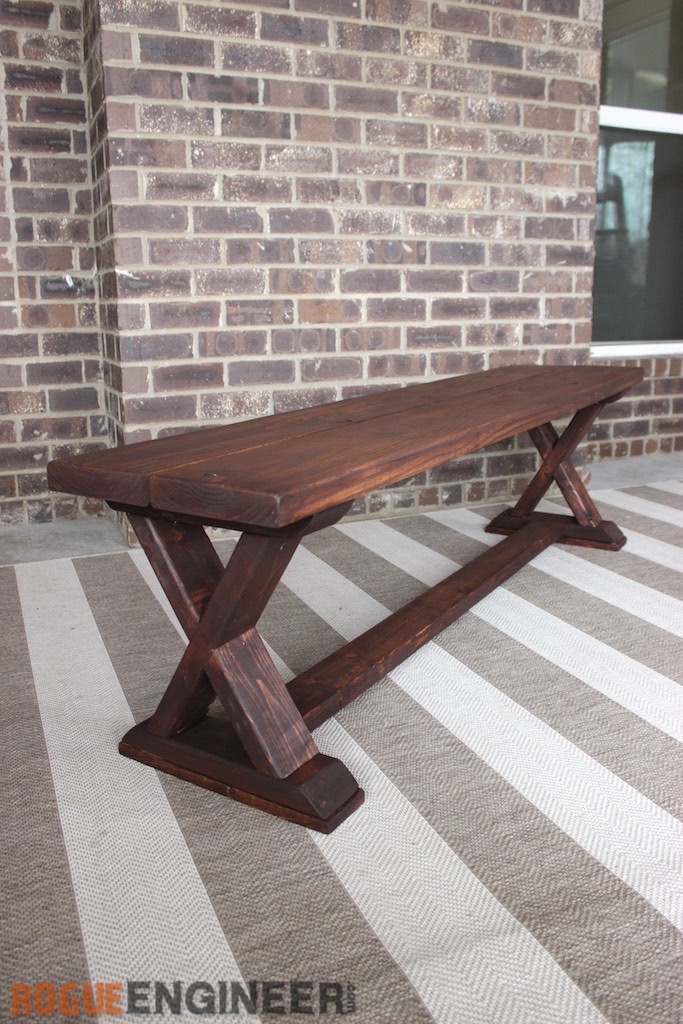
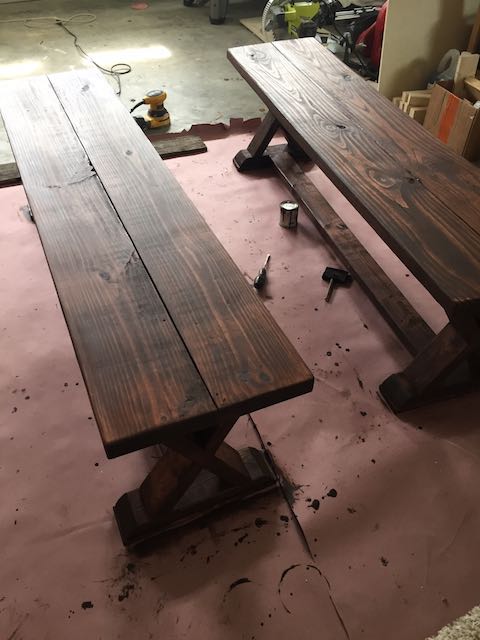
Well it’s about time we built some benches to go with our Rekourt Outdoor table. If you haven’t yet, check out one of my very first builds using plans created by Ana-White and Jen Woodhouse. This table was the beginning of my venture into DIY building and the start of the Rogue Engineer website. This table brings back so many memories… Anyways, back to the benches! These awesome X-Brace benches tie in great with the table. And for less than $20 a bench they make a the perfect addition to our outdoor dining area.
For sneak peeks of our upcoming projects be sure to follow me on Facebook and Instagram. Also, follow me on Pinterest to get tons of projects plans from all around the web!
Disclosure: The links provided in the “materials” and “required tools” sections are affiliate links. If you would like to support our site and help keep our content free come find out more about how we can make money with no extra cost to you.
Tools Required
Materials
- Qty 1 2 x 8 x 12′ Untreated Kiln Dried Lumber; Pine
- Qty 2 2 x 4 x 96″ Premium Studs; Spruce-Pine-Fir
- Qty 1 1 x 4 x 6′ Common Boards; Pine
- 2-1/2″ Kreg Pocket Hole Screws (Coarse)
- 2″ Wood Screw
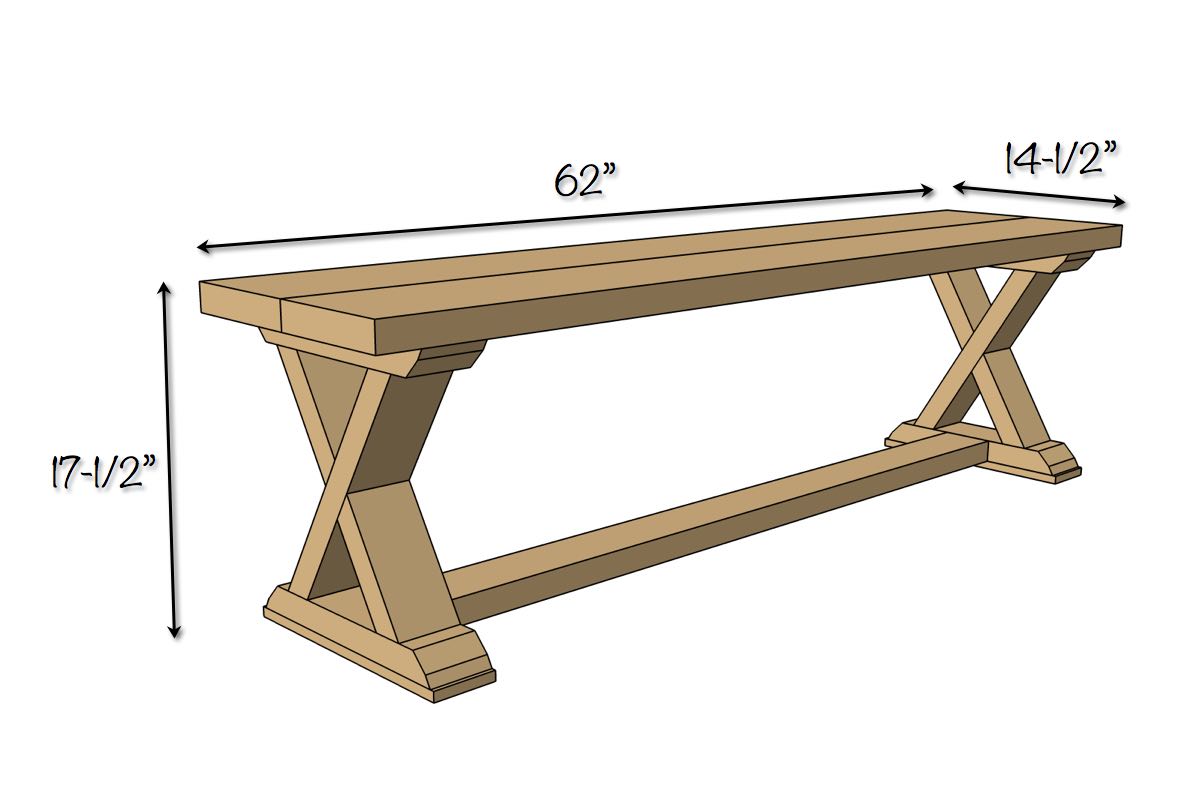
Dimensions
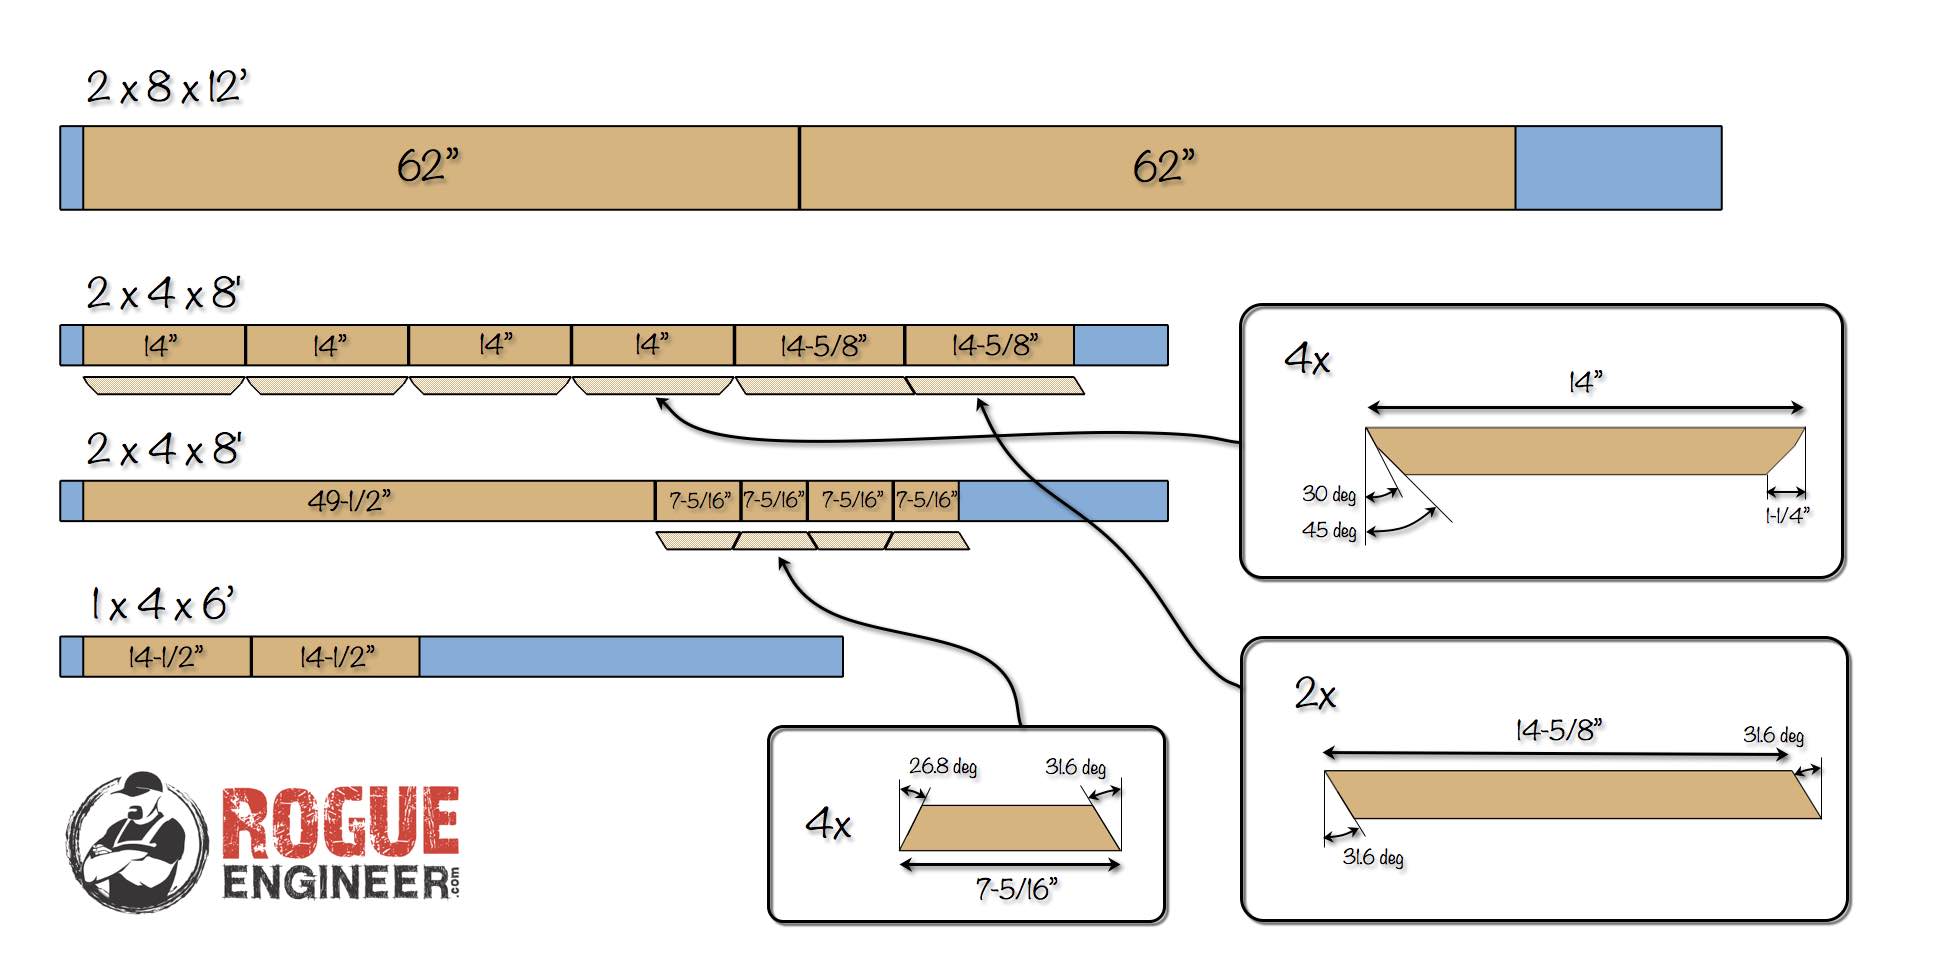
Cut List
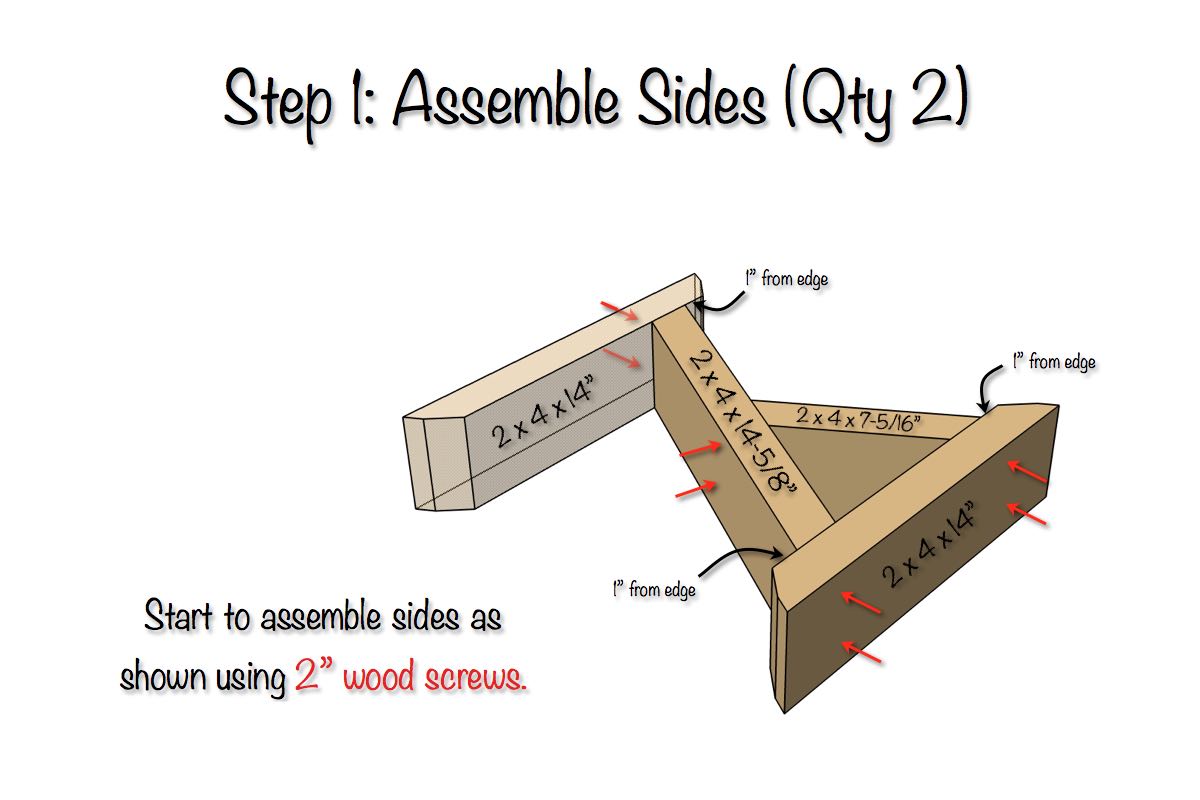
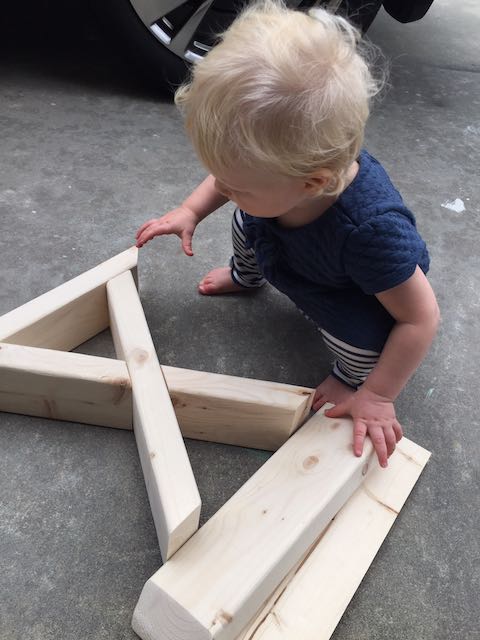
X-Brace Bench Plans
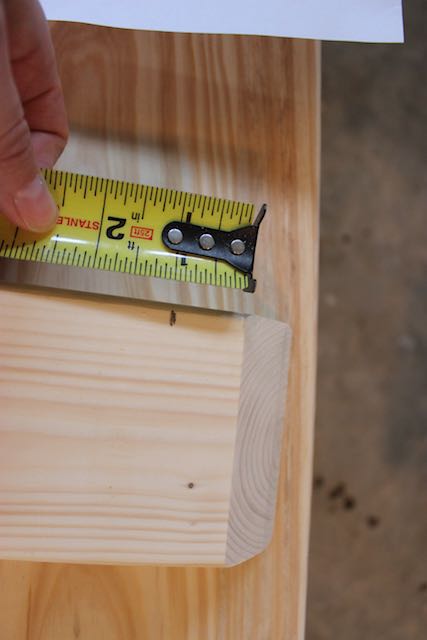
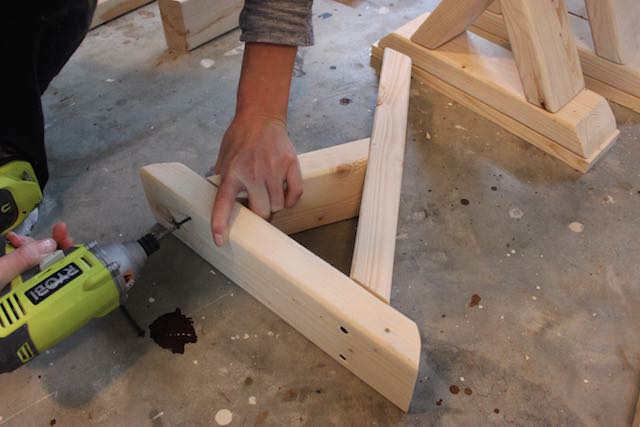
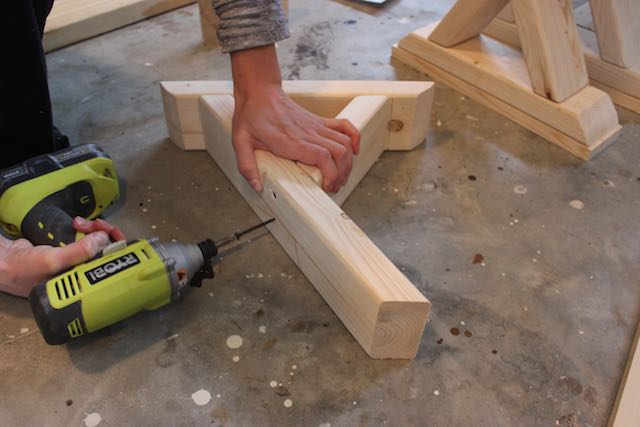
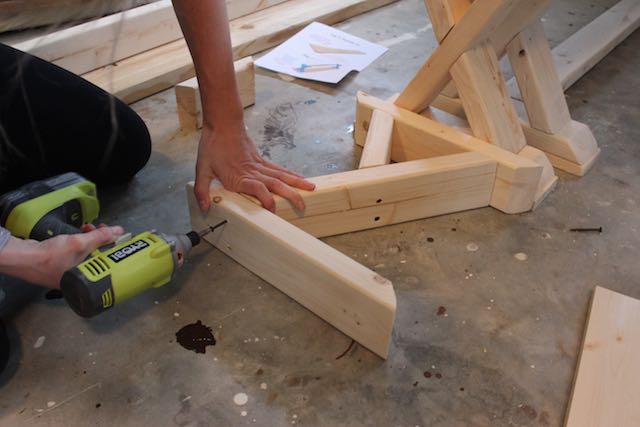
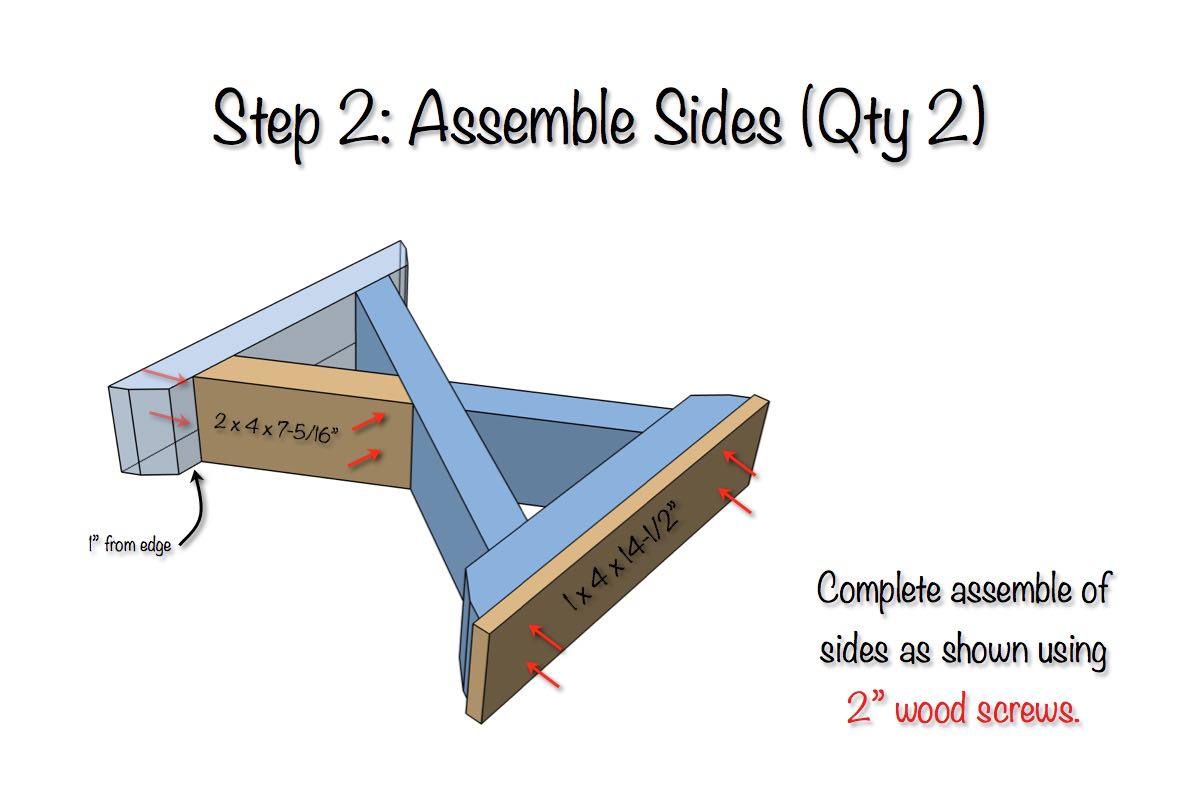
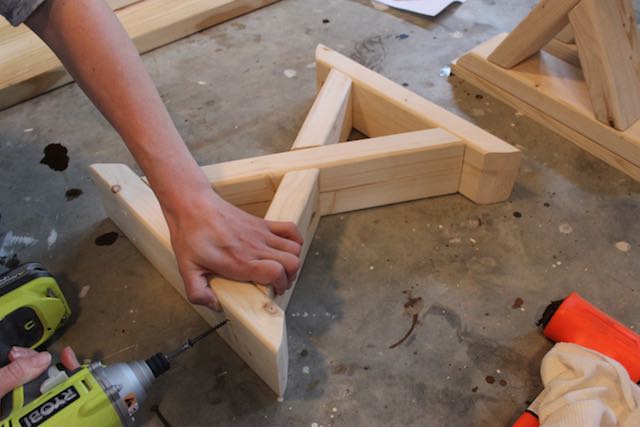
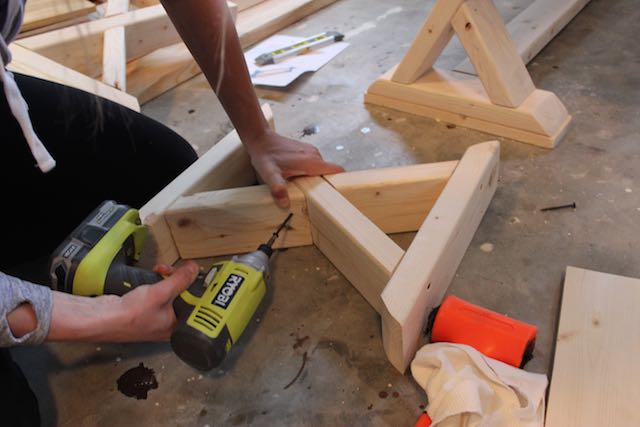
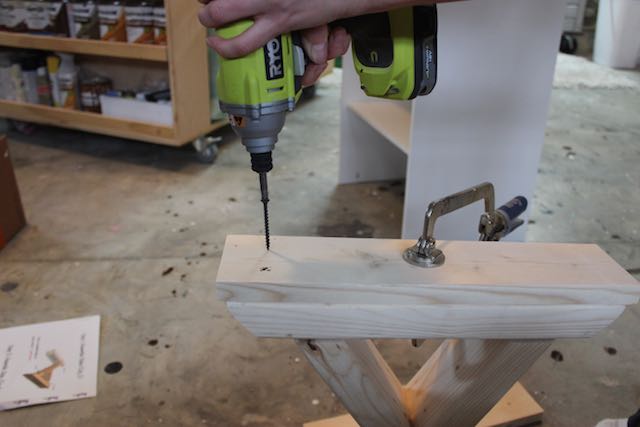
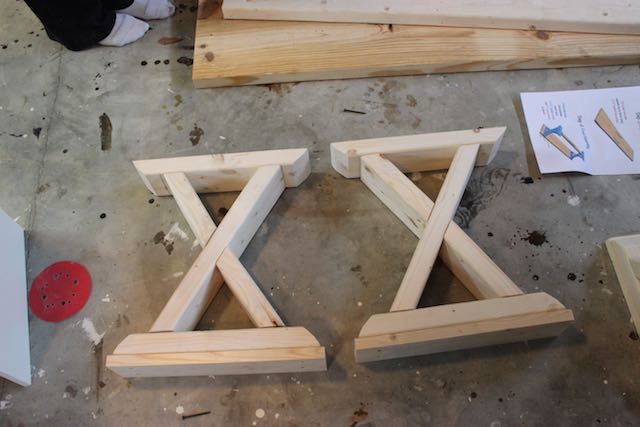
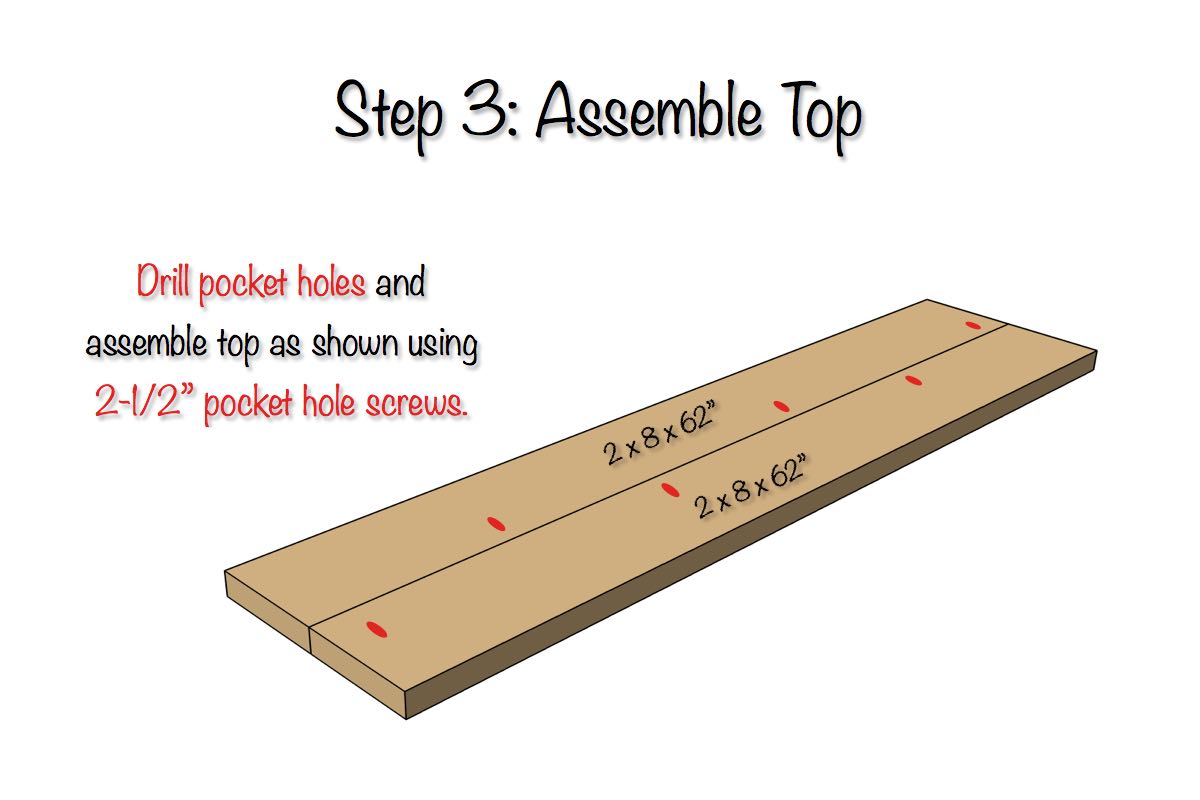
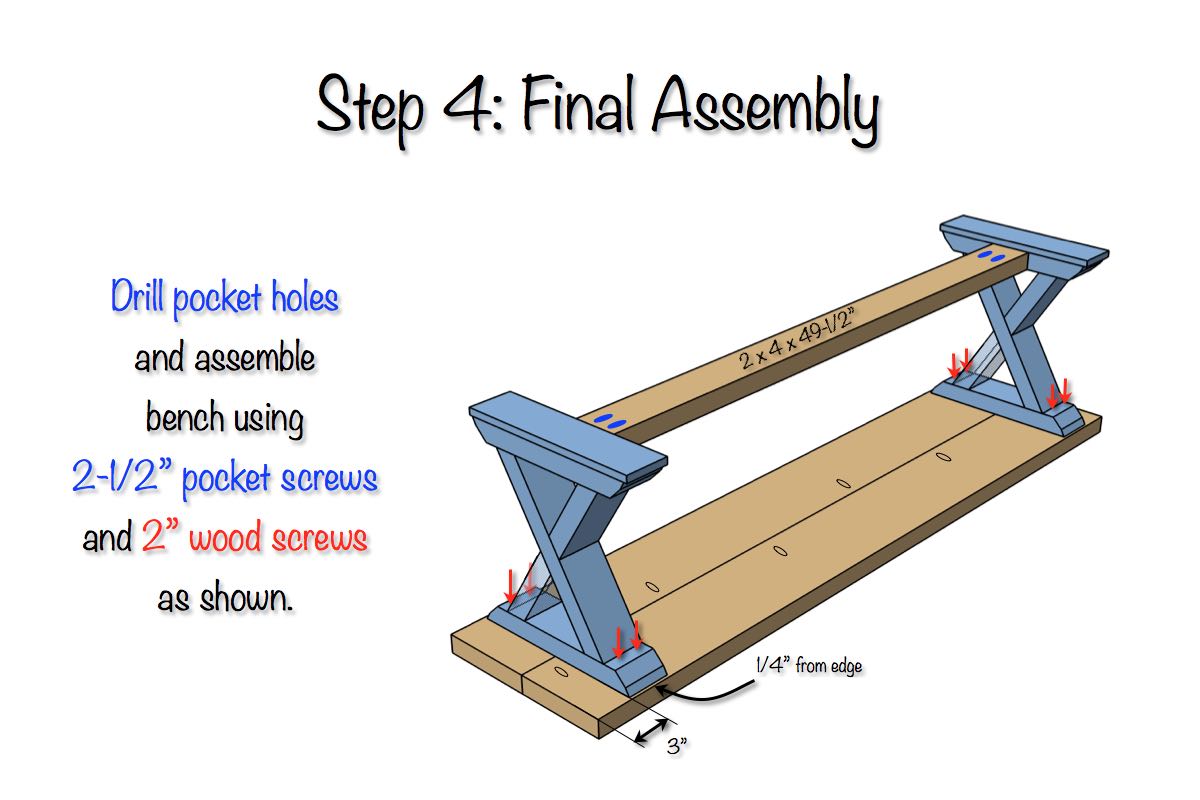
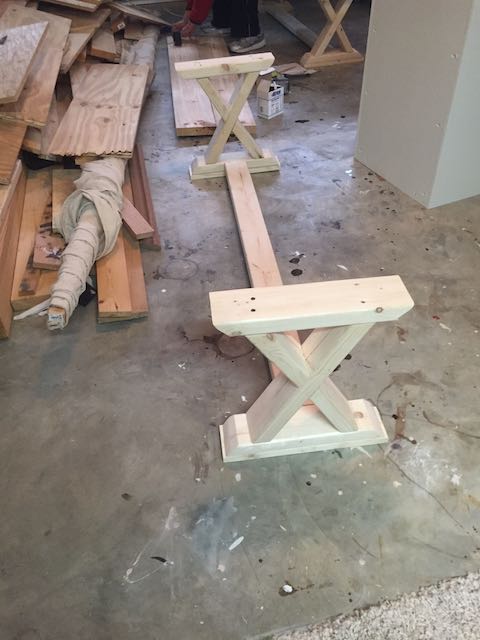
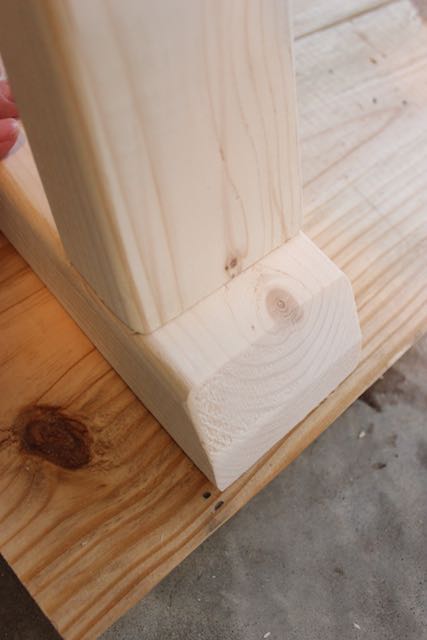
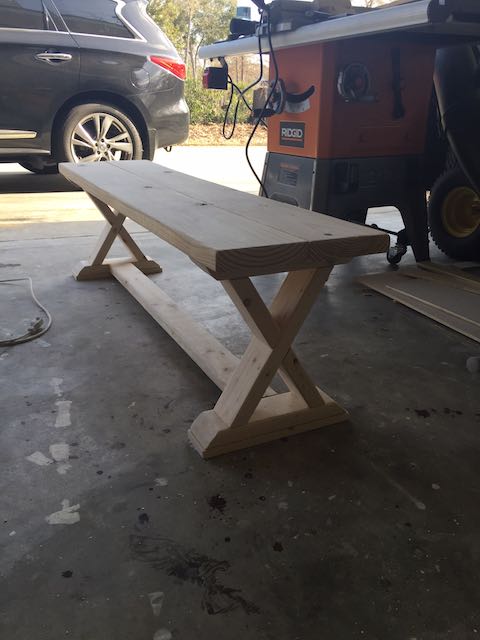
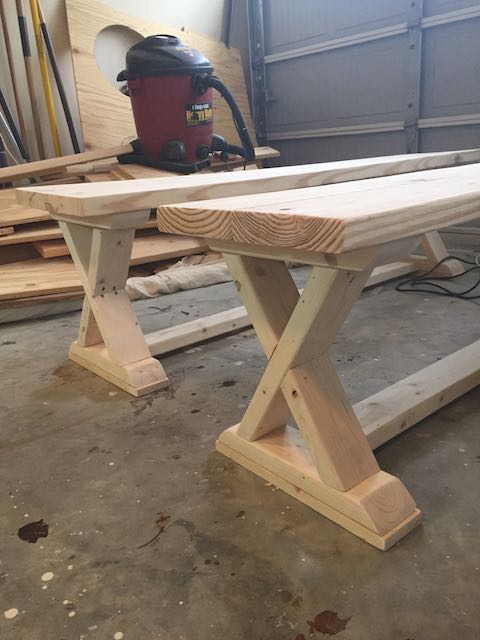
Finishing
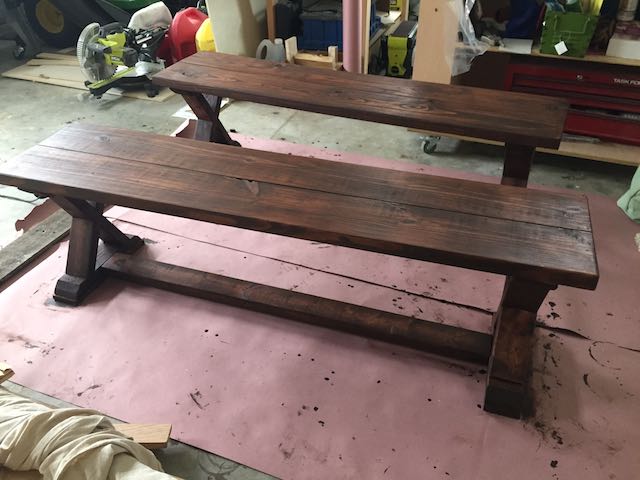
We recently decided to give our Rekourt Outdoor table a makeover, using one of our favorites Carrington by Rustoleum. We also went with Carrington for the benches followed by a coat of the Triple Thick Polyurethane from Rustoleum in satin finish. With the many projects we always have going, time isn’t always on our side, so we LOVE this Triple Thick Polyurethane because you get 3 coats in one! Cuts down tons on finishing time.
Questions? Comments?
As always, if you have any questions don’t hesitate to comment below and especially don’t forget to post pictures of your finished products in the comments! ENJOY!
This is awesome! Thanks for sharing the great plans!
No problem and thank you Mindi!
Can these benches be lengthened to accommodate the herringbone, X-brace table?
If so, can you please advise the proper length I would need for the benches then? Thanks!
Yea, I don’t see why not. If they sag in the middle when you sit on then just add a vertical 2×4 lengthwise to stiffen the seat up a bit.
Ok great, thanks!
Sorry for the multiple questions but would I keep the legs the same distance from the edge/end of bench as in the drawings then? I was thinking of going 80″ in length on the bench being the herringbone table is 85″.
No worries Brendan. That sounds reasonable to me. Another option for support would be to add another X in the middle. Totally up to you though.
Thanks so much for all the help, very much appreciated! Thank you also for this site, big fan!
Thanks man. I appreciate having awesome readers like you.
in assembling the sides, the cut 7-5/16″ there is two different angle cuts, the 26.8 and the 31.6. can you be specific as to which angle of cut goes into which area?
the 31.6 degree angle is going to go up against the top and bottom, while the 26.8 angles rests on the other part of the x brace.
Thanks for the great bench idea! I knocked four of these guys out for
an outdoor table I made. As you can see from the pics, I moved the
cross-brace up off of the ground and I also used a cross-lap for the
legs that I cut with a miter saw. https://uploads.disquscdn.com/images/f5a0f84491249b6ffc262263aa3a2afa53e14eac187d13e31dce59353c4a2c73.jpg https://uploads.disquscdn.com/images/3473aa82a1f95ccfb301f2730d79b73ea93743cd1dbf4b4988b725b4e46100c1.jpg https://uploads.disquscdn.com/images/b4f6685f36dca80865d57f54315fb72c91a199e2a74ecc78ca0fe56695fd014c.jpg https://uploads.disquscdn.com/images/ffa724e2a5c919b2f4f4ae86c05083d8e5bca5736374cfe34423a53f83b652ae.jpg https://uploads.disquscdn.com/images/574729da4512eb3b0ce72421be9fb75568253b510ea6dc700f32963d12385864.jpg https://uploads.disquscdn.com/images/9d3aebd56a0e0d95b1643e73a223454ddc9e9eb7b4ed778dcd977a3486126072.jpg https://uploads.disquscdn.com/images/557171363d37a2c4f0dd58538f6da4a04c3e37cfe27a0e5e1399cffe18dbaa36.jpg https://uploads.disquscdn.com/images/3460ef5e76e8294ac89a9a2a78268085f27ff1c9fe4623177f9f4f6f10541f64.jpg https://uploads.disquscdn.com/images/ed5ee9bdcc51dd59ca24ee44a0aba7caede7315767b918237b0d28f87e625342.jpg https://uploads.disquscdn.com/images/a76ad8227345a0e47f2895282142d22df122e54dd7c84e74c4f865c623054fab.jpg
WOW! Looks awesome.
jamison, this is going to sound like a real downer for criticism but it’s for your own good and the good of people making the things you put on your site, and not just your site but many sites I see in the do it your self realm.
first your list of tools shows your safety equipment at the bottom of the list, it should be at the top ALWAYS! if you go into a project with all your fingers and toes eyes and ears you should finish with what you came in with, they and only they are the most important items in any project.
Many people are showing how to just hack stuff together without showing how to improve skills, example: if you also showed how to cross the legs of your bench with half lap joints. the materials that your screwing together, shows no glue being used, not only will glue help reinforce work that is screwed together but also seals the end of the wood from water uptake when it gets between any two pieces of wood coming together.
I see a pic of a ridgid table saw, have you tuned up this saw at all. It will make a heck of a difference. a tuned up saw will show cuts along the length of softwood 2x 4 like it just went through a planer.
ok enough, i’m not going to gut your site completely, there are many good qualities on your site as well, good pics, great drawings, very good step by step instruction, did I say good pics, yes your photography of the projects is very good as well.
if some guy was making aerospace projects like the way people are hacking together woodworking projects, wouldn’t you be the guy who’s in my position now?
Your site is good, but I’d like you see your site be great. like award winning great.
after 30 years of commercial, industrial, and residential renos, having been trained by a german master craftsman in furniture making, I’ve picked up much along the way.
As someone who is doing this, don’t you think we owe it to people to improve peoples skills, along with having fun doing the project as well? I for one think we do.
Hey vagina, when you build your own site feel free to put the safety items at the beginning of the list.
Jamison,
You have a great site, there are so many creative and interesting ideas you share on here. I generally never post to anything but felt because of the great service you have, and I actually felt great doing this, I had to post my results.
As a father of 3 there are not many things in my house that remain in pristine condition. Our dining table chairs have been beaten up so bad by the kids that they were a bit of a disgrace when we have guests come over. We had been looking at buying some benches but the pricing on them seemed a beyond what we wanted to pay. The plans you had for these benches made it a somewhat simple DIY job and right in our pricing wheel house. My biggest time constraint seemed to be the finishing part and trying to find time when I could squeeze it into our schedule. These make a great addition to our table now and at a combined price of just over $60 we can’t be it.
Thanks again for the tips and plans. Next up I am going to attempt to try the Trestle desk for our computer.
Tom https://uploads.disquscdn.com/images/8fab8c2de4330a483e4173e986a306f022b004778446f624aaec96571b7e234f.jpg https://uploads.disquscdn.com/images/0aaeeeba743ea76db658ca90f953ff112fec7c763f17da4d6a33c3a36f6b7cea.jpg https://uploads.disquscdn.com/images/ae315bfa16596c7d9d03bf41d6ce1aadfcfd61f270be5bf6b8de232820896eba.jpg
X-Brace Bench Plans….How did you get the degrees for the angles right? Exp: 26.8 degrees? 31.6 degrees?
how did you cut the dual angles on the top and bottom pieces and the 26.8 degree angle on the cross braces?
J, I know I’m late with questions but I just cam across this design and really enjoy trying it out but im running into a big problem when trying to assemble the “X” part its all fine except when it comes to assembling the last small part of the “X”…. it does not fit properly, im attaching the 31.6° angle to the bottom as noted in your plans but it just will not sit straight, it fits like the angle is wrong buy I cut them just as you stated to…… did you have a video tho this project? Any help please….. -AJ