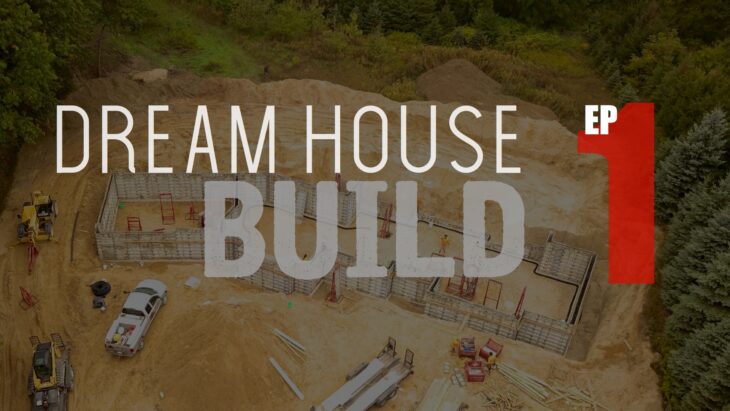
This is the first episode in our Dream House Build series. After buying a 5 acre lot in early 2017 we decided to play the role of general contractor and build our dream home from scratch. In this episode you’ll see how we got to this point, how we decided on a floor plan and modified it, how we worked with the local authorities to get the proper permits and how we’ve broken ground and poured our foundation walls.
But first, don’t forget to subscribe on YouTube and for sneak peeks of our upcoming projects be sure to check out Our DIY Life on YouTube, follow us on Facebook and Instagram. Also, follow me on Pinterest to get tons of projects plans from all around the web!
Our History
First I want to give you a little info on us and how we got to this point. I graduated with a bachelor degree in aerospace engineering, got married to my beautiful wife Jamie and started a full-time position at Gulfstream Aerospace in Savannah GA as a mechanical designer. All this happened in May of 2010.
Then, we had two kids, Brayden and Madison and decided to move into a bigger house. That sparked our DIY furniture addiction. Then in 2014, Rogue Engineer was born and we started sharing plans to the world. It started as a small world but by 2016 it was big enough that we could consider quitting my engineering job and taking a run at being full-time content creators.
So that is just what we did. We sold our house and moved in with Jamie’s parents who offered to move into their basement and give us the house and heated workshop until we decided where we wanted to live. Pretty sweet deal.
In the meantime we flipped a house (Check that series our here) and purchased 5 acres of land in Chelsea Michigan to build our dream house on. Okay, that about covers the back story. Lets get into the details of this episode.
House Plans
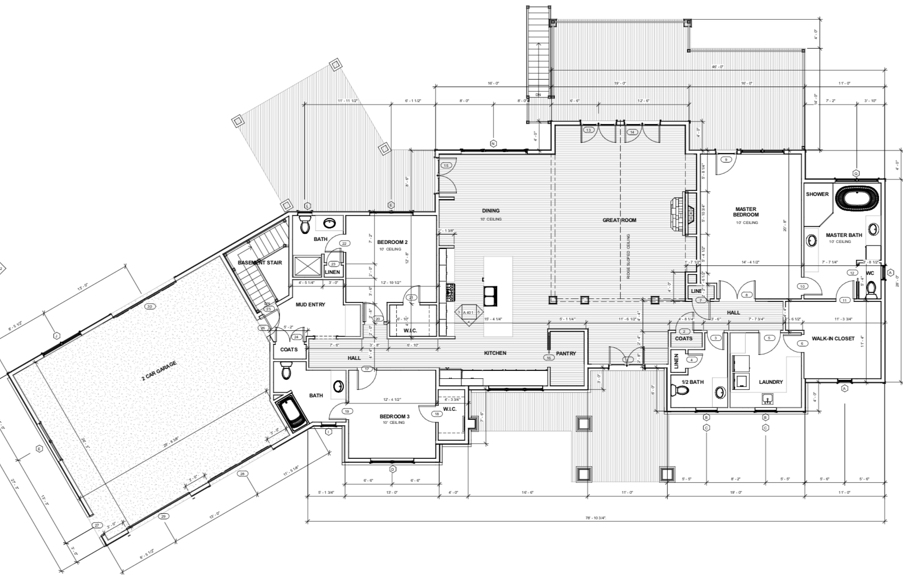
We knew from the beginning that we wanted to try to find a plan online that would work for us or at least some close enough that we could modify to make work. This would reduce the cost of having an architect start from scratch. But first, we put together a list of things that we really wanted in our dream home that we could based our search off of. Here is what we came up with.
- Ranch home with 3 bedrooms on the main floor
- All bedrooms should have their own bathroom
- Open living, kitchen, dining area
- No formal rooms
- Lots of outdoor living/dining spaces
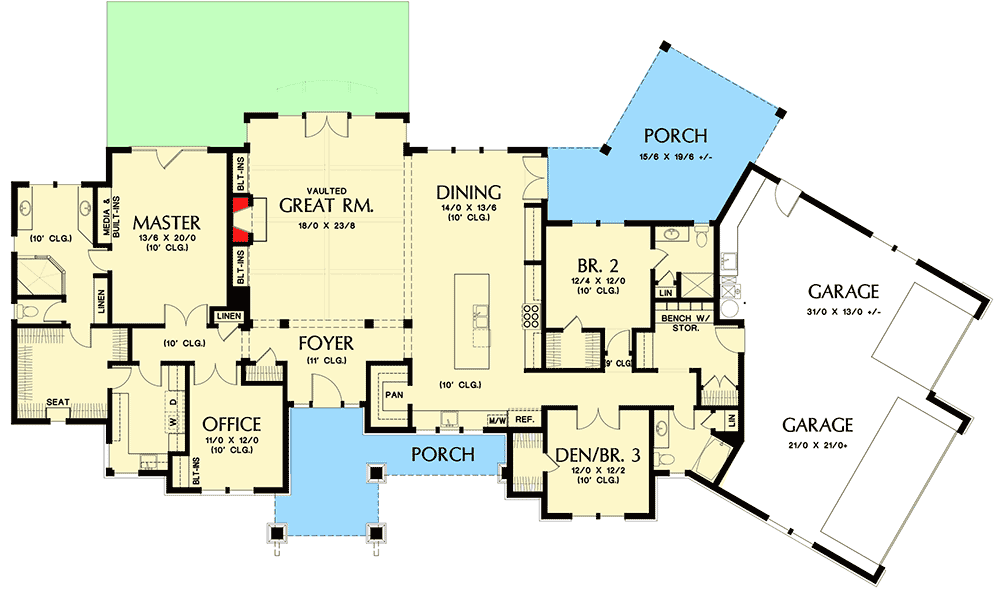
After scouring the web we found a plan that we could modify to work. It was the Northwest Ranch Home from Architectural Designs. It was close but we needed to rework it a little to make it suit our wants.
So what we did to make it exactly what we wanted and needed for out lot was:
- Mirror plan
- Combine den/bedroom 3 and bath to make 3rd suite
- Shrink the office and convert to 1/2 bath
- Make front door double doors
- Extend roofline from great room to add covered deck
- Larger master bath
- 2 Car garage entrance in front
Site Layout
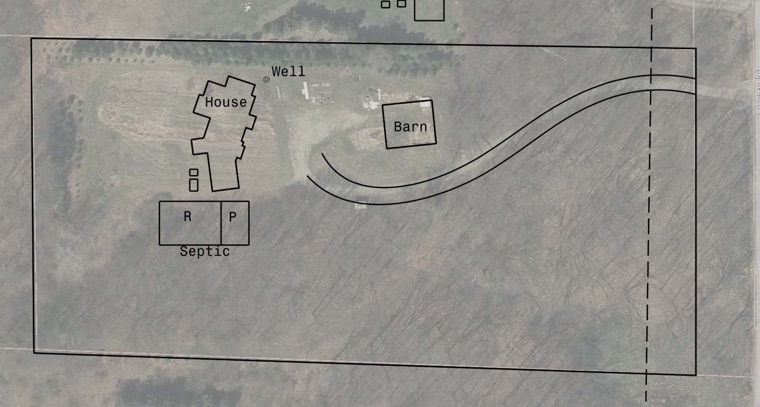
Now that we had the house plans figured out and a rough idea of where the house was going to go, it was time to stake it out on the property. We couldn’t just put it wherever we wanted to though, there were some things we had to take into consideration. Our friend who works at Property Valuation Brisbane encouraged us to get a proper valuation before committing to an estate. And although we own five acres we wanted to limit the amount of trees we had to cut down so it ended up being a pretty tight fit. Here’s what we had to work around.
- No building within 30′ of property line
- Septic tanks (1500 and 1000 gal) must be 50′ from well
- Septic field must be 100′ from well
- Septic field (28′ x 44′) and tanks must be 10′ from house
- Well must be 300′ from underground gas pipeline
So we were able to fit the house where we imagined along with meeting all the other criteria. I ended up taking an aerial view and overlaying all these things out to scale. This is what it look like.
Permits
This is possibly the most frustrating part of the process but it is required. Some people working for are local government are helpful and some are not. That’s all I’ll say about that. Hopefully I can lay this out in a way to help others that want to do it there self. Basically, the building permits are the holy grail but there is a lot of things that have to happen before you get these sacred documents.
1. Well and Septic
Since we don’t have access to city water and sewer we have to have our own well drilled and septic system installed. Our lot is classified as a “well first” lot. This is because sometimes you might not be able to get water in some locations. And if you had the septic permitted to go in one spot and the well turns up bad then you might have to move things around.
Nevertheless, we had to go through our county to get a permit for the well and have it drilled. Once it was drilled the drilling company sent over a drill log to show it was done and then the septic permit could be issued. The septic permit was issued based on the perc test results that we had done when we bought the property. This is a soil test that gives the county sanitarian the info he needs to size the drain field according to how well the soil drains.
These permits and people are there to make sure that we have an acceptable water source, that our septic holding tanks are sized appropriately for the household and that the drain field has good surrounding soil to drain through and is sized appropriately. They also make sure that everything is far enough from each other that they don’t mix.
2. Zoning Compliance
Before any construction could start we had to get zoning compliance from our local township. To get this they needed the blueprints, plot plan, a well permit and septic permit, and the lot needed to be staked out showing where the buildings will go. Basically these people want to make sure you are not building too close to the property lines and you are meeting the local codes for your lot.
3. Construction Permits
Now, with the zoning compliance in hand we headed over to the local construction agency (this might be a city building in most cases) and filled out the application for the required permits. Sometimes the contractors will actually pull their own permits or if you are doing the work yourself you can pull those permits yourself. These permits are for plumbing, electrical, mechanical (HVAC) and building, and they include rough inspections and final inspections. These guys make sure everything is built/installed according to current codes.
Excavating
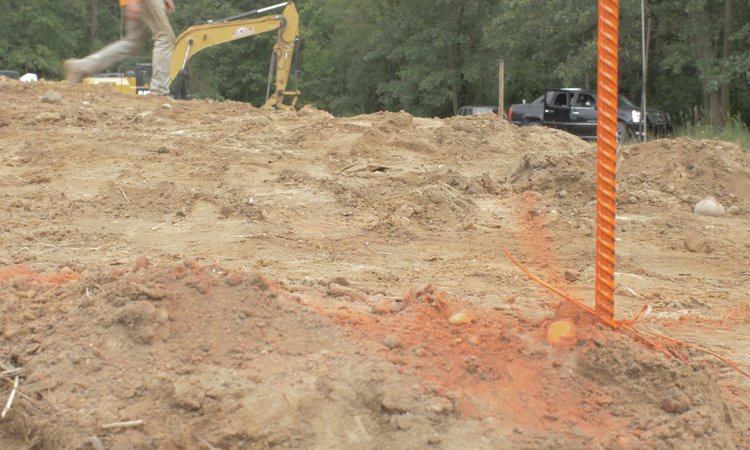
With all of that out of the way it is time to break ground. I hired a company that does both excavating and foundation walls because I liked the fact that if they screwed up they could only point the finger at themselves. Plus it’s fewer people to deal with and coordinate.
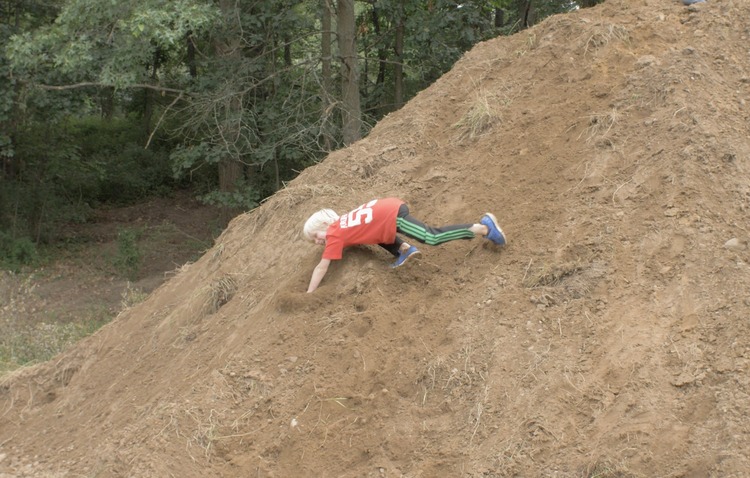
They started off by scraping and stockpiling the top soil for later use when doing the final grading. I think this was the kids’ favorite part.
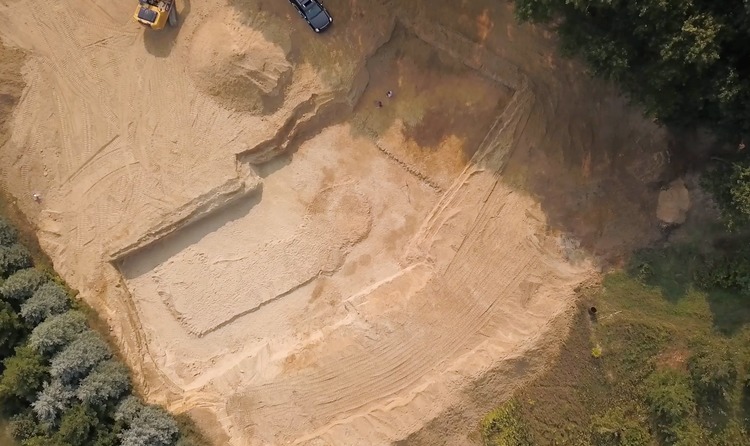
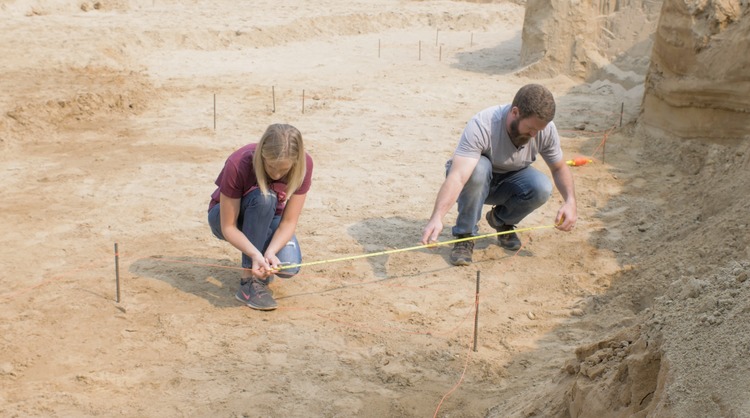
With the top soil removed we again staked out the house perimeter. We tried to simplify it down to two large boxes with only a bump out or two. This was only so they knew where to dig the hole for the basement so it didn’t have to be precise.
Now it was time to start digging. The basement and garage needed to be dug down to the correct depth and all the sand they pulled out got used to build a path around the back of the house and to grade the front yard how we wanted. The raised part in the middle is the “top of footing” and the lower area around the perimeter is the bottom of footing. It’s amazing to see how precise these guys can get with such huge machinery.
The Footings
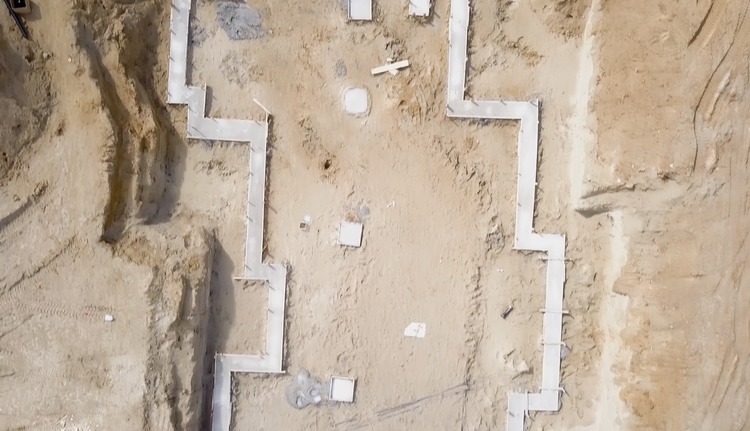
With the basement dug out now the foundation guys could come out and layout the perimeter of the house so the know where to pour the footings. They try to go get this as precise as possible, however, the footings are about 2′ wide and the foundation walls will sit on those so there is a little wiggle room if required. Nevertheless, I went back behind them to assure everything was square.
With that laid out it was time to pour the footings. You’ll notice the pads in the middle, those are for the posts that will carry the beam that runs down the center of the house. There is also a sleeve that gets embedded in the footing, every so often, that will connect the interior drain tile to the exterior drain tile. This allows water to flow out from under the slab to the exterior drain tile. The good thing is that this basement is built-in pure beach sand so we will the best soil for drainage all around the house.
Foundation Forms
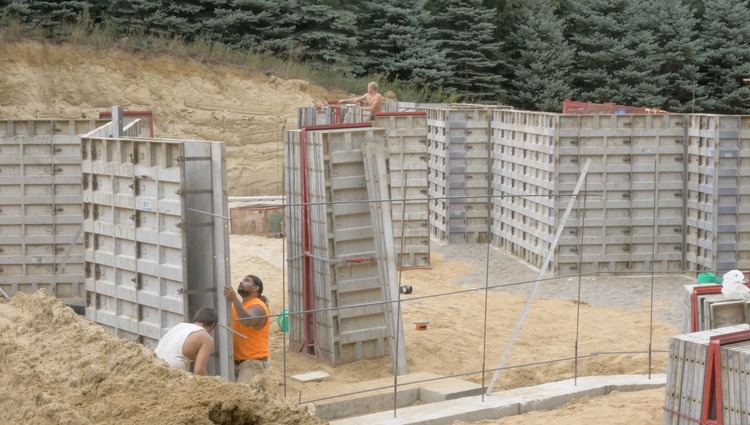
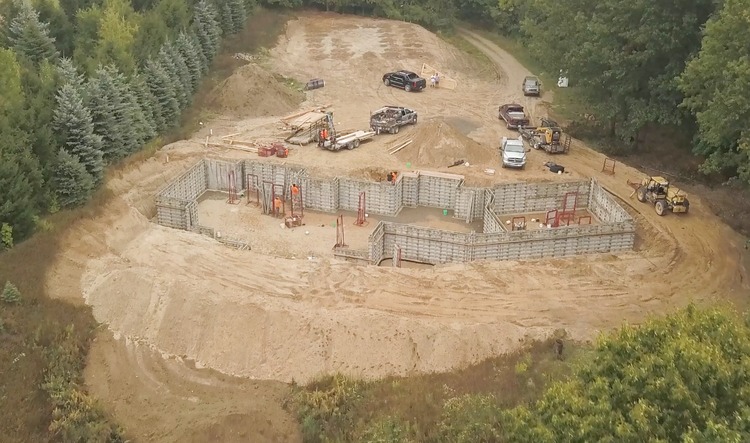
With the footings set up, the foundation forms could be brought in and setup along with the rebar called out by the architect.
We wanted our basement walls to be as tall as possible so we went with 10′ walls. The problem is that the forms are only 9′ so they ended up adding a 1×12 board to the top to make up for it.
Pouring the Walls
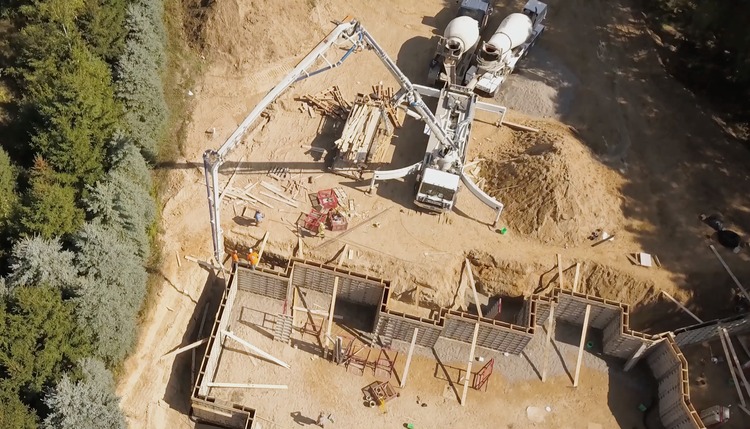
For several reasons, it wasn’t a good idea to try to shoot the concrete into these forms. One of the big ones was that when pouring a foundation wall, I learned that, you want to pour it as fast as possible because if not you can get a cold joint. A cold joint is when the first batch of concrete begins to set up before the second batch gets added. This creates a weak line in the concrete. Not good. So we opted to have a pump crane come out and pump the concrete into the forms and that was pretty amazing to see. The operator walks around with a wireless remote and controls exactly where that pump end goes.
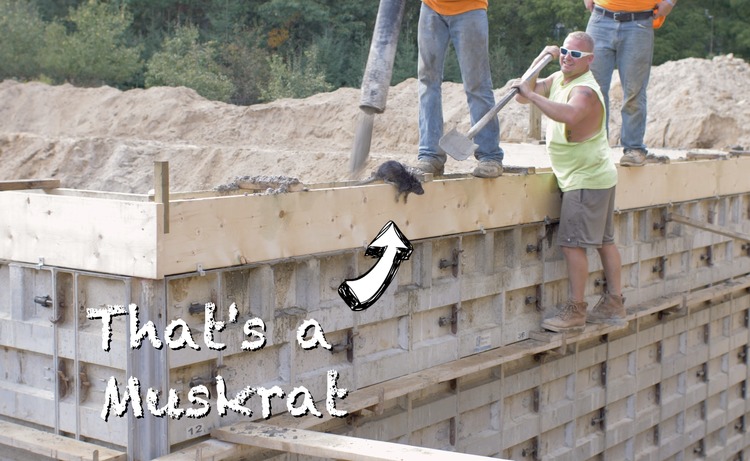
When we were in the middle of pouring the foundation wall the guys noticed that an animal had managed to get into the forms sometime before. It must have gotten in on a lower wall in the walkout basement. Nevertheless, now these walls are full off rebar and nearly impossible to get the little guy out. What we ended up doing was slowing pumping concrete into an area of the wall that he was not. As that concrete worked its way over to him, he managed to stay on the surface. Working his way up to the top of the forms. We did our best to corral the (now determined) muskrat to an area with shorter walls near the walk out area but with all the rebar in place it was nearly impossible to do so. So once he made his way to the top, he jumped. And it was a long way down from the top of those walls. RIP little muskrat.
Removing the Forms
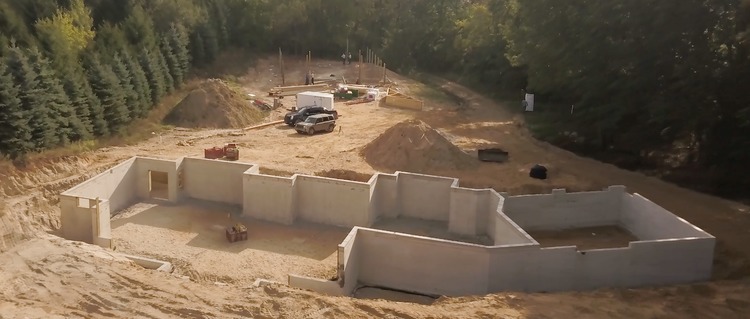
After 24hrs it was time to start removing the forms so the walls could cure from the sides a little easier. Now it’s starting to look like something!
Waterproofing
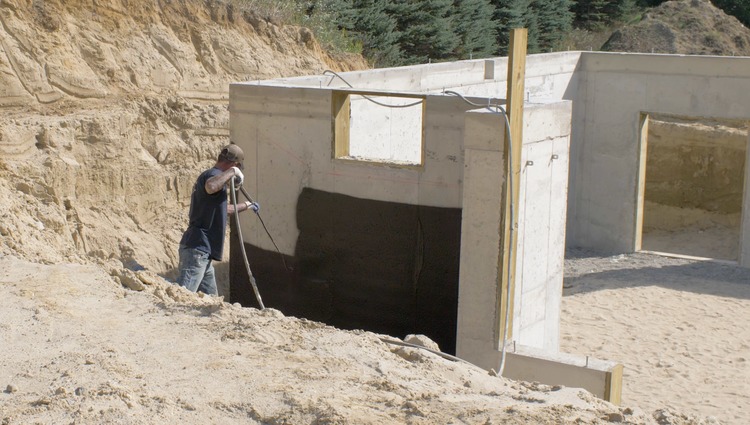
After a few days had passed we marked the lines on the walls showing where we planned the final grade to go. With that laid out we then had a waterproofing service come out and spray on a tar-like waterproofing membrane that adheres to the wall and dries to a thick flexible coating.
That is it for this episode of our dream house build. Thank you for taking the time to check it out. I would love to hear your thoughts below in the comments so please let me know what you think!
Episode 2 is here! Check it out!

