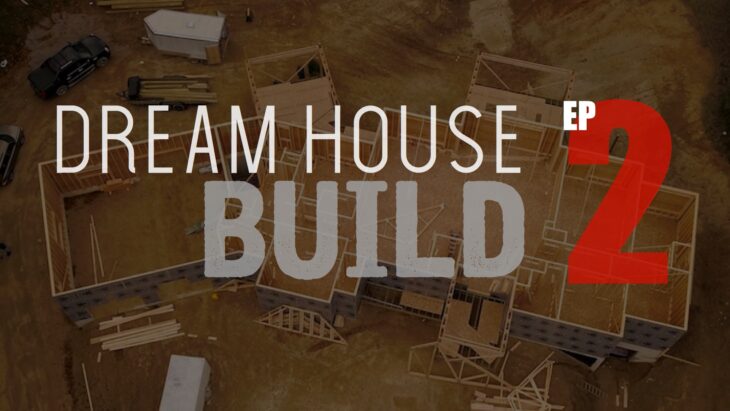
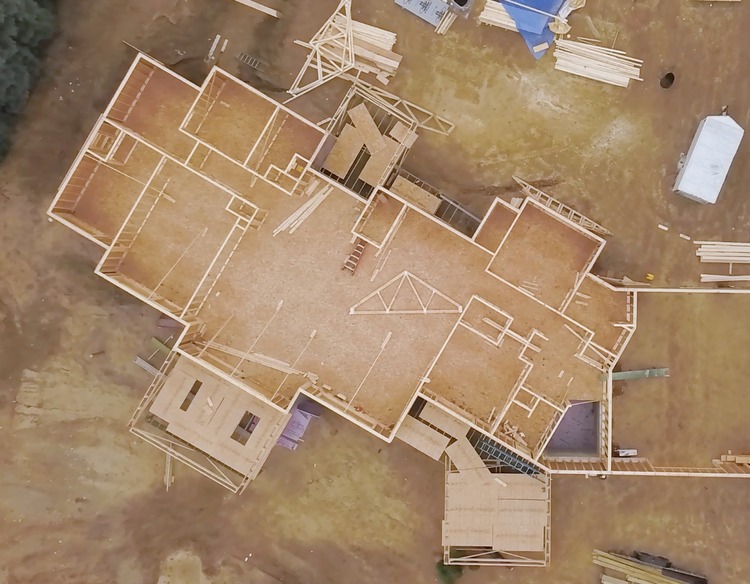
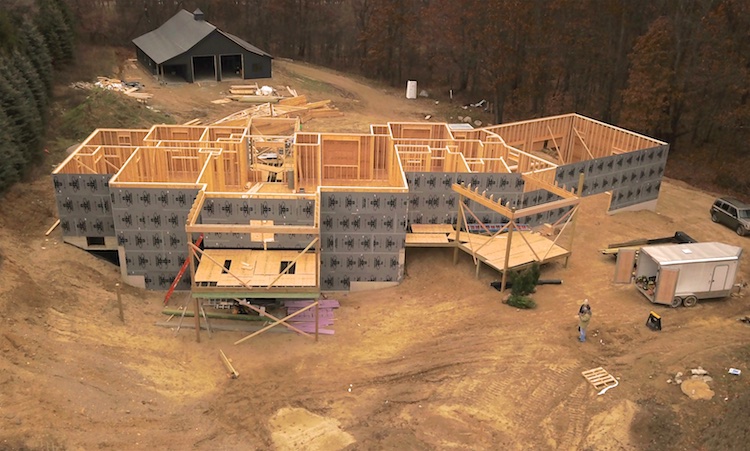
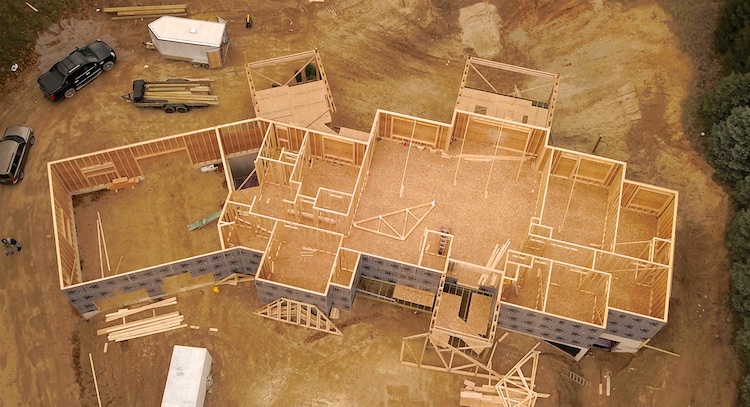
This is a really exciting time in the build stage. With the foundation walls poured we now get to start the framing process which is truly amazing to get to see come together. The main floor of the house going on and the walls being framed out really help to visualize what our house is going to look like. In this episode of the Dream House Build series we detail all these steps to give you a look into our build process every step of the way. So go ahead and read on. But first, don’t forget to subscribe on YouTube and for sneak peeks of our upcoming projects be sure to check out Our DIY Life on YouTube, follow us on Facebook and Instagram. Also, follow me on Pinterest to get tons of projects plans from all around the web!
Disclosure: This episode is sponsored by DAP however, all the opinions are my own. If you support brands who support content creators like myself, go check them out! Thanks DAP!
Backfilling Around the Foundation Walls
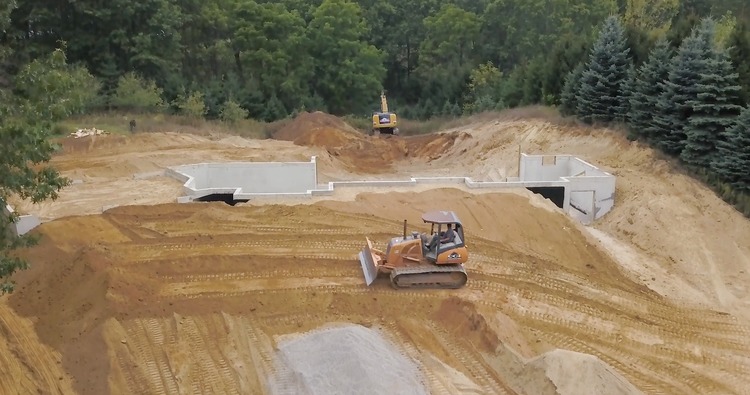
After the foundation was waterproofed and had time to set up (covered in episode 1) it was ready to backfill around the foundation walls. This was a good thing because until this point Jamie was freaking out about where all the dirt was going to go and how our lot would be reshaped with the house in place.
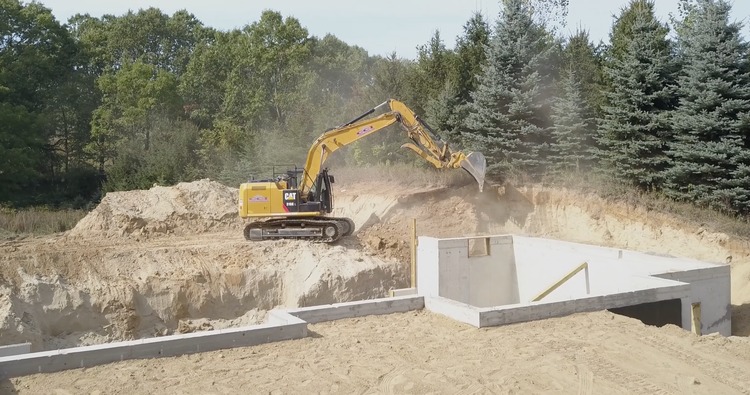
The backfilling process starts by gently placing pea stone over the exterior drain tile to ensure the drain tile is not crushed in the process. This will help the water drain into the line and keep the sand from clogging it up. Normally I would have gone the extra mile to add a layer of high quality weed barrier type fabric around the pea stone to keep the sand from washing in. However, the soil around and under the foundation is 100% sugar sand which is the best draining soil there is so it would have been wasted time and money.
Initially there was a road build around the back of the house (where the excavator is sitting in the picture above) to allow the machinery to move around easier. But now it was time to dig that back out close to final grade so the footings for the decks could be dug and the decks could be built during the framing process.
Framing the Walkout Basement Wall
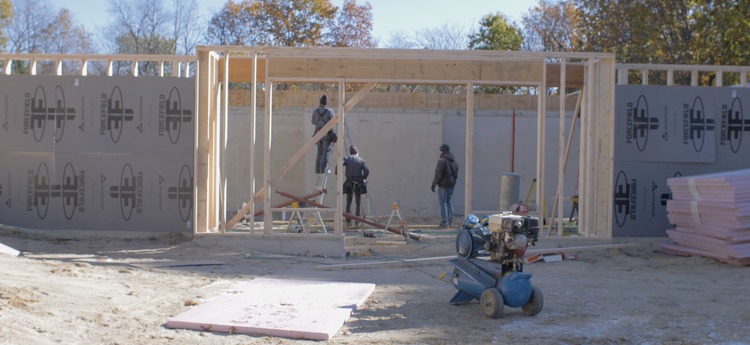
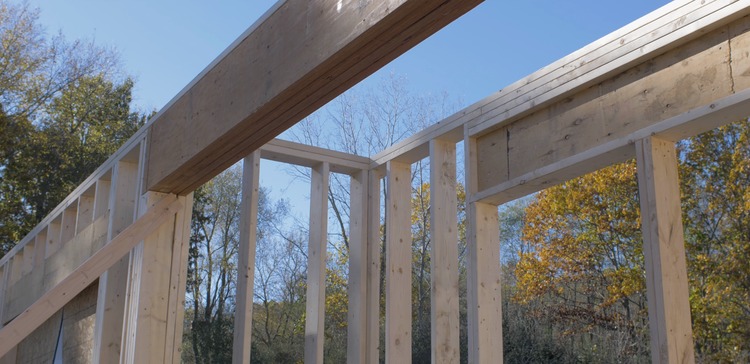
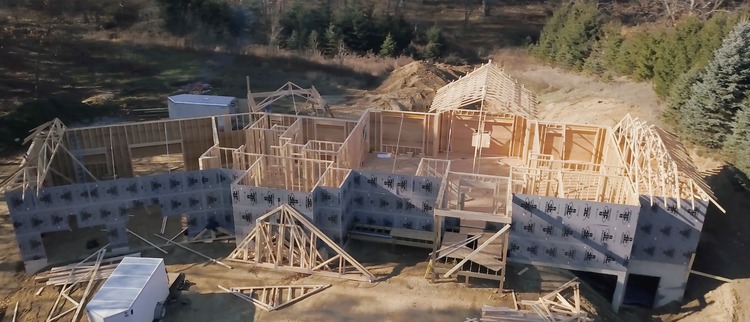
The back of our house has a walkout basement so this portion of the foundation was just poured as a frost footing. Instead of a full height basement/foundation wall, since the grade was at the floor level we just had to make sure the footing was below the frostline for our area. That meant the an exterior wall for the walkout needed to be framed out. The walkout, in total, is about 52′ wide with a 20′ bump out in the center. The center bump out gets a french door and flanking widows. On each side of the bump out there will be a large set of widows.
Below you can see that we had to span a beam across that bump out in the walkout wall. This beam is actually four 14″ LVLs that were glued and nailed together.
Installing the Sill Plate
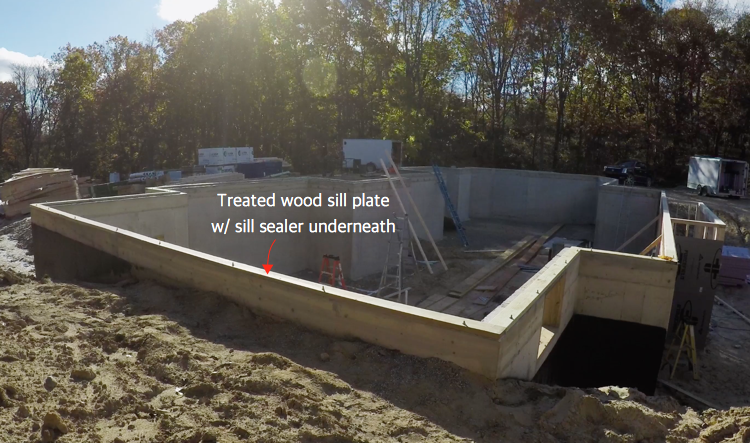
Before the first floor can go on we needed to install a sill plate. The sill plate is simply treated lumber that gets fastened to the top of the foundation wall for the floor joists to sit on and fasten to or in case of the garage the walls fasten directly to it.
Treated lumber should be used anytime it come into contact with concrete to avoid decay. But as well, the sill plate should be installed over a sill sealer which is actually just a thin foam that fills any cracks or voids created by uneven concrete. This cuts down on any air movement under the sill plate.
Our foundation walls were set up with threaded T-bolts in them every so often so that the sill plate could be tightened down with nuts versus drilling and driving concrete anchors.
Hanging the Beam
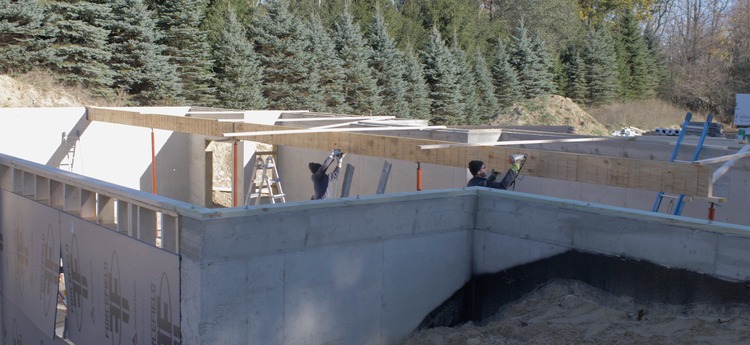
With the back wall in place we could set the main beam to support the floor joists that will span the house from front to back. We decided to go with LVLs for the beams instead of steel beams because they are easier to manage, work with and since we have 10′ ceilings in our basement the reduced headroom wasn’t an issue.
The main beam is supported by metal posts that sit on footings and a pocket in the foundation wall at the far end. To stabilize it before the I-joists got installed they secured it to the sill plate with temporary 2x4s. Depending on the length of span, some of the beams were only two LVLs laminated together while others where up to four LVLs. The wood LVLs were easier to manage because they could be lifted one at a time versus a big steel beam that would likely require a crane to set.
Setting the Floor Joists
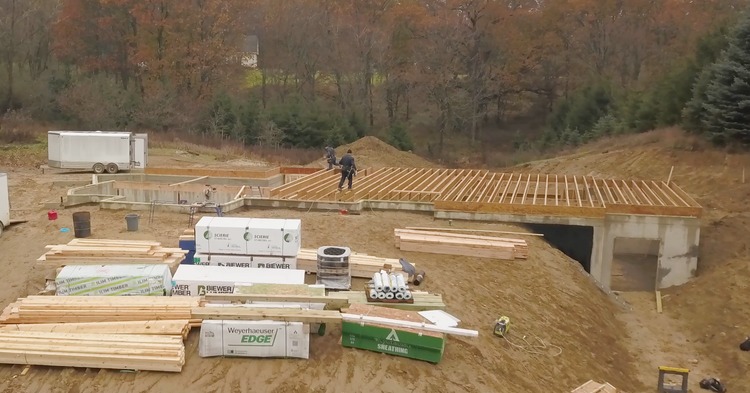
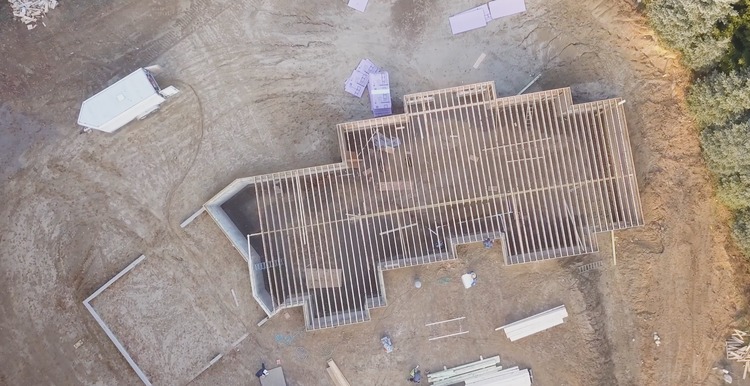
Our plans called for 16″ I-joists, spaced 16″ on center. Each one spanned from the front of the house to the back with the beam supporting them in the middle. Some joists were as long as 44′!
The framing crew started by toe nailing the rim board to the edge of the sill plate but only along the back of the house. Then the I-joist get slid into place from the front, stood up and nailed into place. Once all of the I-joists are in, the rim board could be finished being installed.
Installing the Subfloor
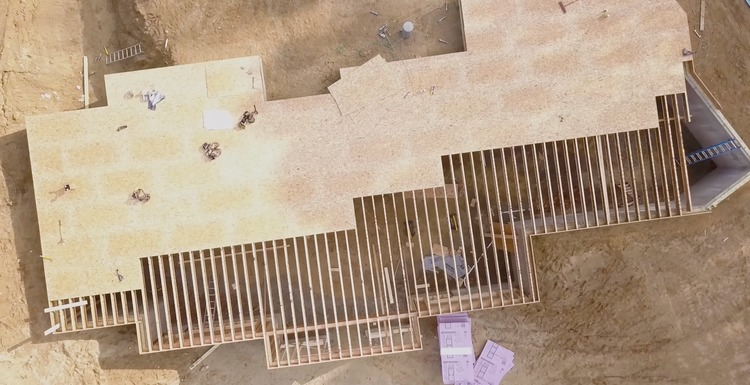
Choosing the subfloor was harder than I imagined. There is regular OSB, there is Plywood and then there is an Advanced OSB that is more resistant to weather but it also cost a good bit more. I decided to take my chances with the weather and go with 3/4″ tongue and groove OSB.
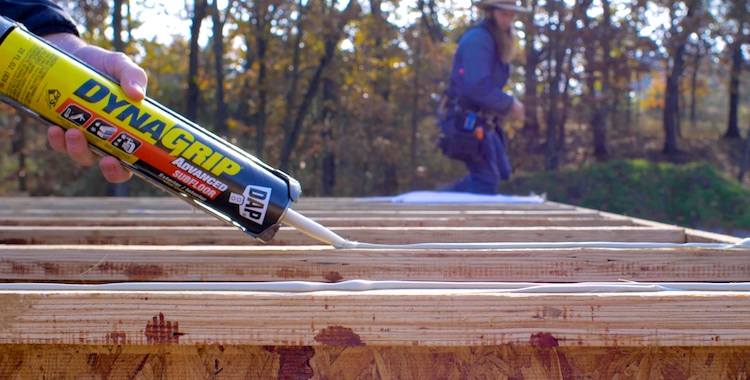
One of the biggest things I wanted to make sure of was that there was no squeaking in my floors. To assure that we went with a premium grade subfloor adhesive to guarantee a high strength, weatherproof bond. DAP’s DynaGrip Advanced Subfloor adhesive was perfect for the job. Since it was only about 19 degrees that morning it definitely helped to have the large application temp range of 0-120 degrees. Even in the cold temperature it was still easy to gun this adhesive.
It took about 100 sheets of OSB and 36 of the 28oz tubes of adhesive to complete the floor.
Framing the Walls
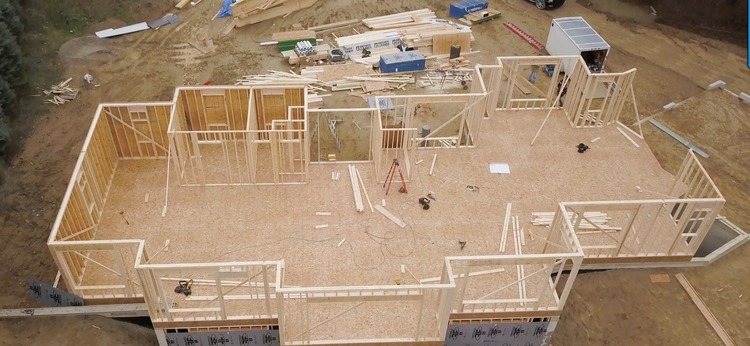
Getting to see the walls come together was truly one of the more exciting times in this process so far. We went with a 10′ tall wall to give us those high ceilings we wanted. And the exterior wall was framed with 2×6 lumber to allow for more insulation. Each wall was built on the ground and then lifted and set in place. Once it was in place then it could be sistered to the adjacent wall with a longer cap at the top.
With the exterior walls in place the carpenters moved on to the 2×4 interior walls and decks.
Hanging the Wall Sheathing
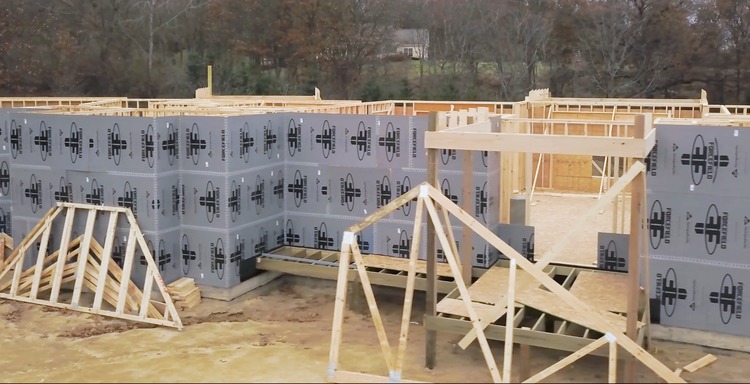
So during this time the prices of OSB were steady-going up due to the impacts of the horrific 2017 hurricane season. However, for some reason, when we decided to pull the trigger and order our OSB, the ForceField OSB with the house wrap built into it was actually cheaper than the regular OSB! Plus we didn’t have to pay for the materials and labor to wrap the house. Win-win.
The OSB is 7/16″ thick and gets installed with 2″ long staples and the seams are taped to create a weatherproof barrier. One interested thing I noticed was that this framing crew opted to close in all the doors and windows to keep the weather out. They would wait until the doors and windows were ready to go in to cut out the openings. Very clever.
Framing the Covered Decks
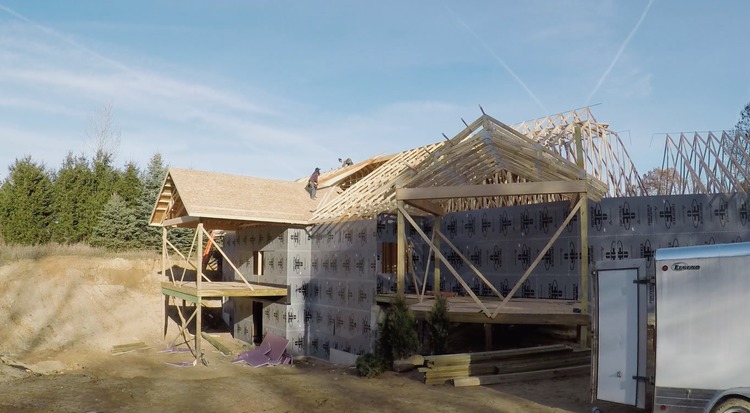
We have three decks in total and all three of them are at least partially covered. So to get ready for the trusses we would need to frame up the decks and hang the headers that will carry the trusses. Below you can see the two back decks. The one to the left is off the living room and will have two sets of french doors to access it. The huge treated beam that it sits on allows us to span 20′ without a post in the middle which will be nice for entertaining below deck. The deck to the right is accessed from the kitchen/dining rooms and will be mainly used as an outdoor dining area. Both will receive scissor trusses to give them a higher vaulted ceiling.
To reduce the cost of the foundation walls we went with a front deck instead of poured. This deck is also covered and will receive scissor trusses for a vaulted ceiling so it needed to be framed and headers hung.
Setting the Roof Trusses
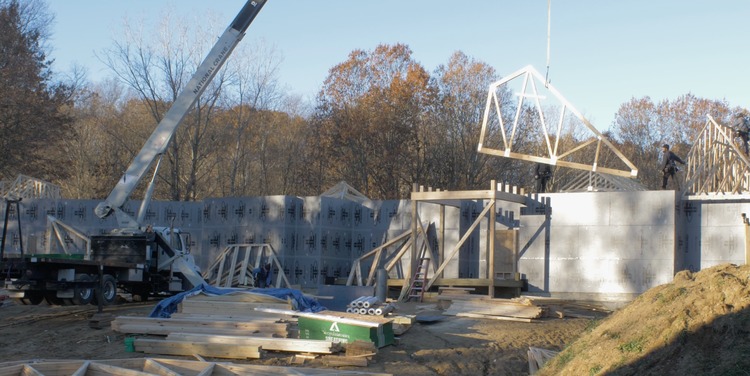
We were at a mad dash to get things setup so that when the crane got here we could get all the trusses set in one day. To get a head start the smaller trusses on the ends and the scissor trusses on the back covered deck were lifted into place by hand.
I feel like I keep saying every part was amazing and really impactful but seeing a crane lifting every one of those trusses from the pile and setting them perfectly in place was pretty amazing. This is one of the few days that I sat back and out of the way with my mouth shut. The crane operator and the crew of carpenters knew right where each truss went and communicated with hand signals to make sure it was all done safely.
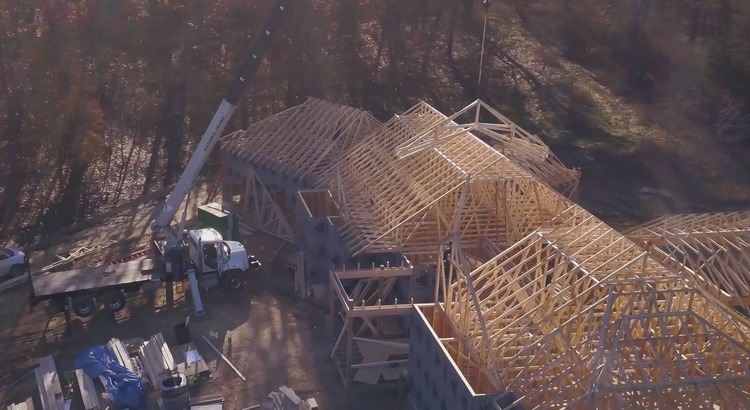
Another cool thing is that this truss package, sourced by my local lumber yard, is built so that none of the trusses are supported by interior walls. All of the trusses are only bearing on the exterior walls. I’m not sure why I think this is cool but it just is okay.
Stick Framing the Rest
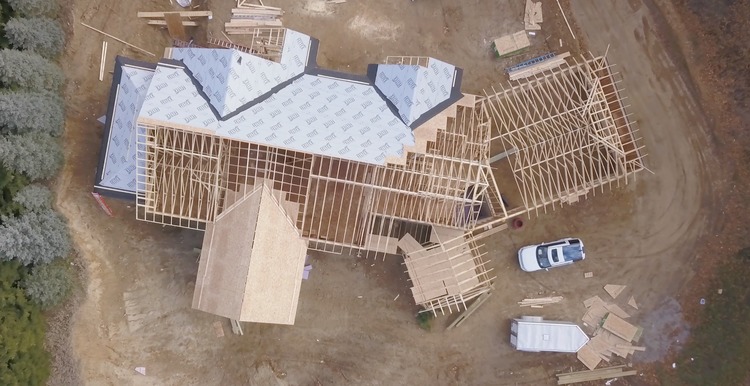
While the truss package and the setting of the trusses was pretty impressive, there were still some areas that needed to be stick framed by hand. Those areas are wherever there was a set of trusses meeting another set at some sort of angle. In the picture below you can see that the trusses that cover the back deck extend through the living room but the main roofline of the house continues over them. This just means that the framing crew need to cut 2×8 rafters to fill that void and make it look seamless. The same thing happened at the other deck and where that house joins the garage at a 30 degree angle.
Sheathing the Roof
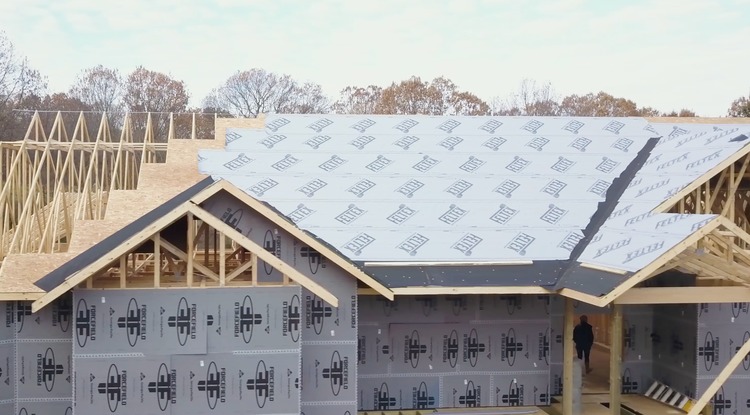
As part of the crew was stick framing the other part of the crew started sheathing the roof with 5/8″ thick OSB. While the OSB was going on they also started covering it with a synthetic waterproofing fabric. The roofing fabric that we used was more expensive than the typical roofing felt but when installed with cap staples it’s guaranteed to be weatherproof for like 6 months. And since we were unsure of when the roof would actually go on and with the high winds and crazy weather around here we decided to go with the good stuff.
The black stuff you see in the valleys and at the bottoms is called ice guard. Since we live in the north we are required in install this at the bottom and it’s basically a peel and stick. This prevents any ice damming up at the bottom of the roofline from creeping back under the roofing felt (or fabric in this case).
Well thanks for taking the time to see what’s going on with our dream house build. It’s been a blast so far, I’ve learned so much and can’t wait to share more so be sure to stay tuned for episode three and make sure you follow us on Instagram and Facebook for updates!

