In the last episode of the dream house build we got the house framed out and trusses set. In this episode we go over the roof installation and making a decision between a shingled roof and a metal roof. We also cover the windows being cut out and installed as well as installing the hydronic heated slabs in the basement and the garage. Read on for a ton more detail.
But first, don’t forget to subscribe on YouTube and for sneak peeks of our upcoming projects be sure to check out Our DIY Life on YouTube, follow us on Facebook and Instagram. Also, follow me on Pinterest to get tons of projects plans from all around the web!
The Roof
When we were deciding on a roof we ideally wanted a metal roof but new it would be substantially more expensive. So we got both shingles and a standing seam metal roof quoted out by our local lumber yard and a box store. The metal was 3-4 times the price of shingles at our local lumber yard and about 2.5-3 times the price of shingles at the box store.
In conversation, we mentioned to our Amish carpenter that we might have to go with a shingled roof due to cost and he said he knew a guy in the community that can form the standing seam metal roof on site. So I reached out for a quote.
Using this guy, the metal roof ended up being 2 times the price of shingles but it is ultimately a superior product and has a huge impact on the overall look. I’m glad we did it.
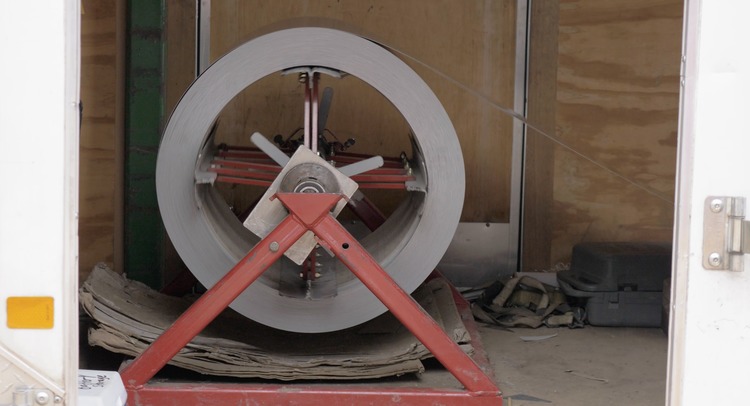
So the process of how it all went up is pretty amazing. The guy brings these coils of flat steel. They are about 3300 feet long and weigh in at about 2200 lbs. The trailer that houses the machine actually has a crane built into it just to move these coils into place.
The flat stock gets sucked through this machine and formed into our standing seam metal roof. Then, these blades come down and cut it to the exact length needed at the time by the carpenters on the roof.
The other thing was that if we would have bought the roofing from a retailer it would have all had to of been ordered to length. That means, down to the inch. And with out roof being as complex as it is, those measurements aren’t quite so easy to estimate. Nevertheless, this process worked out perfectly and we couldn’t be happier.
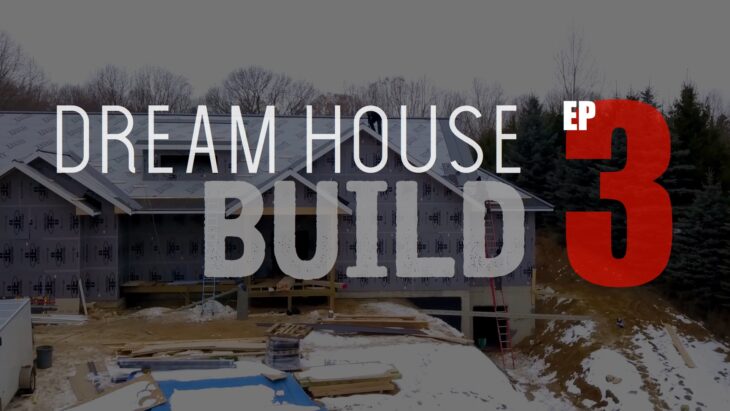
As you can see the photo below is not complete. While we did get the roof done it was in extremely cold weather and in between snow storms so it wasn’t a good idea to put the drone up at the time.
We initially wanted to go with black but after putting it up for a vote in our Instagram stories and having charcoal overtake black with a ninety something percent approval rating we had to reconsider and in the end we decided to go with charcoal and we are happy we did.
The Windows
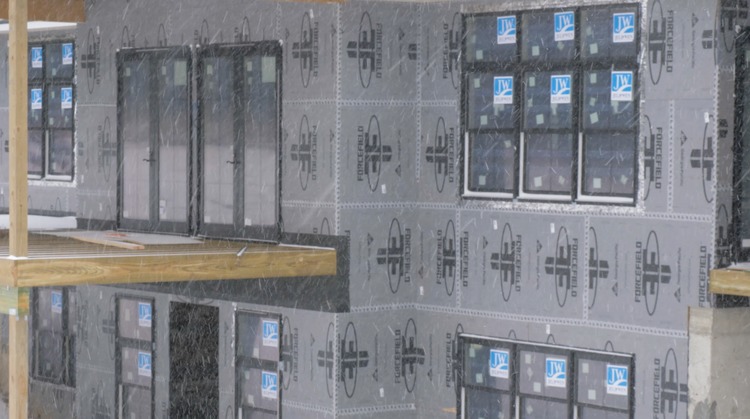
Jamie really wanted black windows, so that’s what we went with. It was a little bit more but, like the roof, I think it has a huge impact on the overall look of the house. The majority of the windows are double hung with a 2′ tall transom above them. Each window has a single sash down the middle.
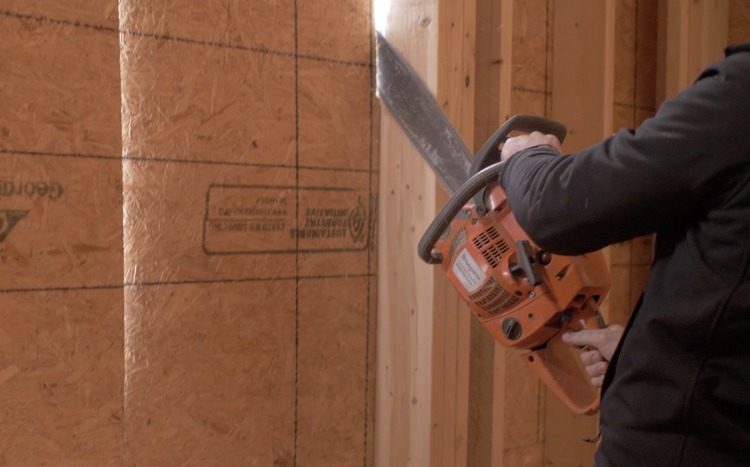
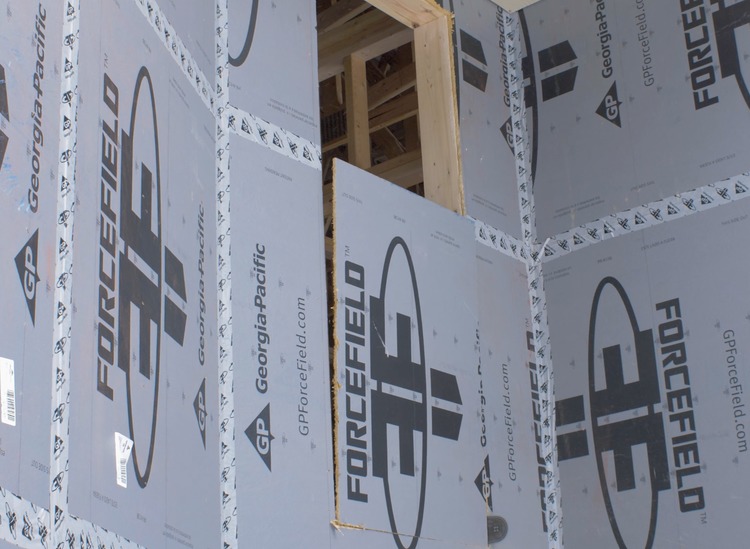
Installing the windows was neat. The Amish carpenters had covered all the windows with exterior sheathing to keep the weather out. Then to install the windows they simply cut them out with a chainsaw. They said they like to use a dull blade and that actually gives a cleaner cut through the plywood. So naturally, I tried the first window. The did have to clean it up a bit but I must say it was pretty fun.
Here is another shot from the outside. I honestly think this an ingenious idea and a much cleaner and MUCH quicker cut than a reciprocating saw.
The back of the house (pictured below) get the most natural light. The windows on the right are about 7′ tall by 9′ wide and the 8′ tall french doors lead from the living room out onto the covered deck.
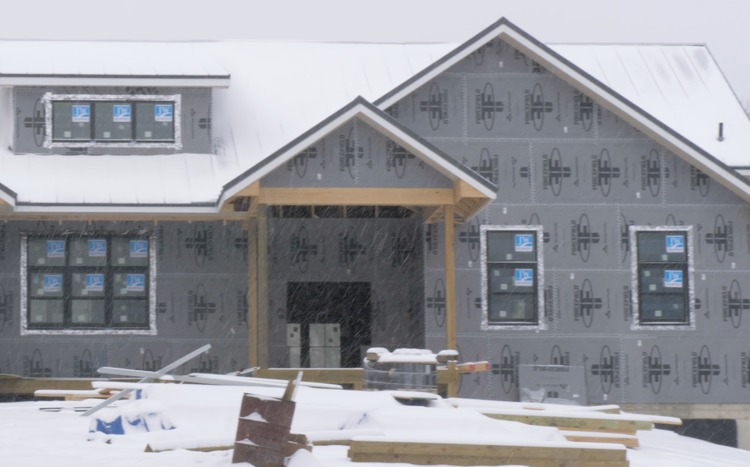
On the front of the house we have a set of windows that look out from the kitchen. We special ordered a front door that will be coming later. The two windows on the right of the covered entryway are for the 1/2 bath and the laundry room.
The Heated Slabs
We wanted to heat the basement and the garage using hydronic heating. This is done by embedding PEX tubing in the concrete that will allow for hot water to pass and heat the slab, in turn the heat radiates through the slab and heats the area.
The Garage Drain
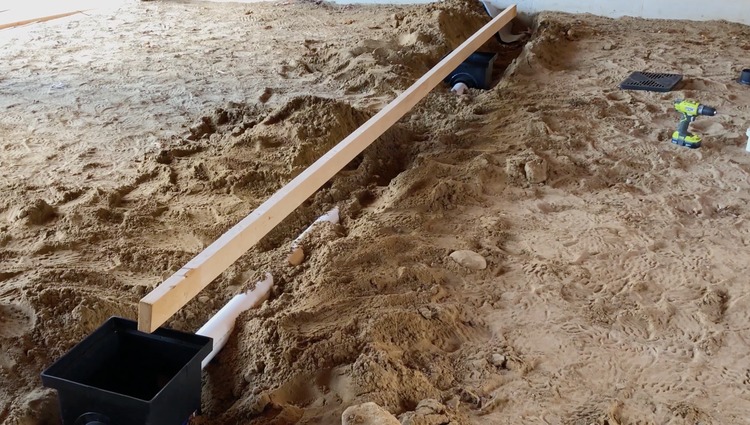
For the garage we knew we would have to control the water. Whether that be from melting the snow of the cars in the winter or washing the cars in the summer. To do so we installed a 12×12 catch basin under each car stall, connected each with a PVC tube that went through the foundation wall and will eventually connect to a drain.
Vapor Barrier
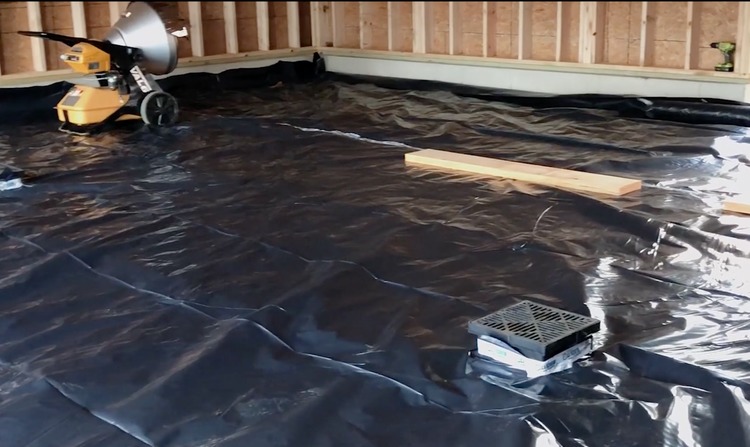
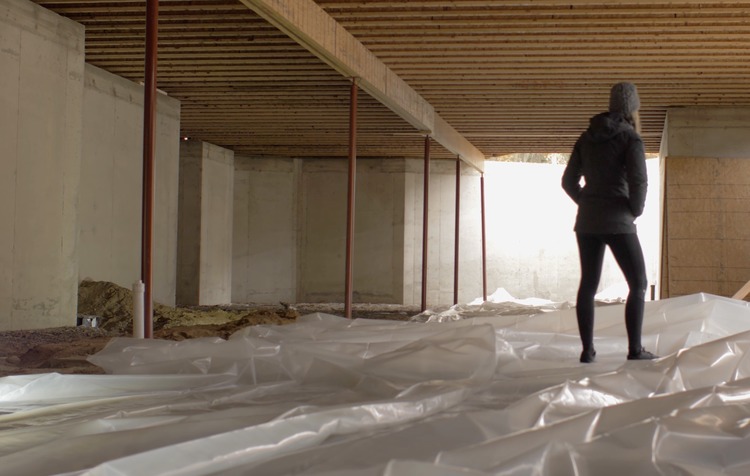
With the drain installed we then laid 6 mil vapor barrier and taped all the seams to prevent moisture from coming up into the slab.
Oh and that alien looking thing in the background. That’s the VAL6 diesel heater. I’ll just say this thing will heat a huge space, is very quiet and has little to no oder. I don’t know what we’d do without it.
We did the same thing in the basement but while we didn’t have the drains to contend with we had a much bigger area to do.
Insulation
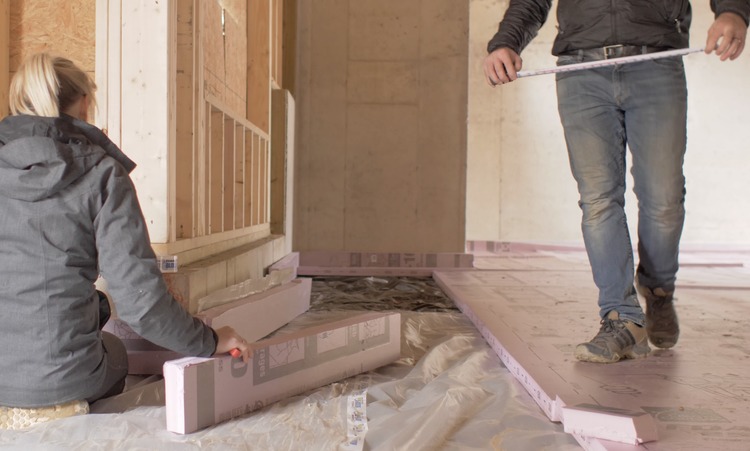
After the vapor barrier was laid it was time to start installing the insulation. Under the slab gets 2-1/2″ thick rigid foam insulation. This insulation has a 25 psi compressive strength and a r-10 insulation value. The sides of the slabs also get insulated.
Installing PEX
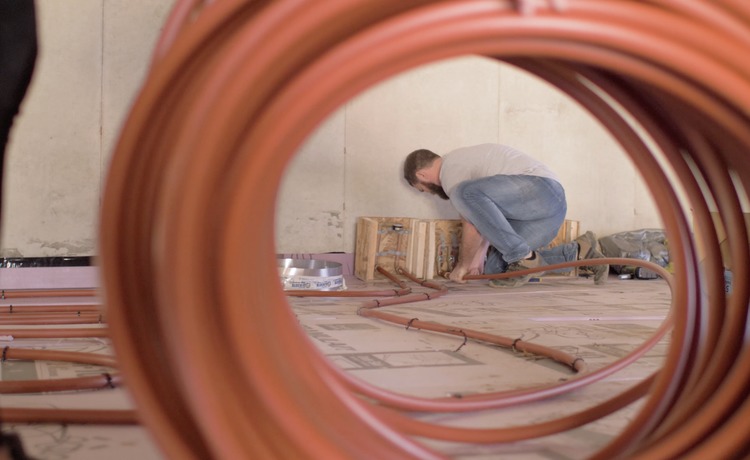
With the insulation all laid out, the PEX tubing and slab manifolds are installed. We used the Radiant Floor Company for all of our radiant layout and materials. They designed and sent us the manifolds and PEX as well as a worksheet for our floor. We have two zones in the basement. One is the main zone which has five 300′ long loops of 7/8″ PEX, this is for the main living area. The other zone is a single 300′ loop which will control the heat in two guest bedrooms and a jack and jill bath. The idea was to be able to reduce the heating in these rooms when not used. We attached the PEX to the insulation with a foam board stapler.
Pouring Concrete
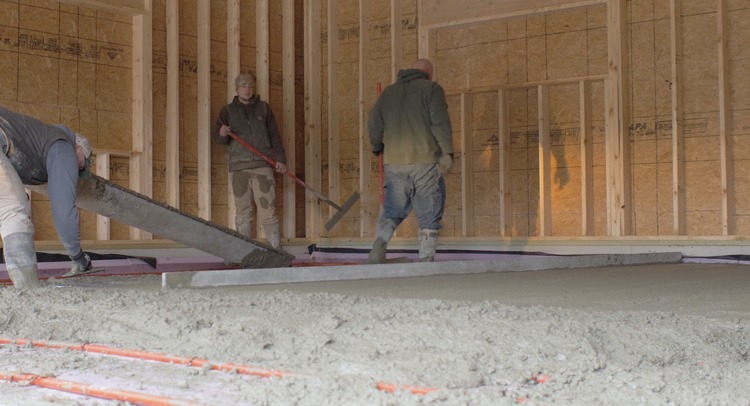
This was all happening in the brutally cold winter so when we had a few days above freezing we went for it and had the guys pour the slabs in the basement and garage. That was a lot of concrete.
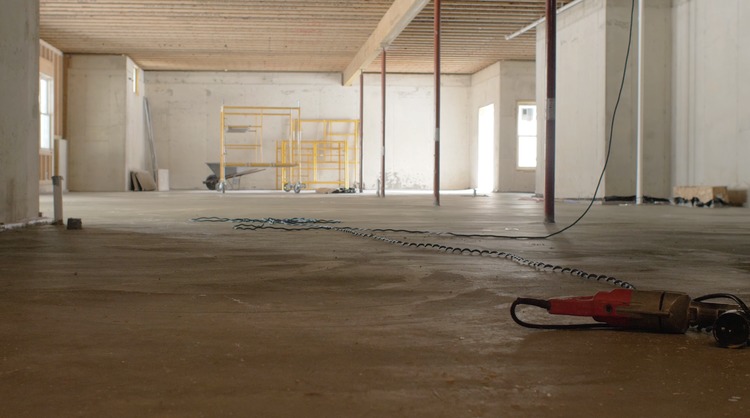
We got it done and it looks great. Finally we have a hard surface to work on downstairs!
Thanks for taking the time to read and follow along with our dream house build. This has certainly been ( and will continue to be) a learning experience for us.

