In this episode of the Dream House Build we wire up the house with all kinds of fun stuff, install a few features in our HVAC to make for a more efficient and healthier home, and we pour some much needed retaining walls.
Don’t forget to subscribe on YouTube and for sneak peeks of our upcoming projects be sure to check out Our DIY Life on YouTube, follow us on Facebook and Instagram. Also, follow me on Pinterest to get tons of projects plans from all around the web!
Wiring
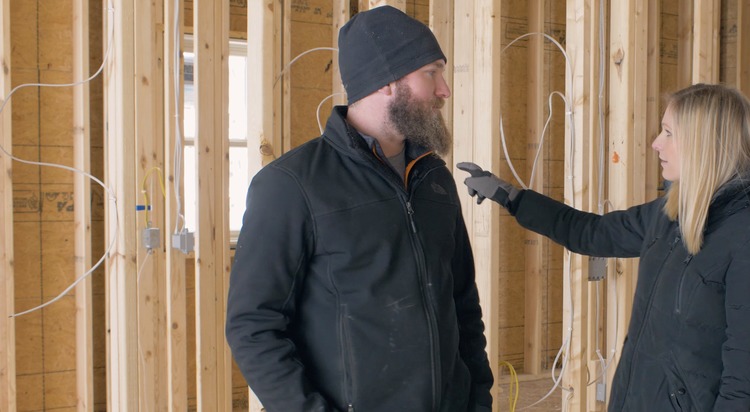
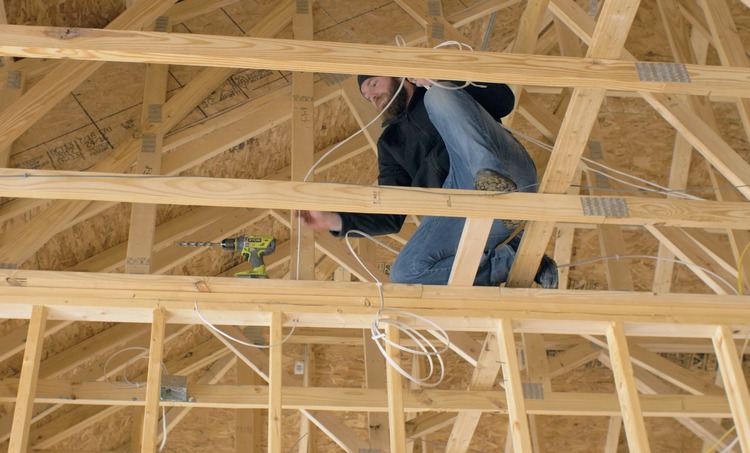
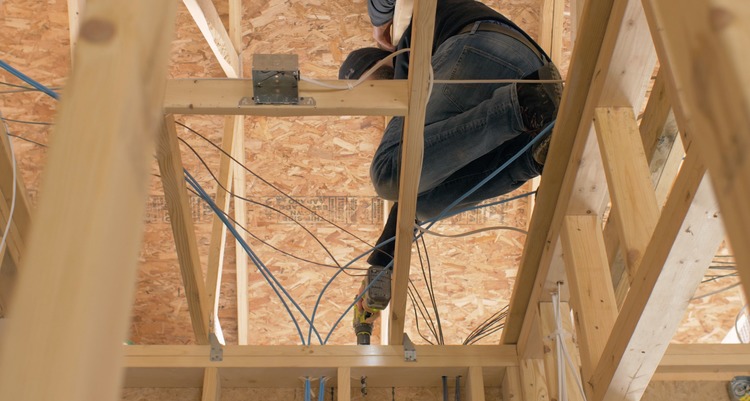
For the rough wiring we hired an electrician which meant we had to plan out all our lighting and switch locations. For the light locations that we didn’t know exact locations, such as the sconces in our master bath and the pendants over the island. We simply had the electrician leave loose wire in the walls so we could find the exact location at a later date and easily access the wire within the walls. While we hired out the rough electrical, we did opt to run the low voltage, speaker wire and networking ourselves.
Low Voltage to Motorized Blinds
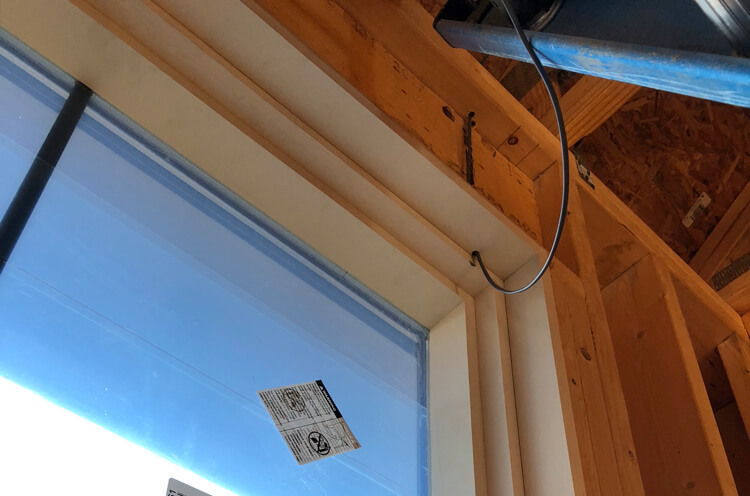
We started by running 14/2 (14 gauge, 2 conductor) low voltage wire from each window down to the mechanical room where our transformer will get installed later. We aren’t certain if we will install motorized blinds but the wire is cheap and it only took a few hours to run, so I think it was worth it just in case, so we don’t have to use battery operated blinds. Plus, Jamie’s dad owns Esquire Interiors so hopefully he can get us a sweet deal on some Powerview Hunter Douglas blinds. Motorized blinds aren’t just for being lazy or showing off either, you can create schedules and automate the blinds to create a more energy-efficient home.
Speaker Wire
Built-in speakers were something I’ve wanted for a long time. When I want to flip on some tunes I want to be able to do it from my phone and not have to track down the speaker, make sure it’s charged or plugged in and sync it to my phone. For the living room TV I also wanted to have the components in a nearby closet and speaker in the ceiling to reduce the clutter. For the speakers in the ceiling I ran 14/2 speaker wire from the speaker location to the mechanical room (or to the component location for the TVs). The mechanical room will house the amplifiers for each zone as well as the sources. I haven’t made the final call yet but based on what I’ve heard of the upcoming Airplay 2 multi-room features from Apple, and since we are already invested in that ecosystem, I will likely go with a dedicated Apple TV for each zone.
Where it got a little more complicated is linking the kitchen/dining area to the living room TV. What I did here was run the speakers in the kitchen and dining room to a switch. This will house a source selector and volume control panel. From there I ran wires to two sources, one to the living room TV amplifier and one to the mechanical room with the rest. This will give us the flexibility to listen to music or the TV in the kitchen and dining room and adjust the volume independently from the TV. That way we don’t have to blast the TV volume across the room.
Networking
When it came to networking I didn’t play around. I went with CAT7 ethernet for the cameras and access points which I know is overkill but I wanted to make sure to future-proof the house just in case. CAT6a supports 10Gbps at 500Mhz of bandwidth while CAT7 goes up to 10Gbps at 600Mhz of bandwidth. It was a little more but in the grand scheme of things, if I’m going to take the time to run it I wanted to put in the best stuff I could.
So, I will have two hardwired access points in the house that will provide great wi-fi coverage and seamlessly handoff devices to one another. Plus we hardwired all of the IP cameras and any TV locations with CAT7 as well. I wanted to hardware ethernet to as many devices as I could to limit the wi-fi network. I’m sure we will have many devices on our network and to limit the bandwidth usage I wanted to make sure the heavy-hitters such as TVs and cameras were directly connected. Plus the cameras will use POE (power over ethernet) so they won’t require any additional power.
HVAC
In episode 3 you saw where we installed the tubing for the radiant heated concrete slab in the basement and the garage. For the main level we opted for a forced air system. My idea is that the radiant heat in the basement will supplement the forced air upstairs and vice versa. While forced air, or central air, has been around for a long time, we added a few features to create a more efficient and healthy system.
Zoning
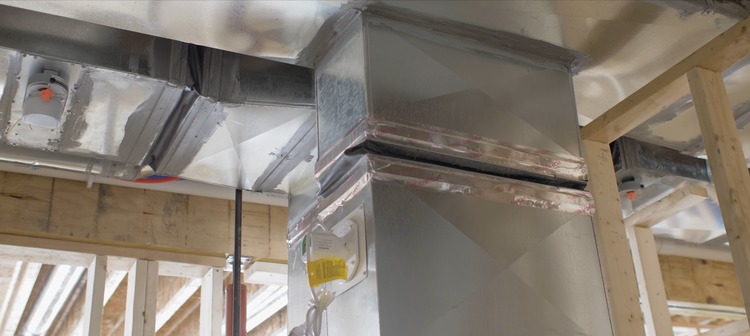
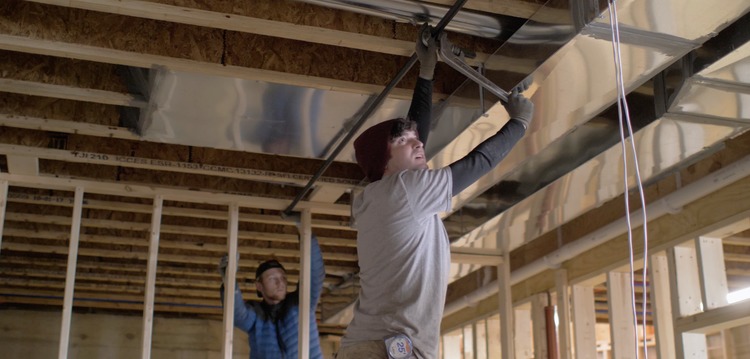
One thing that we did was to zone the system. Basically, the furnace/air handler sits in the middle of the house and has an immediate Y that splits the house into two zones.
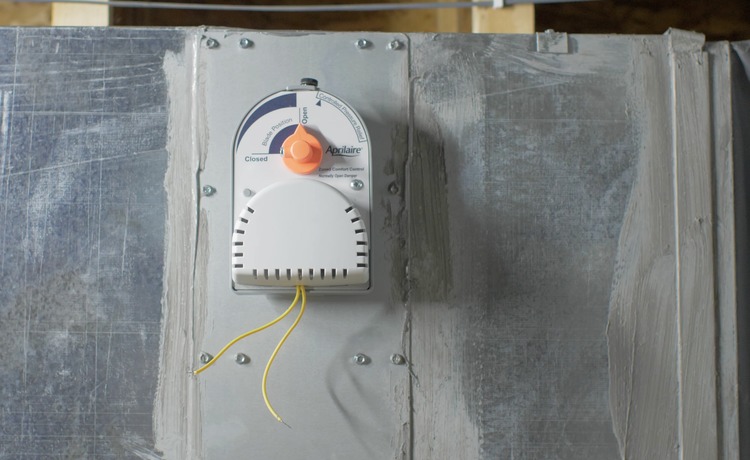
There are dampers at the start of each side of the Y that open and close as the required by the thermostat on that side of the house. So if one side of the house gets cold (maybe a door or window is open), the thermostat on that side will call for heat, tell its damper to open and the other damper will close to force heat to only the cold side of the house, quickly heating the side of the house that requires it.
UV Light
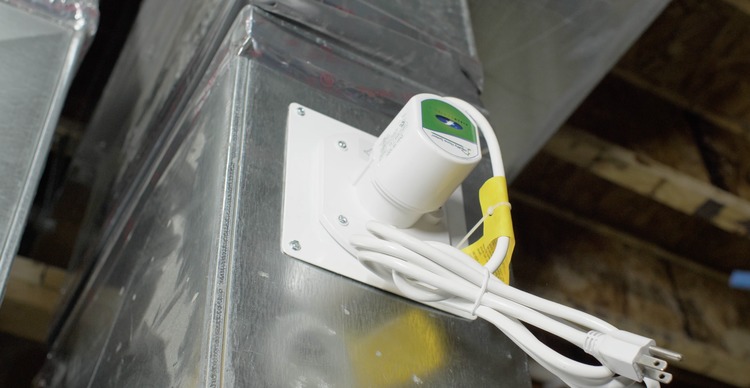
We also installed a UV light to the return side to improve the indoor air quality. It is proven that ultra violet light kills germs so why not install one in the central air system! Makes total sense to me.
Natural Gas Lines
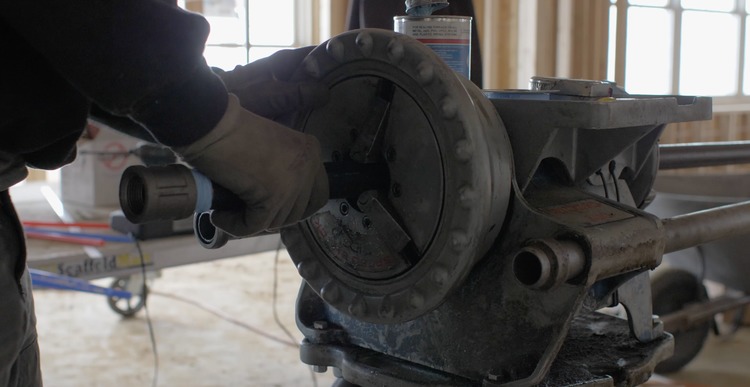
We had a crew come in and install all of our steel natural gas lines which was nice. They knocked it out in just a few hours and sized everything as needed for the source.
We ran natural gas to our range, outdoor grill, indoor and outdoor fireplaces, dryer, furnace and hot water heater.
Fireplace Framing
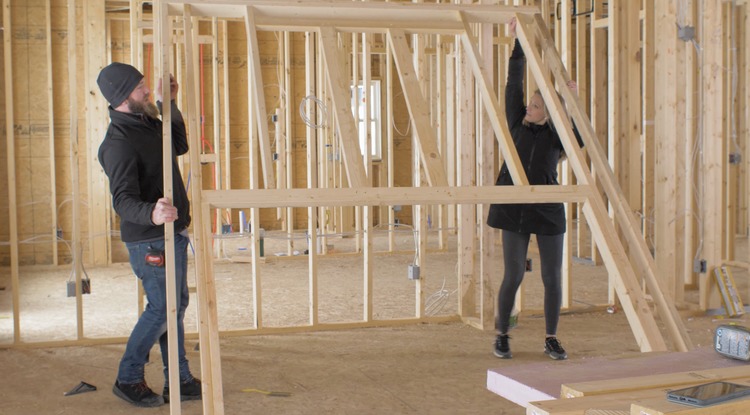
We waited to frame out the fireplace because we hadn’t selected it yet. Well we finally decided on the Valor L3 linear fireplace with the heat shift kit. This additional feature is great because it take the convective heat (hot air) and vents it up through the wall and out a duct above the TV while the radiant heat from the fire will heat whatever it sees which it cannot see the TV.
The nice thing was that Valor provides their framing requirements for the fireplace which made things a lot easier. There are minimum openings for non-combustible materials and such that we needed to adhere to and they laid all that info out nicely.
Retaining Walls
When the foundation walls were poured we did not pour the retaining walls. Well, spring in Michigan brings freeze/thaw conditions that cause big problems with sandy hills that are not retained.
Mud Problems
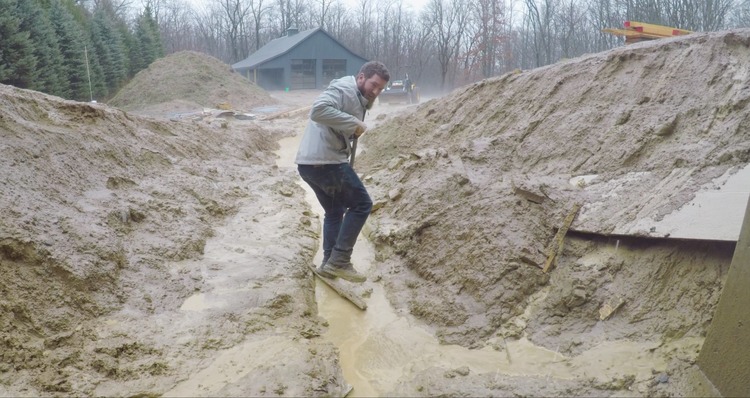
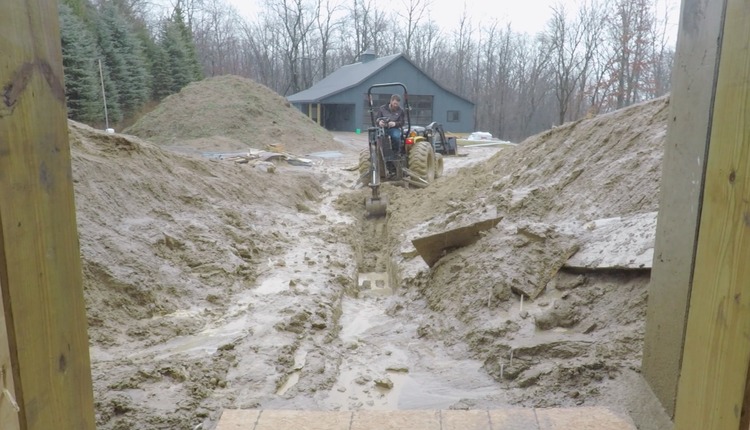
After all the hard freezes that we had this summer the frost line in the soil was down pretty far. Well as the ground starts to thaw/melt and we get rain, the frost layer below it doesn’t allow it to drain. So all the water sits right on top and these unretained hills started to slide into the walkout the we created. This eventually piled up and forced the water to run back into the basement. Not a good thing to walk into first thing in the morning.
So after digging a trench and re-grading that area to get the mud and water to run away from the basement again, we were in the clear for a while. So I called my excavator to get those retaining walls down before I had to deal with it again.
Footings
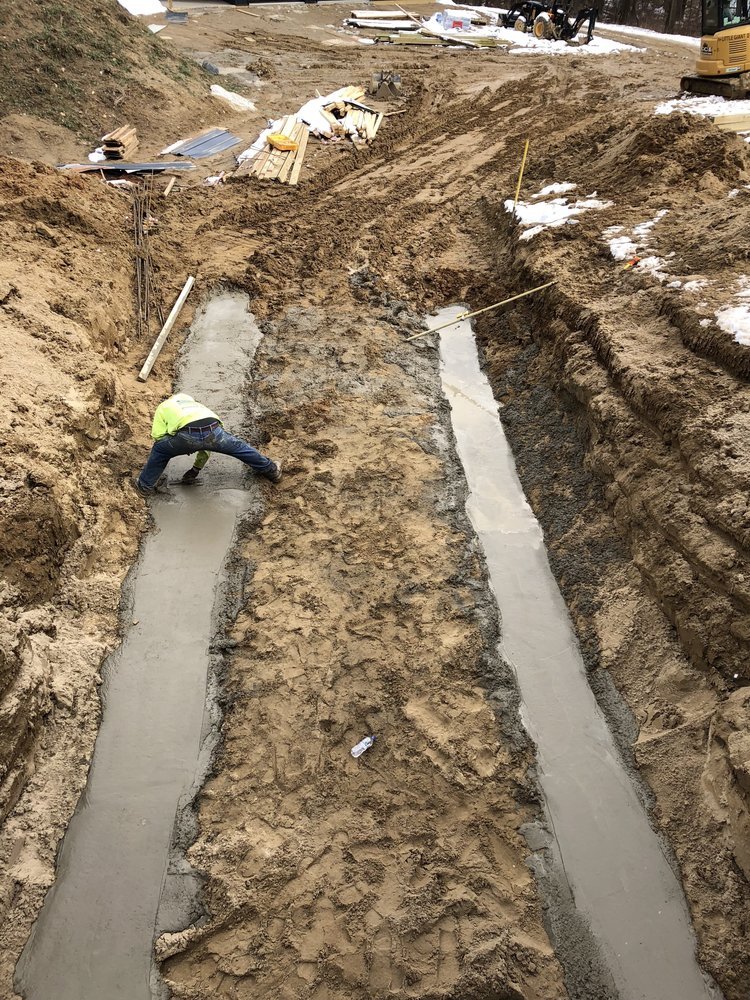
When the crew got out there they dug out the walk out again, dug the footings, got them inspected and poured the concrete for the footings all in one day. Pretty amazing.
Pouring the Walls
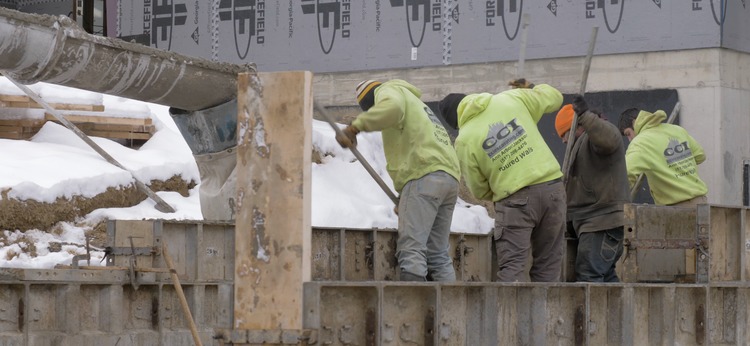
After getting more snow which delayed the walls for a couple days. They finally got back out to set up the forms and pour the walls. Again, all in a single day.
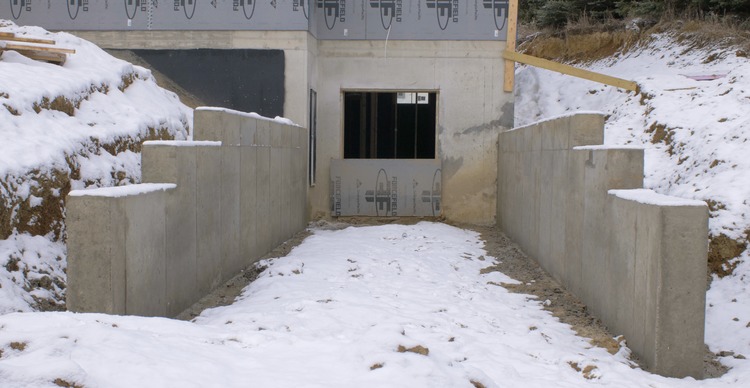
After a day or two of setting up they came back to remove the forms and reveal my beautiful new retaining walls. No more mud in the basement!
Thanks for taking the time to read all the way through this episode of the dream house build. Stay tuned for episode 5 coming soon!

