In this episode we go over the begining of the interior finishes going in. That starts with the interior door installation followed by selecting a flooring and having it installed. Then we can finally move on to the trim work and faux beams. Last but certainly not least is the amazing staircase leading down to the basement.
This episode is sponsored by DAP Products
Watch the Episode
Wanna see how it all came together? Check out the full episode below and don’t forget to subscribe on YouTube so you won’t miss future videos!
Interior Doors
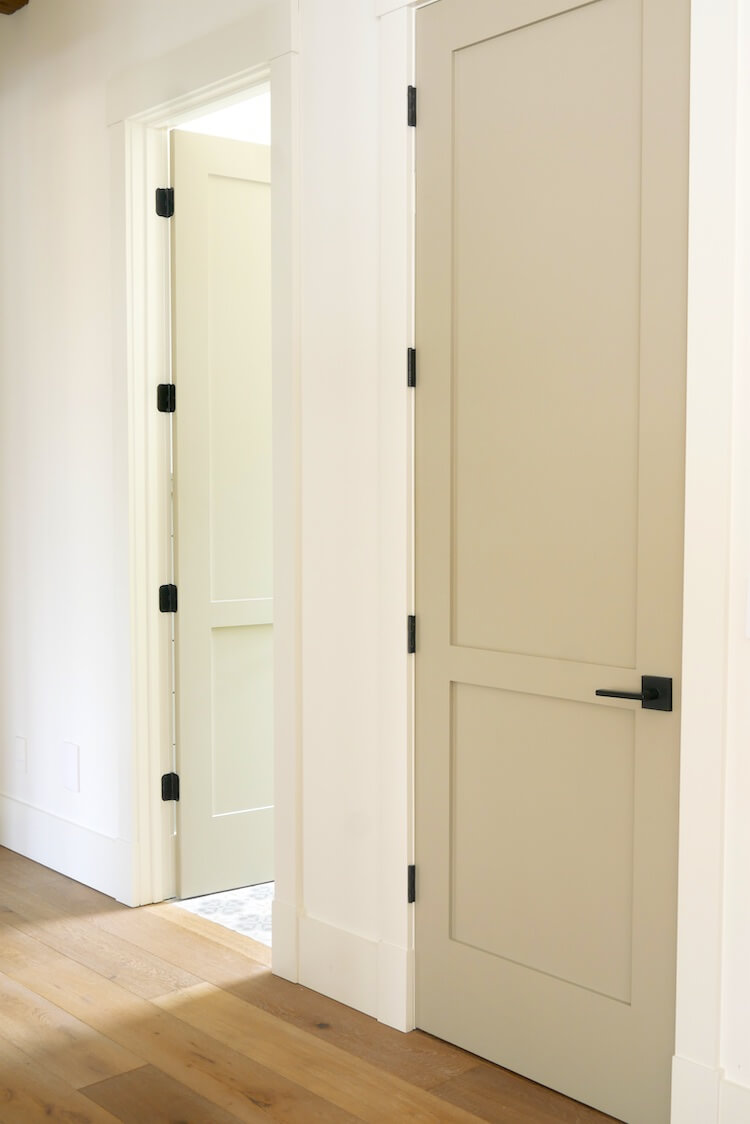
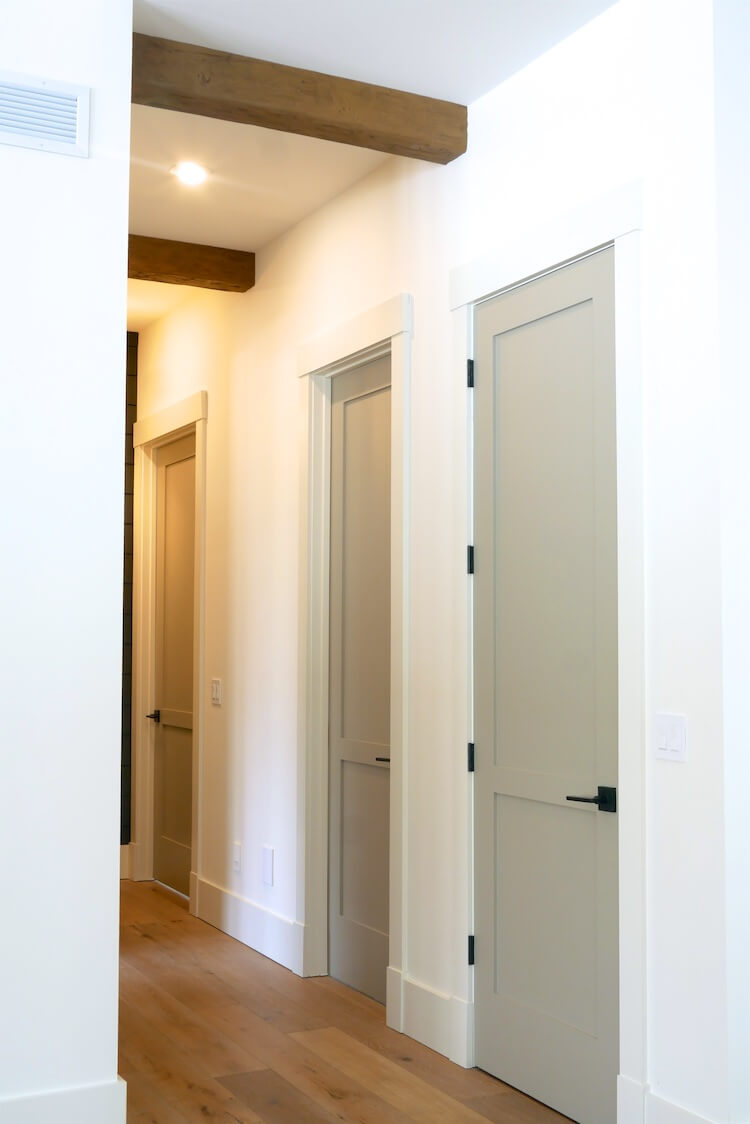
When it came to interior doors I knew exactly what I wanted. A simple 2 panel look with clean sharp edges. With 10′ ceilings we also wanted to go with 8′ doors. Since there were so many doors rather than painting we also had them pre-finished. We went took our house plans in to Home Depot and they were able to put together all the doors that we would need. Since our order was over $1,500 we had the Pro desk run our order through the bid room to check for volume pricing and we got a nice discount of about 18%!
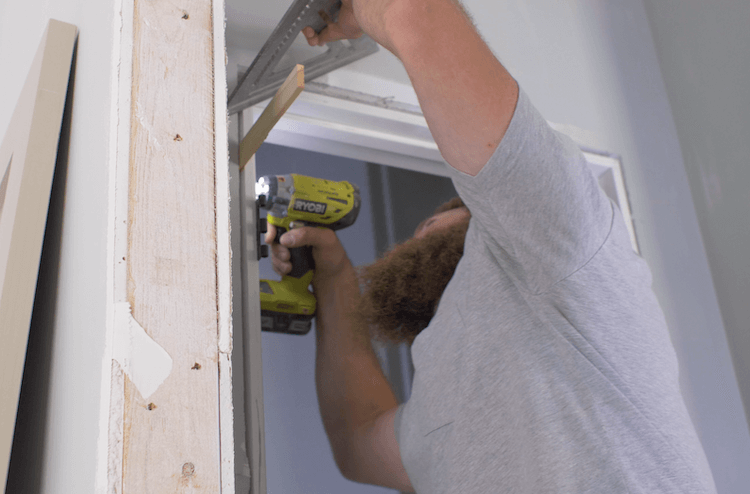
Leading up to the install day I spends hours and hours combing the web and even enlisting a trim carpenter friend to give us some pointers on installing prehung doors. We ended up taking some tips from all over and coming up with our own method for installing prehung doors which we will cover in a separate post and video. I’ll post a link here once it is published.
If you follow our stories on Instagram you probably know the issues that we had with the quality and shipping of the doors. I’m not going to rant about that here, nor am I going to name the brand, but I will say that the nice thing about ordering our doors through Home Depot is the fact that when something went wrong with our order they stepped in and made sure it was handled properly. So while we do have to live with some imperfections, Home Depot made sure we were happy in the end.
Note: This is not sponsored by Home Depot. We purchased these doors with our own money and only spoke with our local Home Depot employees throughout the entire process. They were great!
Hardwood Flooring
When it came to hardwood flooring we had a few things that we wanted. We knew we wanted a wide plank floor so I thought an engineered plank would be best to resist movement. We also wanted something that would hide dog hair and the dirt between cleanings. That meant we needed a floor with low sheen and texture.
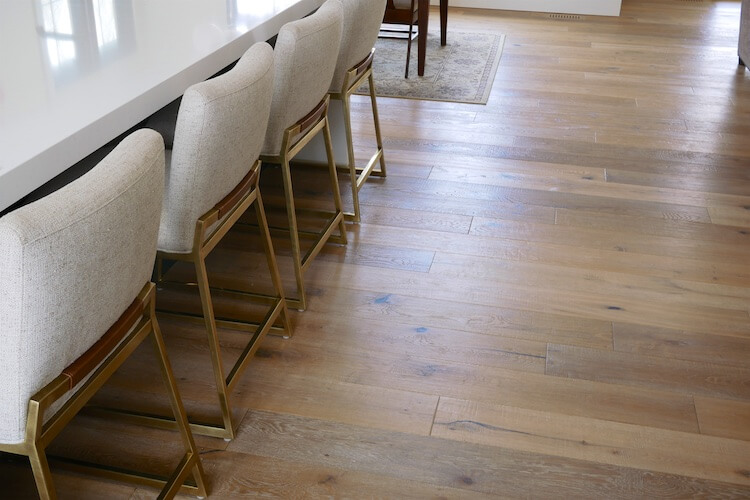
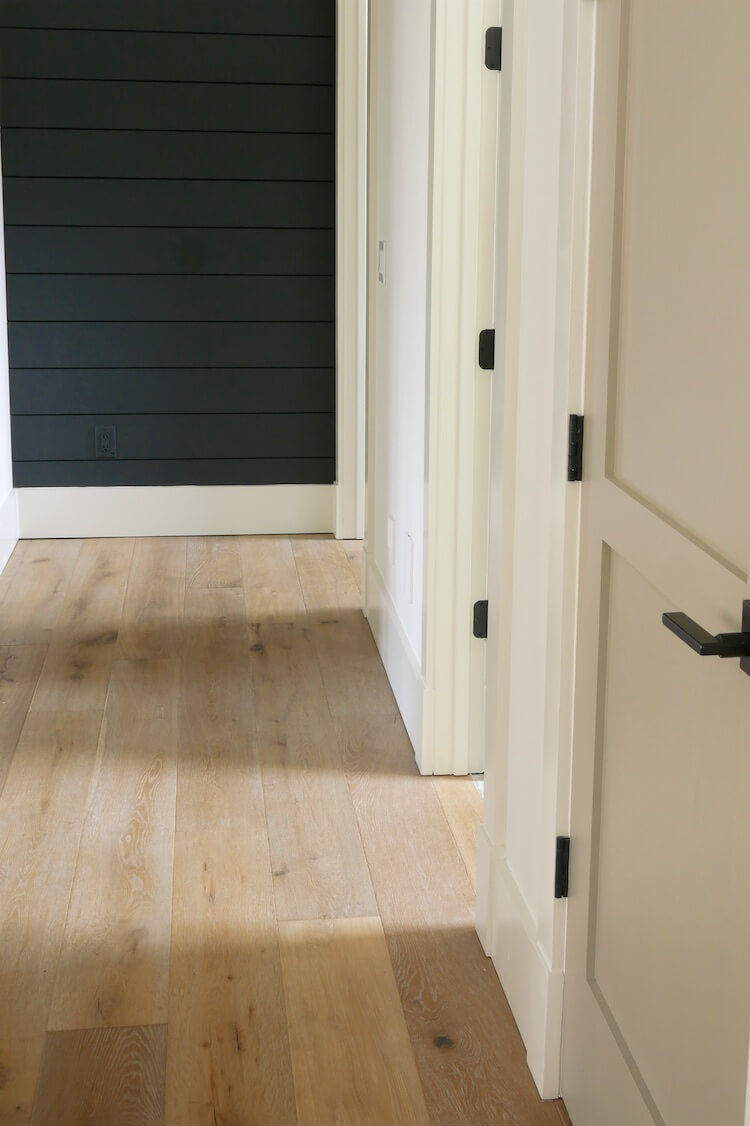
Ultimately, we ended up finding the floor of our dreams at Esquire Interiors in Ann Arbor, Michigan. The manufacturer is DuChâteau and the flooring is from their Strata Collection and goes by the name Terrene.
One of my favorite things about this floor is the fact that it has a hard wax finish. This gives the floor that matte finish and unlike a polyurethane finished floor you can actually repair scratches and re-oil spots that need it. The hard wax finish coupled with the subtle saw marks and aged character in the wood will surely hid a little dust and dog hair!
Once we decided on a floor it was time to decide if we wanted to lay it ourselves or have the professionals at Esquire Interiors do it. After taking a look at the total area and the amount of work it was going to require, we opted for the latter.
Back Cutting the Door Frames
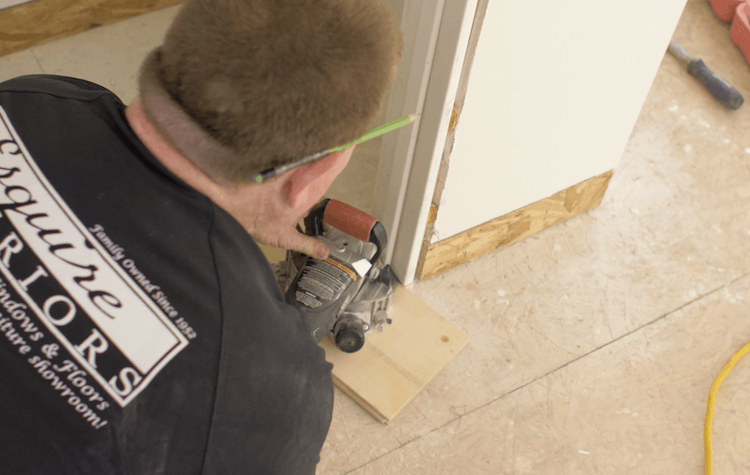
The guys at Esquire started by back cutting the door frames to fit the flooring under it. Prehung doors actually have a little bit longer of a frame for this very reason.
Laying the First Line
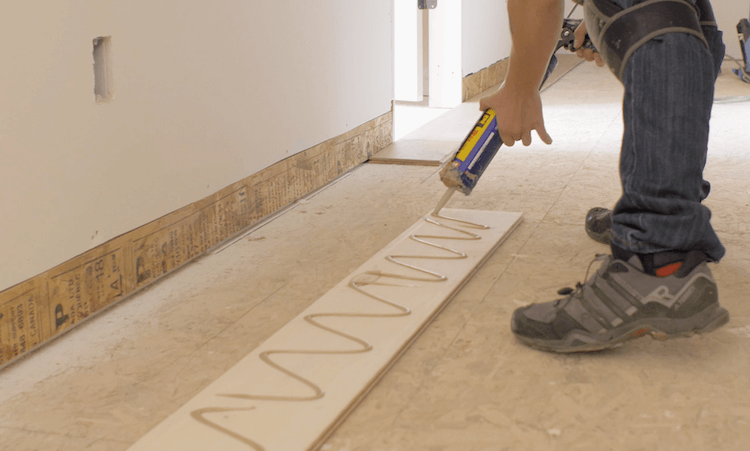
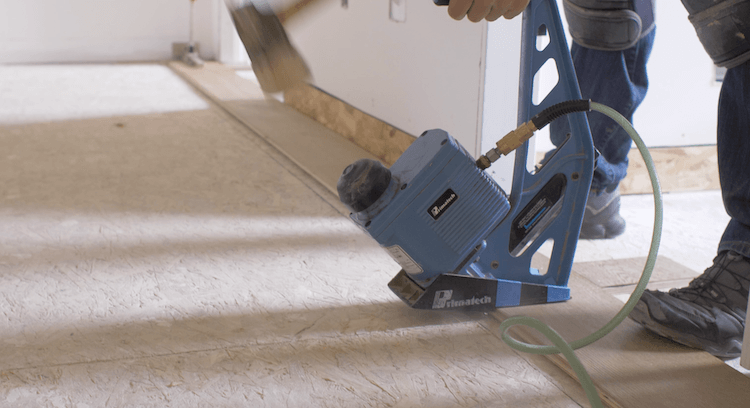
Our house is wider than it is deep so we have a hallway on the left side of the house and the right. This meant that we wanted to run the flooring down the halls since that was the longest straight run. They started by laying the first line perfectly straight all the way down the first hall. These boards get plenty of glue to make sure they stay that way.
On the groove side of that line, stop blocks (or scrap pieces) were nailed to the floor to temporarily hold the flooring in place.
Once the straight line is established throughout the house, the rest of the flooring can be laid off of that. In order to install the flooring on the groove side of the line the guys cut a spline so they could mate the two grooves together and continue to install the flooring nailing through the tongue.
Roofing Felt?
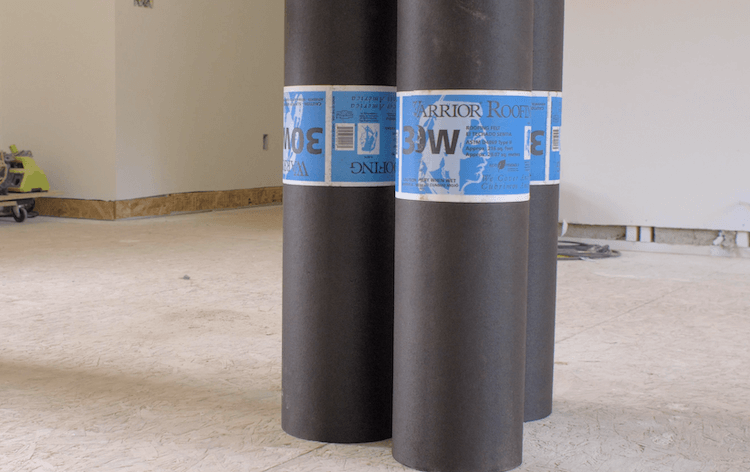
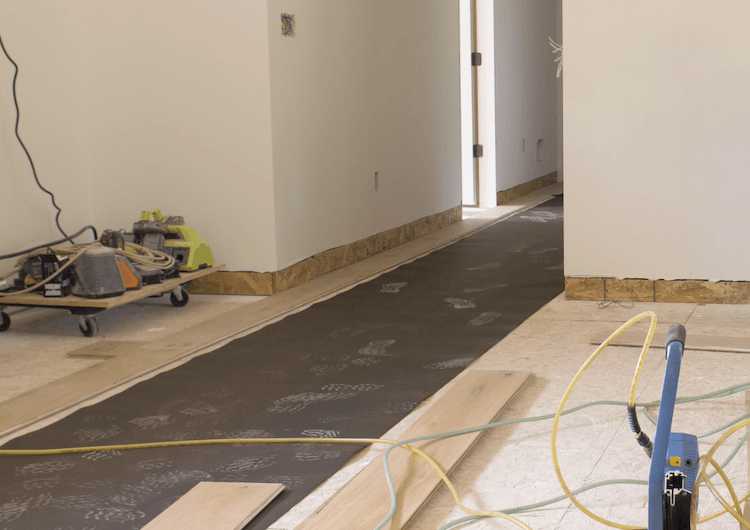
On a flooring job? Yup. We laid 30lb felt paper down under our floors.
The reason for this underlayment is that not only is it a moisture retarder, it actually helps to quiet the noise caused by wood to wood contact; and it’s recommended by the National Wood Flooring Association.
After about 5 days of flooring installation with 3 guys we finally had the floors all in. However, the joy of experiencing our new floor was short lived since we had to immediately cover it back up to protect it during the rest of the construction. But here are some finished photos for you to enjoy!
Interior Trim
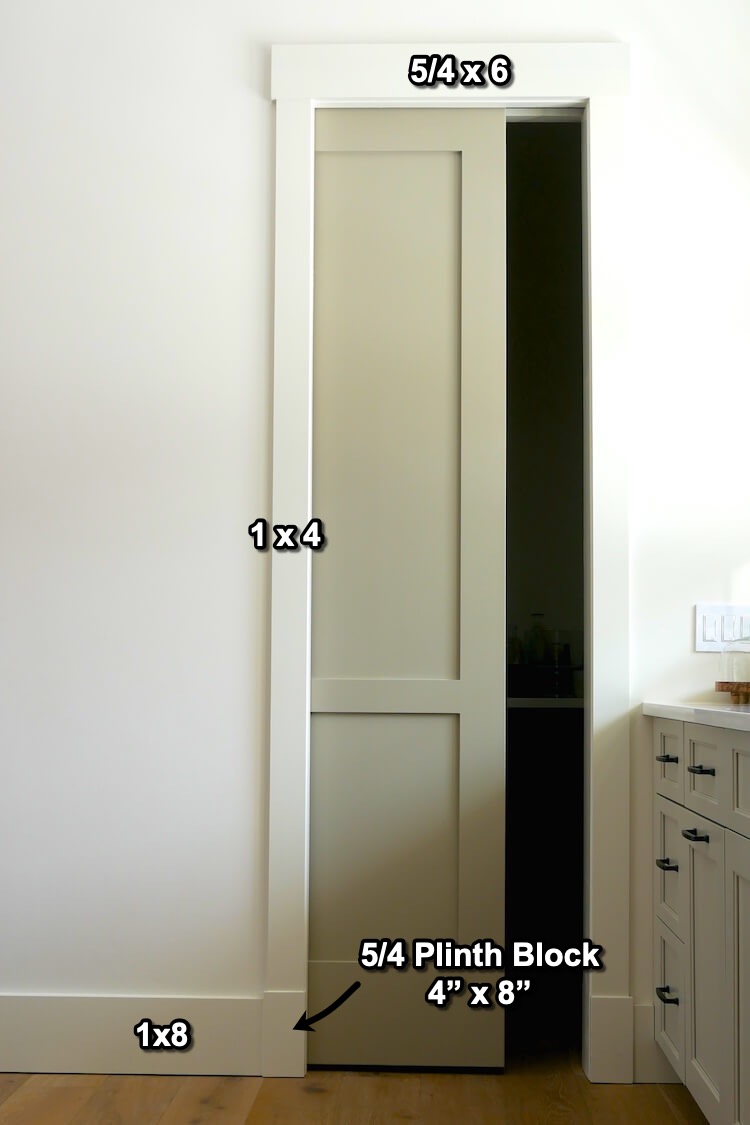
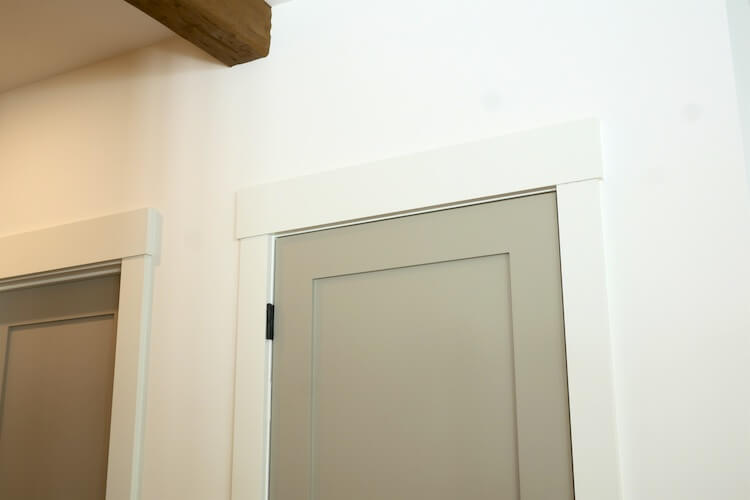
The trim work was one project that I knew could get costly and I knew I could handle. Well, I mean, I can handle simple trim work. So I decided on a trim style that was traditional and fitting, yet simple to do. So this is what we ended up going with.
Pre-Painting the Trim
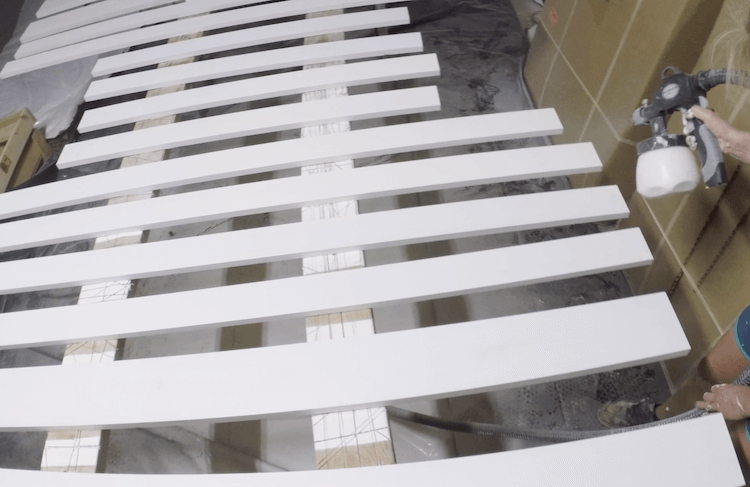
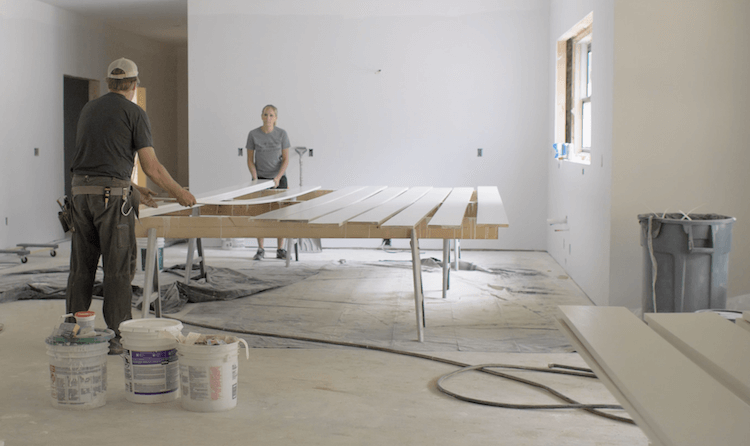
Prior to installing the trim we decided to prime the 5/4 headers and plinth blocks (since they were bare wood) and then paint all the trim with 2 coats of trim paint.
The headers could get cut to size prior to installation because we new the interior width of the door frames and we knew the reveals and overhangs we wanted. So we cut all those down to size and sanded and painted the board ends. The baseboard and 1×4 trim could get painted in full lengths and be cut down during installation.
Installation
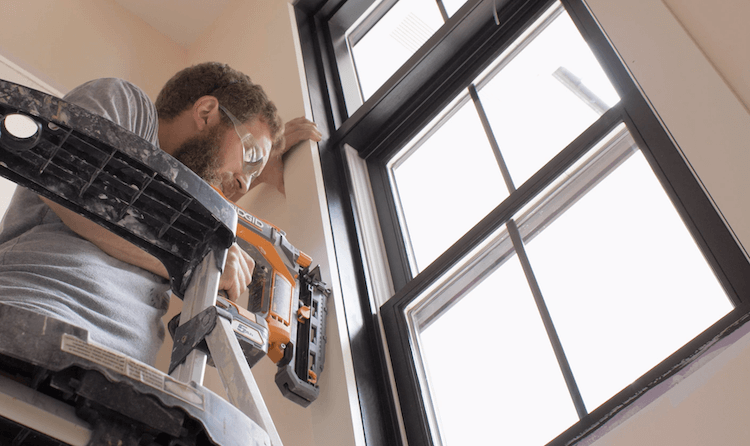
This was pretty straight forward. The trim all gets nailed in place with 18g or 16g 2-inch finish nails through the studs. I glued the joints around the windows and any baseboard miters with RapidFuse to resist pulling apart.
When installing baseboard outside corners I use an angle finder first and split that number in half to determine my angled cuts. Once those boards are cut I test the fit and then glue and nail them together before attaching them to the wall.
Preparing for Final Coat
Now, before we can apply our final coat of paint we needed to cover up all the screws, nails and gaps we left behind. Luckily, our sponsor for this episode, DAP, makes several great products that will help us do just that.
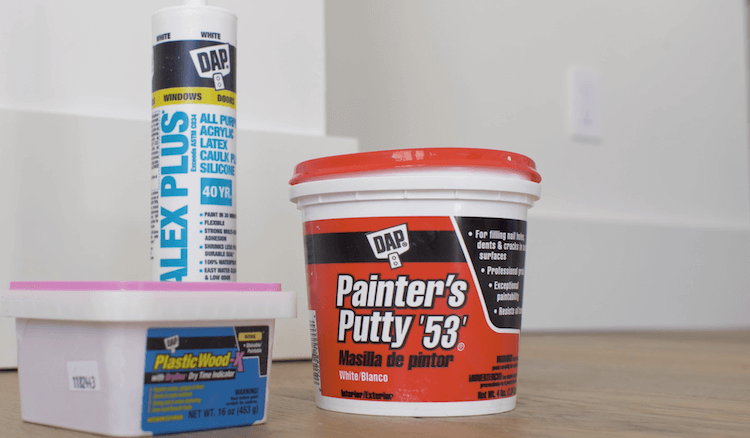
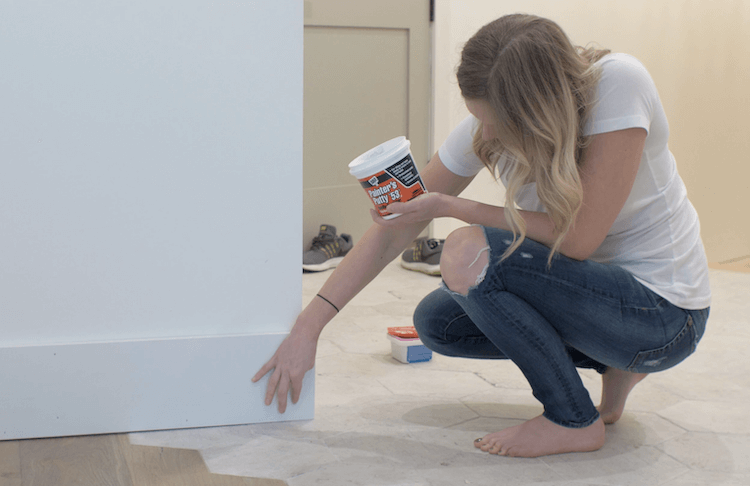
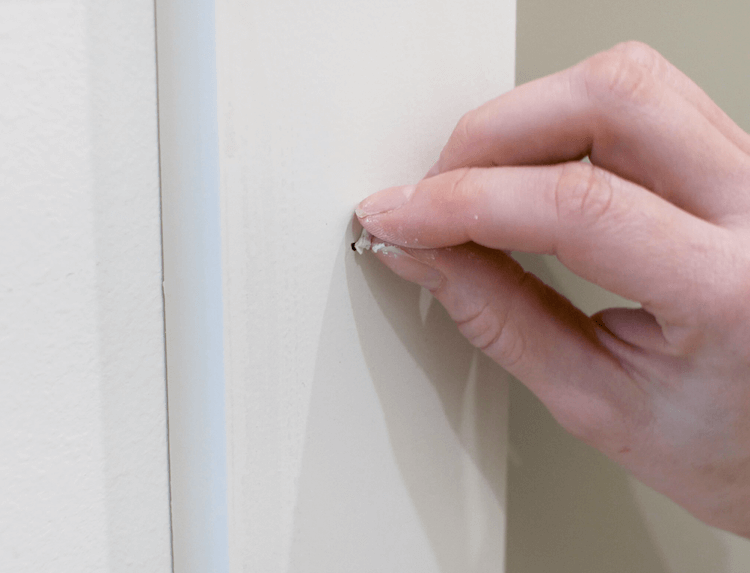
The Painter’s Putty ’53 is what you want to use for any small holes left by the nailer, dents or cracks in the wood. It’s is great to work with for these purposes because you only apply enough to fill the hole and leave you with a smooth surface. It is also white so it covers easy with white trim paint. But, the best part is that you don’t go back and sand it flat.
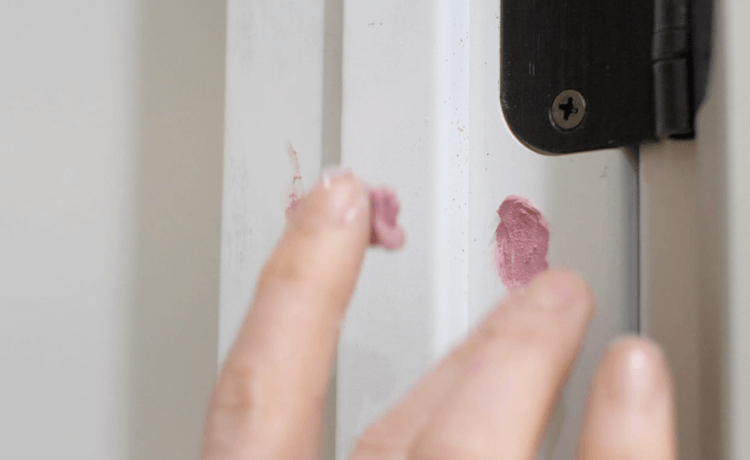
When it comes to larger holes, like the ones left by the screws that secure the door frames, we used Plastic Wood-X which is a wood filler with dry time indicator. Meaning it starts out pink and dries to the color of wood so you know when it is ready to sand. Now wood filler does shrink as it dries so we put on a little extra and come back with sandpaper to smooth it out.
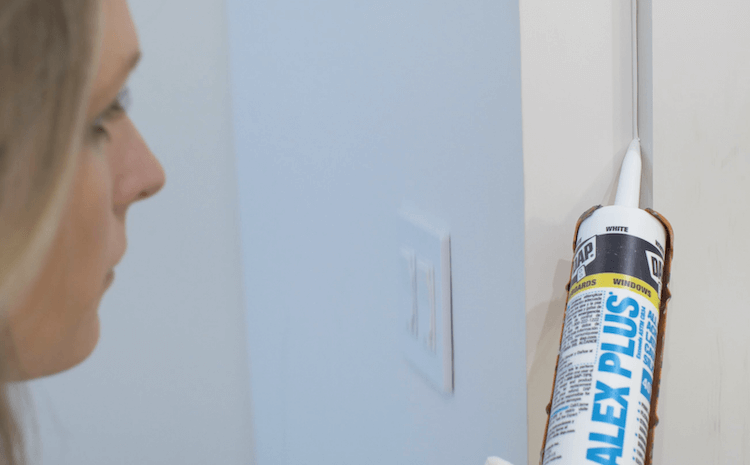
Finally, all of the trim needed to be caulked into the walls with Alex Plus. We also applied a bead of caulk to any of the wood-to-wood joints. That way if they expand and contract at different rates the flexible caulk will accommodate that movement.
Finished Look
So here is how the trim turned out. If you are looking for a simple trim style that looks good and is easy to achieve then this is it. Let me know what you think in the comments!
Faux Beams
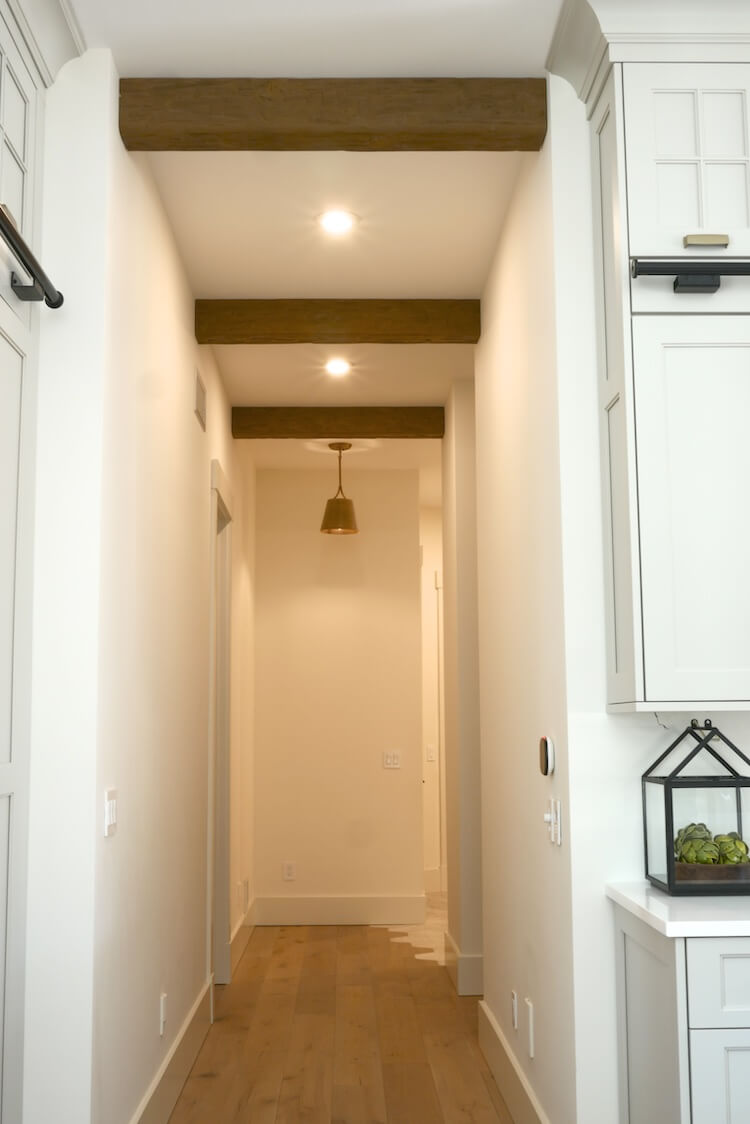
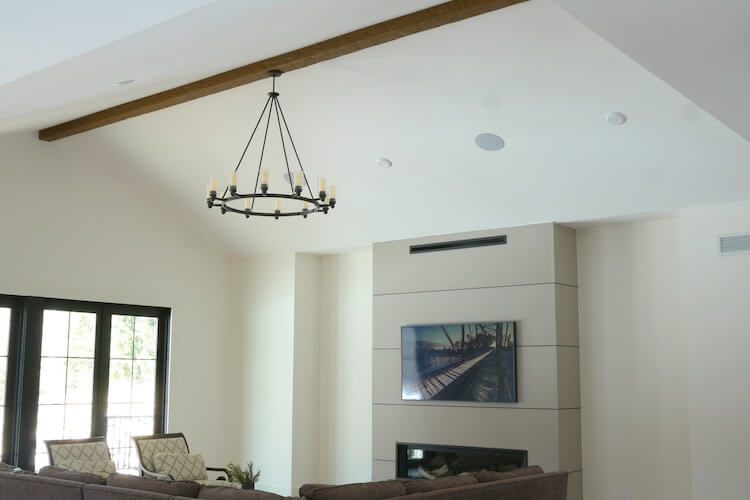
When it came to our ceilings we knew we wanted to add some interest. At first I wanted to do a coffered ceiling in the kitchen and dining room with naturally wood beams in the living room. I quickly realized that this was going to take a long time and be out of our budget. So we opted for faux wood beams down the hallways and in the living room. This is a quick and easy option that will give us a consistent look and can be ordered to the sizes and finish that we want from AZ Faux Beams.
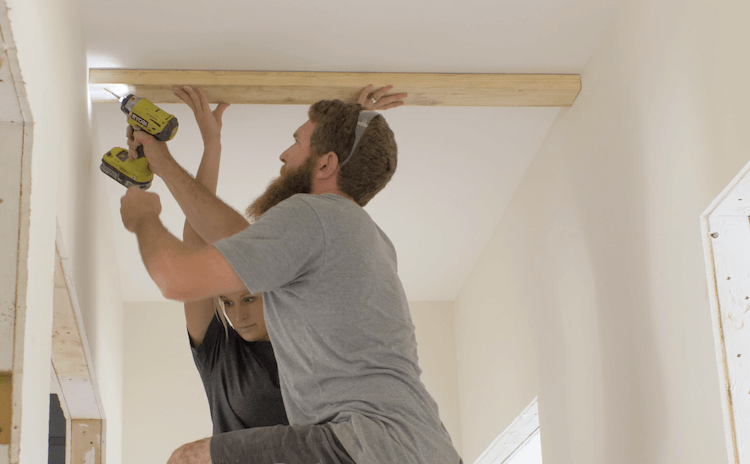
Once the beams were delivered we started by finding and marking the exact location of the beams in the hallways. Then, at each location we cut a 2×6 equal to the width of the hallway, then ripped it down on the table saw so that it would nest inside the faux beam. Then, that board gets secured to the ceiling with long wood screws.
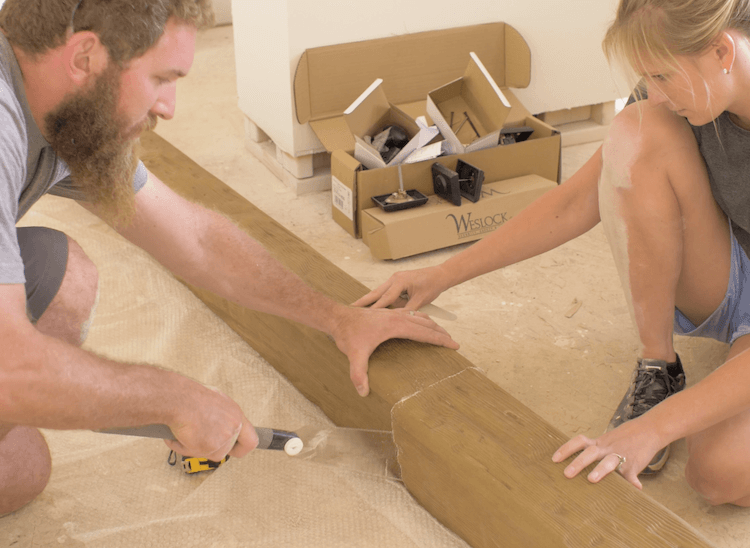
I then measured (many times), marked the beam with a speed square and cut the beams to length with a Japanese pull saw. The beams are made of a dense foam, so not only are the easy to cut but they are lightweight so that make installation 10 times easier.
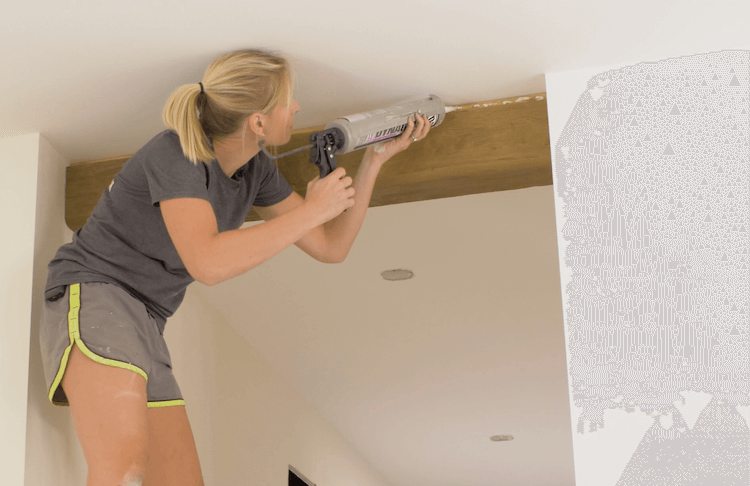
The beams are shaped like a horseshoe so they slip into place over the board and since they are so lightweight they are secured with foamboard glue and nailed to the wood.
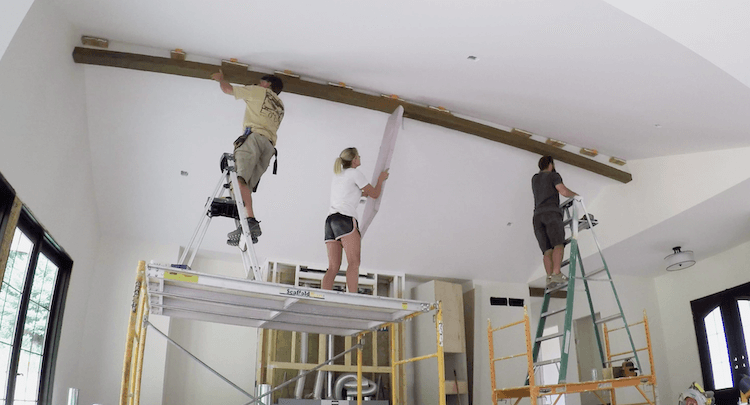
The same process was repeated in the living room but with a 25ft long beam and a few extra helping hands.
So here is how it finished out. We love the look of the look and while it’s not the focal point in the design, it definitely adds the character we were looking for. Let me know what you think of the faux beams in the comments!
Basement Staircase
One thing we modified in the design stages was the staircase leading down to the basement. We new the basement would be finished shortly there after and we wanted to to feel like an extension of the main level and less basement like. So we decided to open the staircase up and finish it off nicely. Since I know nothing about staircases I sent some ideas over to the designers at L.J. Smith Stair Systems and had them put together a package for me.
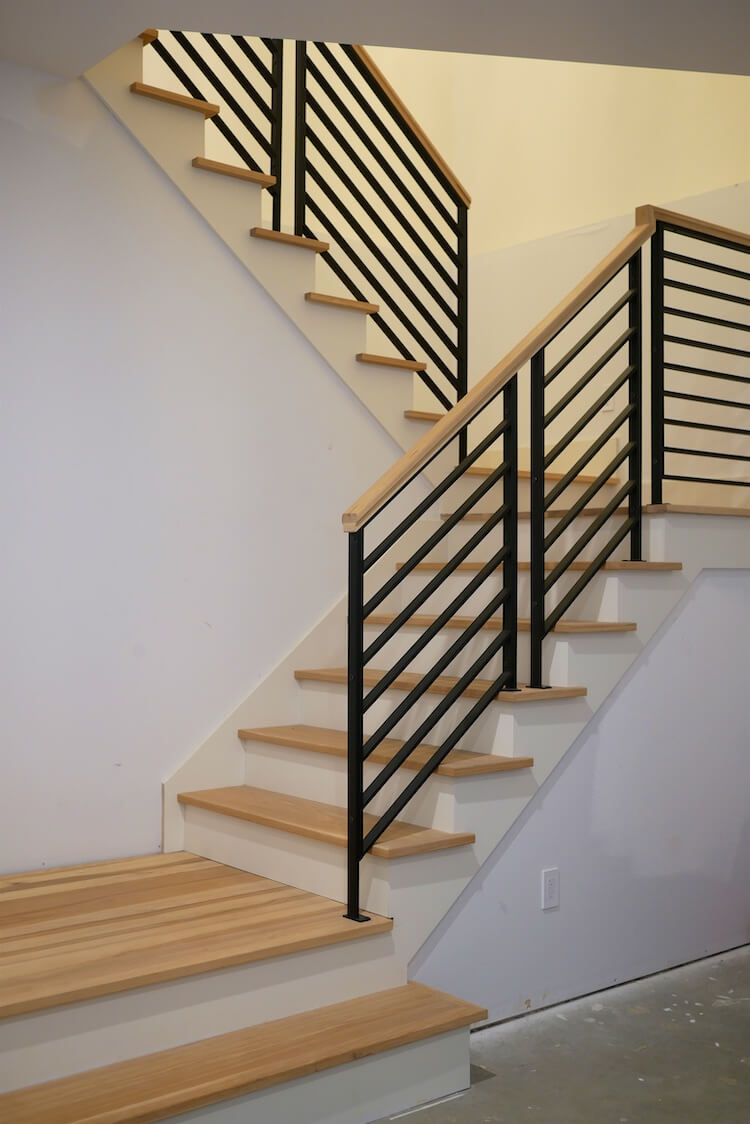
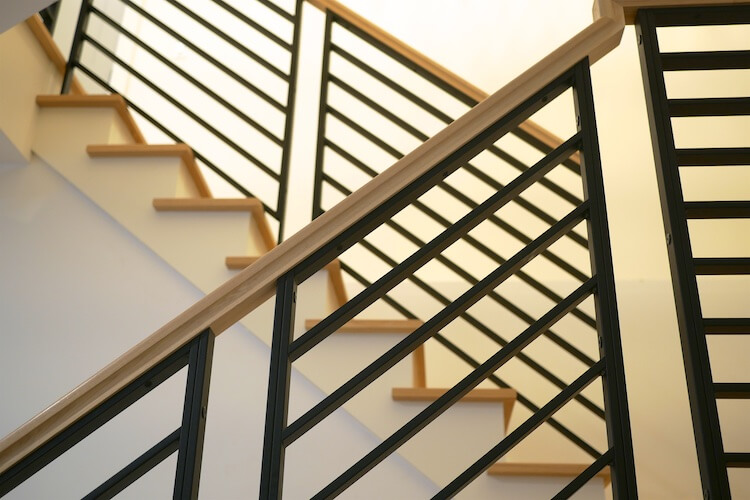
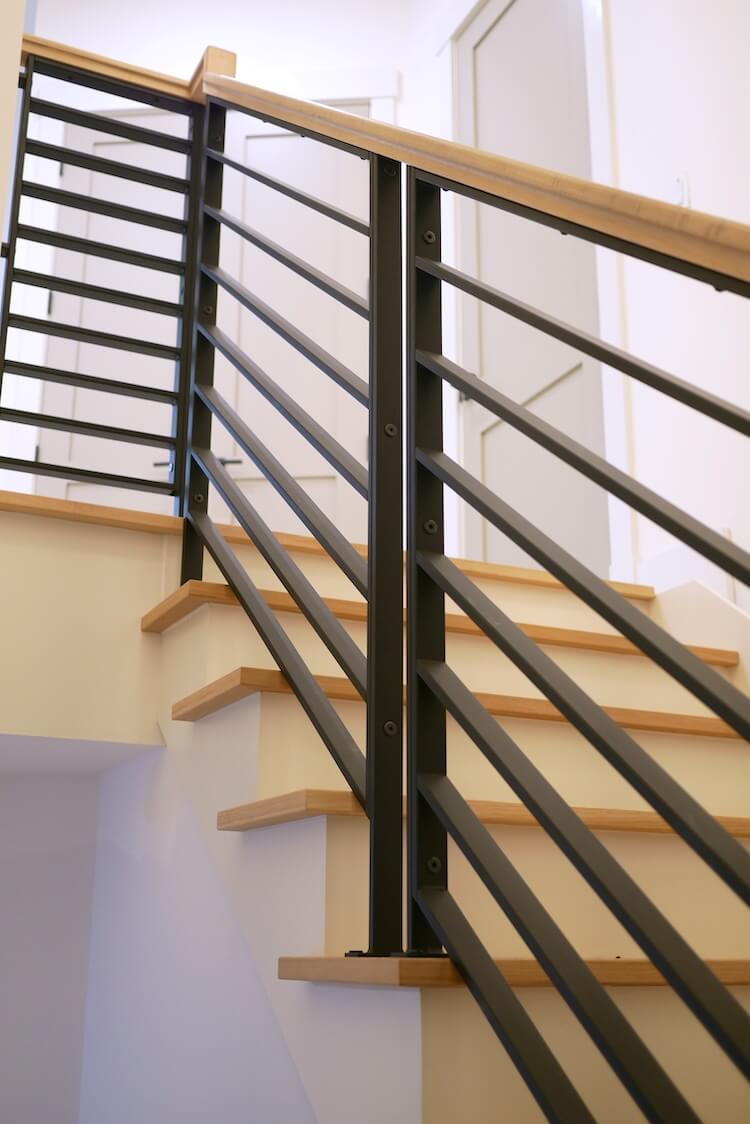
We knew we wanted something a little more modern and we wanted to incorporate metal into the railing. Luckily they had just added metal panels to their linear collection and it was exactly what we were looking for.
When it came to step treads we went with hickory because of its hardness and our designer recommended a square nosed tread which goes great with the modern look.
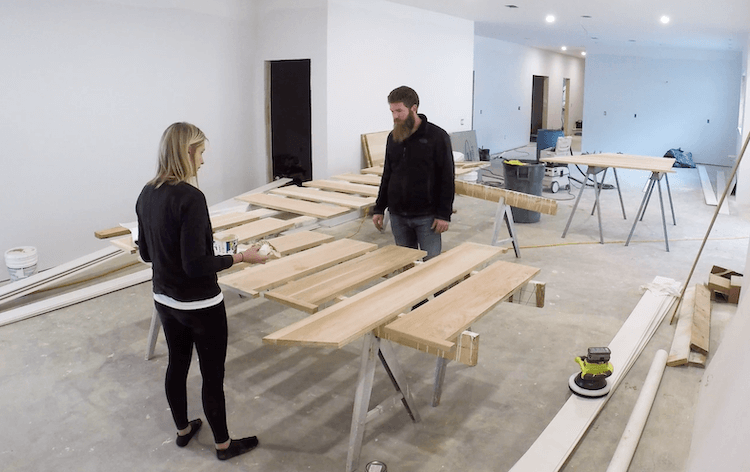
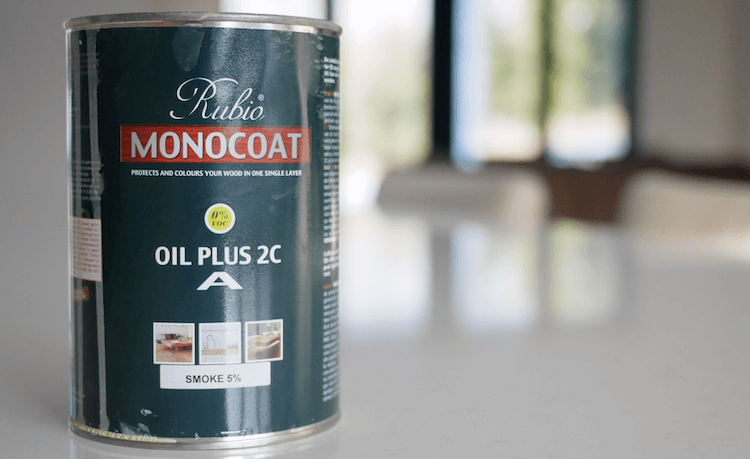
Since we opted for painted risers we decided to finish the treads prior to installation. We finished the treads with an oil based finish similar to our flooring on the main level. The finish is from Rubio Monocoat and the color is Smoke 5%. It’s not a cheap finish but it is beautiful and help preserve that natural look of the hickory.
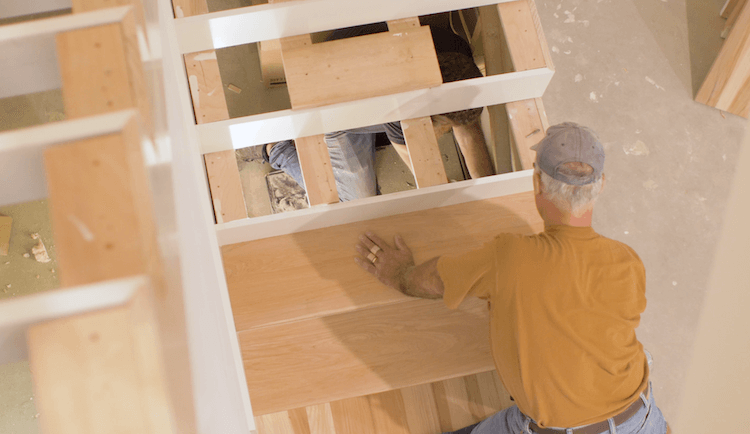
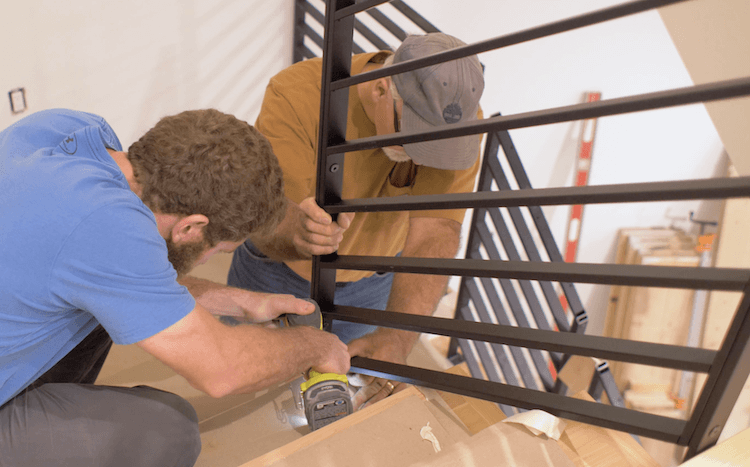
I brought in an actual trim carpenter for help with this project as I had never done anything like it before. I let him handle cutting and installing the mitered skirt board and risers because it seemed like a huge pain in the butt. Once that was done I jumped back in to help install the treads and railings. The treads got installed from below so there were no screw or nail heads to fill.
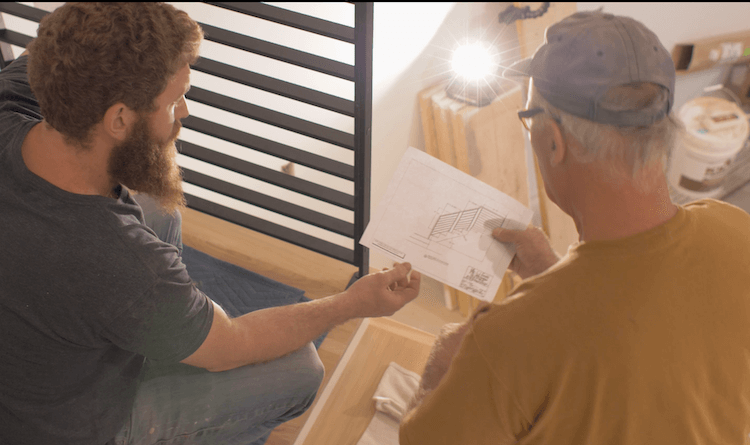
The railing was new to both of us but with the help of the diagram L.J. Smith gave us it made it a lot more manageable.
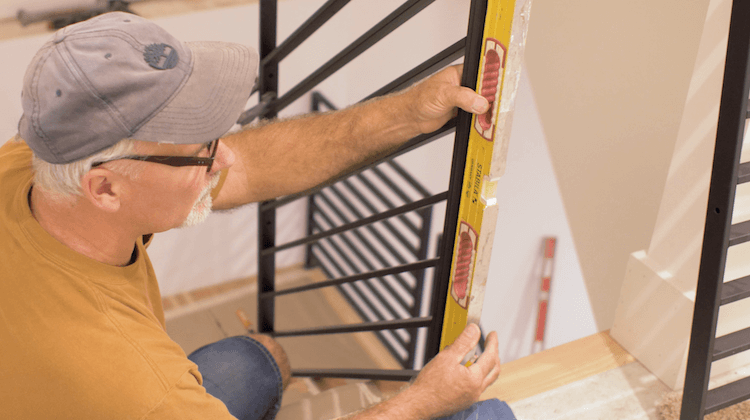
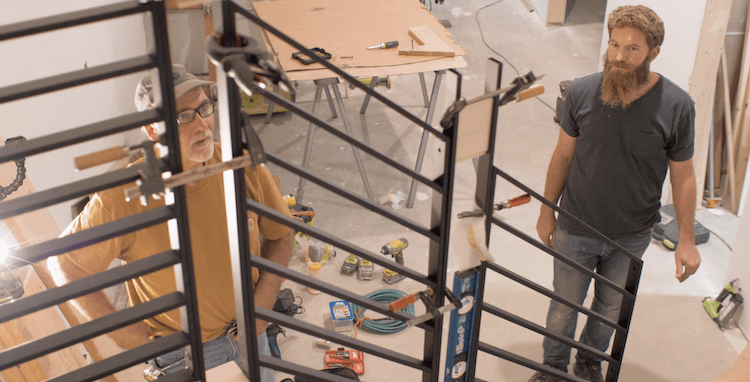
We installed the flat panel on the landing first and then moved on to the angled panels.
Once we had everything in clamped temporarily in place how we wanted we marked the legs so we could cut them to length, and marked the holes that we would drill and mount them to.
After cutting the legs down and drilling the mounting holes, we bolted the panels to the legs and lagged them to the treads.
Then to finish it off we installed a Hickory railing to match the treads. This gives the staircase a nice warm wood railing to hold on to and ties it all together nicely.
Overall, we couldn’t be happier with how this staircase turned out. While we still have a few things to do to finish it off, we love the modern look of the treads and metal railing.

