In this episode of the Dream House Build we walk through the process of getting our home insulated with spray foam and soundproofing the interior spaces with mineral wool. We also talk about hanging the drywall and how we poured our rear retaining wall to create a unique little cove for yet another cool place to hang out.
Don’t forget to subscribe on YouTube and for sneak peeks of our upcoming projects be sure to check out Our DIY Life on YouTube, follow us on Facebook and Instagram. Also, follow me on Pinterest to get tons of projects plans from all around the web!
Spray Foam Insulation
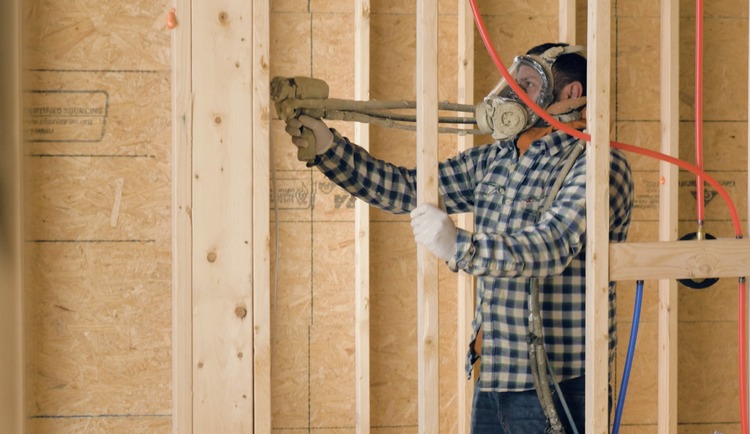
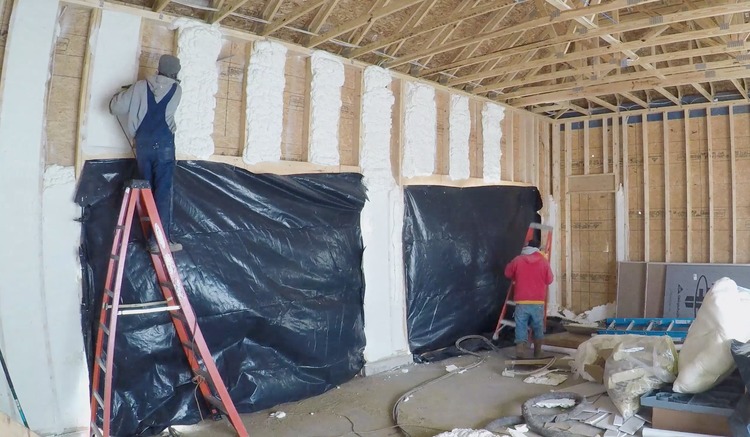
Since we wanted to create an air-tight envelope for our home, we opted for open cell spray foam insulation on all sides of the house. The exterior walls get the entire 2×6 cavity filled with foam, as well the rim joists and basement walls get 4″ of foam or more.
When it came to insulating the attic space we decided to go with a cold roof. This means that, after the drywall was hung, the insulators came back out and sprayed the back of the ceiling with open cell spray foam. Since we have a basement, none of the HVAC ducting is ran through the attic and we have plenty of storage elsewhere so we don’t plan on utilizing the attic for conditioned storage. If there were things that needed to be conditioned, such as HVAC, then we would have sprayed the back of the roof (known as a hot roof) to expand the envelope to the roofline.
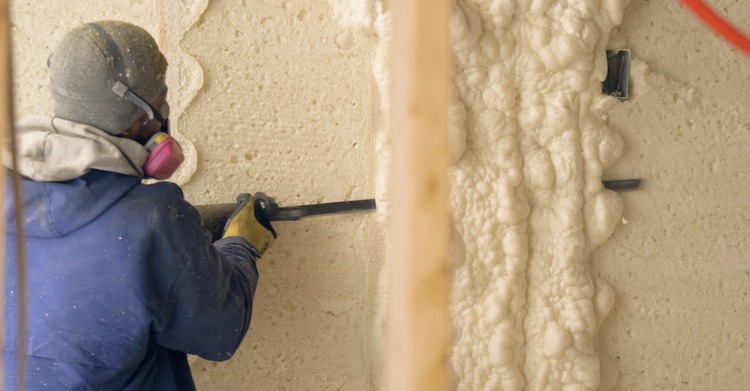
The spray foam process went like this. First, they started to spray every other cavity. This would leave room for the “cutter” (guy with samurai sword attached to a reciprocating saw) to come back and, more easily, trim the foam flush with the interior side of the 2x6s.
Then, after those cavities were trimmed, the remaining cavities are filled and trimmed as well.
Sponsored by Post-it® Extreme Notes
I want to take a minute to thank our sponsor for this episode, Post-it® Extreme Notes. Whether you’re working with wood, drywall, concrete or even exterior surfaces, exposed to the elements, Post-it® Extreme notes will stick to just about any surface and withstand the test of time (and mother nature). Trust me, we’ve put them to the test.
Soundproofing with Mineral Wool
One thing we wanted to do before drywall went up was to soundproof the walls between the living area and the adjacent bedrooms. For this we decided to go with mineral wool insulation. It has great sound deadening qualities and it’s fire resistant. It’s also super easy to put up, however, we did learn the hard way that a dust mask, long sleeves and gloves are necessary.
Drywall
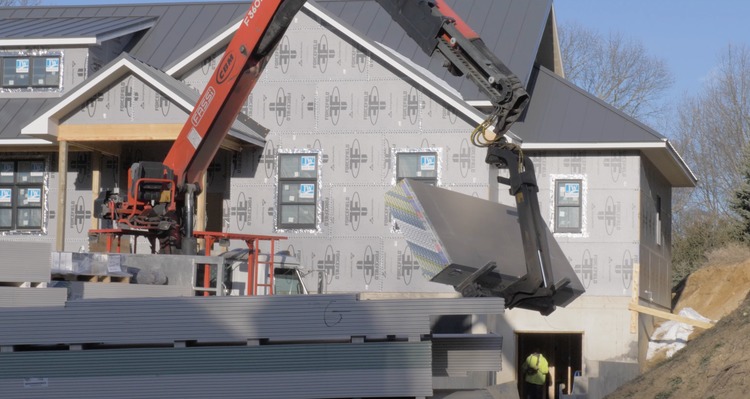
With everything that we wanted inside the walls, and insulation inspection approved, it was finally time to start hanging drywall. When the drywall delivery was scheduled we made sure to have it brought in on a boom truck, so part of the delivery was to place it evenly around throughout the house. No need to move this stuff twice. Plus, due to weight, you don’t want to pile it all up in one place.
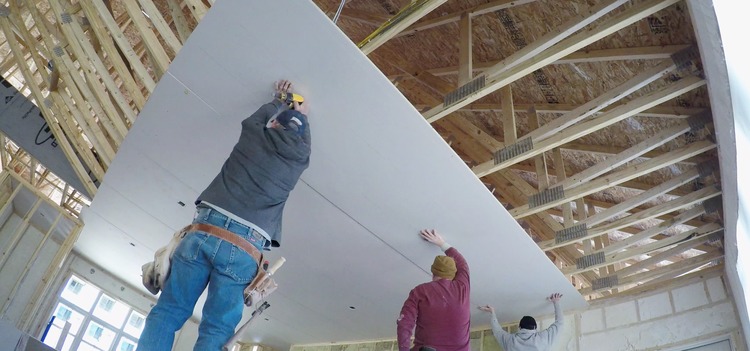
The very next day, a drywall hanging crew of three came in and got started. It took them about a week to hang the entire first floor of drywall.
Rear Retaining Wall
In order to get another big set of windows in the walkout basement we needed to retain the hillside. We decided to come out with the wall and turn 90 degrees to create a little cove under the deck. This will eventually get a fireplace and be a nice little seating area.
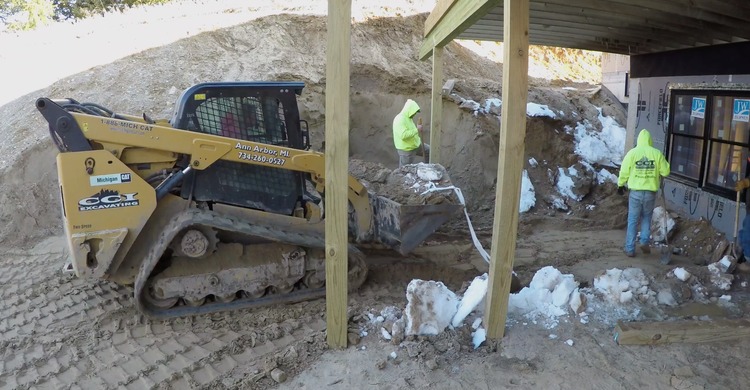
They started by digging out the hillside enough to get the forms for the wall in place and enough to move the temporary post out further to support the untrimmed deck beam while the walls were poured.
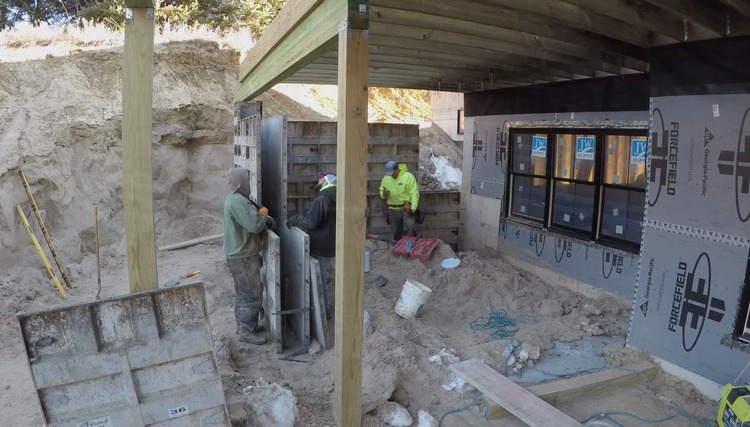
Once the frost footings were dug out, inspected and poured, it was time to stage the forms and pour the walls.
So this is our little nook. I think it is going to be a cool spot to hang out. The deck above will get waterproofed below it so this will be a dry space.
You can see that temporary post at the end of the beam. The corner of the wall got a bracket set into the top of the concrete. Since this picture, that post was cut off below grade and cut to set on top of the wall and support the beam.
Now we just need to grade that back pad and pour the slab. Check out how we do that and a whole lot more in episode 6.

