
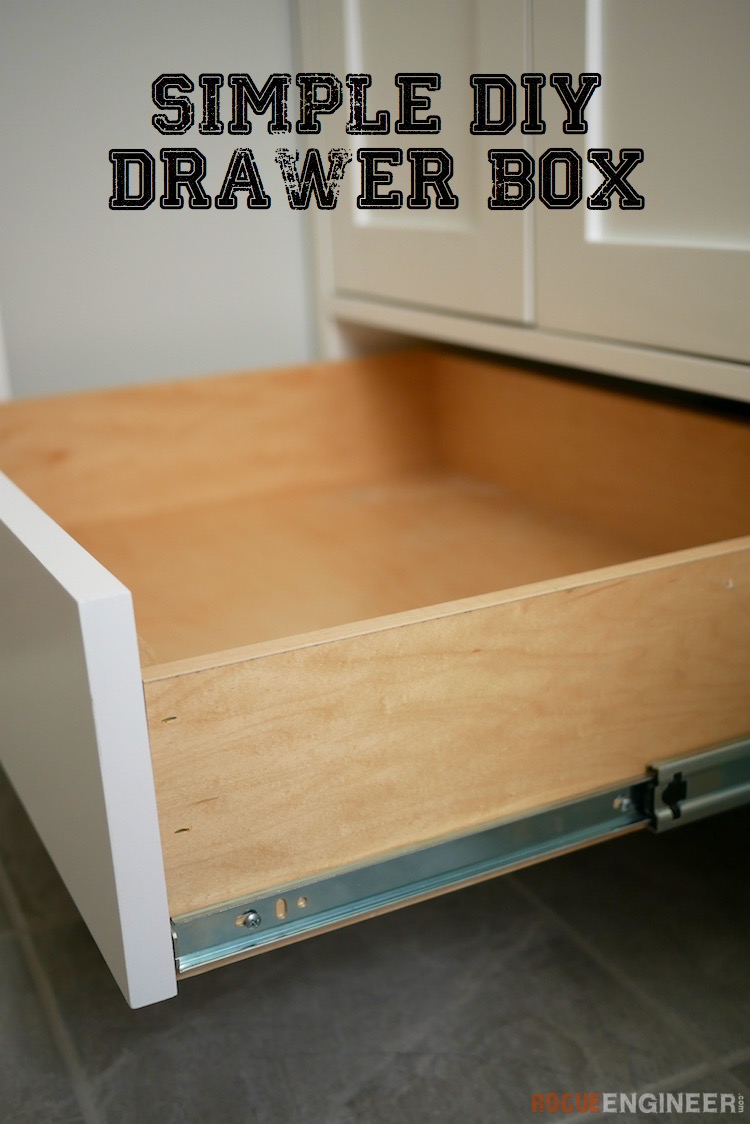
Simple Drawer Box
There are so many options to choose from when selecting a style of drawer box. Do you use pocket holes? Do you dado in a 1/4″ panel for the bottom? Or do you get really crazy and cut dovetails? Well, if you’re like me, then I assume you want to do whatever will work, look good, and take the least amount of time and money. I recently took on a full kitchen remodel in our flip house and I knew I had a lot of cabinet and drawer making in my future so I visited a neighbor, friend, and cabinet-maker to steal some of his tips and tricks.
The advice that I got was that drawers don’t have to be complicated. A simple drawer can still look good and be plenty strong enough for the job. Pre-finished maple plywood from PureBond is an amazingly good-looking product and, besides edge banding, requires no finishing. Unbeknownst to most, this product is available for special order through HomeDepot.com. And you can feel good about your purchase because all PureBond plywood is formaldehyde-free and made in North America! So, while using a pre-finished product is great, the drawer construction is where you’ll notice some real differences from others. Read on to get the full scoop.
But first, don’t forget to subscribe on YouTube and for sneak peeks of our upcoming projects be sure to check out Our DIY Life on YouTube, follow us on Facebook and Instagram. Also, follow me on Pinterest to get tons of projects plans from all around the web!

How to Build a Simple Drawer Box
Required Tools
Materials
- 3/4″ Pre-Finished Plywood
- 1/2″ Pre-Finished Plywood (Optional to use 3/4″ for sides)
- 1-1/2″ Brad Nails OR Narrow Crown Staples
- Iron-On Pre-Finished Maple Edge Banding
- Wood Glue
Disclosure: The links provided in the “materials” and “required tools” sections are affiliate links. If you would like to support our site and help keep our content free come find out more about how we can make money with no extra cost to you.
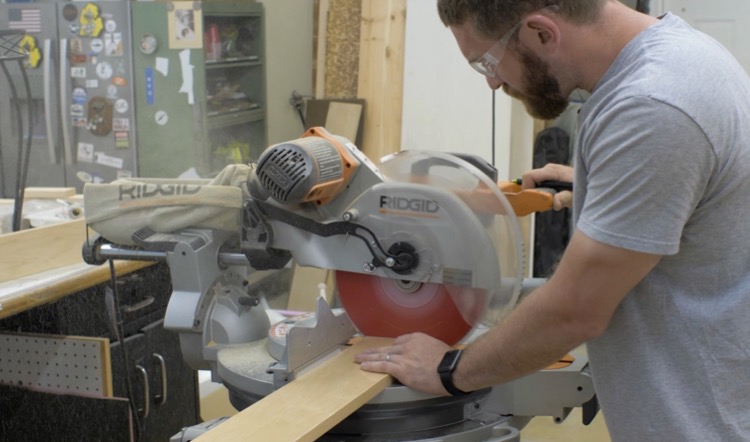
Step 1: Measure Opening & Cut Drawer Parts
Start out by measuring the width and height of the opening you have. Then calculate the sizes of your parts using the info below. The front, back and bottom are all made from 3/4″ plywood. The sides can be made from 1/2″ plywood or 3/4″. 1/2″ is a good option if you are doing a lot of drawers and want to save some money on materials.

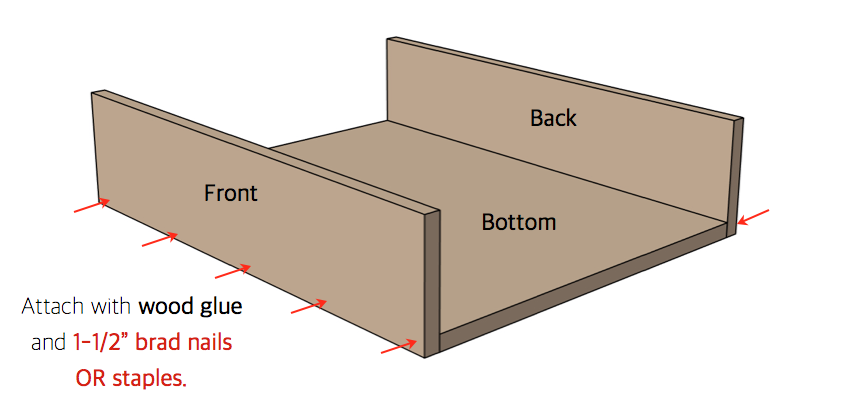
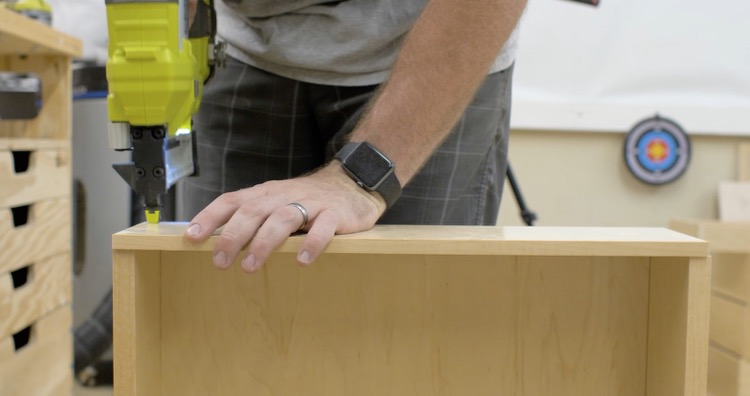
Step 2: Attach Front & Back to Bottom
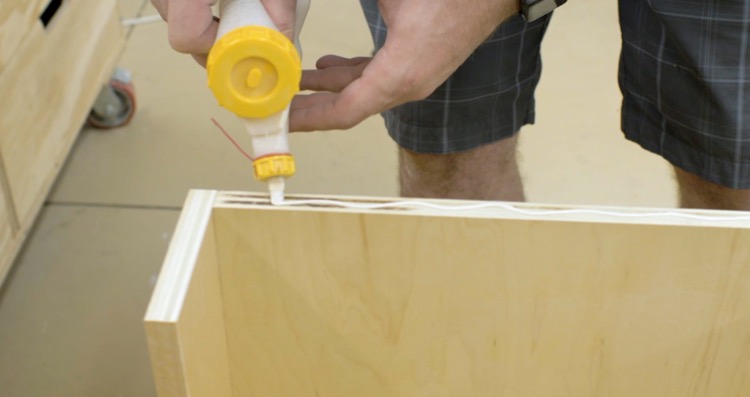
Attach the front and back to the bottom with wood glue and 1-1/2″ brad nails or narrow crown staples. The 3/4″ front, back and bottom give you plenty of area surface area for gluing and nailing, assuring a solid drawer box and minimizing blowouts from your nailer.
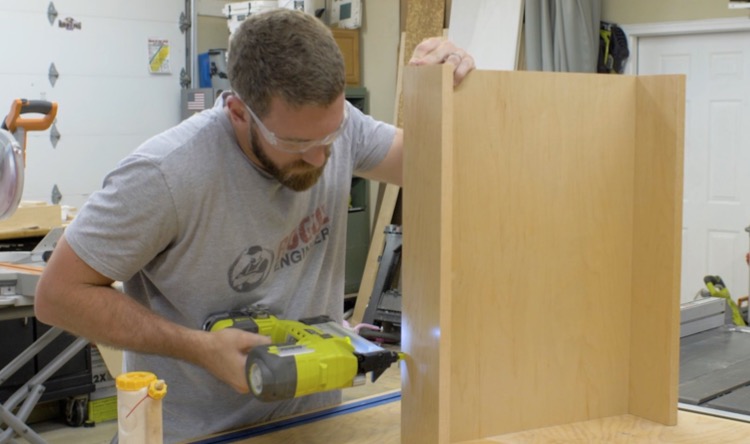
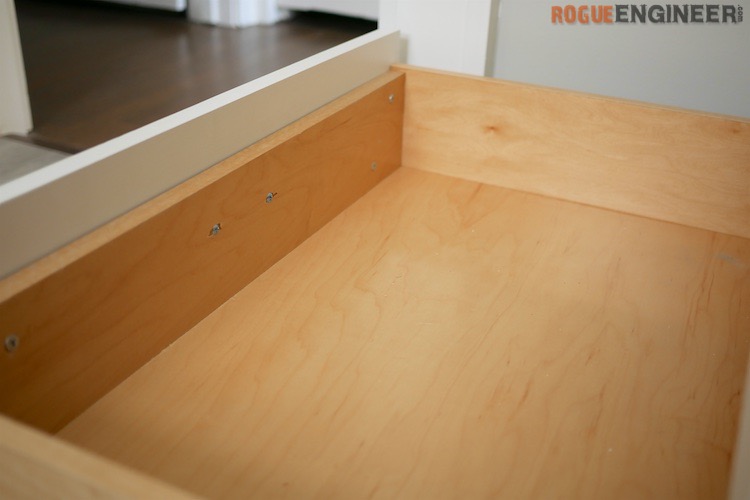
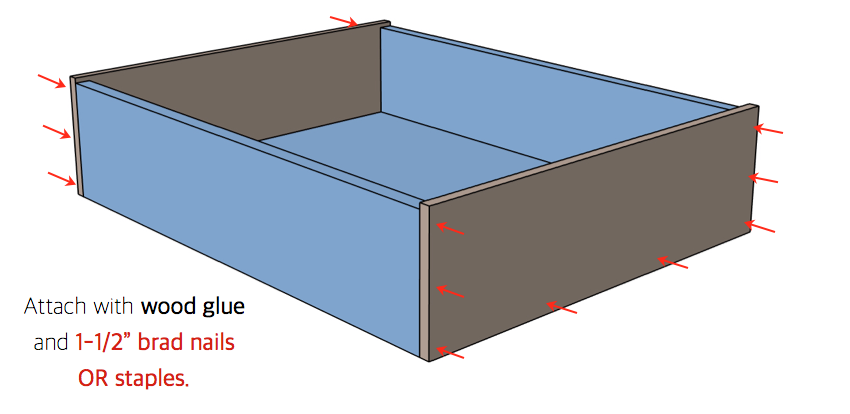
Step 3: Attach Sides
Attach the sides the same way, with wood glue and 1-1/2″ brad nails or narrow crown staples. The sides will sit 1/4″ higher than the front and back, this way the ends don’t have to line up perfectly and you wont see any seams in the edge banding. Another good thing is the edge banding is less likely to be peeled up since the edges are protected by a taller board (sides will be protected by drawer front.
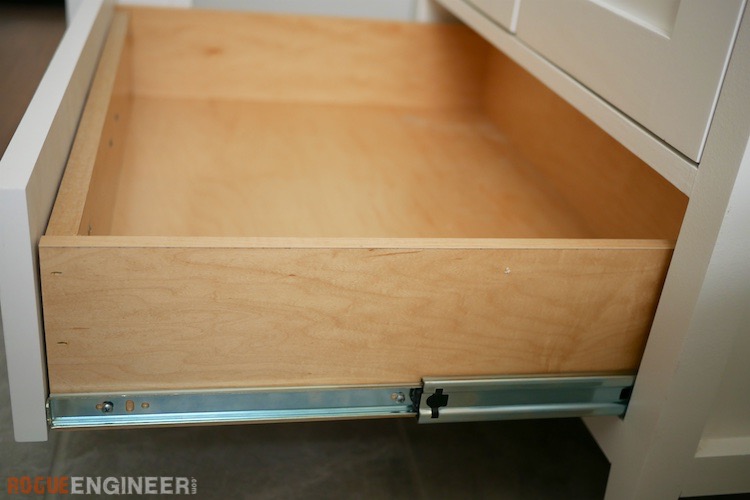
Step 4: Install Drawer with Slides
Mount the drawer slides to the sides of the cabinet. Assure they are level and mounted 1/4″ above the bottom of the opening. If the drawer front are inset, the draw box will need to be recessed the same depth as the thickness of the drawer front. Then place a 1/4″ shim along the bottom of the opening and set the drawer on it. With the drawer sticking out only a few inches, extend the slide to the edge of the drawer box and attach with the included screws. Then, slide out the drawer to access the middle screw hole and attach using the included screw. Finally, remove the drawer and install the final screw.

Questions? Comments?
As always, if you have any questions don’t hesitate to comment below and especially don’t forget to post pictures of your finished products in the comments! ENJOY!
This drawer looks good. I haven’t seen the higher sides to avoid edge banding seams or damage. I generally like to work with strictly 1/2″ as far as drawers go, although I can see the benefit here because it is pretty big and allows for better glue surface area. Thanks for the post.
Thanks for the info, I am building an under stair drawer unit for my son and his new bride for their house we just got done rebuilding. (hopefully for Christmas!) The 3/4″ material seems like a good idea as the drawers are 36″ deep and I am using slides that can carry a 250 lb load. I have it modeled in Solid Works so hopefully any mistakes will be picked up in this stage.