Installing Concealed Cabinet Door Hinges & Handles
In several of my projects I have installed cabinet doors with concealed door hinges. Over time I think I have nailed down a pretty good system for installing these hinges on a frameless (European style) cabinet.
If you love this stuff as much as we do, you might want to consider following us on Instagram where we post sneak peeks and behind the scenes stuff in our stories. Also, did you know you can get tons of projects plans from all around the web when you follow us on Facebook and Pinterest!
Disclosure: This project was sponsored by Kreg Tool Company however the design and opinions are 100% my own.
Tools
Materials
- Hinges
- Door Pulls
- Door
Disclosure: The links provided in the “materials” and “required tools” sections are affiliate links. If you would like to support our site and help keep our content free come find out more about how we can make money with no extra cost to you.
Hinge Options
When figuring out which hinges you need you’ll have to look at the cabinet and where you want the edge of the door to fall. If you have an adjacent door that needs to share the cabinet edge with the door you are mounting the you will need half overlay hinges. If the door is covering the entire cabinet side on its own then a full overlay hinge is required.

Now that you’ve decided which type of hinge you need, you can determine which features you would like in that hinge. You can go for the cheapest option, upgrade to a soft close hinge, or if you want the best of the best get the Blum hinges that will include soft close, “tool-less” clip on mechanism for easy door removal and greater adjustability.
| Cheapest Option | Soft Close | Highest Quality | |
| Full Overlay Hinges | $6 per pair | $11 per pair | $14 per pair |
| Half Overlay Hinges | $5 per pair | $5 per pair | $14 per pair |
Below are the steps needed to drill install a door using concealed cabinet hinges onto a frameless (European) style cabinet.
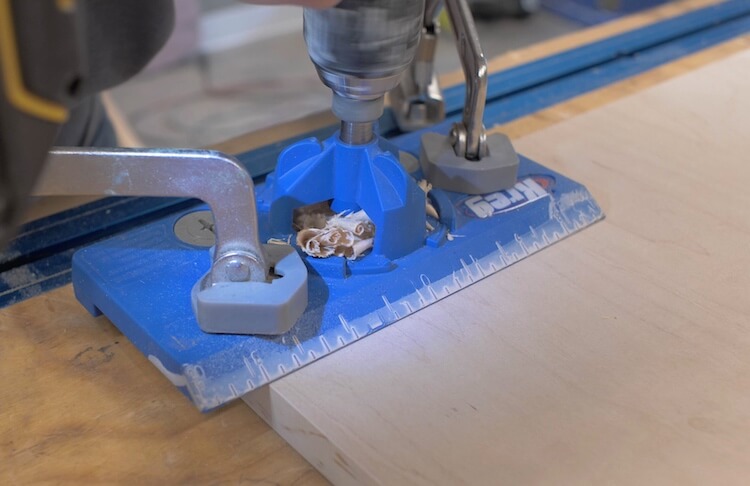
Drilling the Mortises for the Hinges
Use a jig to drill the mortise for the hinge to recess into the door. I recommend the Kreg concealed hinge jig because it has a lot of great features like built in ruler for easy locating, depth stop and adjustability as to how far the mortise is set into the frame.
Note: You will see that the door I am using is a plywood slab however a typical shaker or raised panel door would be just the same.
Where should cabinet door hinges be placed?
Typically the center of the hinge is placed at 3 inches from the top and the bottom of the door.
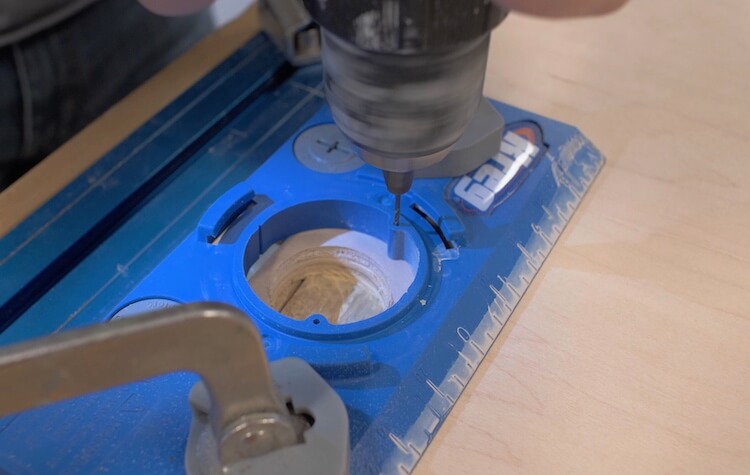
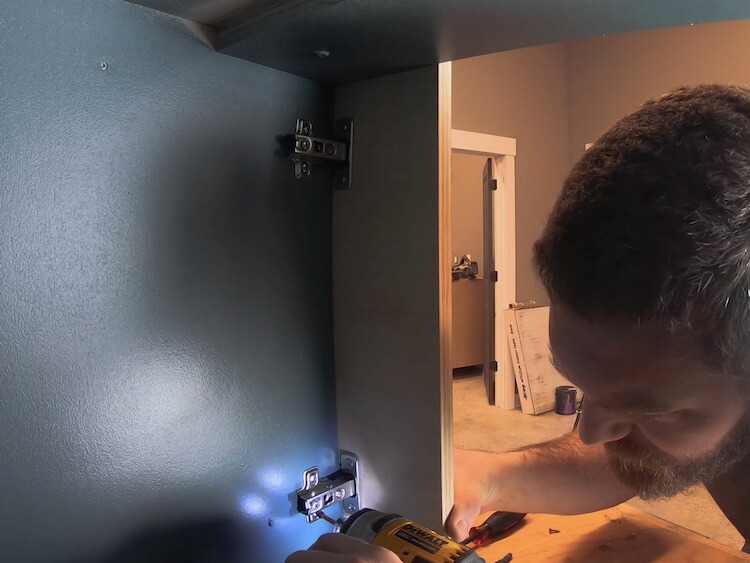
After drilling the mortise, the pilot holes for the hinge screws can be drilled. Note: Not all hinges have the same screw hole placement so you may want to double check before you drill.
How many hinges should a cabinet door have?
Door less than 40 inches tall (and under 11lbs) will only require two hinges. While doors over 40 inches tall will require a third hinge and doors over 60 inches tall will have four hinges. If this is the case, evenly space the hinge locations and drill the required amount of mortises.
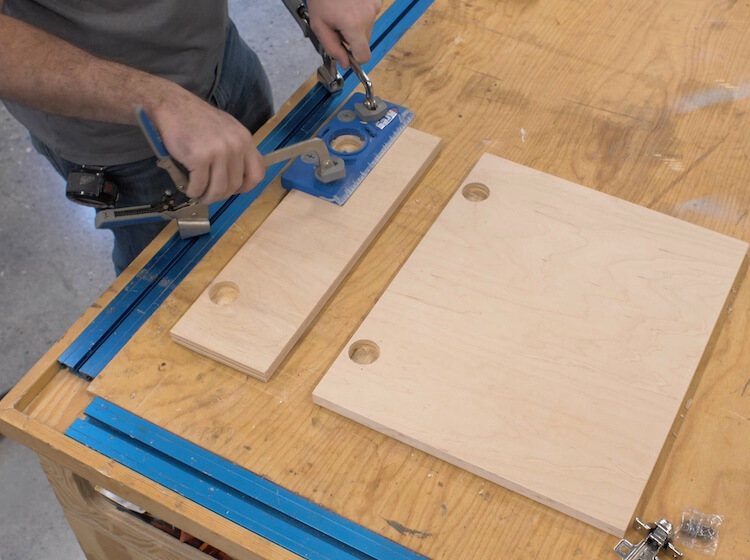
Creating a Template
Out of a scrap piece of 3/4″ thick wood, make a narrow version of the door that is the height of your shortest door, or shorter. And drill the mortises at the same distance from the top and bottom. If the template is shorter you can just slide it down to install the lower hinge.
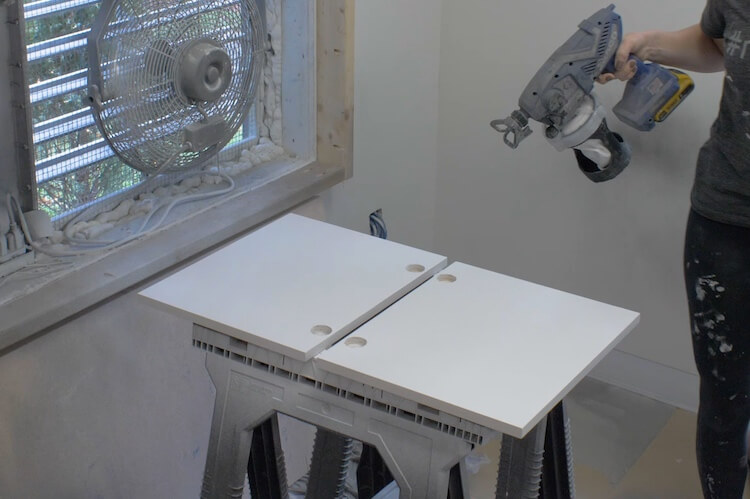
Apply the Finish
If your doors are not finished, now is the time I recommend to do so. Finishing after drilling the mortises allows you to touch up any tear out from the drill bit and it reduces the handling of the door required after finishing.
Note: If painting, I highly recommend a paint specifically designed for cabinets. These paints usually have a little enamel in them which creates a harder, more durable, finish. Standard latex paints are soft and not nearly as durable.
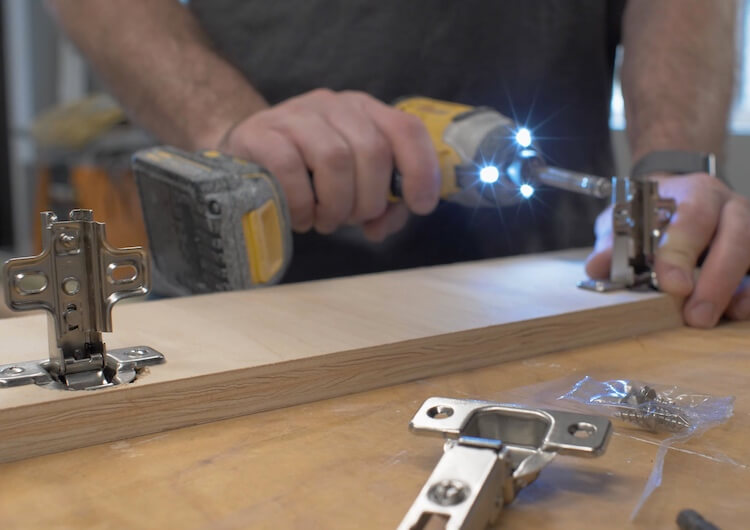
Installing the Hinge Bases
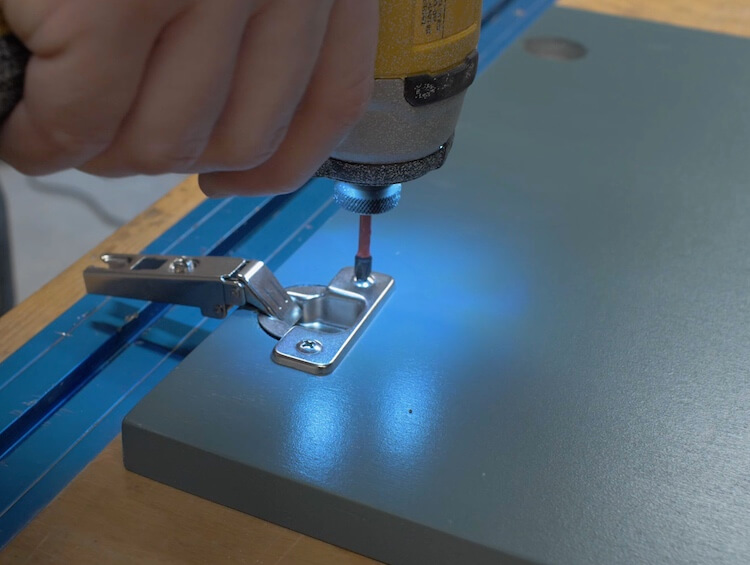
Make sure the hinges are nice and square to the edge of the template and attach them with the included 3/4″ screws.
If you will be including the rubber dots on the cabinet doors make sure to place some on the edges of the template that will rest on the cabinet side and top/bottom. The locate the template how you would like the door to align. Any adjacent doors or trim should have a 1/8″ gap and any overhanging sides are usually flush.
In the case below, my template is the same size as the door so I can install both bases at the same time. The top has a 1/8″ gap and the side and bottom are both flush.
With the template located you can pre-drill and attach the bases with the included 3/4″ screws.
If your door has more than two hinges, only the top and bottom hinges are installed at this point. The remaining hinge bases will get installed when the door is installed.
Removing the Template
If you are using a standard hinge there is a screw at the back that will be loosened so that the hinge and door can be removed.
After backing the screw out a little bit the door and hinge should slide right off.
Also note that some higher quality hinges have a clip on feature that allows you to simply pull up on a tab in the back of the hinge that will release the hinge and door.
Installing the Next Set of Hinge Bases
To do so, simply remove the bases from your other hinges and attach them to the hinges that are still on the template.
Then, you can install the bases that will be used on the other door(s) the same way.
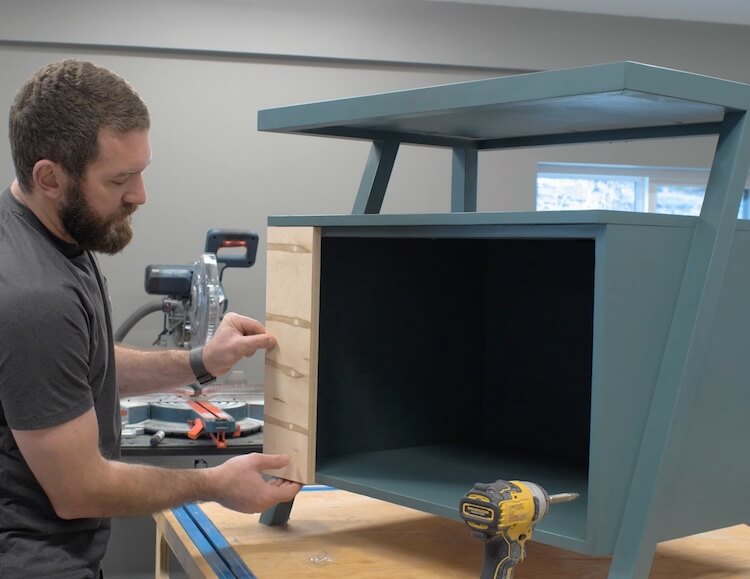
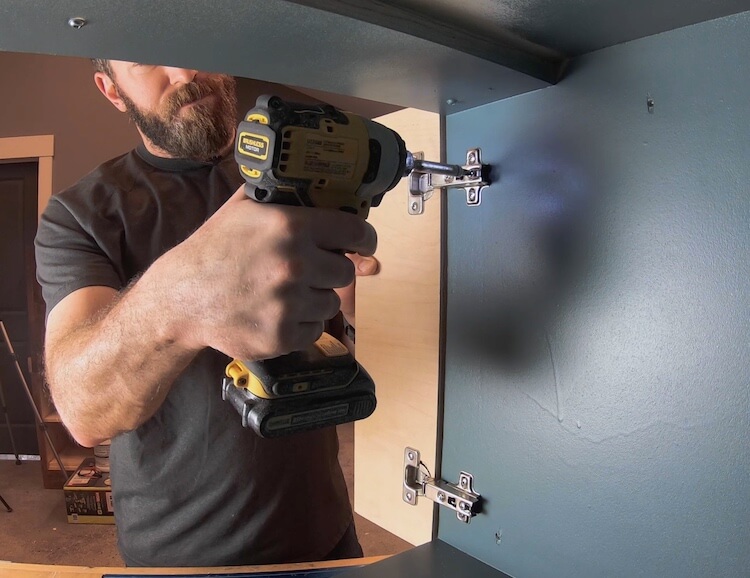
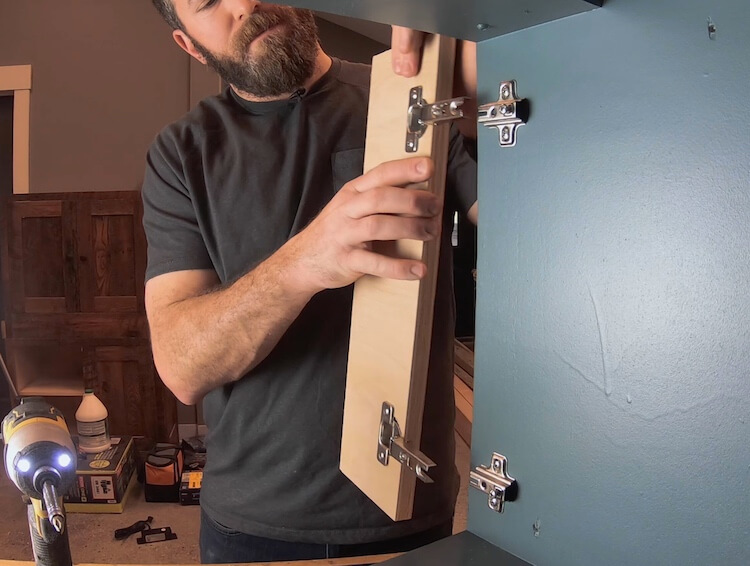
Installing the Doors
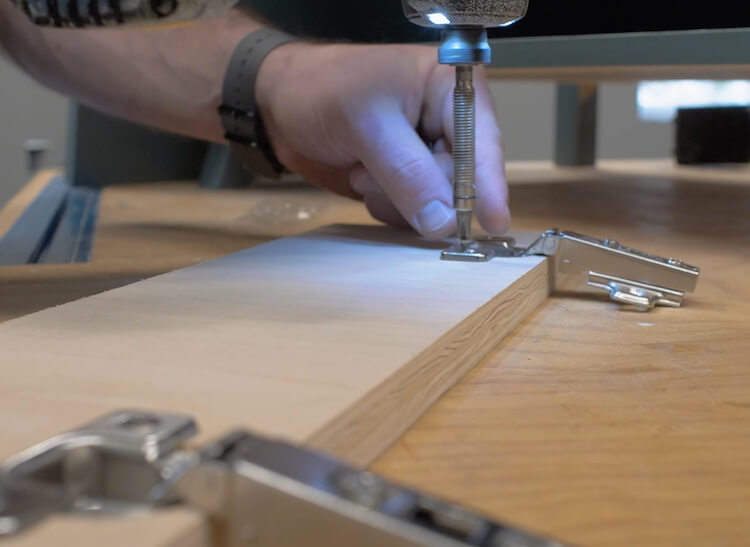
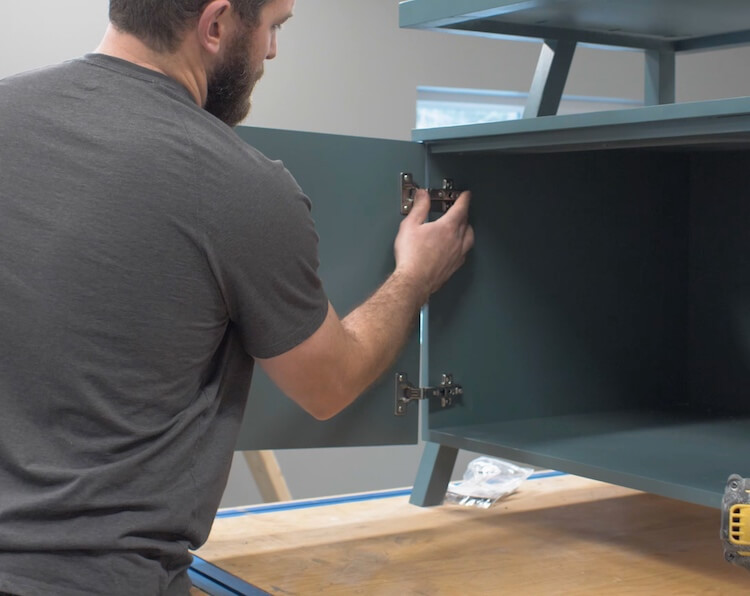
Remove the hinges from the template and begin installing them on the door. Make sure the hinges are square to the edge of the door and attach them with the included 3/4″ screws.
Then, slide the hinges onto the bases that are installed in the cabinet.
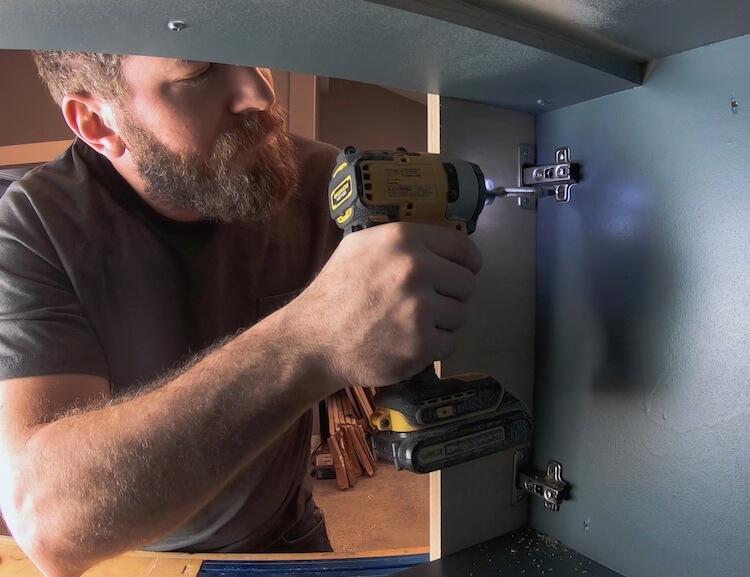
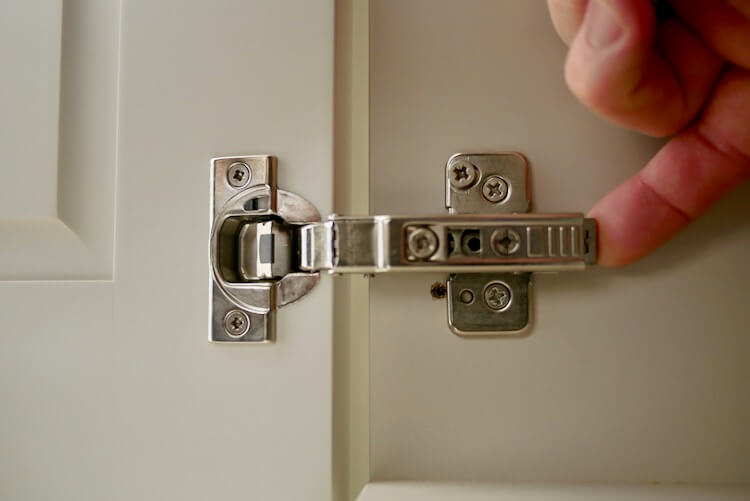
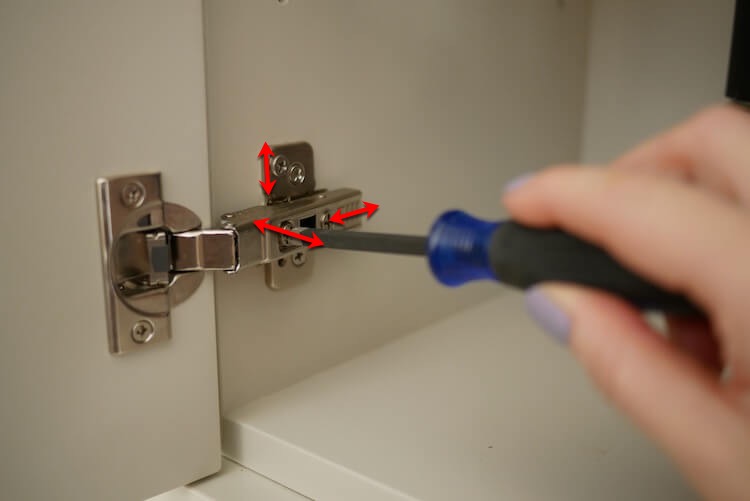
Hinge Adjustments
The best thing about concealed cabinet hinges is the adjustability. Below you can see how to use the hinge to locate the door just right so that the reveals (or gaps) are all consistent.

A nicer hinge will give you a slightly greater range of adjustments and make it easier to fine tune by just rotating a screw.
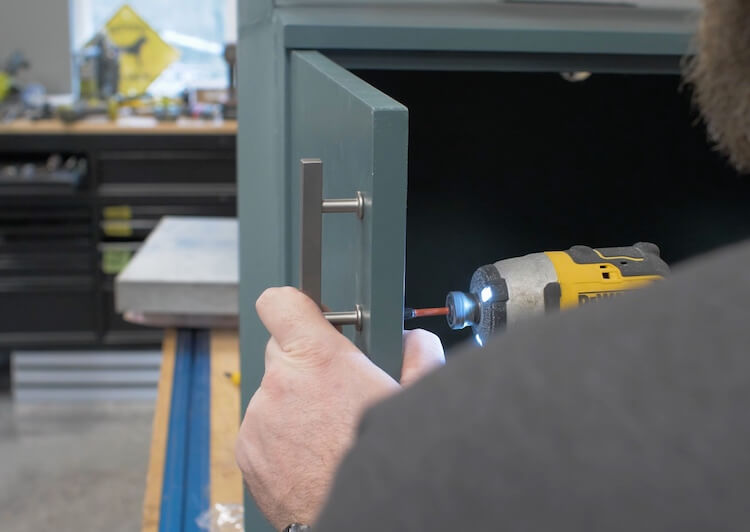
Installing Cabinet Door Hardware
The final touch is the door hardware. When installing pulls and knobs, a jig like the Kreg Cabinet Hardware Jig will make the process easily and quickly repeatable. This jig has built in rulers, spacings for most pulls, and depth adjustments to easily locate the handle placement. As well, it has steel bushings that will make sure you drill a straight hole through the door.