Fan Cave Makeover
A few weeks back, a lucky couple won a Fan Cave makeover from the #1 team in the NHL, the Florida Panthers! Cooper & Hunter, the sponsor of this giveaway, reached out to us about doing the makeover down in South Florida and of course we said yes. I couldn’t wait to get started on this project because my son is in love with the sport and with the NHL playoff coming up it was perfect timing. Plus, with a project like this we could really unleash some of our creativity and create some truly unique things. Read on to see what we started with and exactly how it all came together.
Full Video!
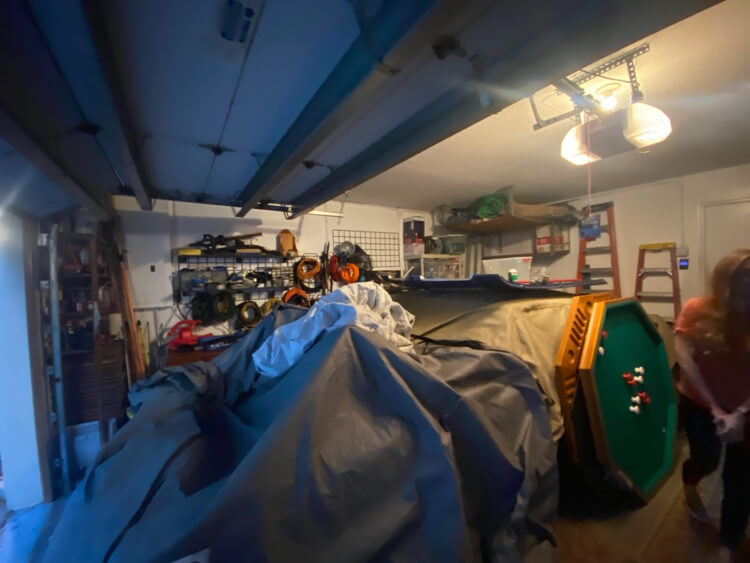
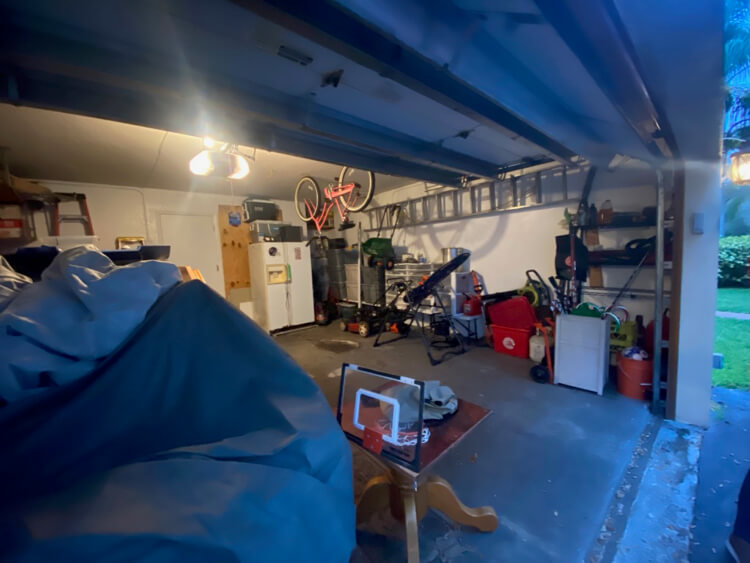
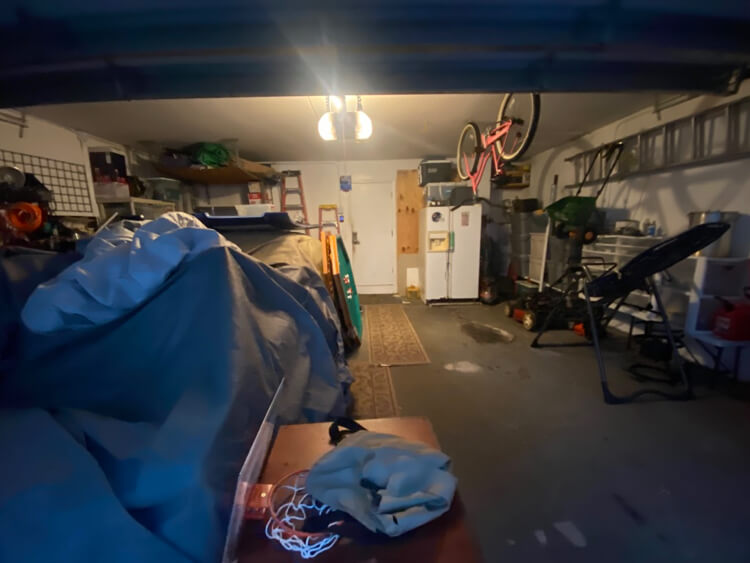
Before
After agreeing to the project they send me photos of the garage and I was thinking that we definitely had our work cut out for us. That garage had become a collection of stuff that had been accumulated over the past 30 years.
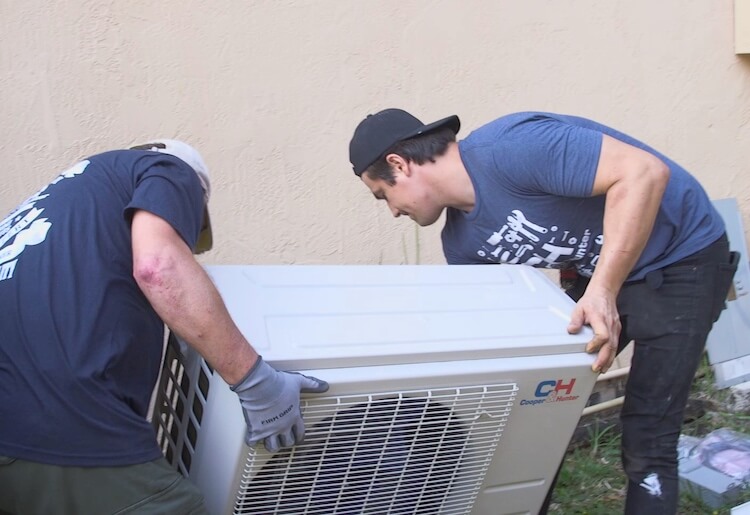
Air Conditioning and Electrical
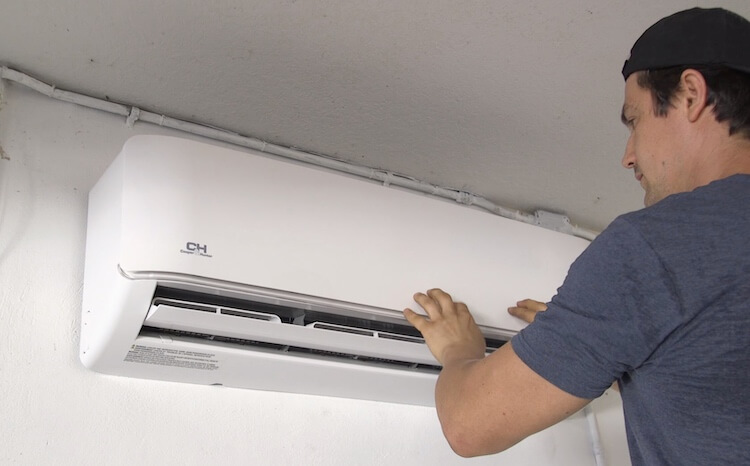
Luckily, before we even got down there, the family had the garage completely cleared out. Plus we had Cooper & Hunter install one of their mini splits to help condition the space and make it way more enjoyable for all the gatherings they will have in the future.
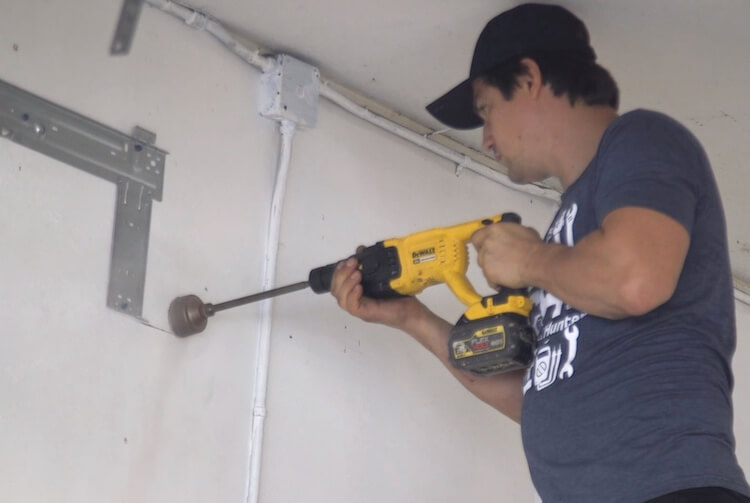

One thing I did want to have done, which was accomplished before we got there, was to add can lighting throughout. This gives the space a much better feel than using the standard harsh shop lights.
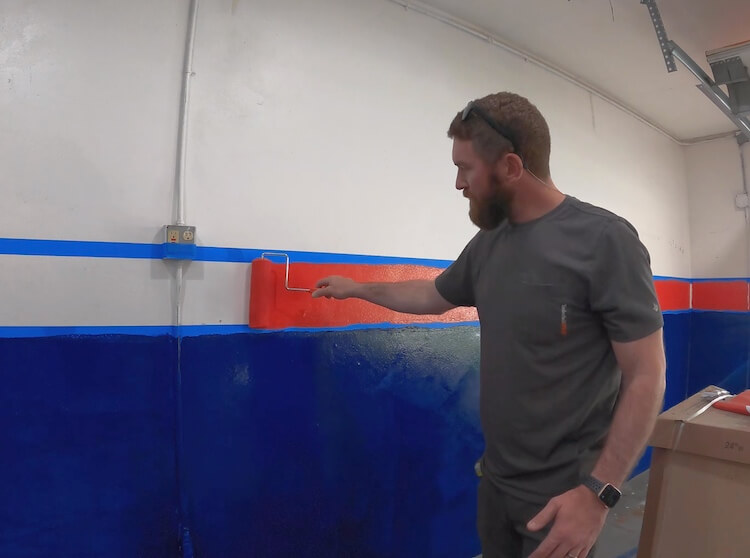
Paint
The first project we tackled when we got there was painting. We started by patching all the holes and painting the ceiling with flat white ceiling paint.
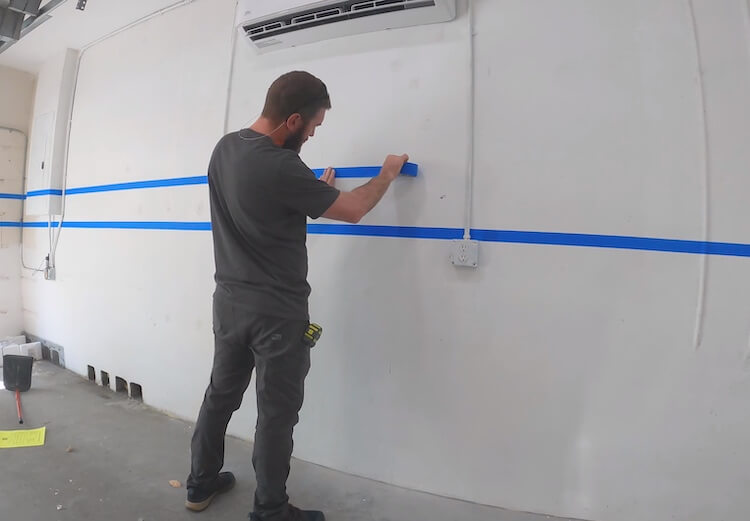
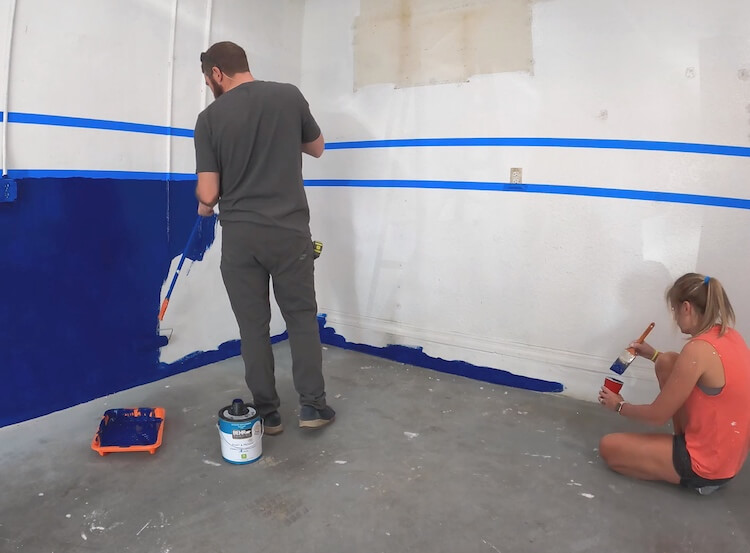
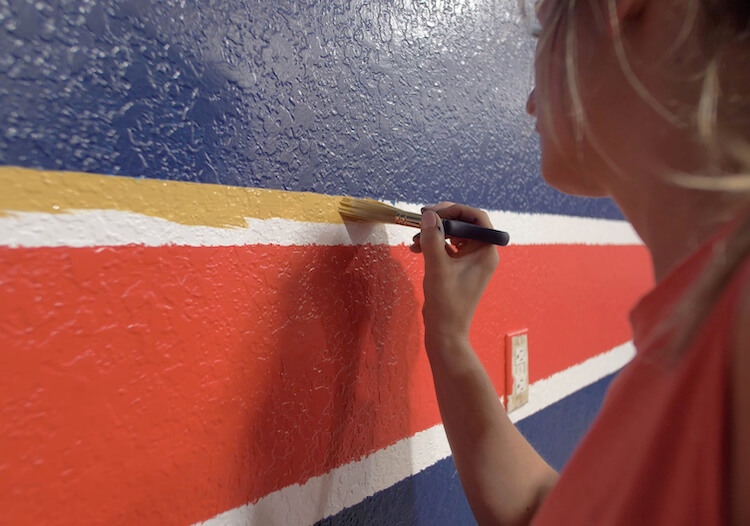
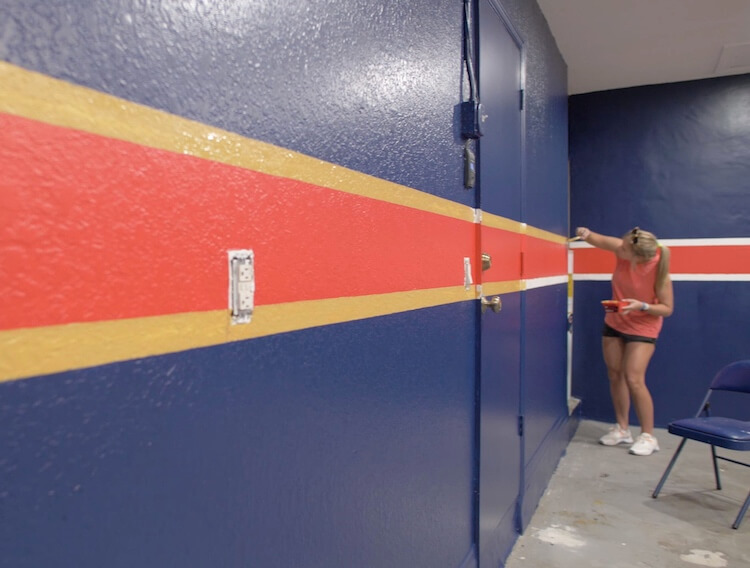
With the ceiling done, we started on the walls. We wanted to incorporate the team colors so we decided to go with navy walls and accent with a red and tan stripe. To start we used a laser level to make a level line at the top and bottom of the stripe and taped it off with painters tape on top and bottom. The top and bottom of the wall got navy and inside the tape got red. After about 3 coats we removed the tape and hand painted the tan stripes for a clean line.
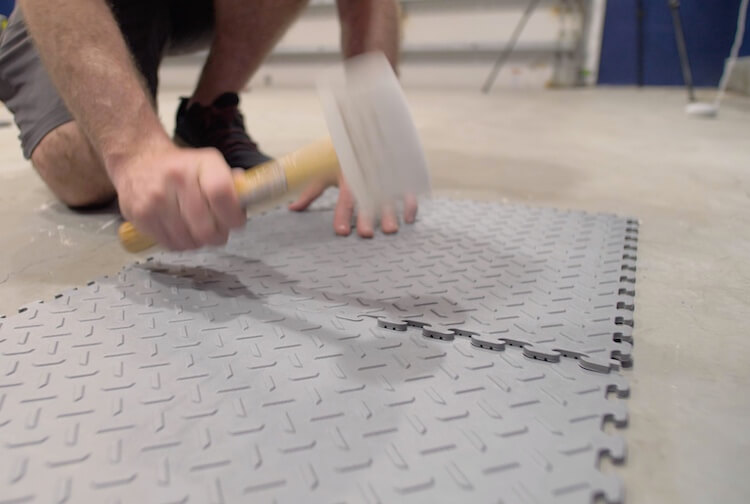
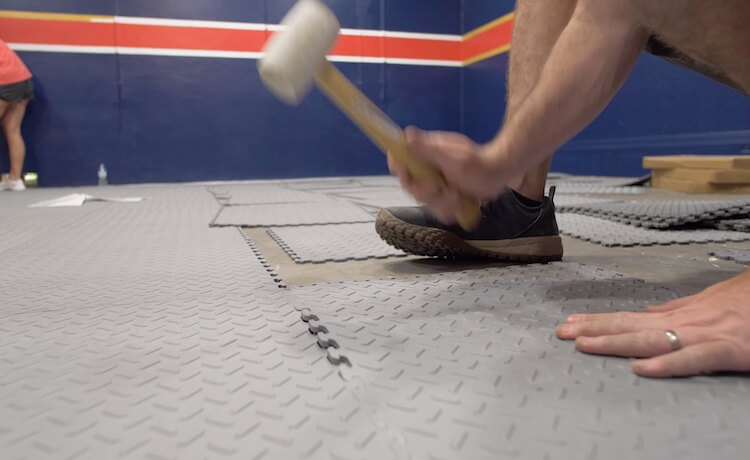
Flooring
For the flooring I wanted some quick and easy but durable. Honestly I haven’t used interlocking garage floor tiles but it seemed like a great option. During and after laying it, I loved how it looked and truly think it is the best option for any garage floor.
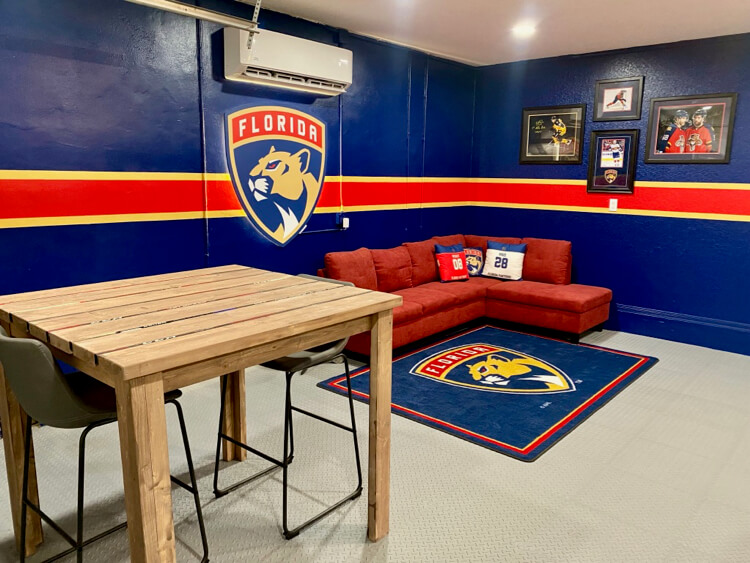
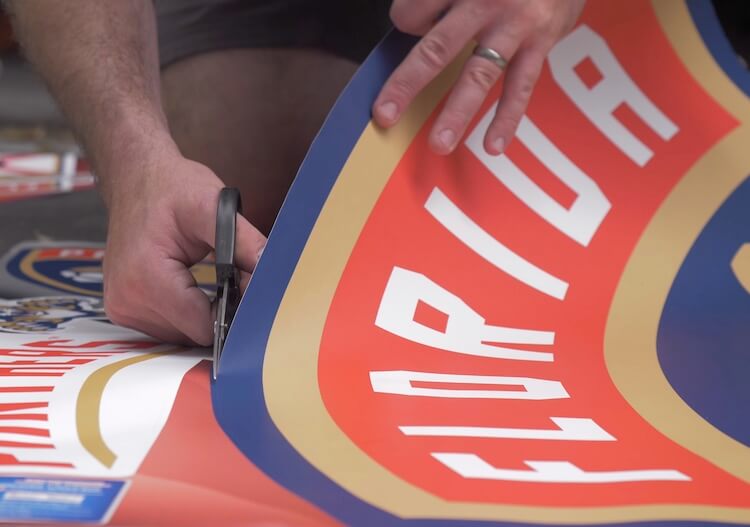
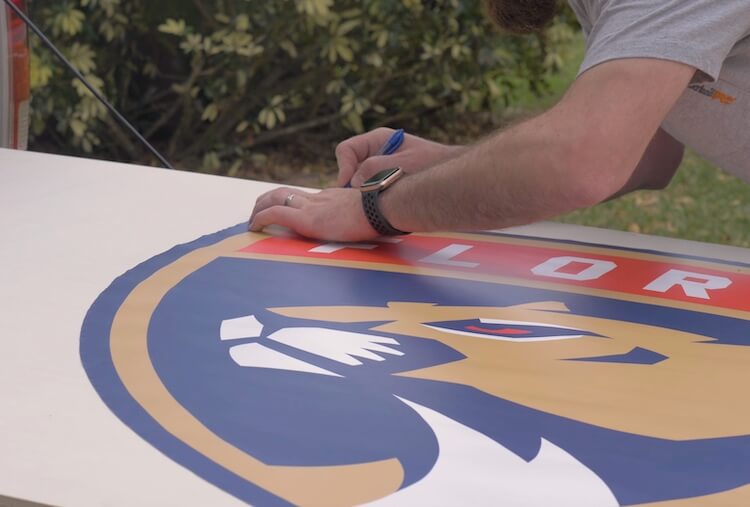
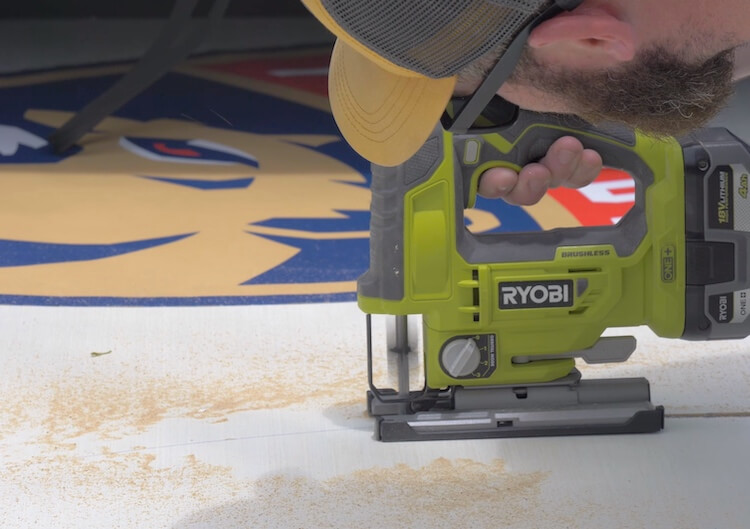
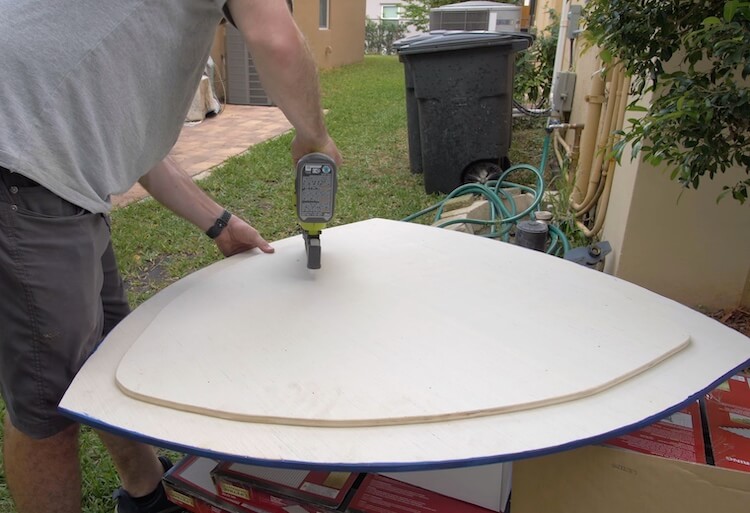
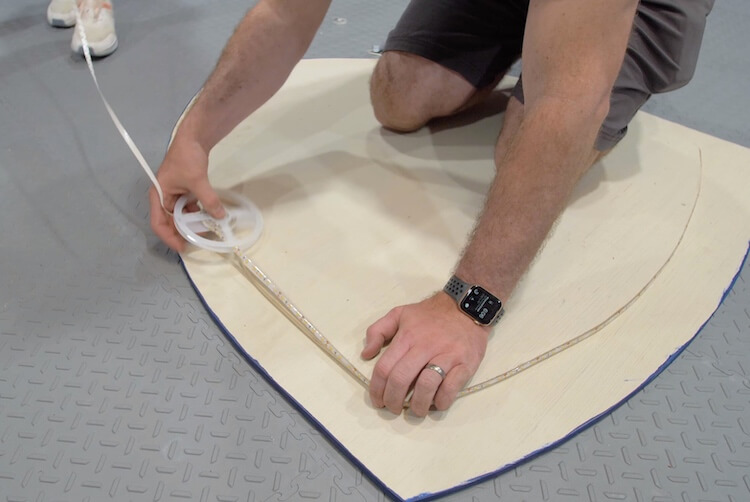
Backlit Logo
One major focal point in the garage needed to be the Panthers logo. For this I decided to order a Fathead logo and stick it to a piece of plywood. I started by cutting the excess off the logo and tracing it out. I then cut the 1/2″ plywood to the same size as the logo. I also cut another piece a few inches smaller than the first. This would make the logo stand off the wall AND, since there was an outlet nearby, give us a spot to mount an LED strip and backlight the sign. After putting the two pieces of plywood together and lights in place, I secured it in place with tapcon concrete anchors (since it was mounted to a concrete wall). Then I finished it off by placing the Fathead sticker on the plywood.


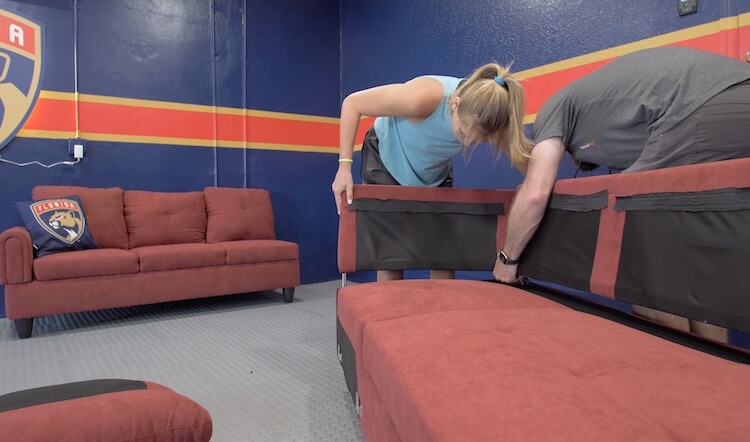
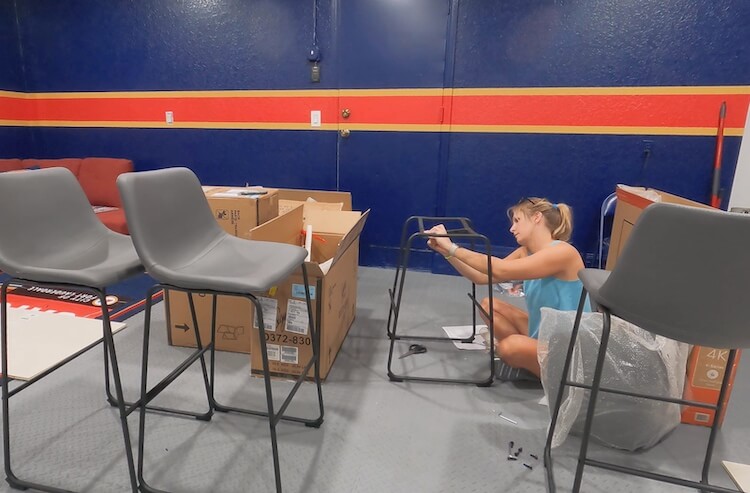
Seating
To stick with the Panther color scheme and give this Fan Cave a pop of color we went with a red sectional sofa found on Wayfair. We also assembled some bar stools for the freestanding bar that we were going to be building next.
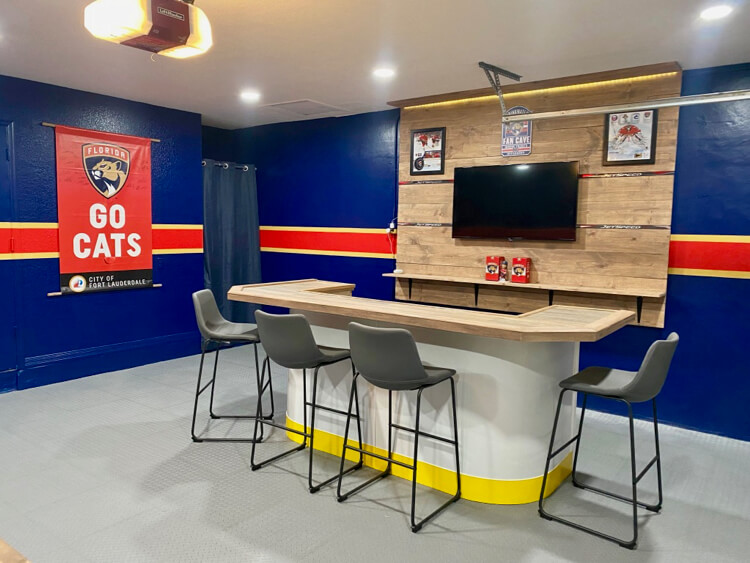
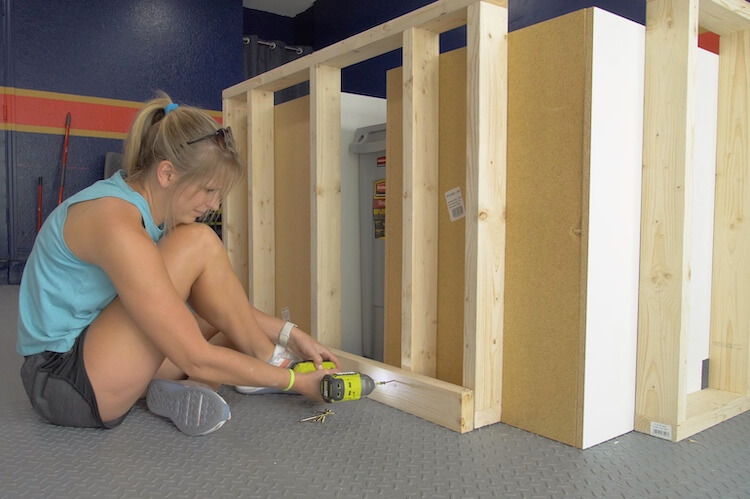
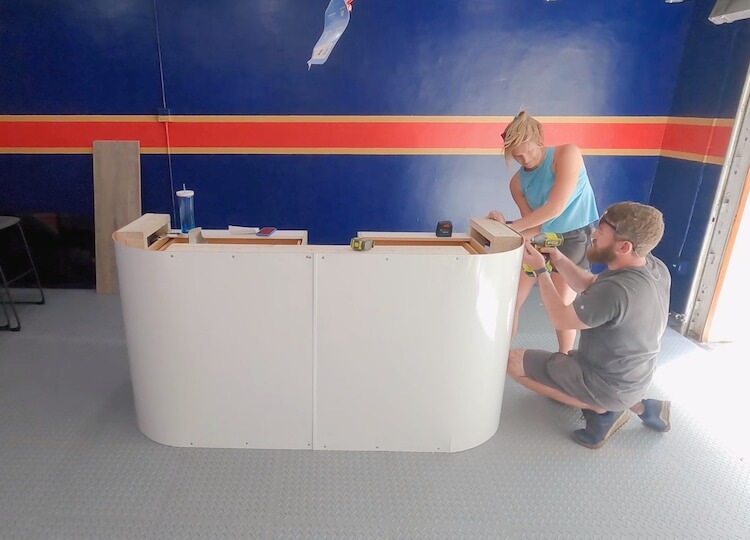
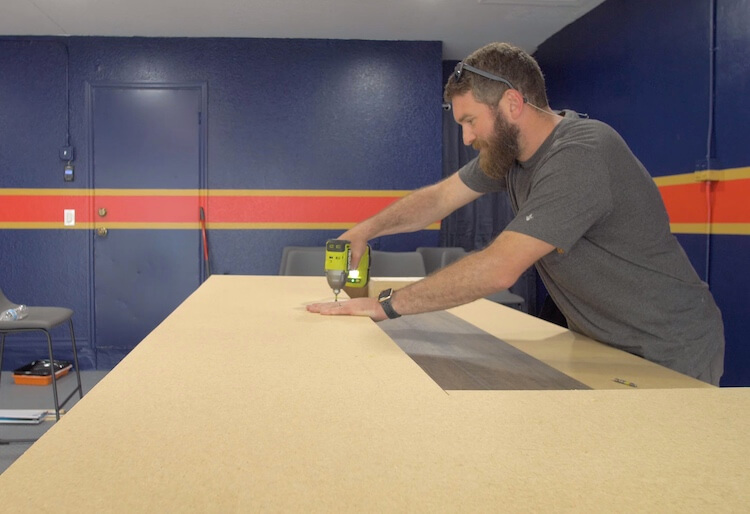
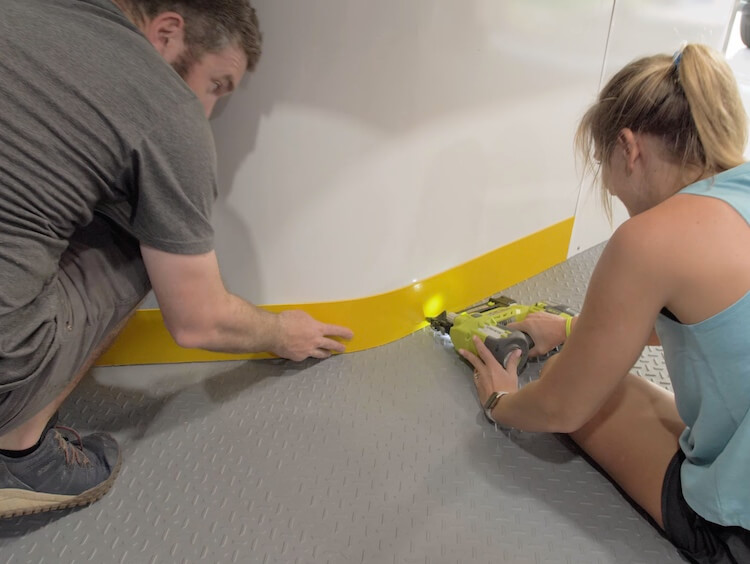
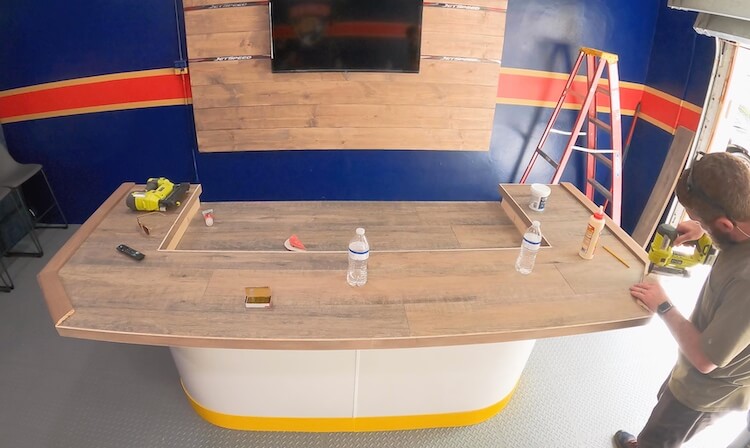
Freestanding Bar
One of the most popular spots in any fan cave is the bar. For this, we wanted to do something special. I based this bar off my freestanding bar plans, which is a simple design using stock cabinets, but added a little hockey theme by making the base look like hockey boards. We did so using 1/4″ dry erase board material and was able to bend it enough to get a curved board look. The bottom plate was a cut off of that material painted with a high gloss yellow. The top got covered with water resistant laminate flooring and trimmed out for a finished look.

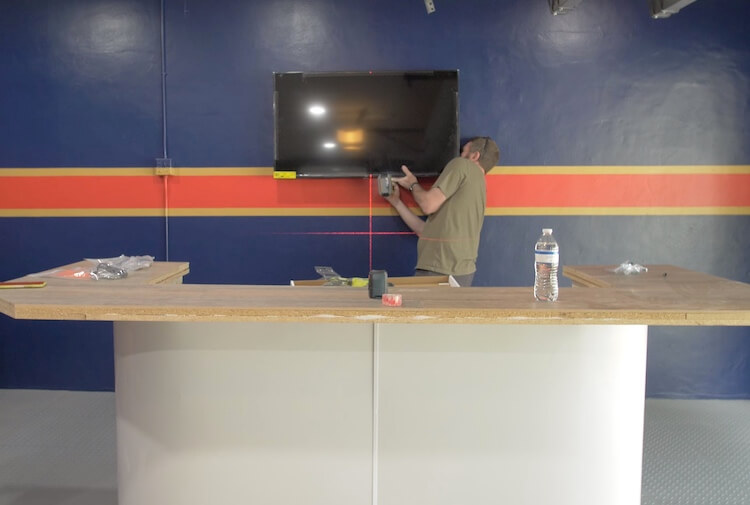
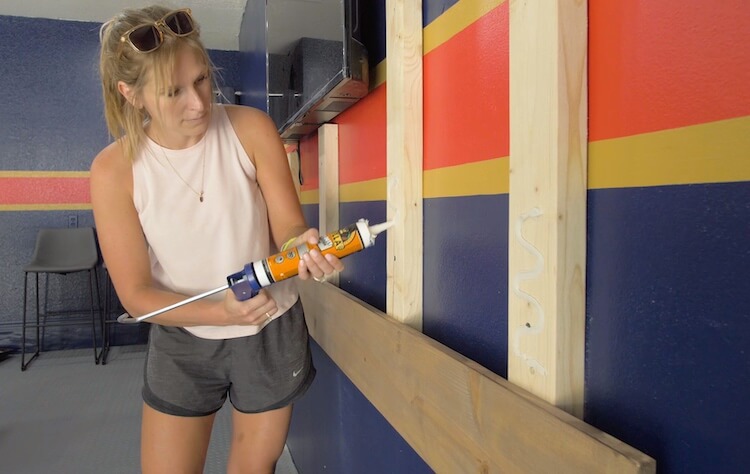
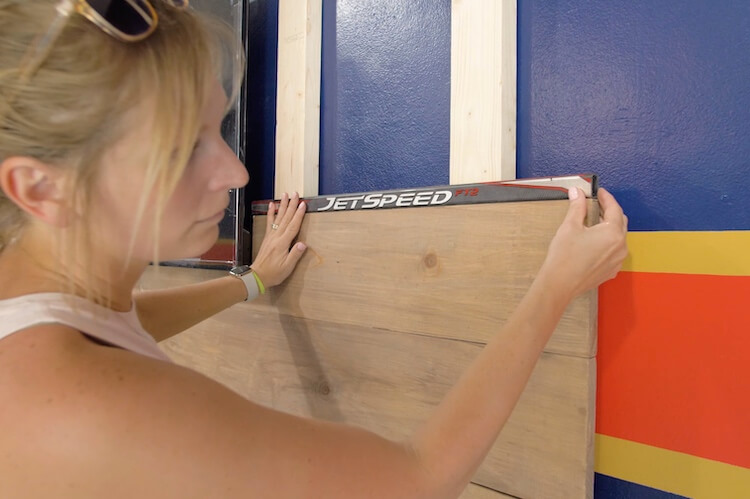
Accent Wall
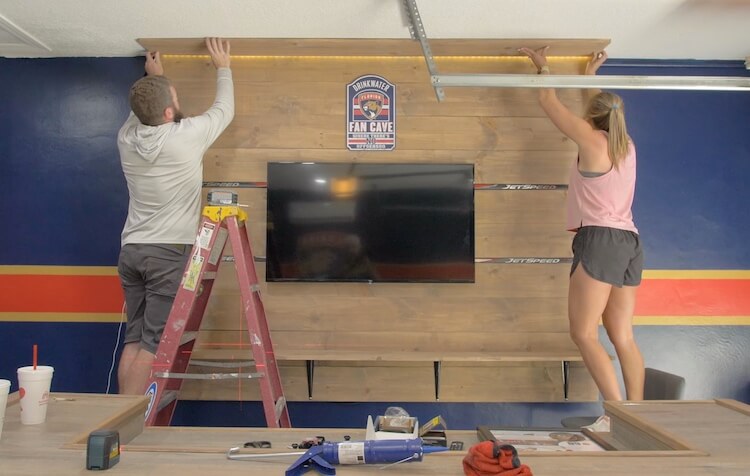
We kept it simple with the accent wall. This was a place to hang a TV and highlight some Panthers swag. For this I started by mounting the TV right where we wanted it and then installed 2×4 nailers to the wall. Jamie stained 1×8 boards and then we glued and nailed them in place. We also inlayed a couple hockey stick to carry the theme as well as adding a shelf at the bottom and LED downlighting at the top.
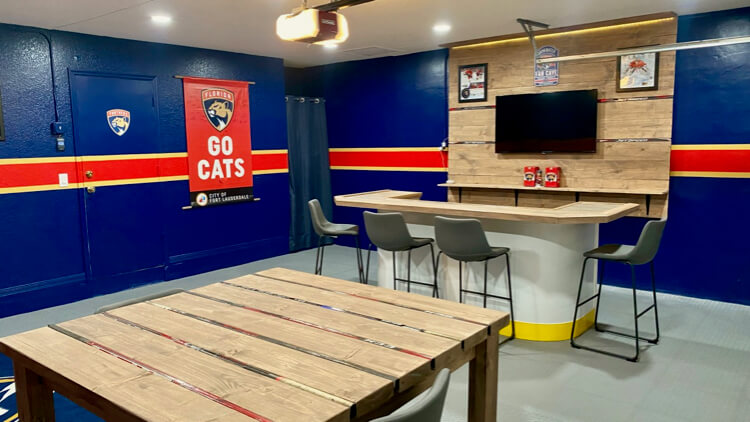
Pub Table
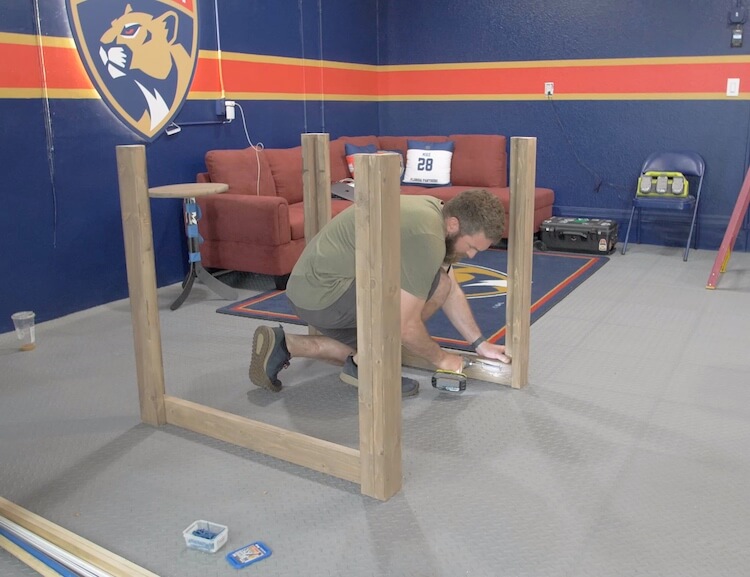
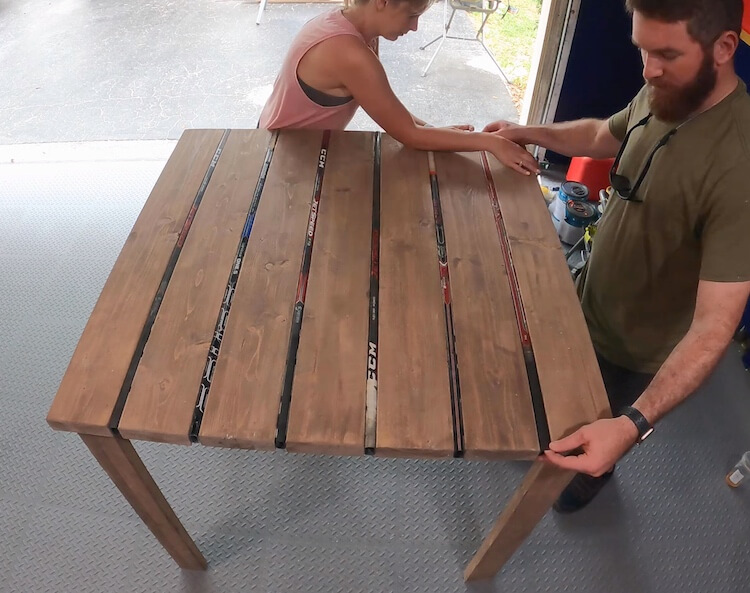
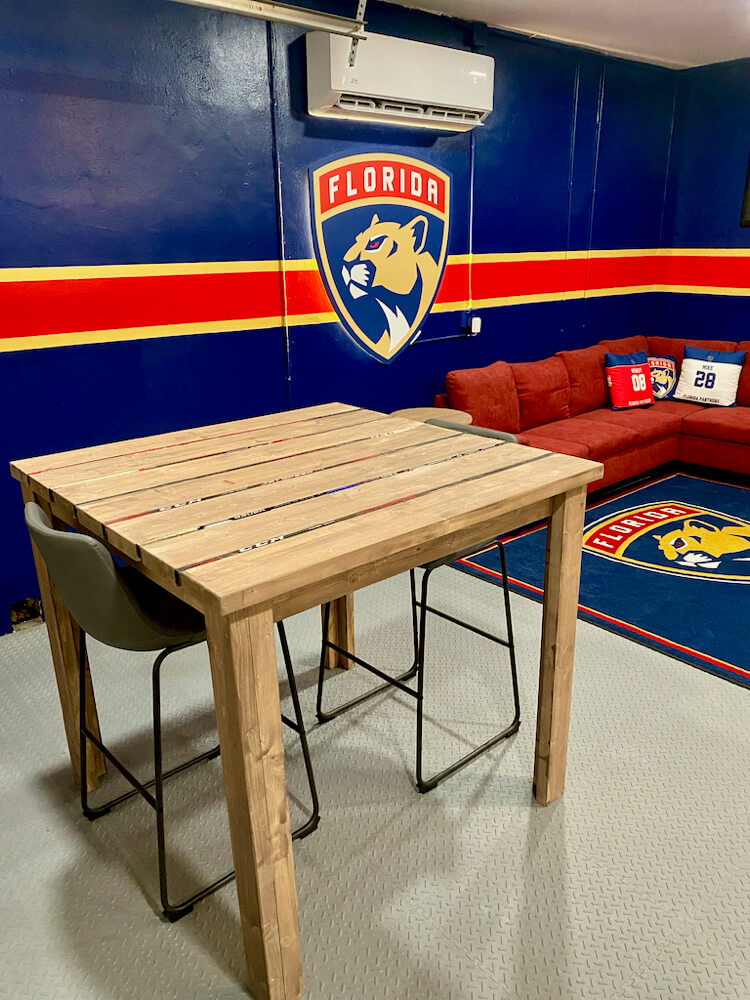
We ended up having some extra space in their new Fan Cave, so we decided to make a last minute addition of a pub table. It was a simple design with 2×4 legs, 2×4 aprons, and 2x6s for the top but we were able to include hockey sticks between each board on the top which was a cool accent.
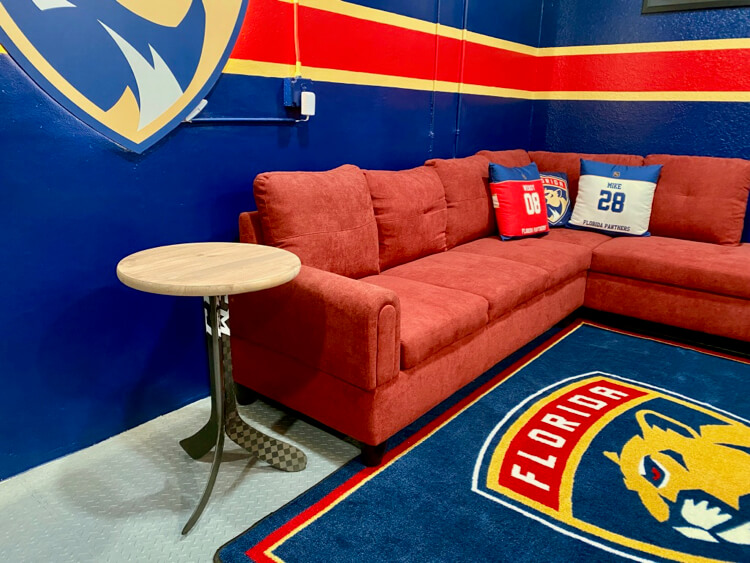
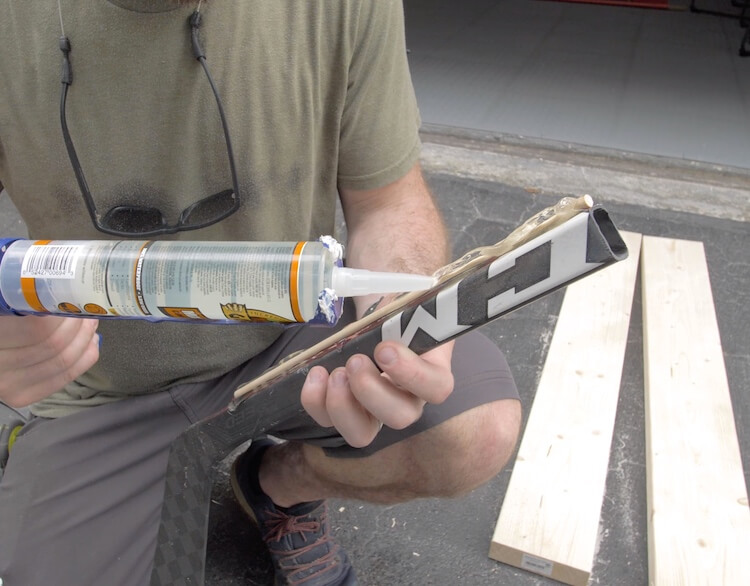
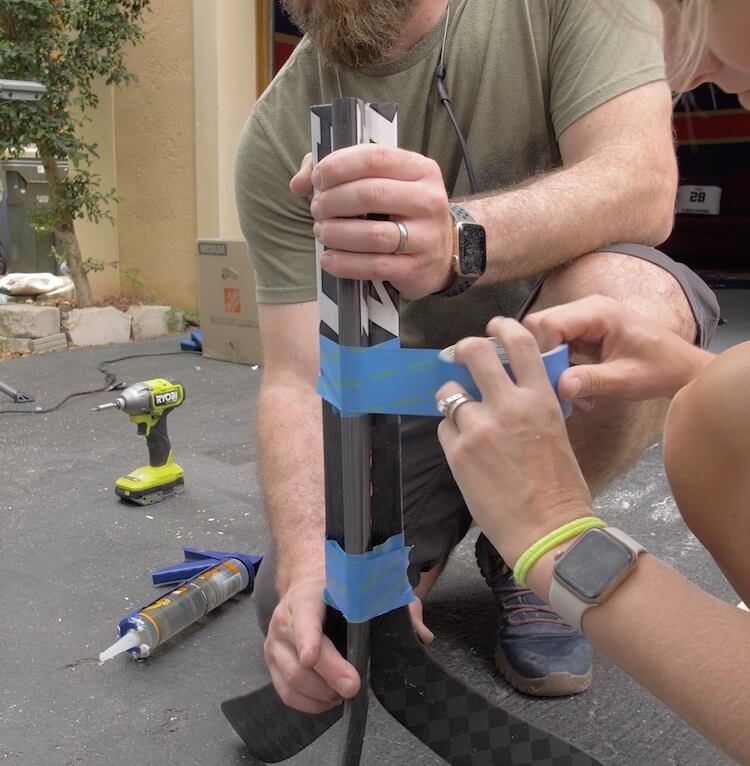
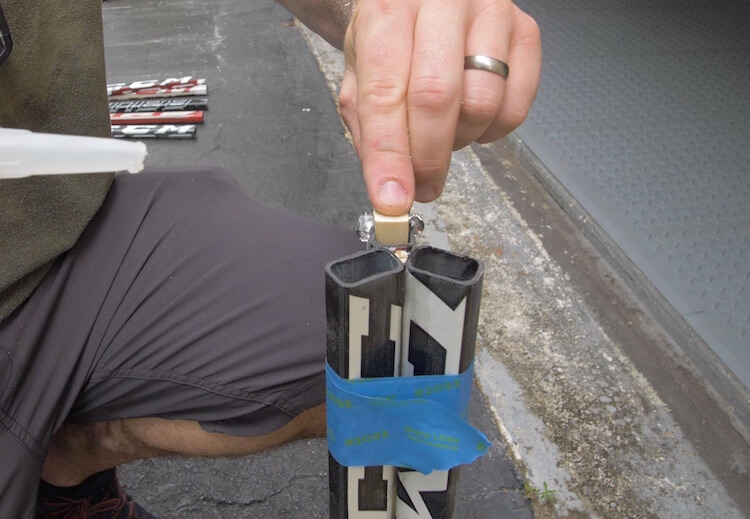
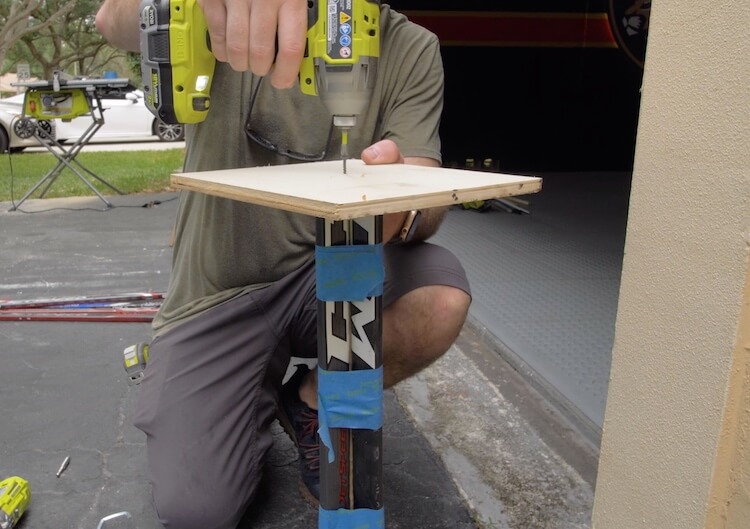
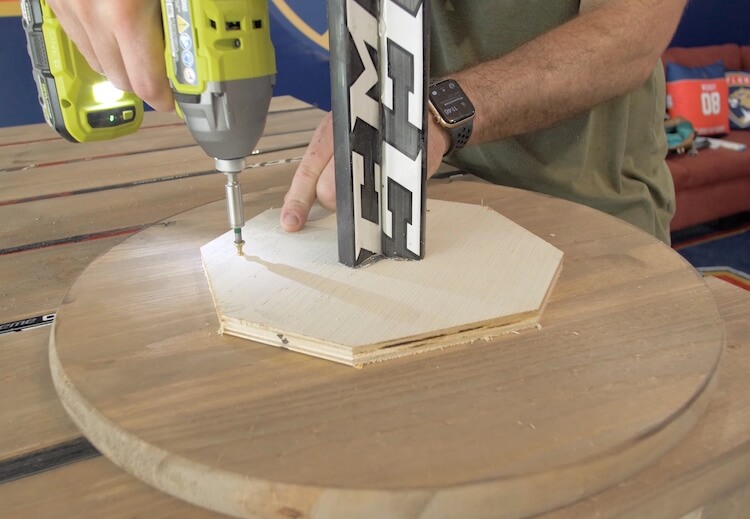
Side Table
I really didn’t know if this was going to work but I wanted to tray. After seeing the blades cut off the hockey sticks I felt like there was an end table in there. I decided to make a 3 legged side table by gluing 3 hockey stick blades together with small wooden dowel using clear construction adhesive. After getting them how I wanted, I added more clear adhesive to the outside joints. To install a top I glued wood inside the hockey stick ends and screwed a small plywood plate on top. Jamie stained an off the shelf round top and I screwed that to the base from below. I was amazed at how well this turned out and really want to make one for my son now!
Decor
Last but not least, we were able to get a banner from the Panthers that had the entire teams signatures which was a nice touch. We also hung a lot of the photos and memorabilia that the couple had collected over the years and it really brought the space together.

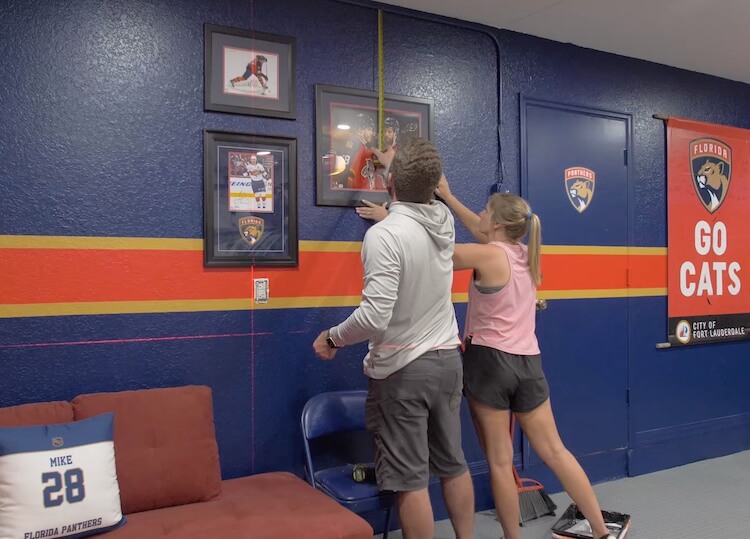
This Florida Panthers Fan Cave came together really nicely. Here are some of the finished photos which show the amazing transformation of a typical garage/storage room into an amazing new hang out space! Let me know what you think in the comments and if this post inspires you to create a space to celebrate you favorite sports team, be sure to post a picture below!