Freestanding Dry Bar
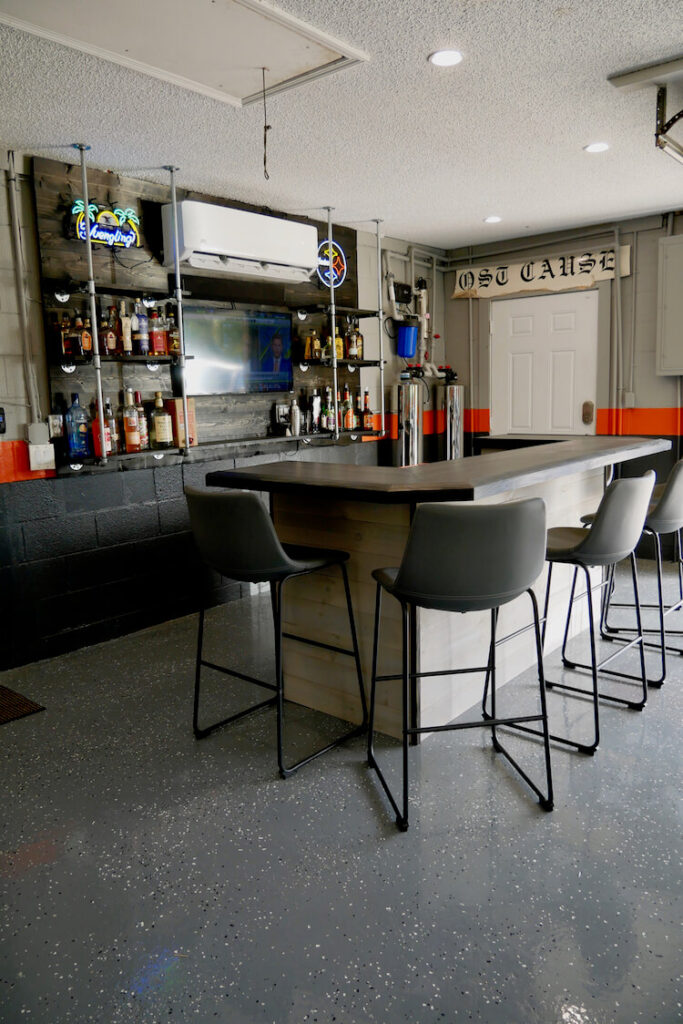
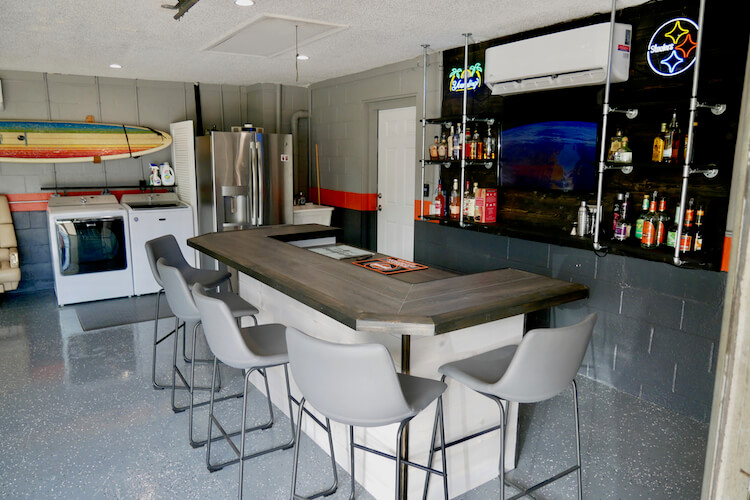
I recently took on a garage makeover as a gift to my father. He’s a Harley-Davidson enthusiast and loves to ride motorcycles. One thing he also enjoys is to have a little area to hang out in the garage after a long ride. That being said, I decided to build a freestanding dry bar to go along with this garage transformation. The main goals here were to be able to build it quickly and relatively inexpensively but also have it look good and seat 6 people comfortably. We ended up building it in about 2 days of off and on building and spent about $750 on it. It could be done for less or a lot more depending on the materials that you choose.
Time to Complete
1 Wknd
Estimated Cost
$600-1,000
Skill Level
Intermediate
If you love this stuff as much as we do, you might want to consider following us on Instagram where we post sneak peeks and behind the scenes stuff in our stories. Also, did you know you can get tons of projects plans from all around the web when you follow us on Facebook and Pinterest!
Tools
Materials
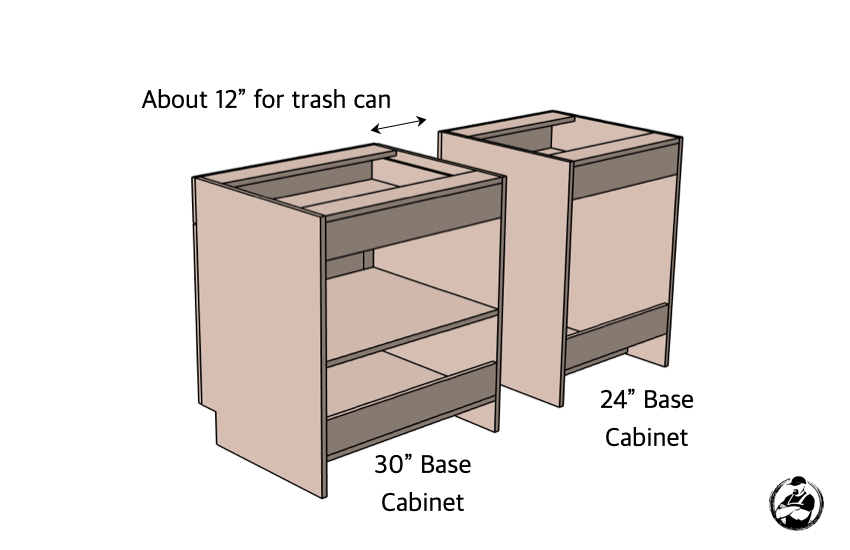
- 30” Base Cabinet
- 24” Base Cabinet
- Drawer Pulls
- Trash Can
- (2) 3/4” x 4’ x 8’ Plywood Sheets
- (8) 2 x 4 x 8’ Studs
- 1 x 2 x 8’ Board (Trim)
- (5) 1 x 3 x 8’ Board (Trim)
- 1 x 4 x 8’ Board (Toe Kick)
- 1 x 6 x 8’ Board (Trim)
- (10) 1 x 6 x 8’ Boards (Cladding)
- I used shiplap here
- 8’ of Outside Corner Molding
- 16’ of Window Casing (Rounded)
- 32 ft2 Laminate or Vinyl Flooring
- Flooring Adhesive
- 3” Wood Screws
- 1-1/4” Cabinet Screws
- 1-1/2” Brad Nails or Pin Nails
- Wood Glue
Disclosure: The links provided in the “materials” and “required tools” sections are affiliate links. If you would like to support our site and help keep our content free come find out more about how we can make money with no extra cost to you.
Dimensions
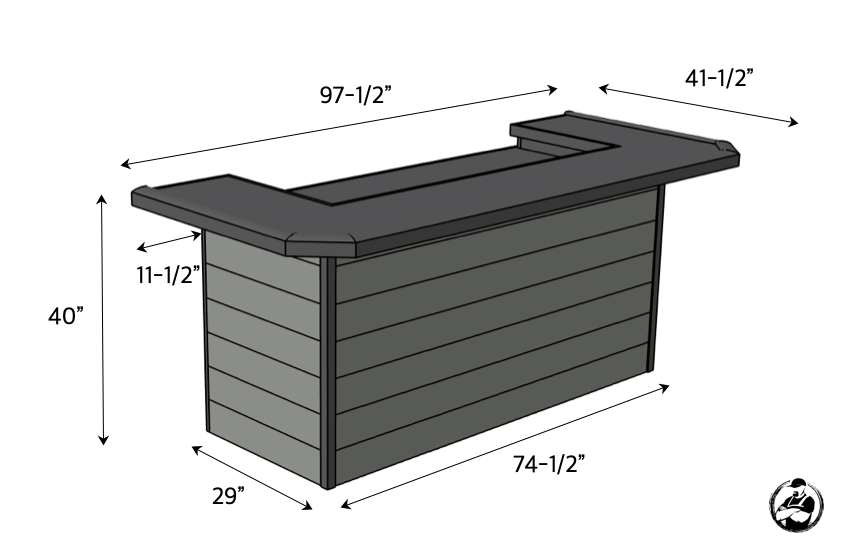
The step by step guide below will outline how to construct a freestanding dry bar.
Total Time: 2 days
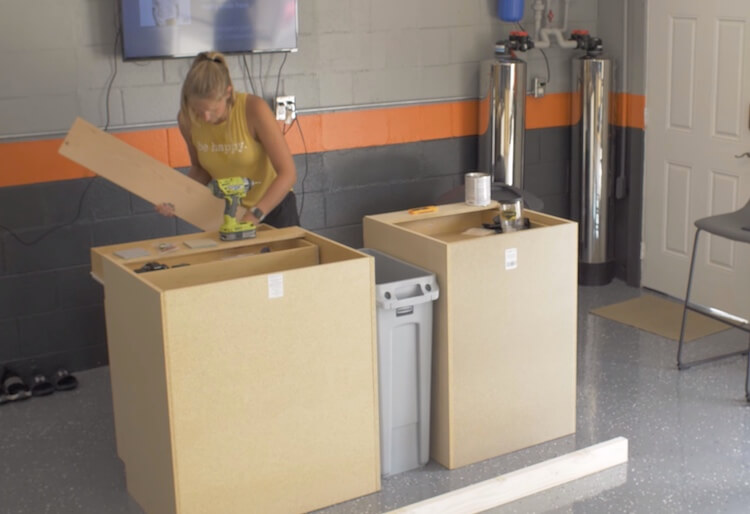
Layout the Cabinets
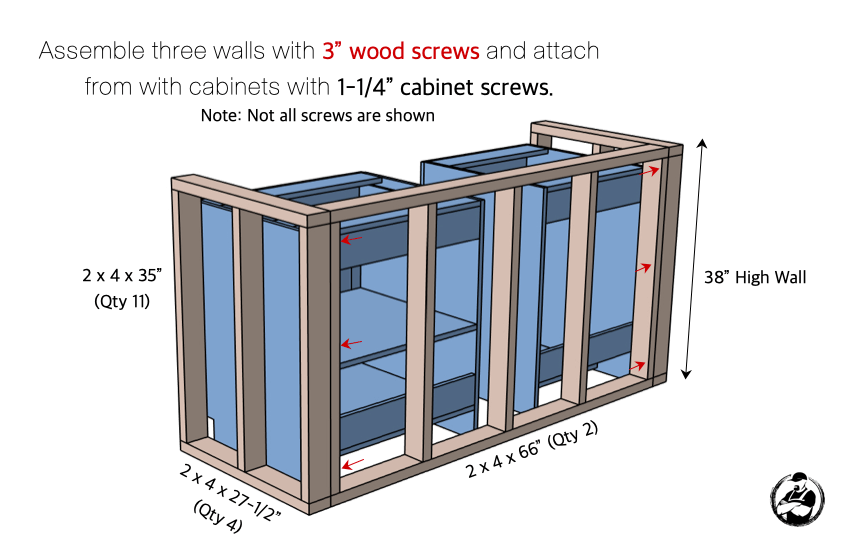
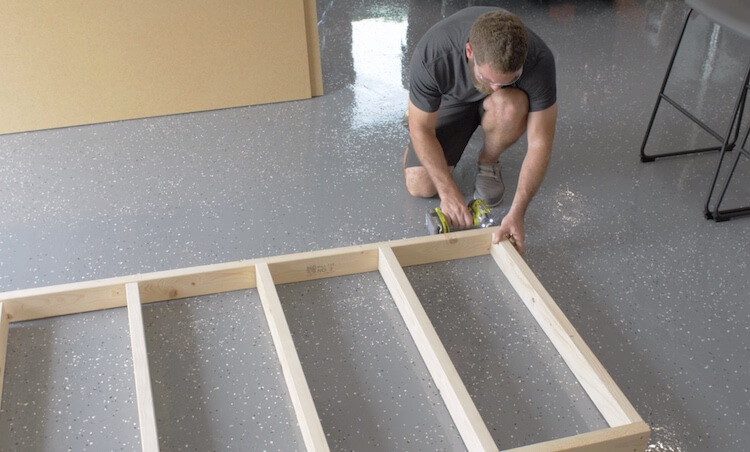
Assemble and Attach Walls
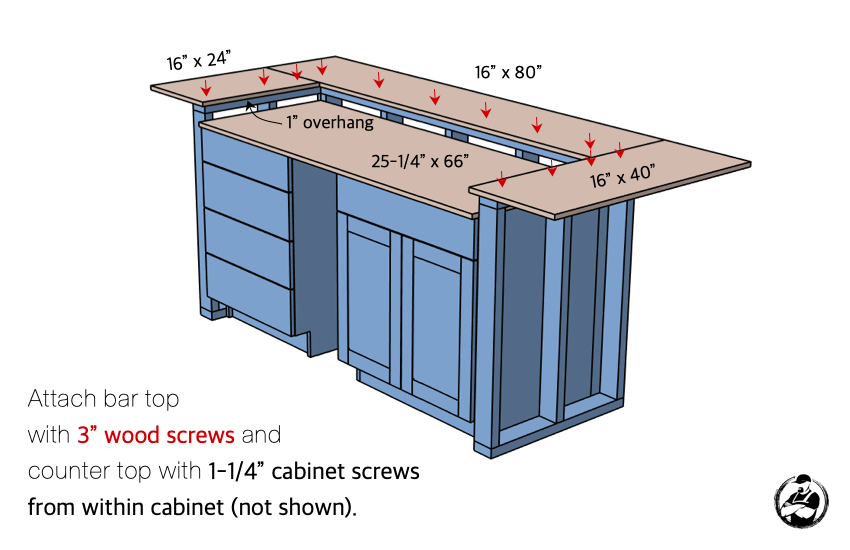
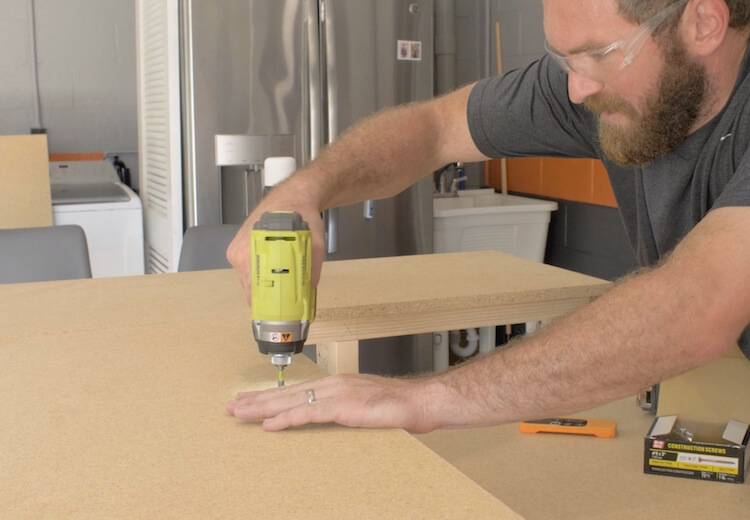
Install Counter and Bar Top Base
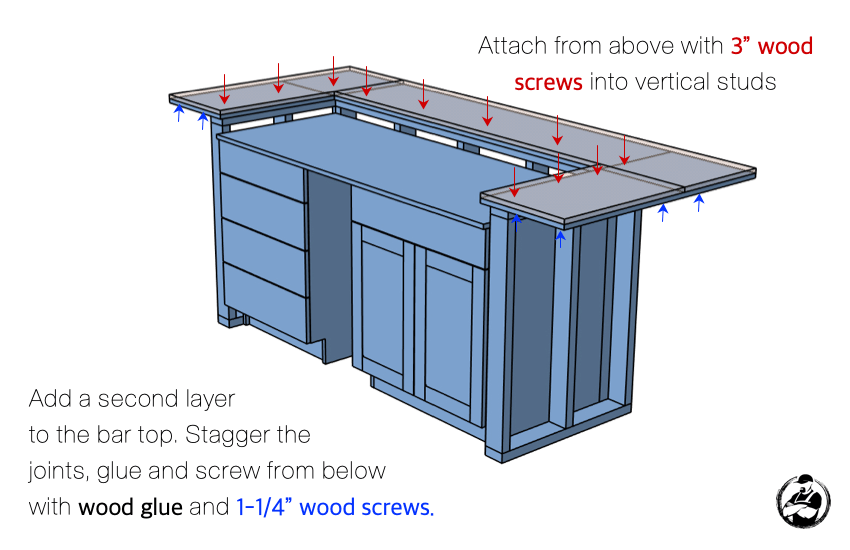
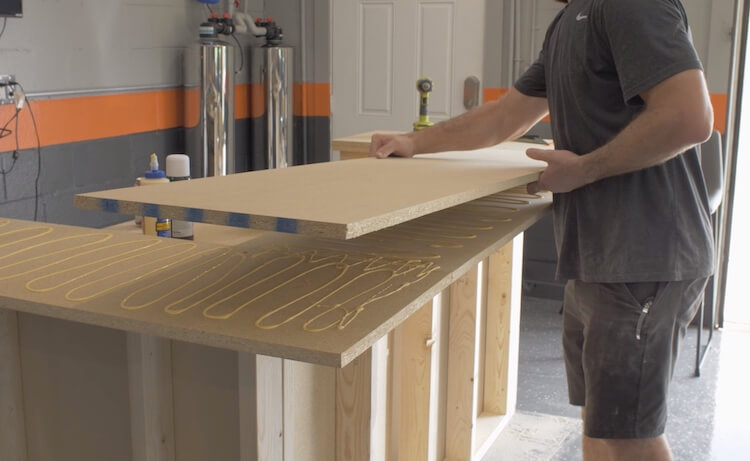
Additional Layer to Bar Top
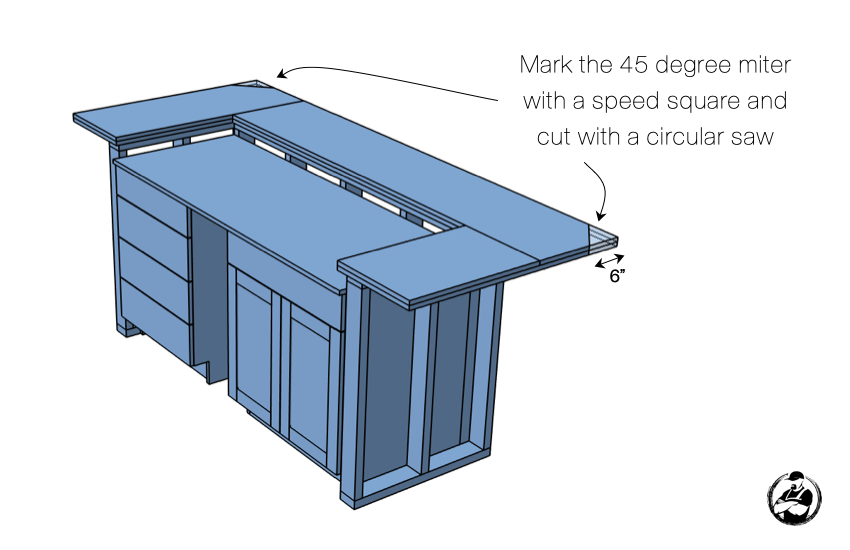
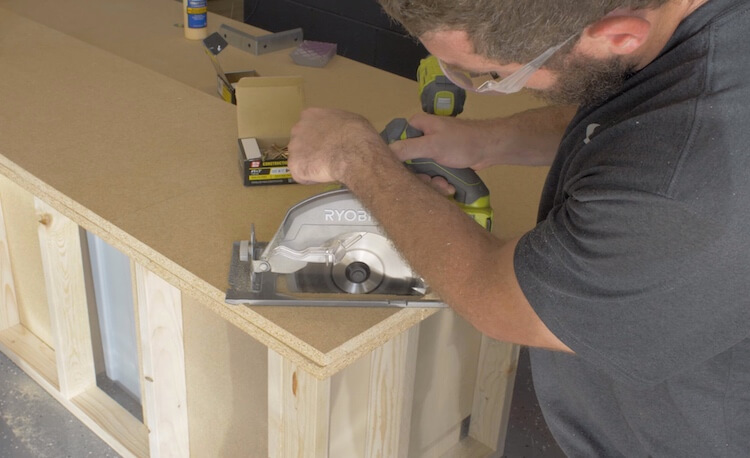
Miter Corners
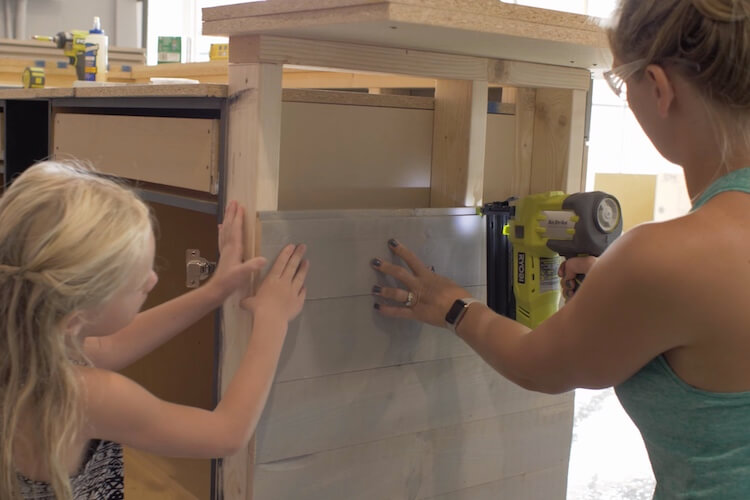
Clad the Base

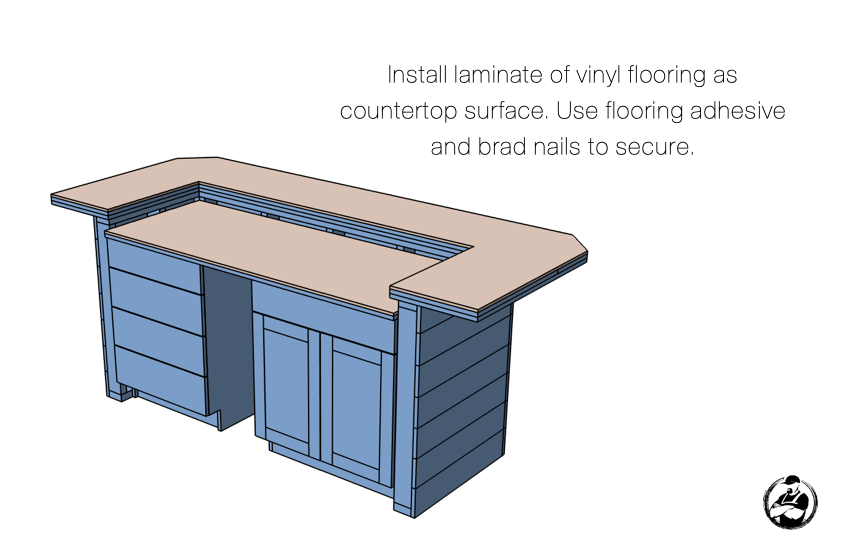
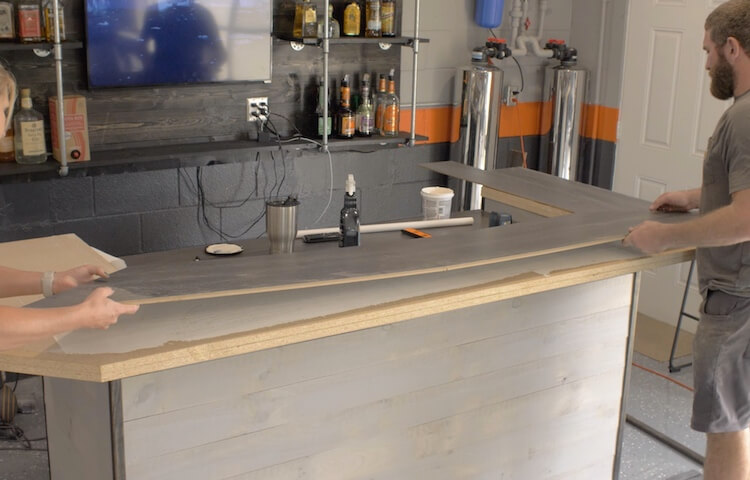
Install Finished Countertop
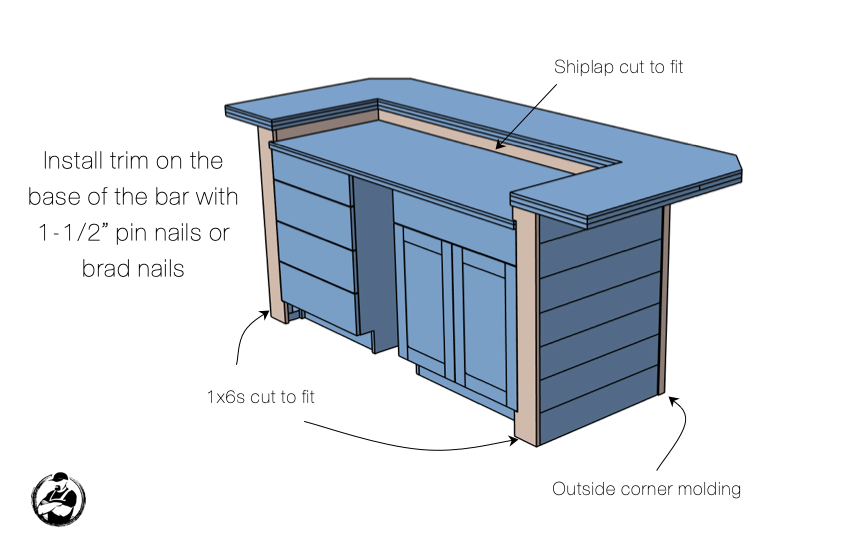
Install Trim on Base
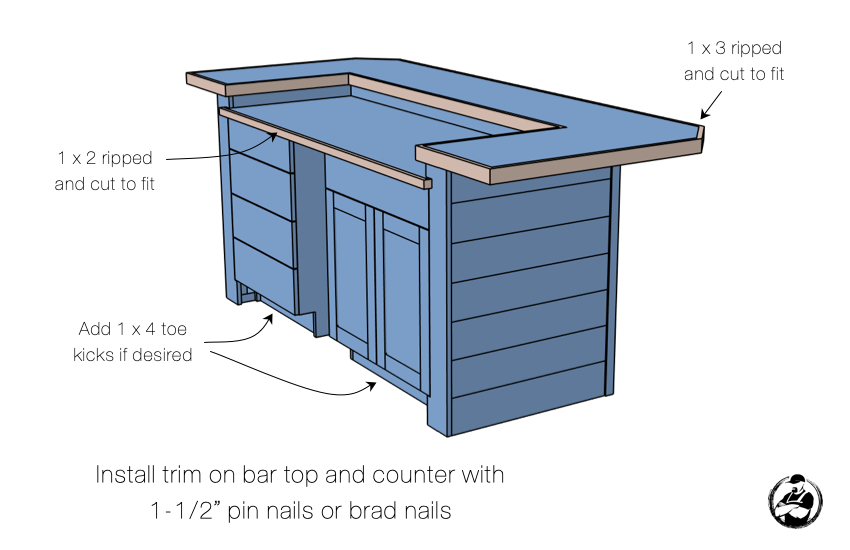
Install Trim on Counter
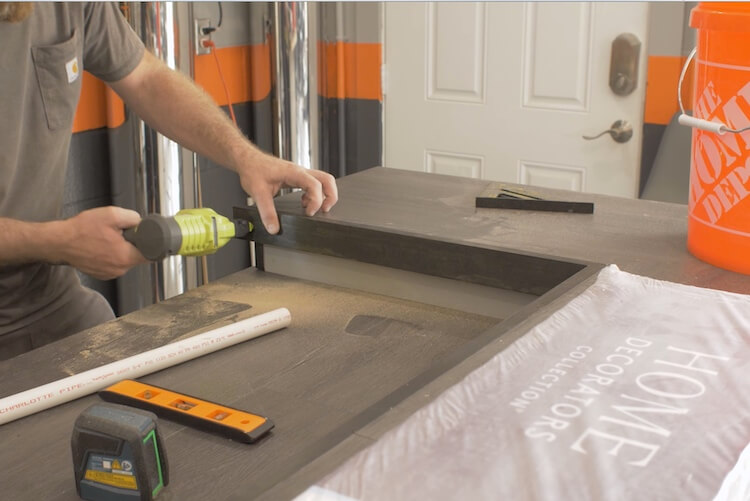
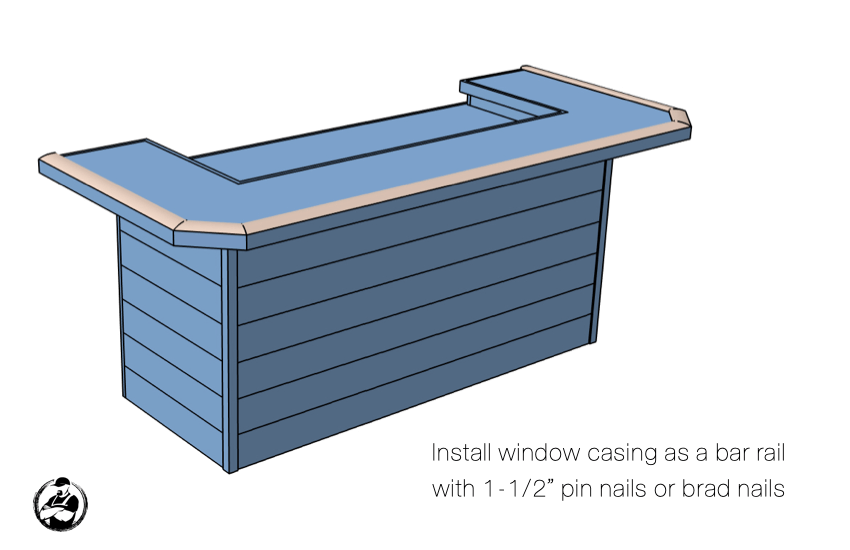
Install Bar Rail
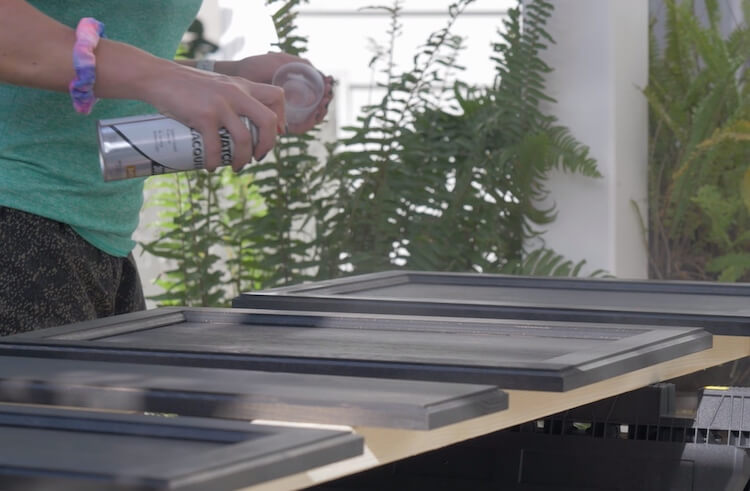
Finishing
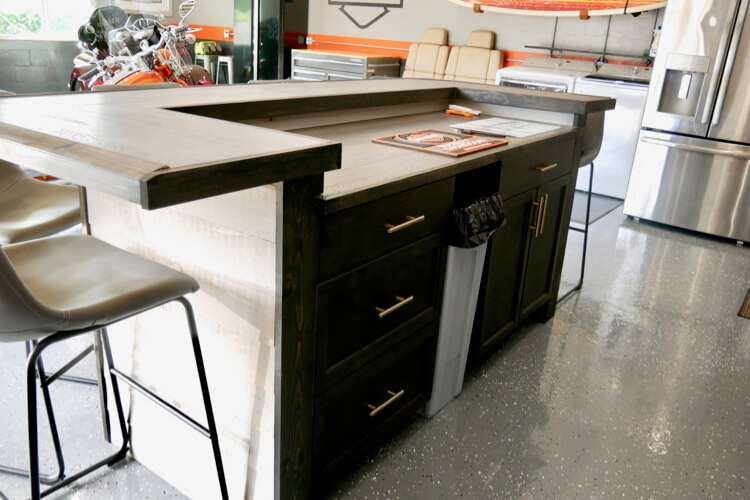
All the natural wood on the cabinets, trim and such were stained with ebony wood stain and clear coated with lacquer throughout the building process.
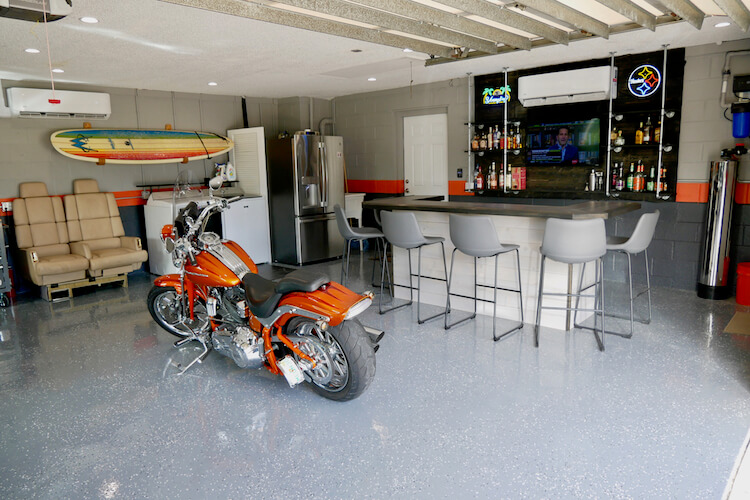
We love the way it turned out and there really isn’t anything I would do differently. If you want to learn more about the total garage makeover go check out this article. And if you want to get the specifics on the epoxy floor check that out here.