

Storage Bench
$10.00
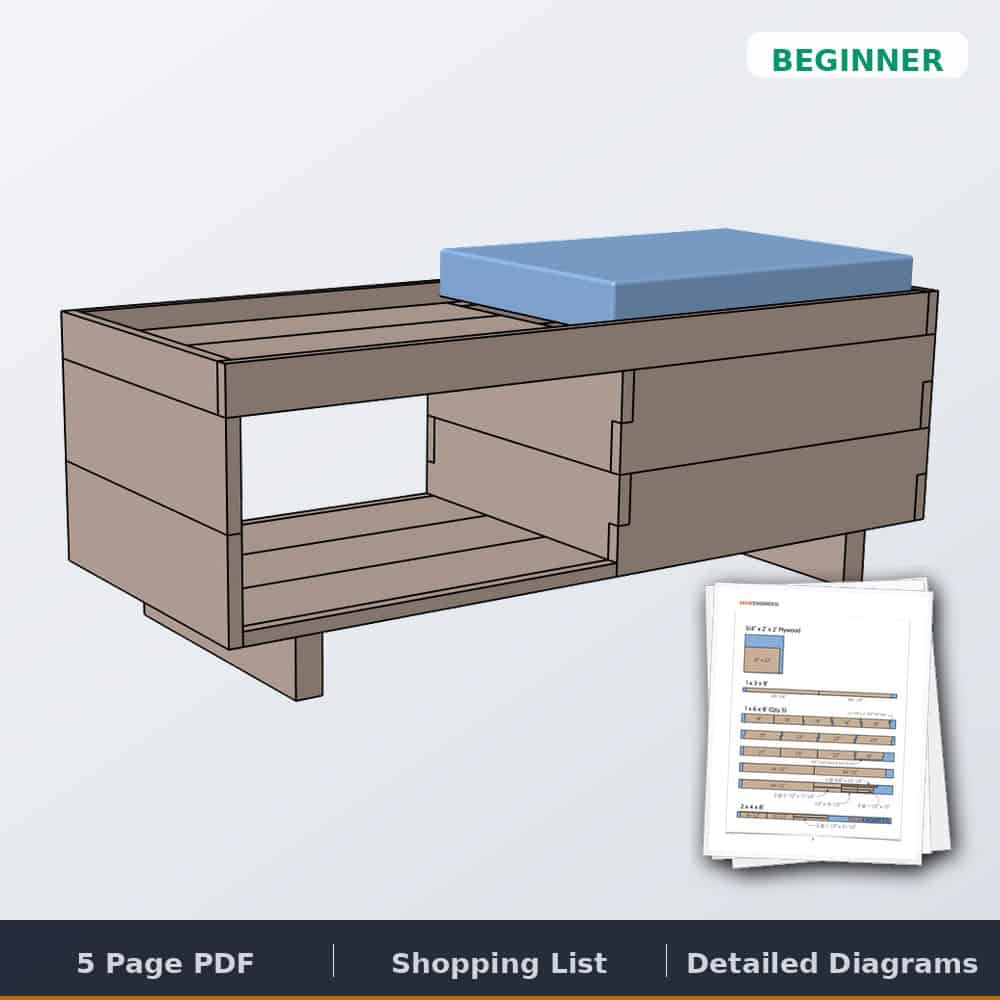
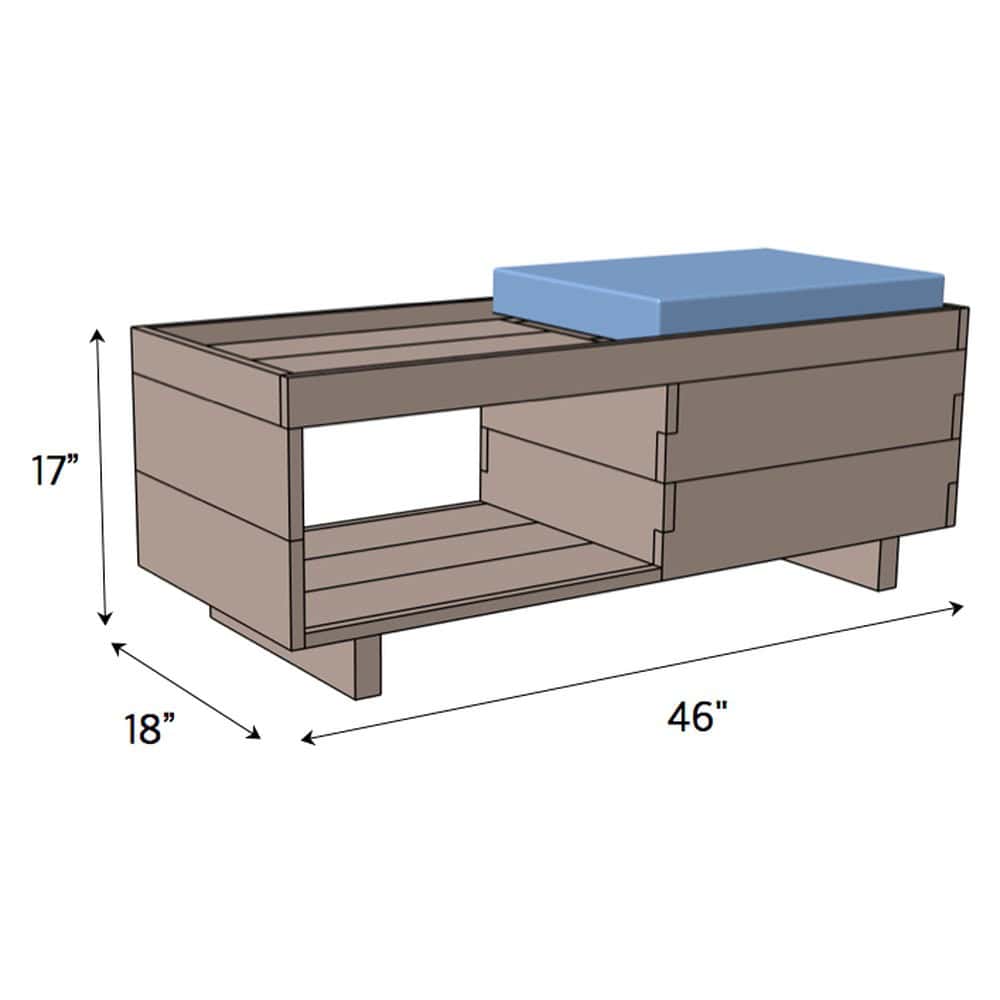
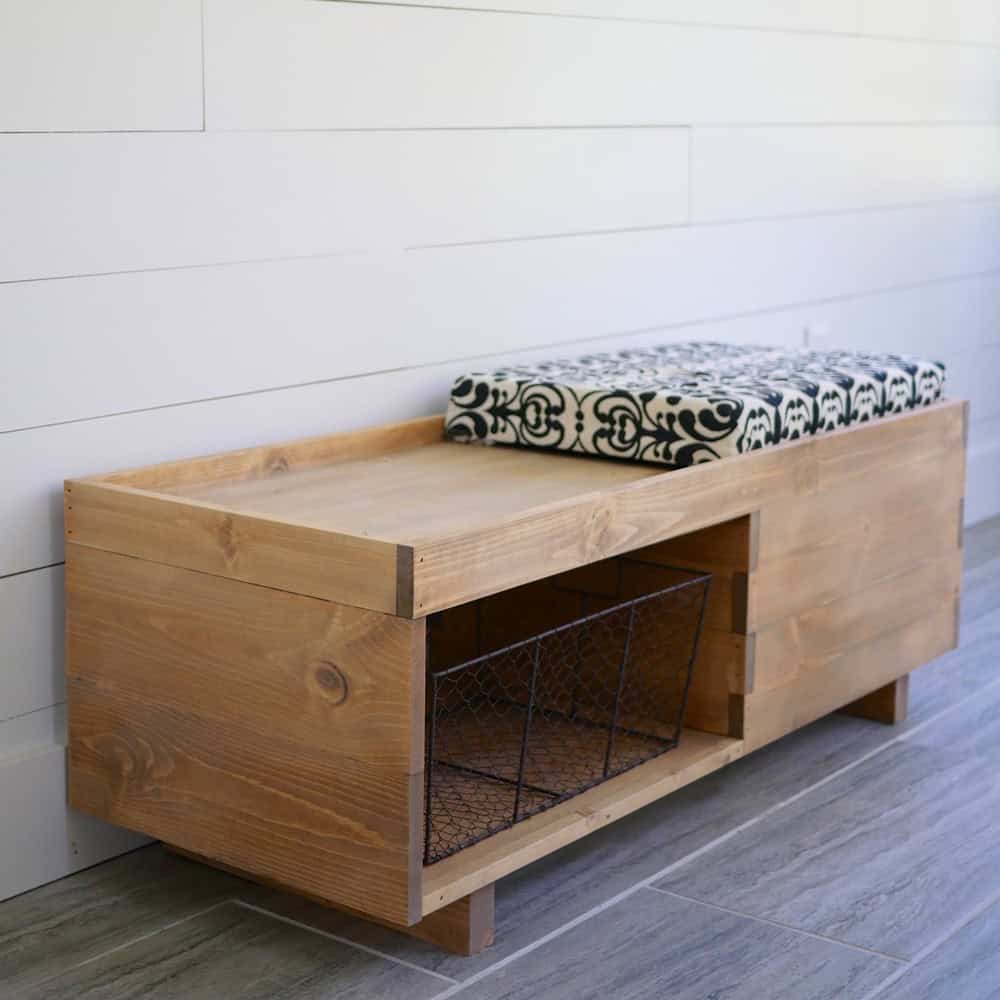
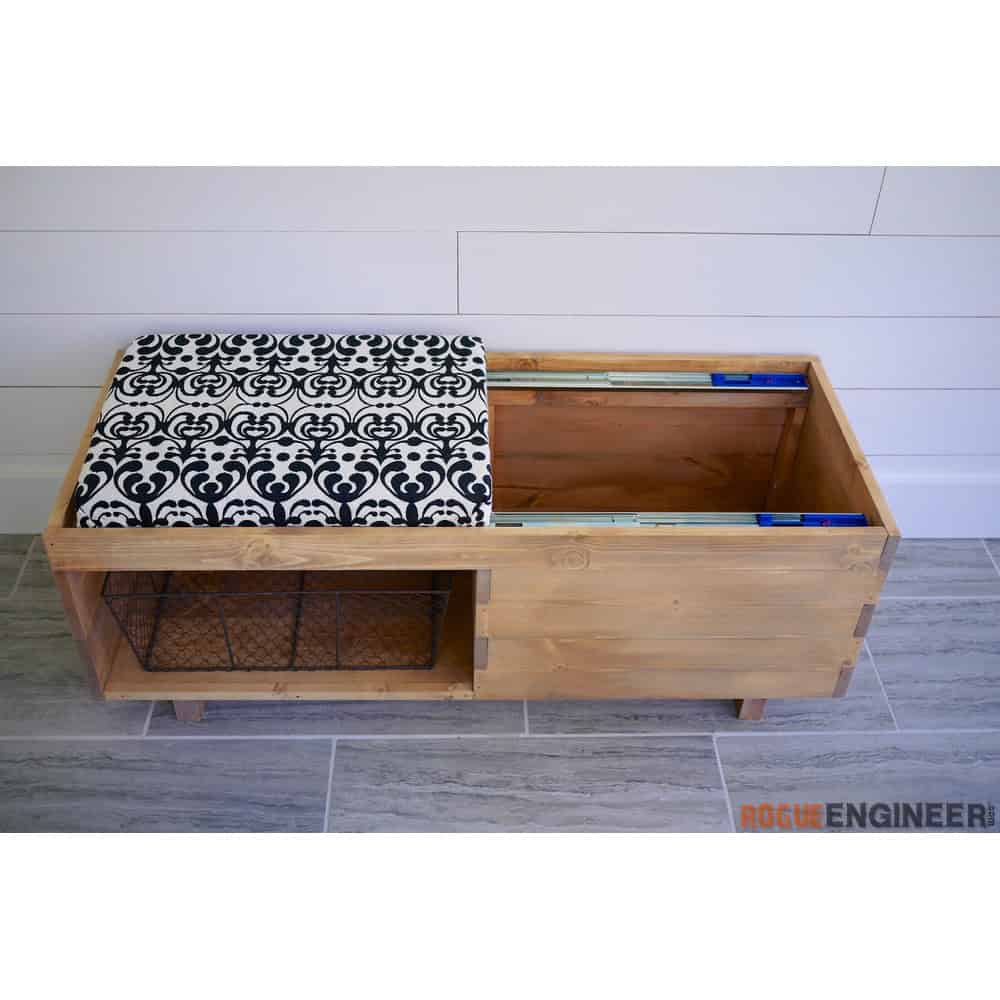
Printable storage bench plans for a 46″ x 18″ bench, 19″ tall, with an open cubby, interlocking half-lap corners and a padded seat that slides sideways on drawer slides to open the storage underneath. The 7-page PDF has 7 illustrated steps, every notch drawn and dimensioned, cut list diagrams for every board and a shopping list with a cost estimate. Built from 1×6 boards, beginner friendly.
✓ Instant download · Personal use license · Secure checkout via Stripe
Description
Storage bench plans with a padded seat that slides open
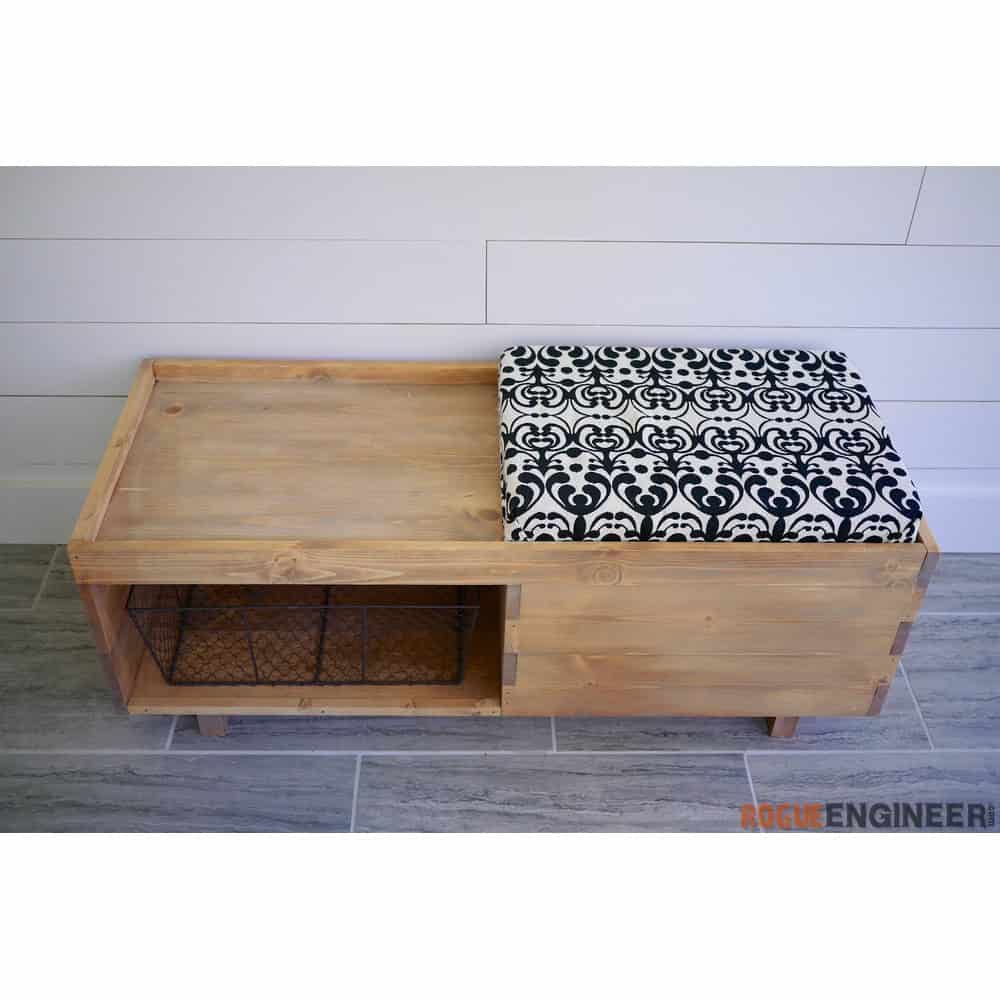
This bench does two jobs: a comfortable place to sit and a lot of hidden storage. The trick is the seat. Instead of a hinged lid, the padded seat rides on a pair of drawer slides, so it glides sideways over the cubby top and opens up the storage well underneath. There’s no lid to hold up and nothing to slam shut. The corners are half laps, notched so the 1×6 boards interlock, which makes a strong joint and shows off a little joinery on every corner. It fits an entryway, the foot of a bed or a living room wall.
I first built and published this bench in 2017, so I redrew the plan from scratch. The original was a 5-page PDF. The new one is 7 pages, with a perspective drawing for every assembly step, a step of its own that draws and dimensions every notch, cut list diagrams that show how to cut every board, and a shopping list with a cost estimate.
Watch the build
What you get
- 7-page printable PDF plan, instant download
- 7 illustrated steps: notches, side panels, top and bottom, frame, feet and rails, seat
- Every notch drawn flat and dimensioned before you start, so the corners fit the first time
- Cut list diagrams that show how to cut every board and the plywood seat, with a letter on each piece
- Materials and shopping list with a cost estimate
- QR code to the build video
Specs
- Size: 46″ wide, 18″ deep, 19″ tall to the top of the cushion
- Storage under the seat: about 21-1/2″ x 16-1/2″, 12″ deep
- Open cubby: about 22″ wide and 10″ tall, for baskets or shoes
- Seat: 22″ x 16″ plywood with 2″ foam and fabric, on 22″ drawer slides
- Corners: interlocking half laps
- Feet: 2×4 feet set 4″ in from each end
- Build time: about a day, plus finish and upholstery
- Skill level: Beginner
Lumber you’ll need
- 5 boards, 1x6x8′ (walls, ends, divider, bottom, cubby top and the narrow strips)
- 1 board, 1x3x8′ (top rails)
- 1 board, 2x4x8′ (feet and slide rails)
- 1 project panel, 3/4″ plywood, 2′ x 2′ (seat)
Hardware and supplies
- One pair of 22″ drawer slides
- 1-1/4″ pocket screws
- 1-1/4″ brad nails
- #20 biscuits
- Wood glue
- 2″ upholstery foam, fabric and staples
Tools you’ll need
- Miter saw, or a circular saw and a speed square
- Table saw for the narrow strips
- Jigsaw for the notches
- Biscuit joiner
- Pocket hole jig, set for 3/4″ stock
- Drill/driver and a brad nailer
- Clamps
- Staple gun and a utility knife for the upholstery
- Sander, tape measure, square and pencil
- Safety glasses and hearing protection
Common questions
How does the seat open? The plywood seat sits on a pair of 22″ drawer slides mounted on rails inside the bench. Slide it sideways over the cubby top and the whole storage well is open. It slides back to sit on.
Why not a hinged lid? A hinged lid has to be held up while you dig around, and it can drop on fingers. The sliding seat just slides over and stays open while you look for what you need.
What can I store in it? Shoes and boots in an entryway, blankets and pillows at the foot of a bed, or toys in a living room. The cubby holds a basket or a row of shoes, and the well under the seat takes the bulky things.
Is it a good first project? Yes. The cuts are straight, the notches are cut with a jigsaw and drawn out before you start, and the joints are glue, biscuits, pocket screws and brad nails. The build video walks through every step.
What size foam and fabric? Cut 2″ foam to the 22″ x 16″ seat, wrap it with fabric and staple the fabric to the underside of the plywood. Keep the strips where the drawer slides attach clear of fabric, and trim it so it doesn’t hang below the seat.
What changed from the 2017 plan? Everything was redrawn from a 3D model of the bench: 7 pages instead of 5, a new first step that draws and dimensions every notch, cut list diagrams with a letter on every piece, the pocket holes for the feet moved to the inside where they’re hidden, a cost estimate and a QR code to the video. A reader caught a typo in step 5 of the old plan (the filler size); that’s fixed too.
The full build post is on the blog: DIY storage bench build. Need more storage by the door? See my mudroom locker plans.
Quick answers
1 review for Storage Bench