

Wedding Wine Box
$0.00
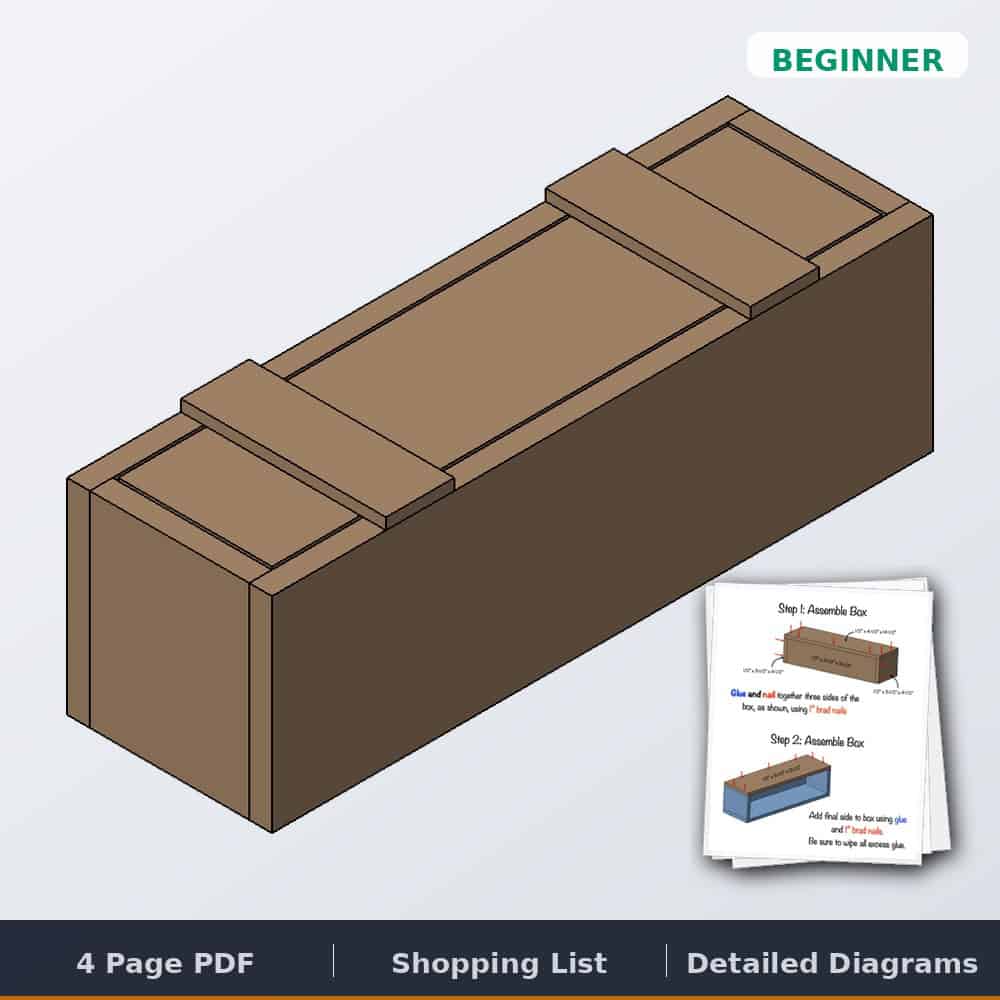
Printable plans for a solid red oak wedding wine box, built from three hobby boards with glue and brad nails. Seal a bottle of wine and letters inside during the ceremony and open it on your anniversary. Includes a full cut list and 5 illustrated steps.
Free plan — we'll email your download link, along with weekly build ideas and new free plans. Unsubscribe anytime.
✓ Instant download · Personal use license · Secure checkout via Stripe
Description
Wedding wine box plans: a red oak keepsake box for the ceremony
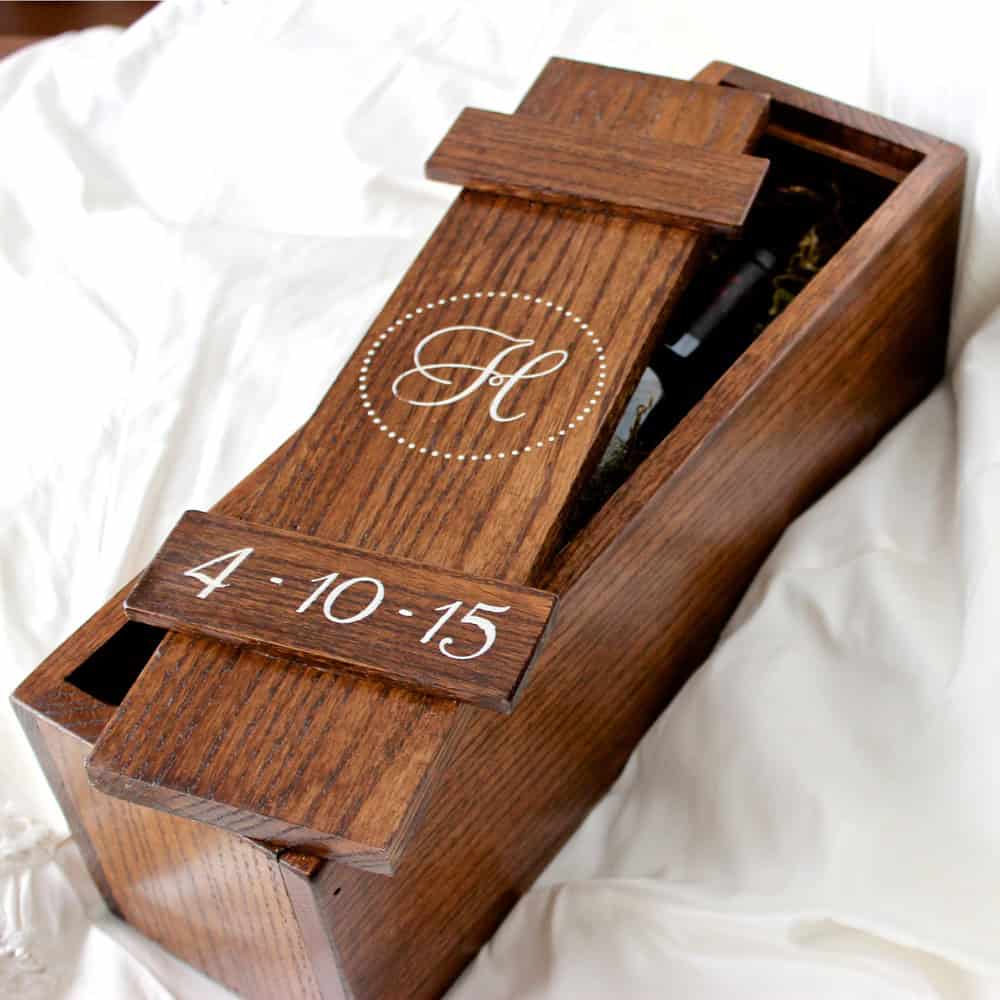
I got the idea for this at my brother-in-law’s wedding. Near the end of the ceremony, the couple sealed a bottle of wine and unread letters to each other in a wooden box and nailed it shut, to be opened on their anniversary. Building one yourself is a meaningful wedding gift and a lot cheaper than buying one. Mine is solid red oak from three hobby boards, glued and brad nailed, with a cleated lid that sits on two small supports. It cost about $30 to build.
What you get
- Printable 4-page PDF plan, instant download
- Cut list for all three boards, with every part size
- 5 illustrated steps, from the box sides to the optional nailed-shut lid
- Tools and materials list
Specs
- Box body: 1/2″ red oak, with a 4-1/2″ x 14-1/2″ bottom
- Lid: 1/2″ panel with two 1/4″ cleats
- Estimated cost: about $30
Lumber you’ll need
- 1 board, 1/2″ x 6″ x 48″ red oak hobby board
- 1 board, 1/2″ x 4″ x 48″ red oak hobby board
- 1 board, 1/4″ x 2″ x 48″ red oak hobby board
Hardware and supplies
- 1″ brad nails
- Wood glue
- Decorative nails (optional, to nail the lid shut)
- Stain and finish (we used Dark Walnut stain and three coats of satin lacquer)
Tools you’ll need
- Miter saw
- Table saw (for ripping the box sides to width)
- Brad nailer
- Tape measure and pencil
- Safety glasses and hearing protection
Common questions
How does the wedding wine box ceremony work? The couple places a bottle of wine and letters to each other inside, then nails the lid shut during the ceremony. The box gets opened on an anniversary to read the letters and share the wine.
Do I have to nail it shut? No. Nailing it shut is the last step and it’s optional. If you do, pre-drill the holes in the lid cleats first and use decorative nails.
How did you get that finish? Dark Walnut stain, then three coats of satin Watco lacquer, buffing between coats with a finishing pad.
Want to see it built first? The full post, with finishing photos, is on the blog: DIY wedding wine box.
Quick answers
Reviews
There are no reviews yet.