In this episode of the Rogue HQ series we get into the process we took to prepare our floor for the hydronic heating, pouring the concrete, and grinding and polishing it for a killer finish. Oh and we got some pretty dope garage doors too.
Don’t forget to subscribe on YouTube and for sneak peeks of our upcoming projects be sure to check out Our DIY Life on YouTube, follow us on Facebook and Instagram. Also, follow me on Pinterest to get tons of projects plans from all around the web!
Grading and Rat Wall
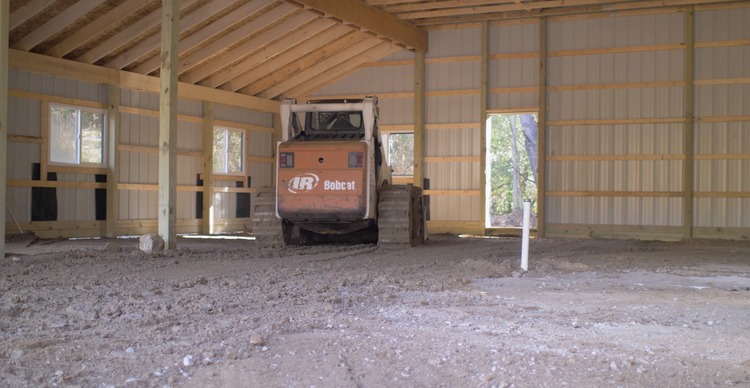
The first step in the process of pouring the concrete was to grade the ground inside the barn. With a Bobcat and a laser we got the grade pretty close and then fine tuned it with a hand rake.
Since the poles of the structure sit on footings below the frost line we opted to pour a floating slab. However, after grading the floor an 18″ deep trench was dug around the perimeter of the interior slab. This got filled with concrete to create what is known as a rat wall. This wall keeps burrowing animals like moles and rats from digging under and compromising the slab.
Radiant Heated Slab
One of my favorites parts of this workshop is the radiant heated slab. In Michigan it gets pretty cold in the winter, so the in floor heat will make for an amazingly comfortable workspace.
Vapor Barrier
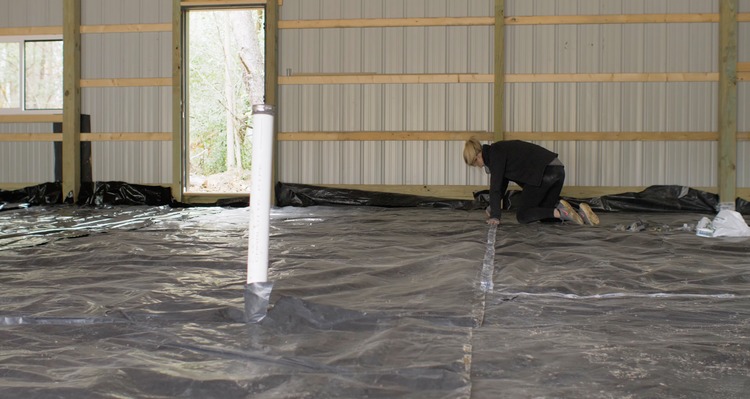
After grading the floor we laid down 6 mil vapor barrier, taping the seams with seam tape. This will prevent any moisture transfer between the ground and the slab.
Insulation
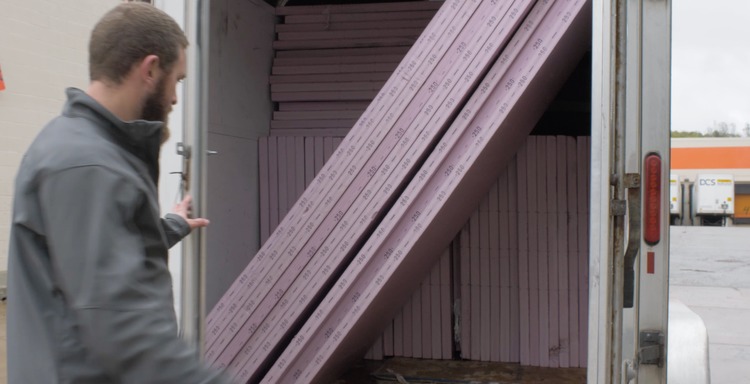
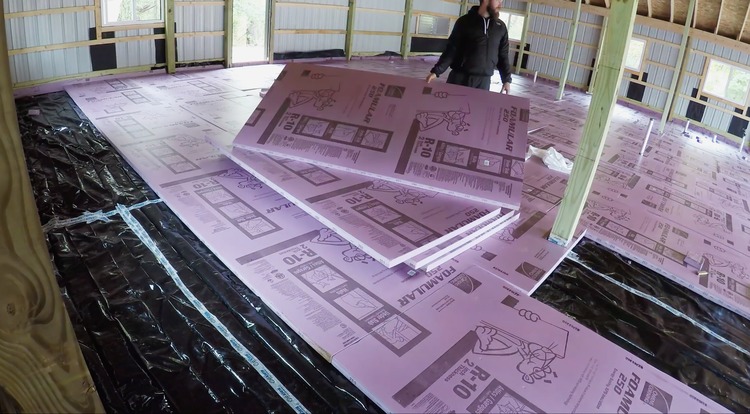
Then we headed off to Home Depot to pick up a ton of the 2″ thick XPS foam insulation. And By ton I mean like 60 boards!
If you aren’t aware of the Home Depot bid room, I’ll let you in on a secret. If you are a Pro member and order over $1500 in material, you can have the Home Depot associate send the order to the bid room. Within a minute or so they will send back their best price. In the case of this foam we saved over 50%! A lot of product like wood are already at their best price so it may not save you as much but if you are working on a large project it’s worth a shot!
Now we just had to lay it all down. We started by cutting 6″ strips to stand upright around the perimeter. This insulates the sides of the slab. Then we started covering the floor, cutting the boards as required to fit the floor perfectly and form around the posts.
PEX Tubing
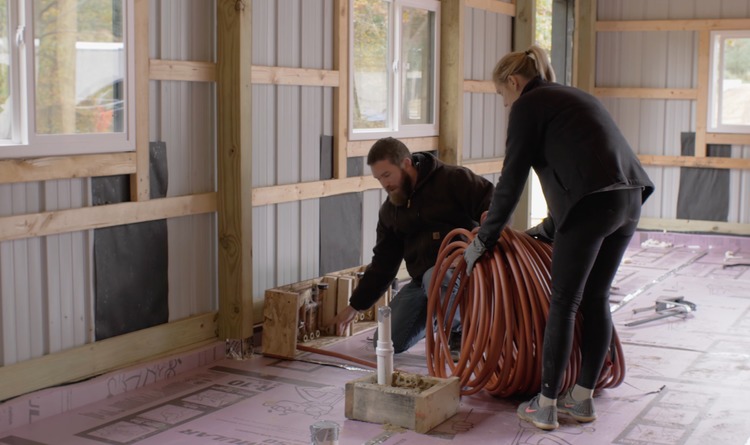
With the insulation down it was time to start laying the PEX. The PEX is a flexible tubing that will circulate hot water through the slab and in turn heat the entire building from the ground up.
Rather than figuring out the entire system myself, I left it to the pros at the Radiant Floor Company. They laid out my system and zoned it how I wanted. They also sent a worksheet with the tub spacings and built up the slab manifolds for my PEX to connect to.
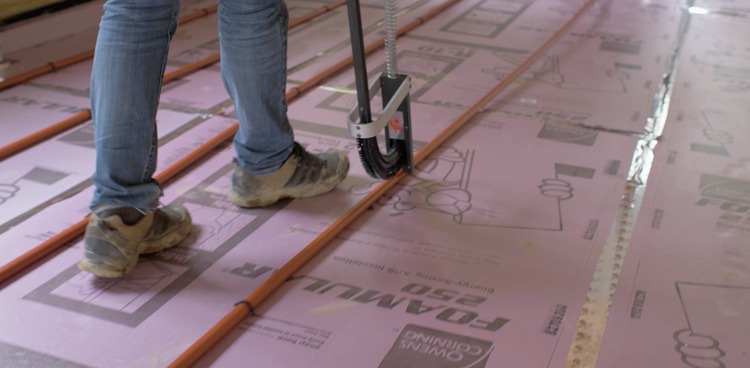
We used a foamboard stapler to attach the PEX to the foam which made the process go a lot faster.
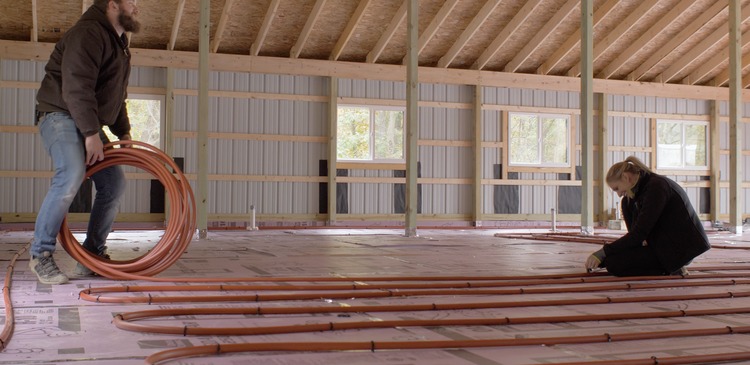
The back of the barn, where the workshop, studio, office and paint booth will go, was one zone consisting of three 300′ long loops of 7/8″ PEX tubing. We started by running the outer back loop. This went around the perimeter of the barn and looped back and forth, spacing the tubing at 16″, until we had just enough to get back to the manifold. Then we ran it back around the remaining perimeter of that zone and to the outside connection on the manifold. We continued working in and towards the manifold, not crossing over any lines, until the zone was completely covered. The other zone is the garage area and that got two 300′ loops.
Pressure Testing
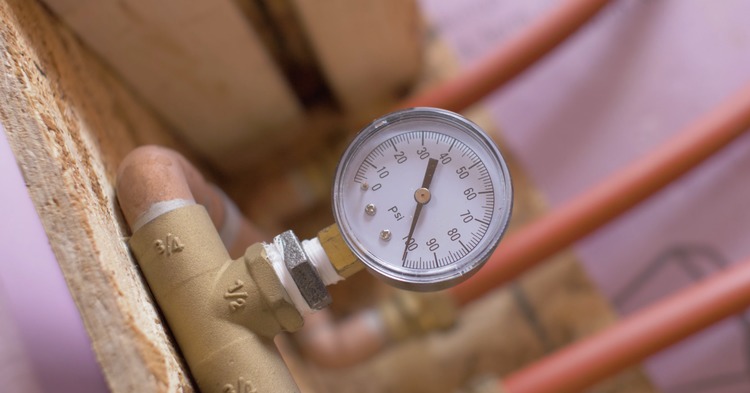
After the PEX was laid, and fully connected to the manifold, we had to drag out the air compressor and pressurize the lines to 100psi. Then, call for inspection. After the approval from the inspector, we were cleared to pour the concrete slab.
Pouring Concrete
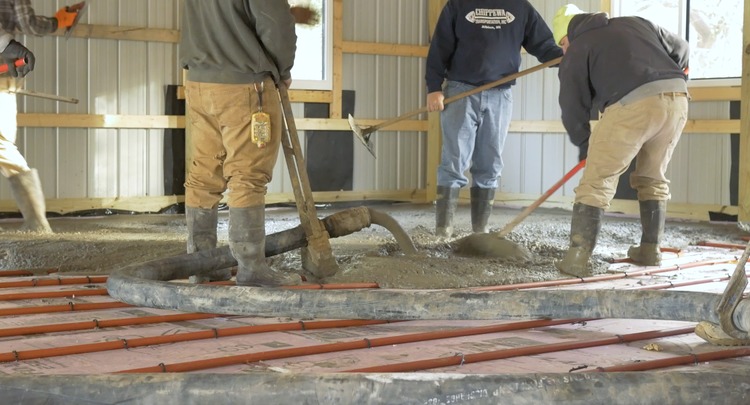
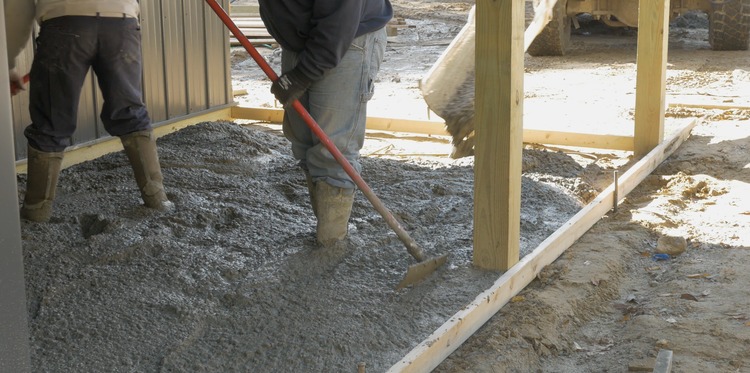
With the PEX tubing and the size of the building we needed a pump. We had a crew come out and pour a steel fiber reinforced concrete slab. Basically, instead of adding rebar, we dumped tons of little steel fibers in the concrete mixer and they create a surprisingly strong floor.
The covered porch outside got standard exterior pad mix and a broom finish.
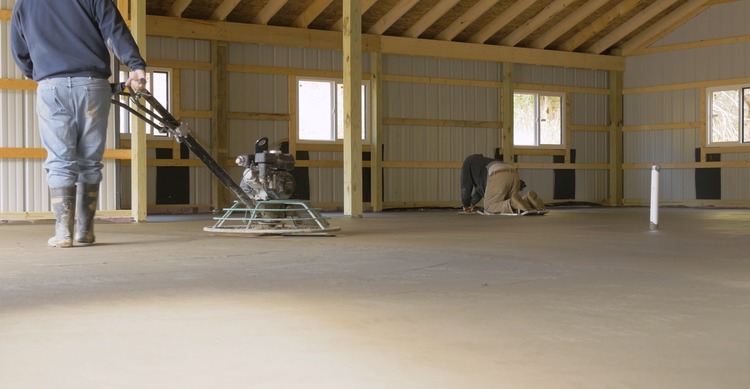
The interior got a smooth finish with a hand trowel and power trowel.
Concrete Finishing
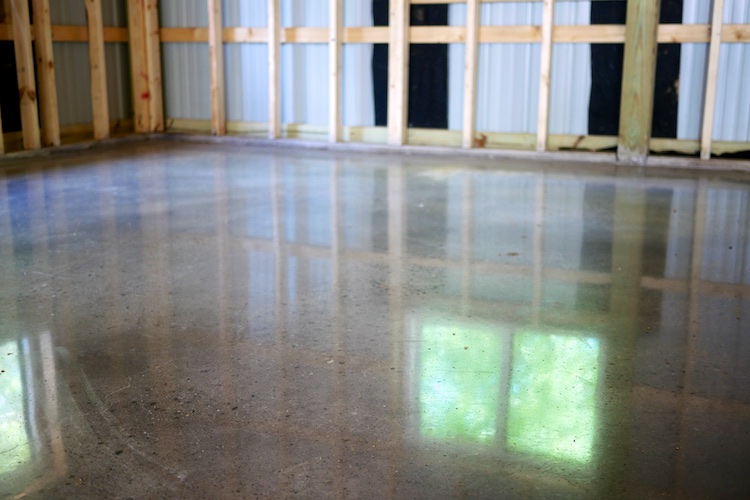
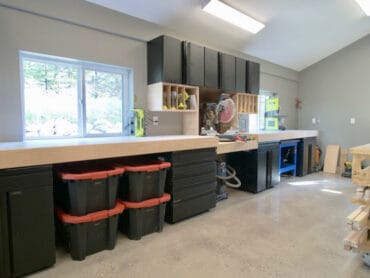
Another exciting part of the barn is the floor finish. We played with the idea of putting a coating down but we ultimately decided to grind an polish the floors. This is a bulletproof way of finishing the floors that has no coating so there is zero chance of it ever wearing off, chipping up or giving me any reason to ever have do it again.
To achieve this we used Anderson Concrete out of Brooklyn MI which I highly recommend.
Grinding
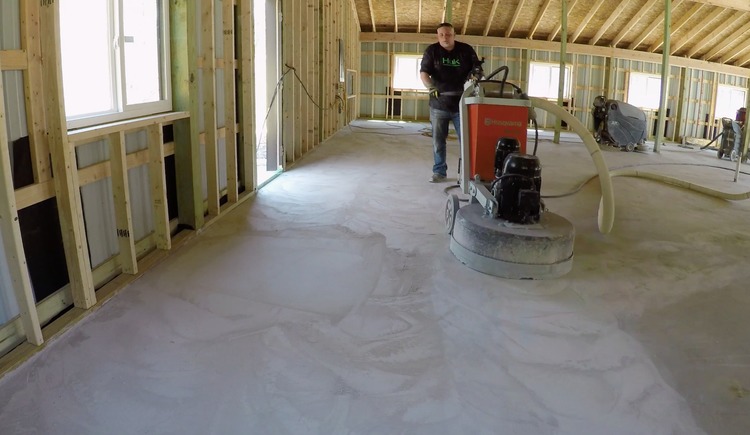
So the process goes a little something like this. You grind in one direction and then in the other…. and you keep doing it over and over and over. Increasing the grit of the grinding discs. This went on for days.
Colloidal Silica
They would add colloidal silica to the floor every so often. Silica is another name for silicon oxides, which can be found in sand. “Colloidal” is the state that it’s in, which is ultra fine particles suspended in water. This is what helps turn the floor into a glass like appearance and makes it really hard.
Staining
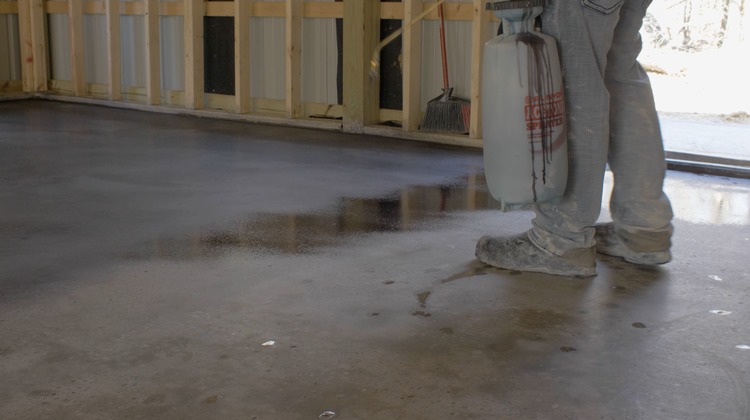
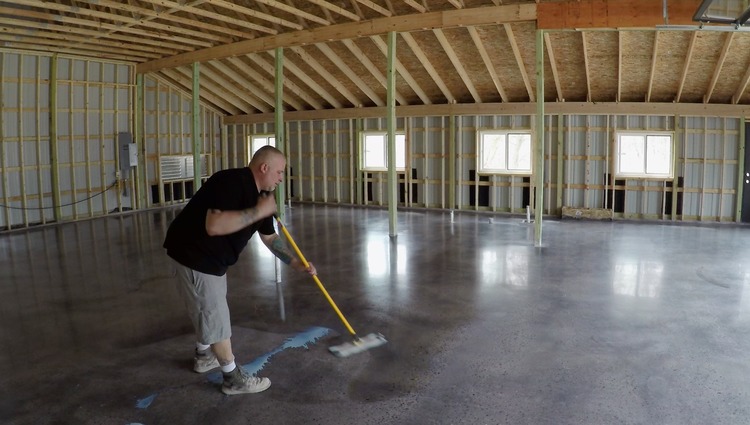
We decided to go with a medium gray stain which ended up just being a 50% mixture of black stain. This got sprayed on and set over night.
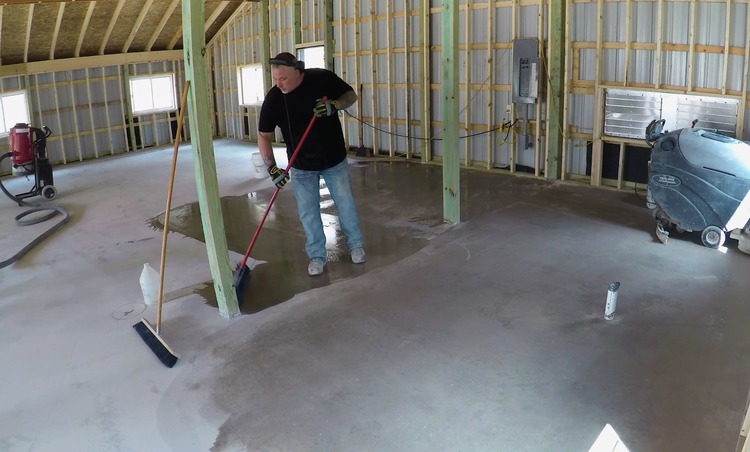
Cleaning
After a few more passes with a higher grit on the grinder it was time for a good cleaning.
Adding a Guard
Then they added a “guard” this is basically a repellant that keeps oils and stains from penetrating the surface.
Burnishing
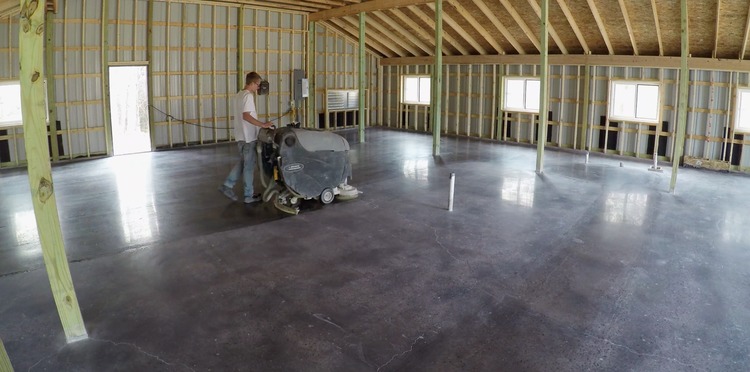
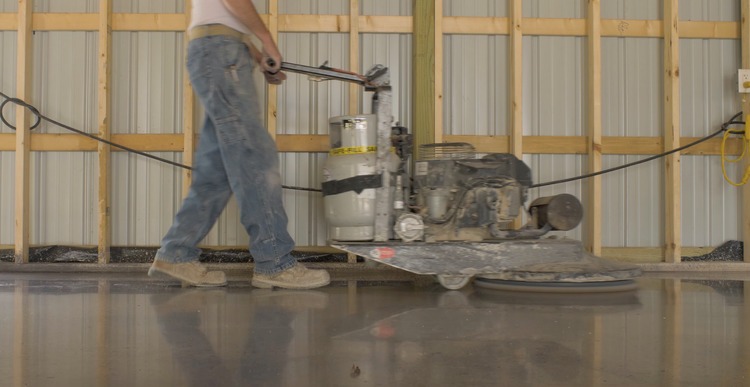
Finally it was time for the last step of the process, burnishing. This is done with a high speed propane powered burnisher and a fine grit burnishing pad (much like a scotch brite pad).
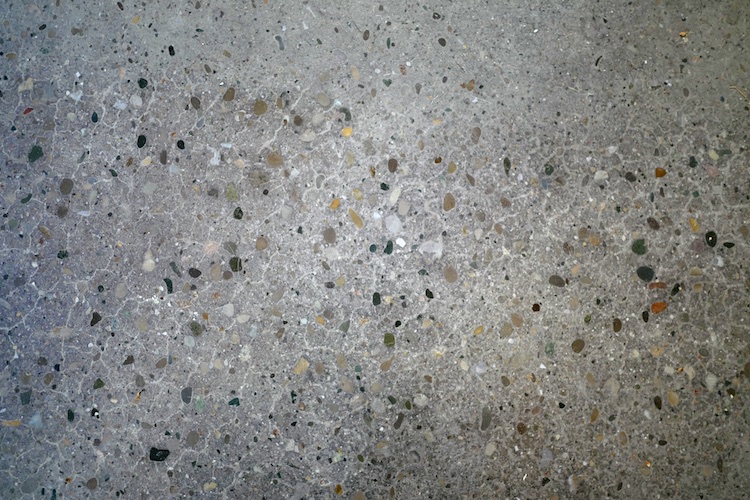
I really dig how it turned out. The exposed aggregate is amazing but the best part is that it is so durable and will never need to be re-coated.
Garage Doors
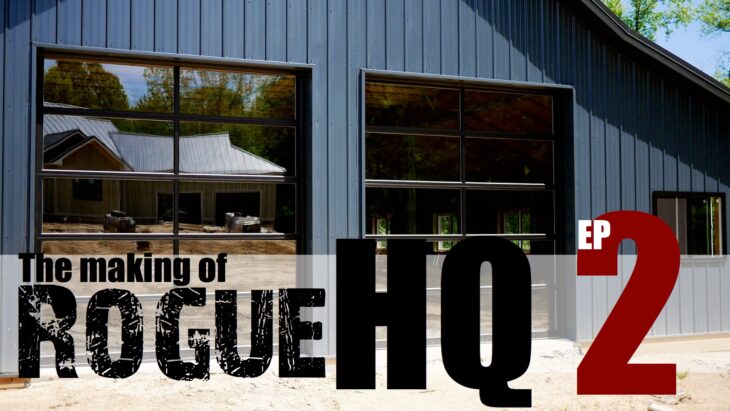
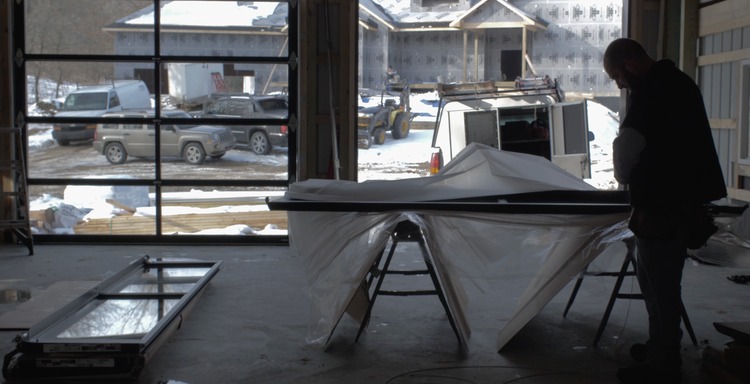
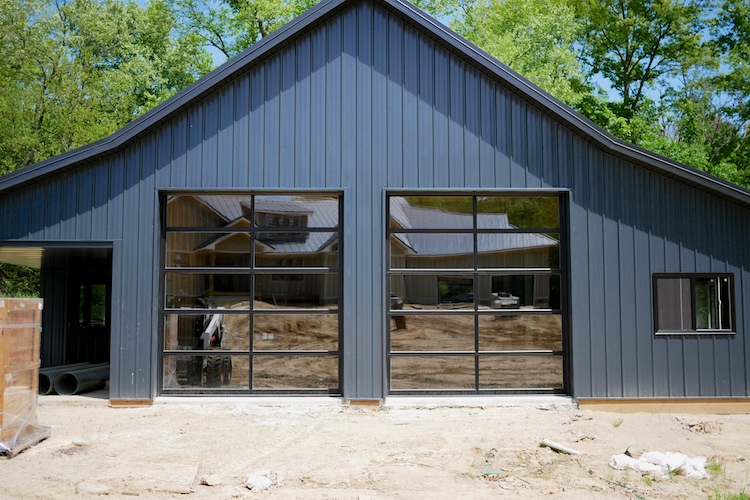
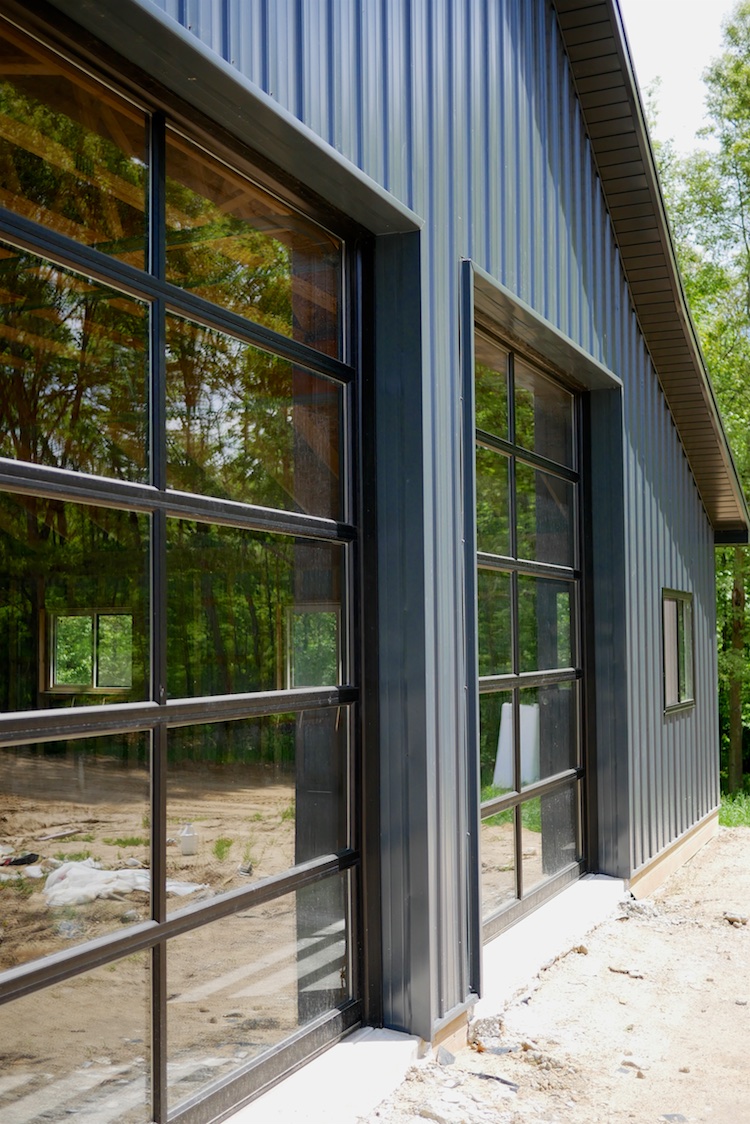
When I was picking out overhead doors for the HQ I fell in love with the full view glass garage doors. They are double pane, insulated glass, however, still extremely inefficient compared to an insulated garage door. Nevertheless, they are totally worth it! Plus with the efficiency of the radiant heat in the slab, hopefully we can offset some of the heat loss in the winter and with the addition of roller shades in the future we can block out some heat.
Right now the glass is completely clear, we may however tint the windows in the future.
I absolutely love how these doors and the floor came together and hopefully you do too! Stay tuned for episode 3 coming soon where we will be insulating with spray foam, framing up the walls and maybe running electrical!

