
Custom Shadow Box
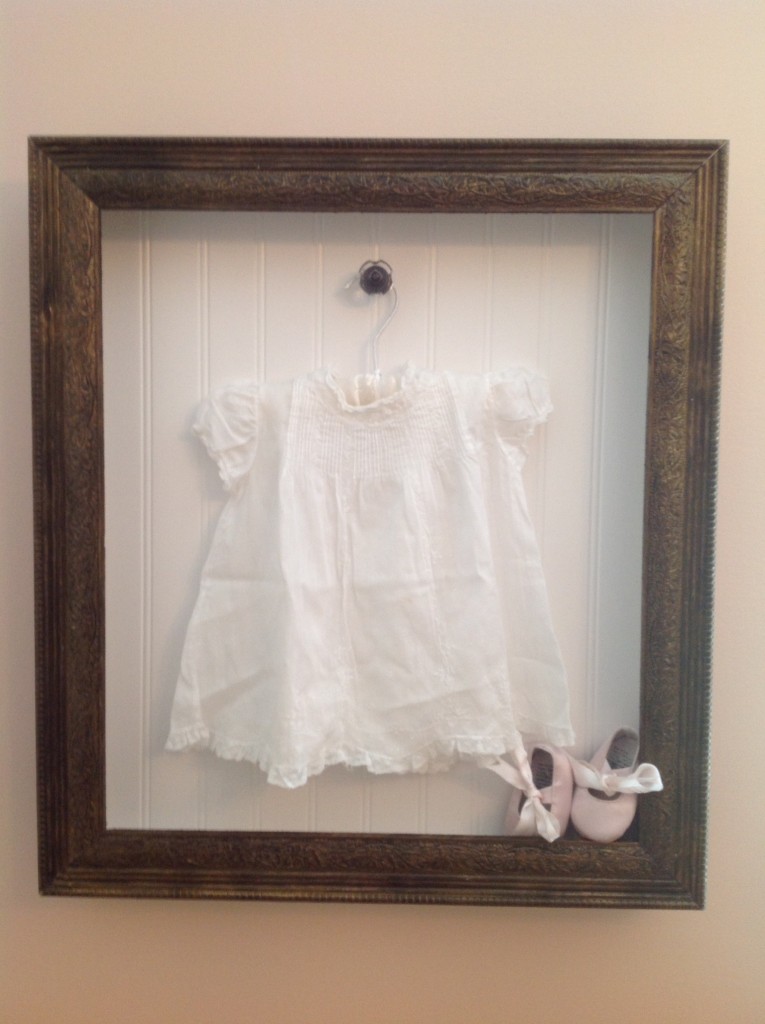
So if you have read my introduction page you will know that we are expecting a baby girl, Madison, in March. My wife has been busy designing her nursery, which we all know means a list of projects for me. On that list was a shadow box to hold a dress that was passed down from my wife’s mother.
Tools Required:
Material List:
- 1x 1 x 3 x 8’
- 1x 24 x 48” bead board
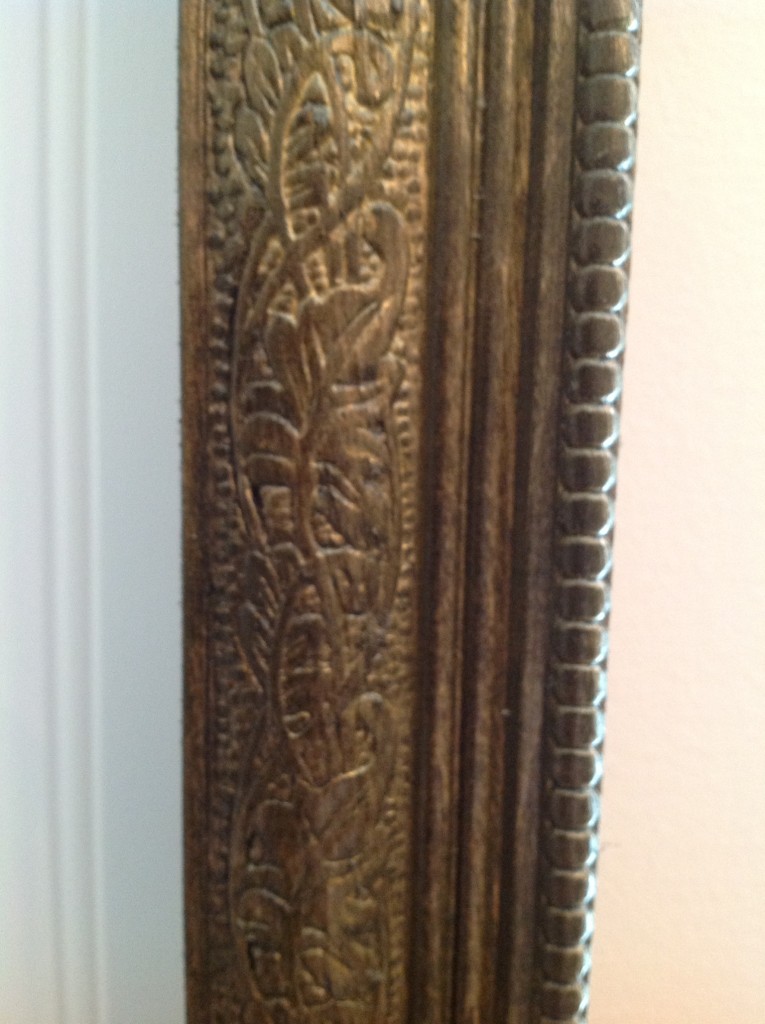
- 1x 8ft of decorative trim for frame
- 1-¼” Pocket Hole Screws
- Finishing Nails
- Wood Glue
- Wall Hanger
- Knob (optional)
Cut List:
| Qty | Dimensions | Notes |
| 2x | 1 x 3 x 16.5” | |
| 2x | 1 x 3 x 22” | |
| 1x | 22×18” bead board | If you don’t have a dado blade don’t cut this yet |
| 2x | 22.5” trim (long side) | Cut with 45deg inward cuts on both ends |
| 2x | 18.5” trim (long side) | Cut with 45deg inward cuts on both ends |

Step 1:
Using a dado to cut these grooves is very easy. Just set you table saw up to cut as the dimensions shown in the picture. Cut the groove in both side boards (1x3x22”) and the top and bottom boards (1x3x16.5”)
Note: If you do not have a dado blade you can always skip this step and cut your back panel to cover the entire back, to be nailed or screwed to the back of your box.

Step 2:
Using the Kreg jig, drill two pocket holes in each end of the top and bottom boards. Attach the top and bottom boards to one side with two 1-¼” pocket hole screws and glue at each joint. (You can use a 90deg clamp here to make this easier)
Make sure to wipe off any excess glue (Hint: Glue doesn’t stain).
Note: If you do not have a Kreg jig you can simply screw or nail the boards together using wood screws or finishing nails.

Step 3:
This is an easy one. Just simply side the ¼x17x21” bead board panel into the groove.
Note: If you did not have a dado blade to cut this groove in step 1 then skip this step.

Step 4:
Attach the top and bottom boards to the remaining side with two 1-¼” pocket hole screws and glue at each joint. (You can use a 90deg clamp here to make this easier)
Make sure to wipe off any excess glue (Hint: Glue doesn’t stain).
Note: If you did not have a dado blade to cut this groove in step 1 then cut your bead board panel to 22×18” and screw it to the back using wood screws and glue.
If you plan to paint the inside of the box white, I suggest you paint it now, because when the trim goes on it can be difficult.

Step 5:
I like the look of a ¼” overhang of the trim. To do so, the two sides at 22.5” on the long side with 45deg cuts at both ends as shown. Also cut the top and bottom at 18.5” on the long side with 45deg cuts at both ends as shown.
If you are staining the trim like we did and painting the interior white, now would be a good time to stain versus trying too after its assembled.
Assemble the trim as shown, leaving a ¼” overhang all the way around, and tack it to the box using finishing nails as shown in the photo.
Step 6:
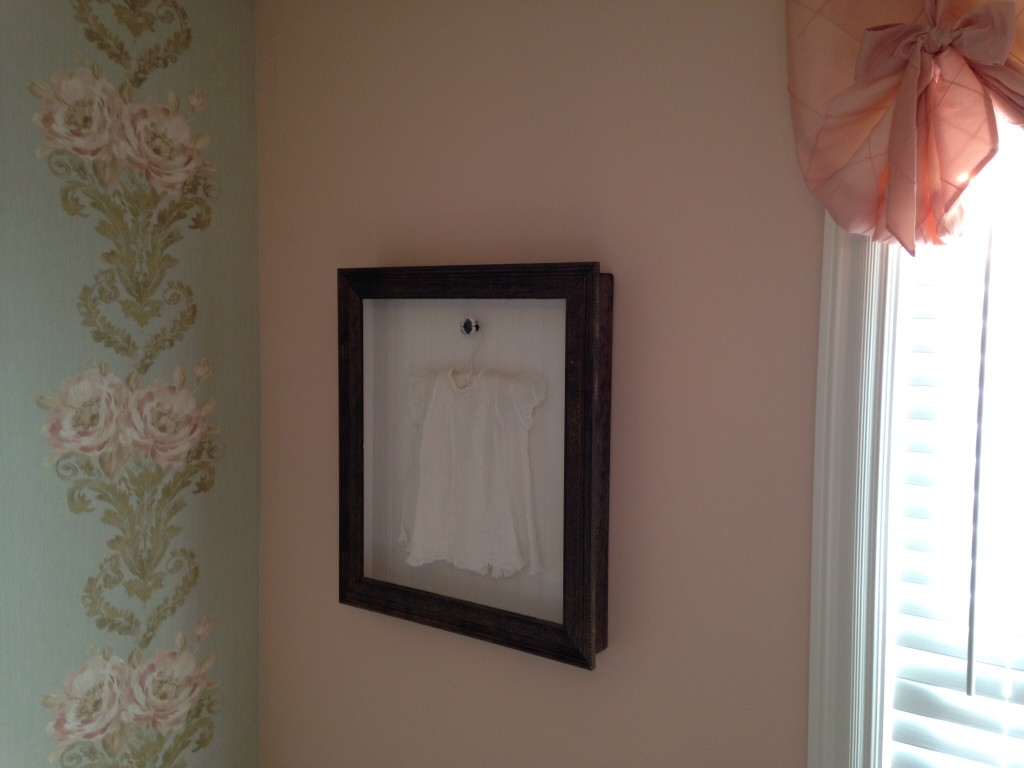
Add a wall hanger, centered, on the back at the top, to hang your shadow box.
Also, we chose to add a crystal knob to hold a special dress, but your not limited here, add shelves or whatever it is to make it your very own and hold your special something!


Finish:
Coming Soon
Whats a shadow box?
Really Matthew!?!
Never mind. I suck. Got it now.
Haha
I was trying to drum up some conversation, you know, for the site. Haha. Worst way possible.
Well put
I cannot stop laughing
You responded way to fast. I didn’t even have time to delete my comment. Haha
Did you have to explain Rebekah?
Dude I’m on top of things
You got to him before I even could lol
I’ve also been informed we have one of these. In my bedroom. #marriedlifeconfusion
Does a shadow box work at night if the lights are not turned on?
You won’t be able to see it so it wont matter. 😉