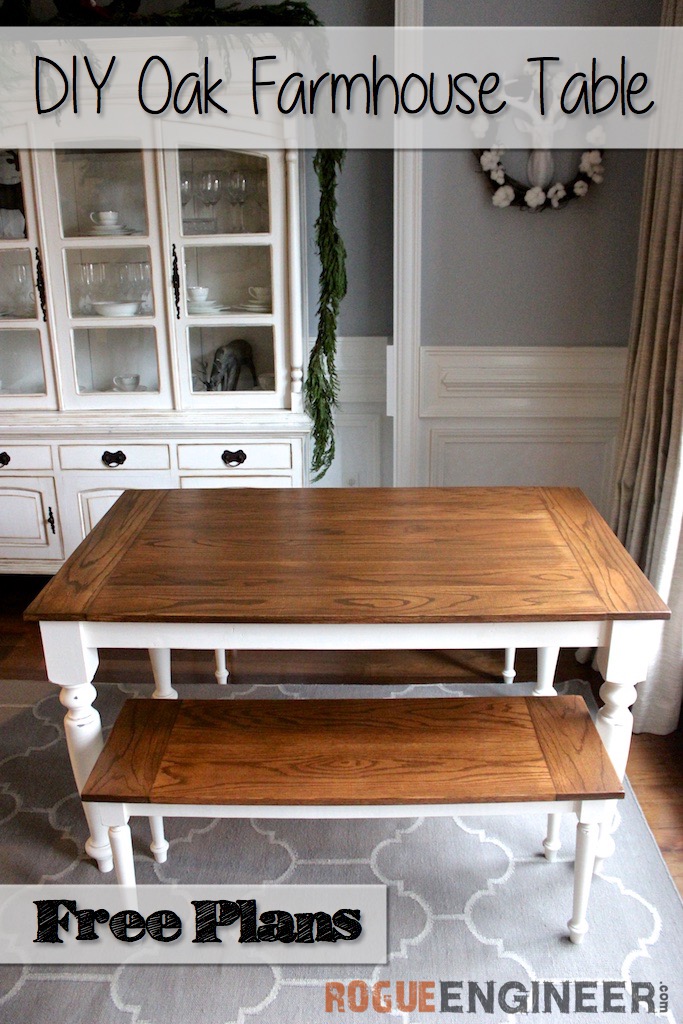
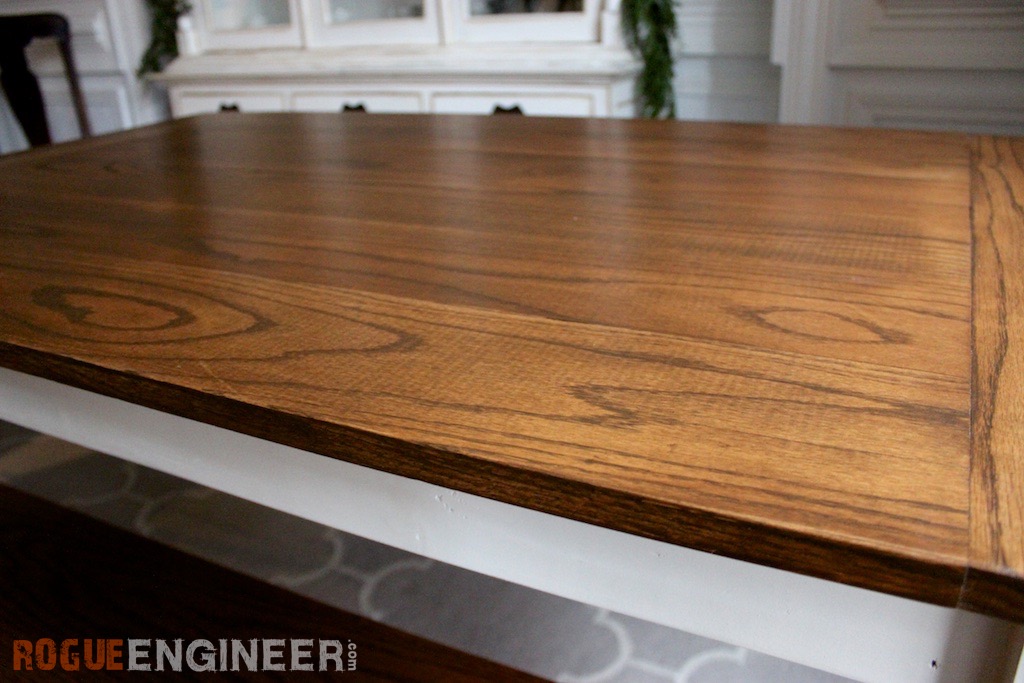
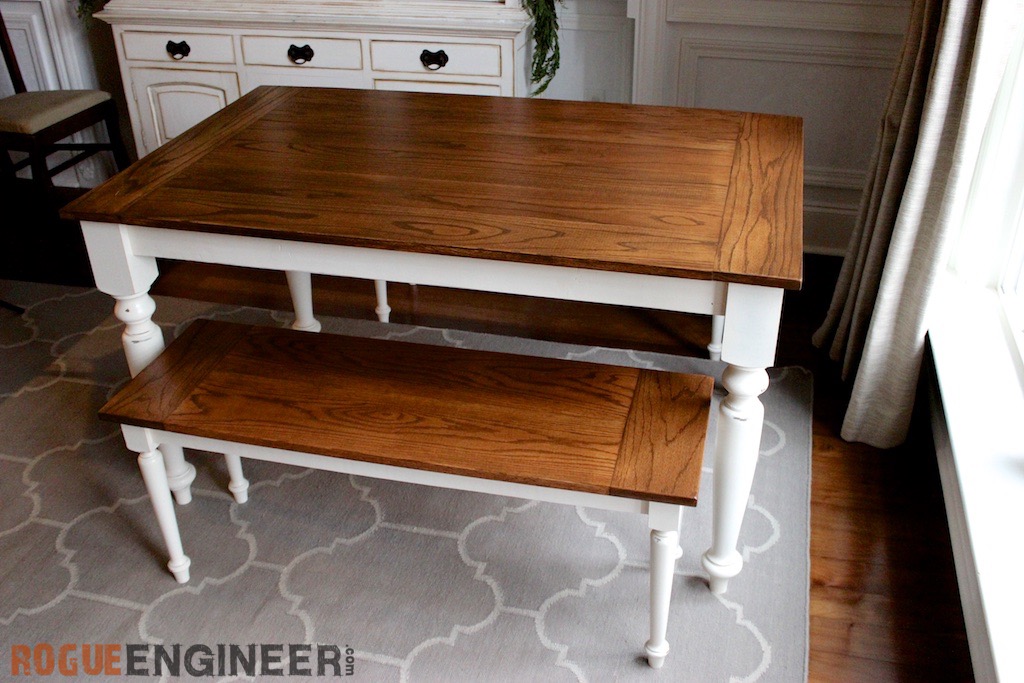
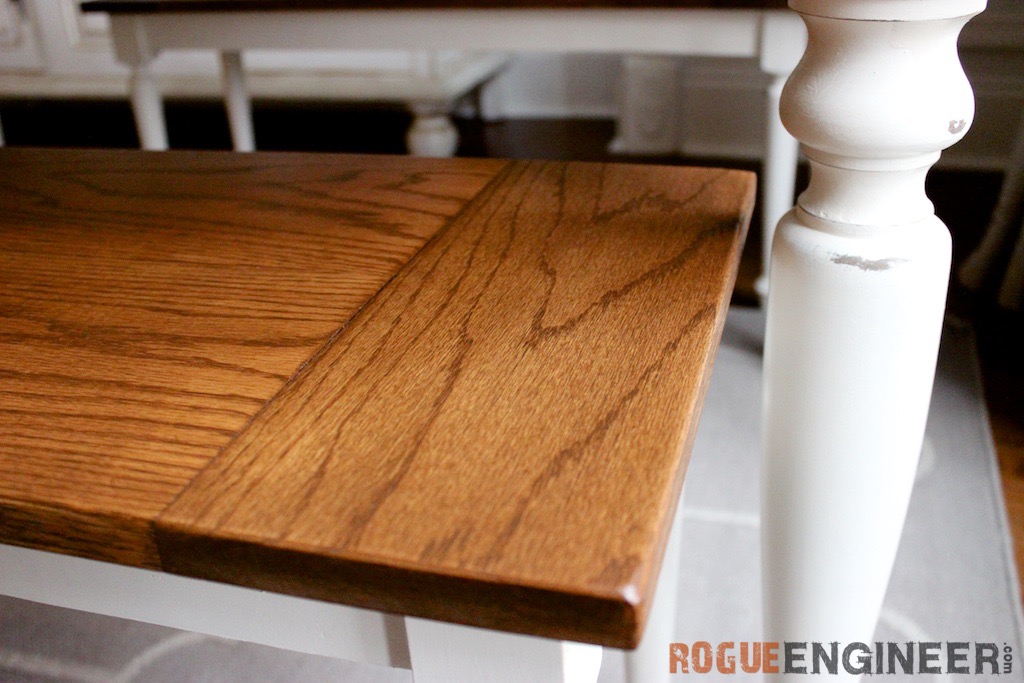
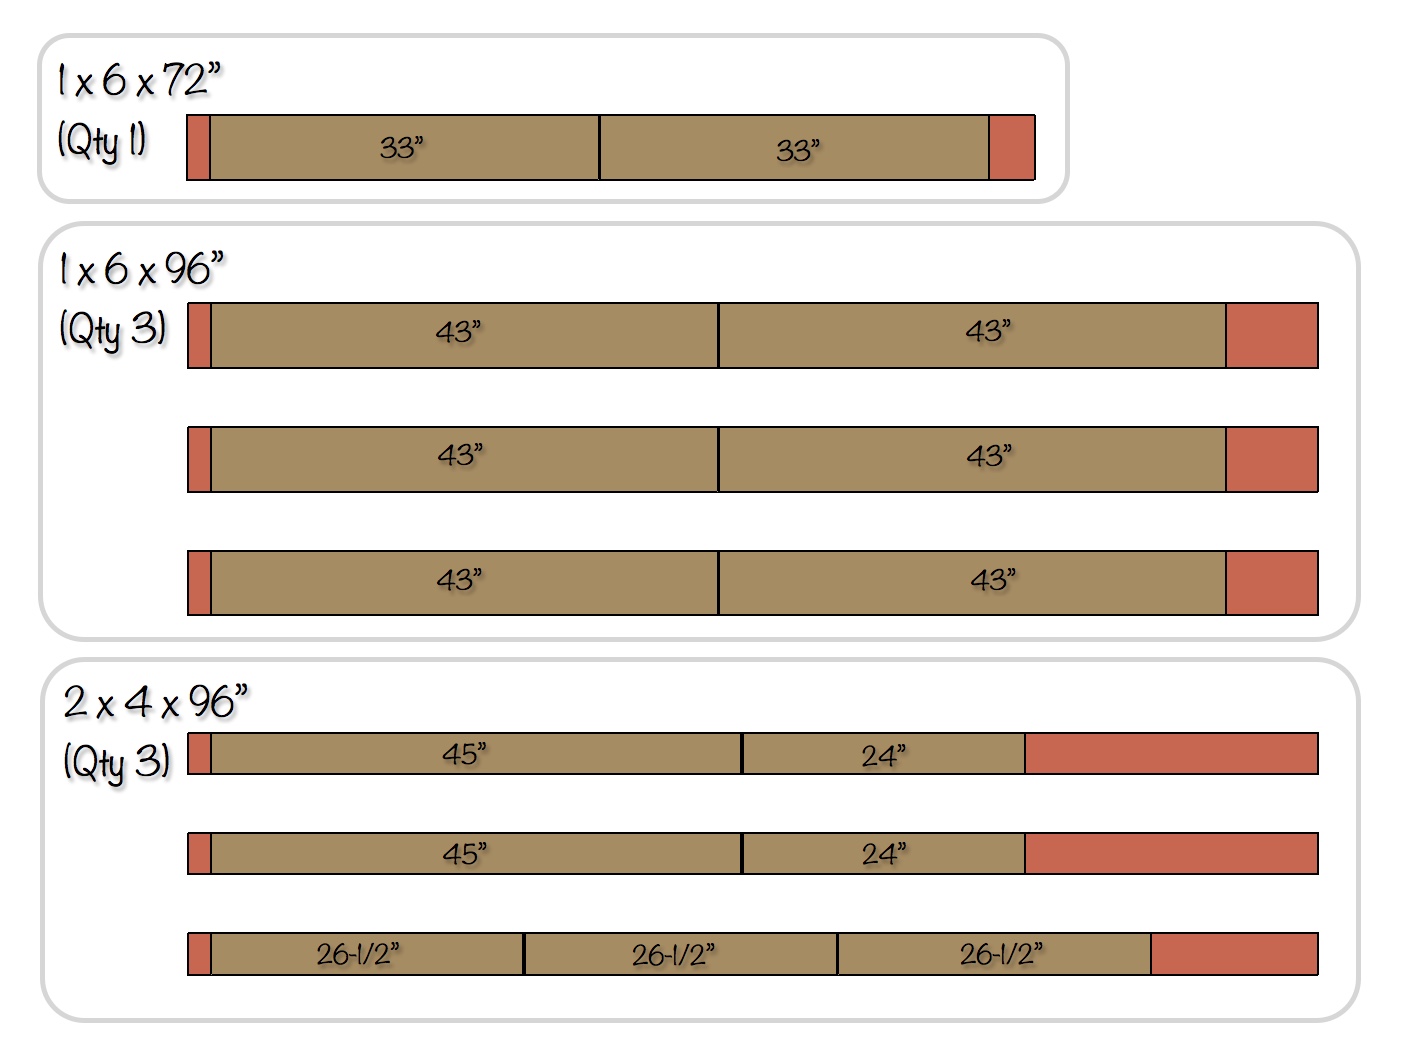
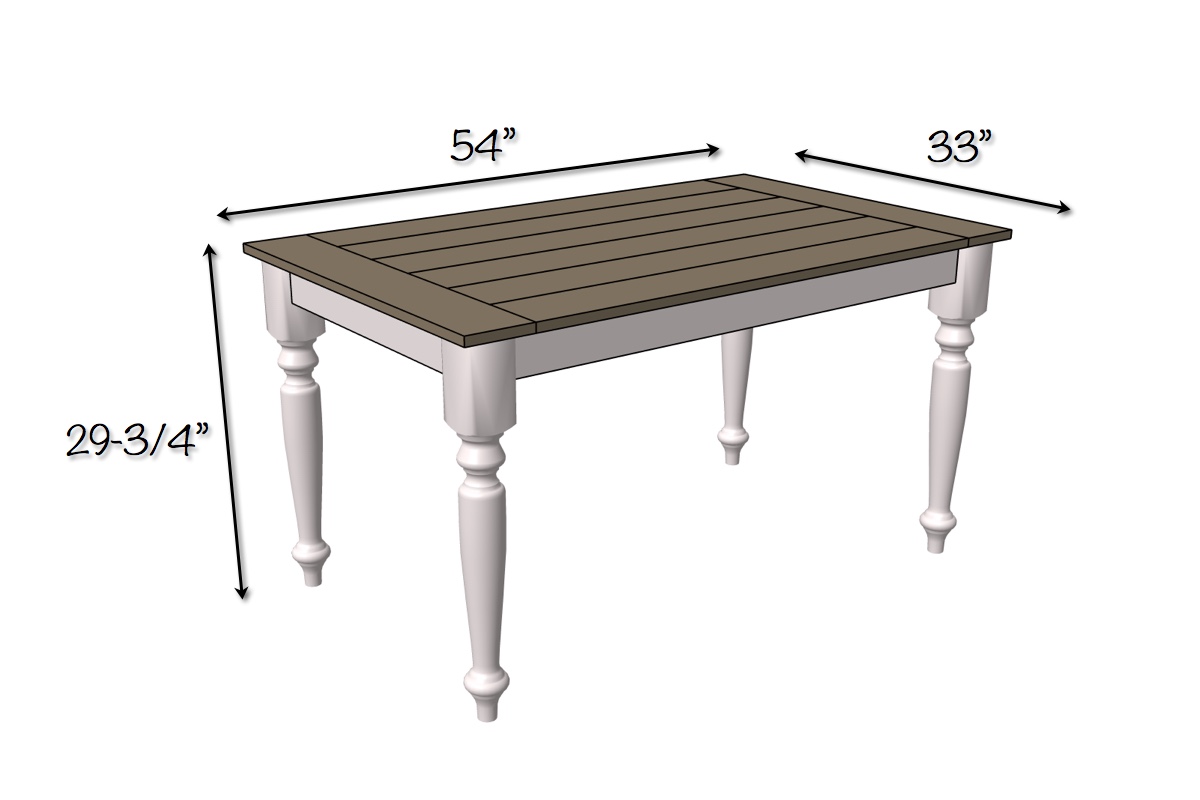
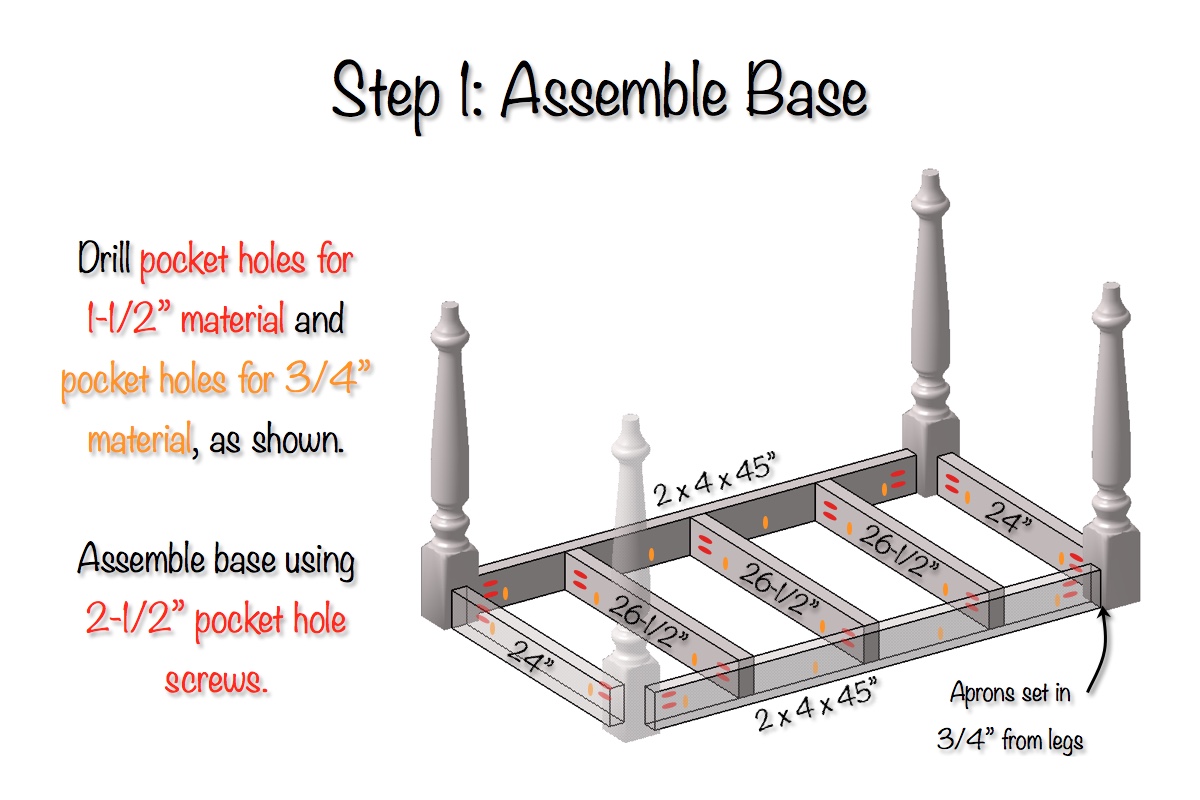
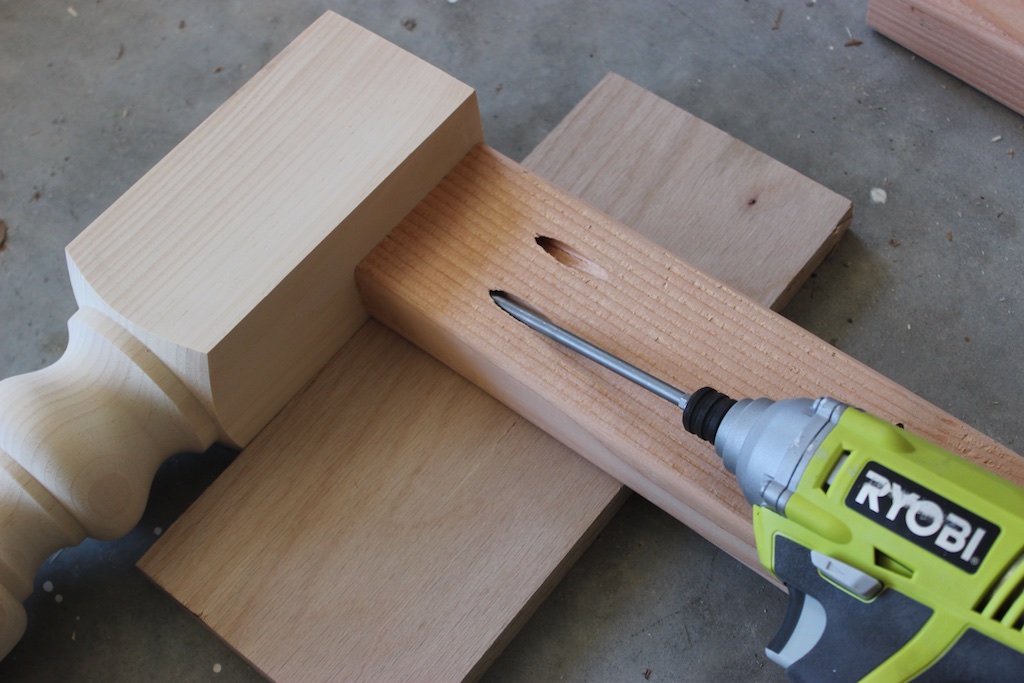
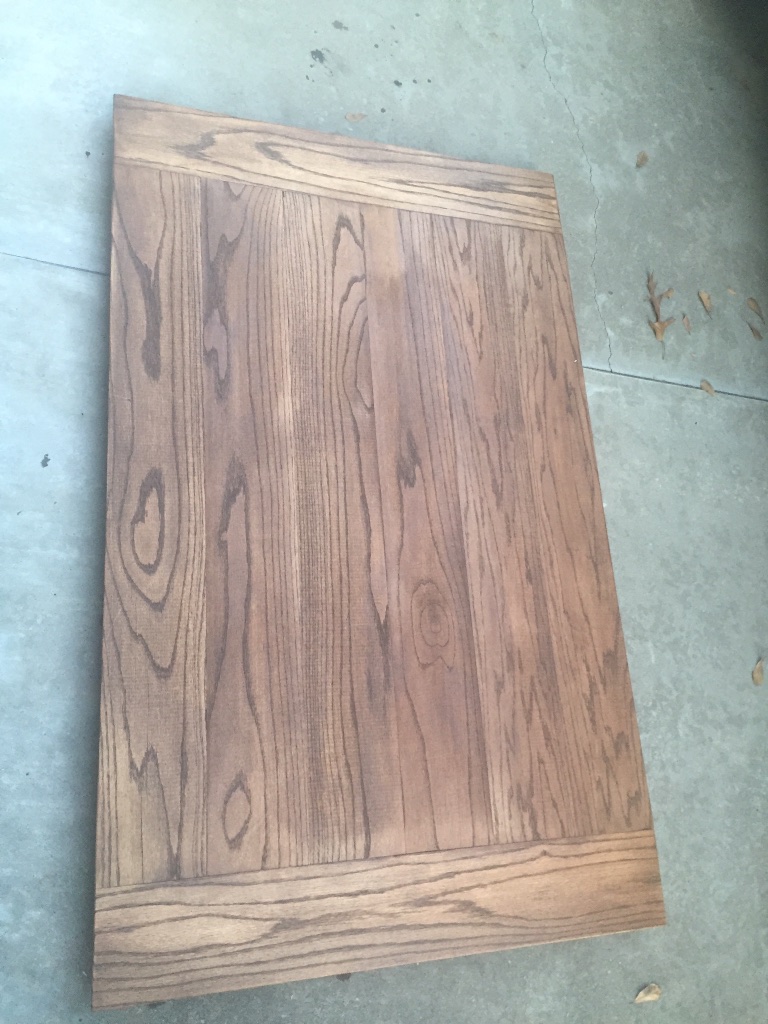
Have you been wanting to build a farmhouse table but just haven’t found the right one? Well feast your eyes on this bad boy! This is a small table that will leave a big impression. And yes, I realize this looks a lot like the farmhouse table I did before, this one is just slightly smaller and sporting a solid oak top and turned wood legs by Osborne Wood. This farmhouse table is great for smaller spaces with ample seating for 4 and room for 6 if needed. Plus these farmhouse table plans are so easy anyone can do it. This one can be built using these plans for about $250. Remember, this is OAK … not the cheap stuff.
Disclosure: The links provided in the “materials” and “required tools” sections are affiliate links. If you would like to support our site and help keep our content free come find out more about how we can make money with no extra cost to you.
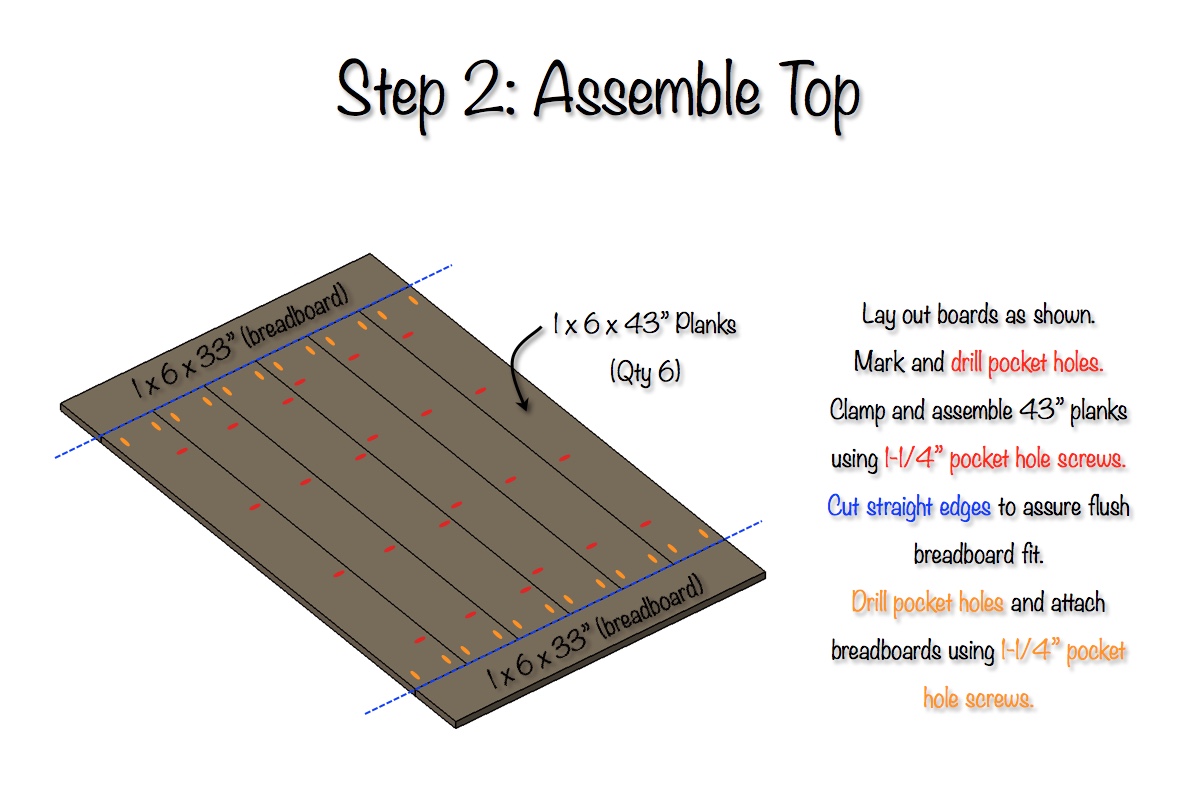
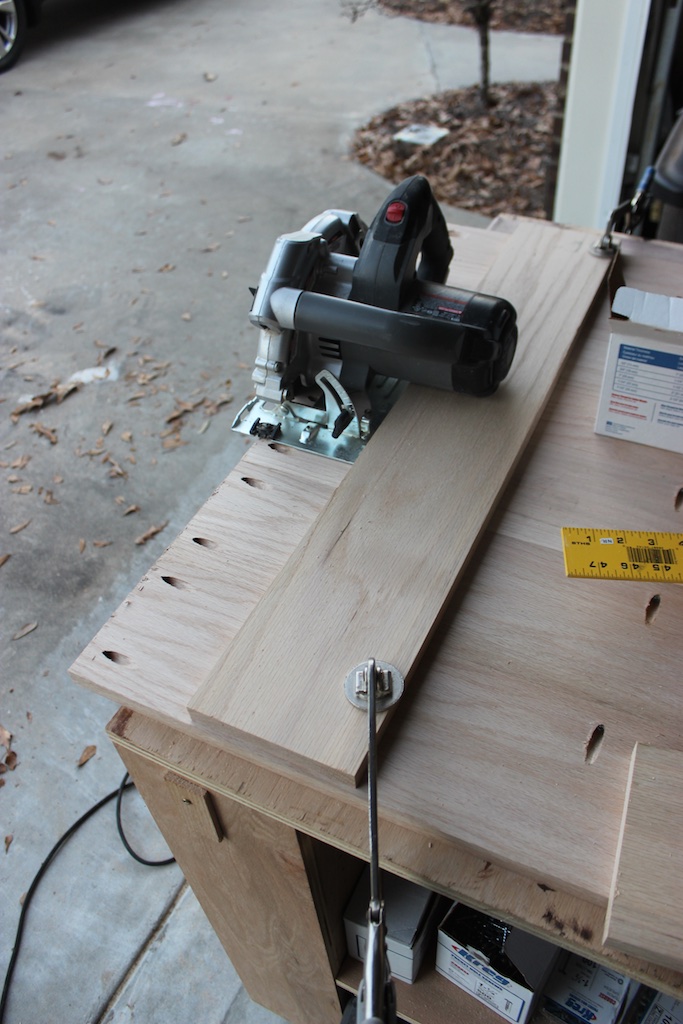
Note: If your assembled plank ends have a straight edge then don’t worry about cutting the straight edge. Otherwise clamp a board at the appropriate distance to run your circular saw down it in order to trim as little as possible off the ends and get a straight end for your breadboard.
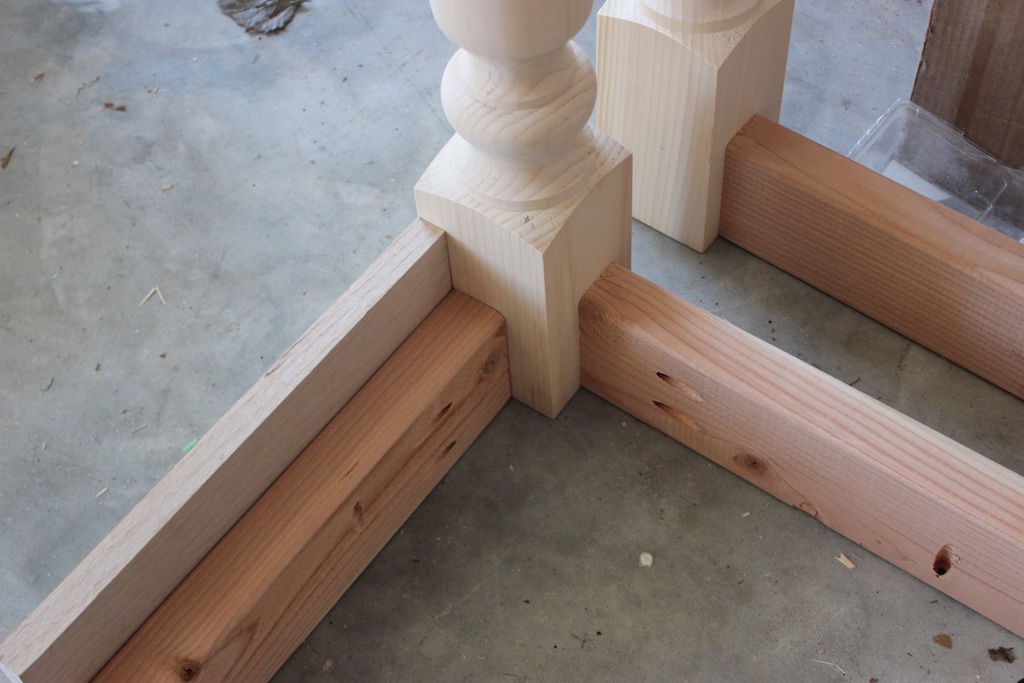
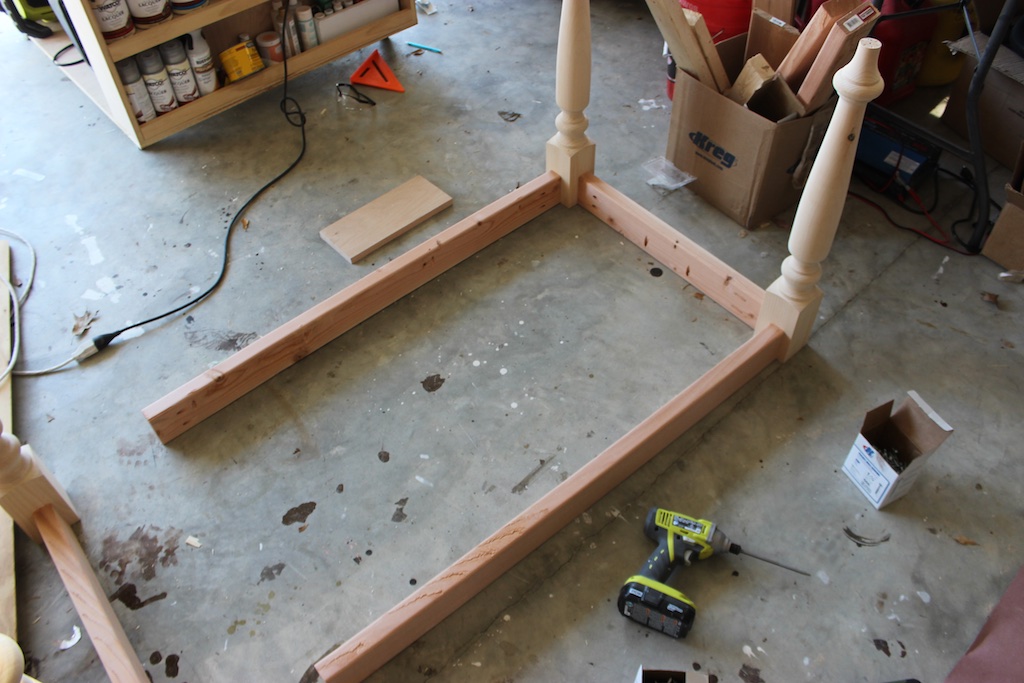
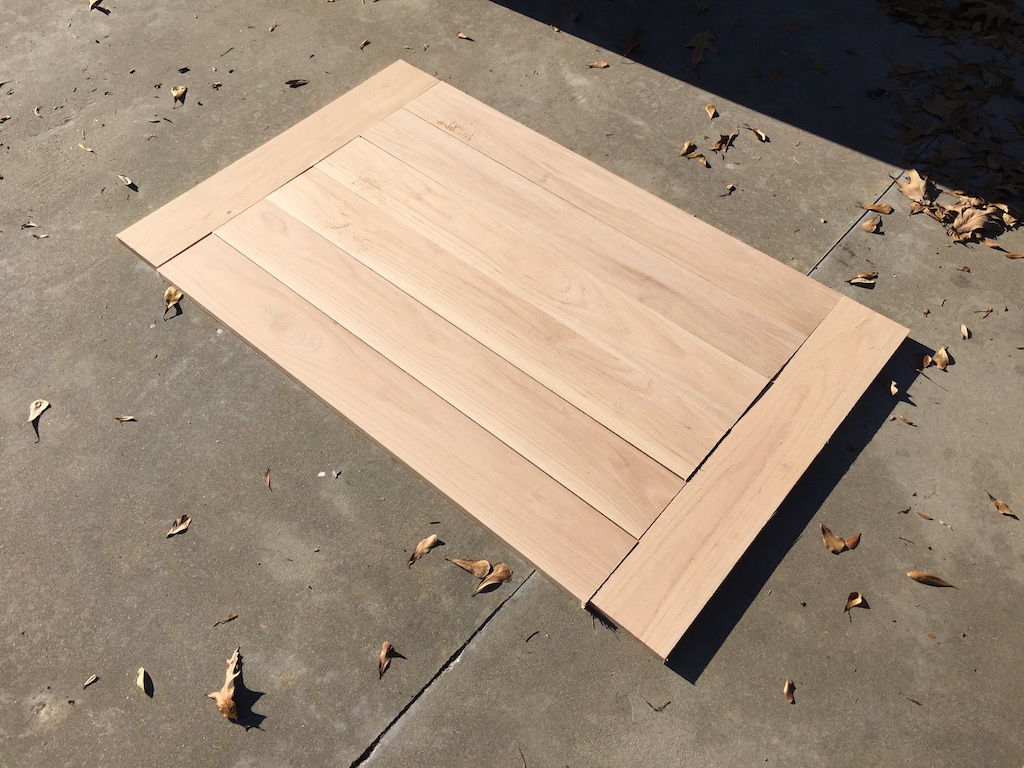
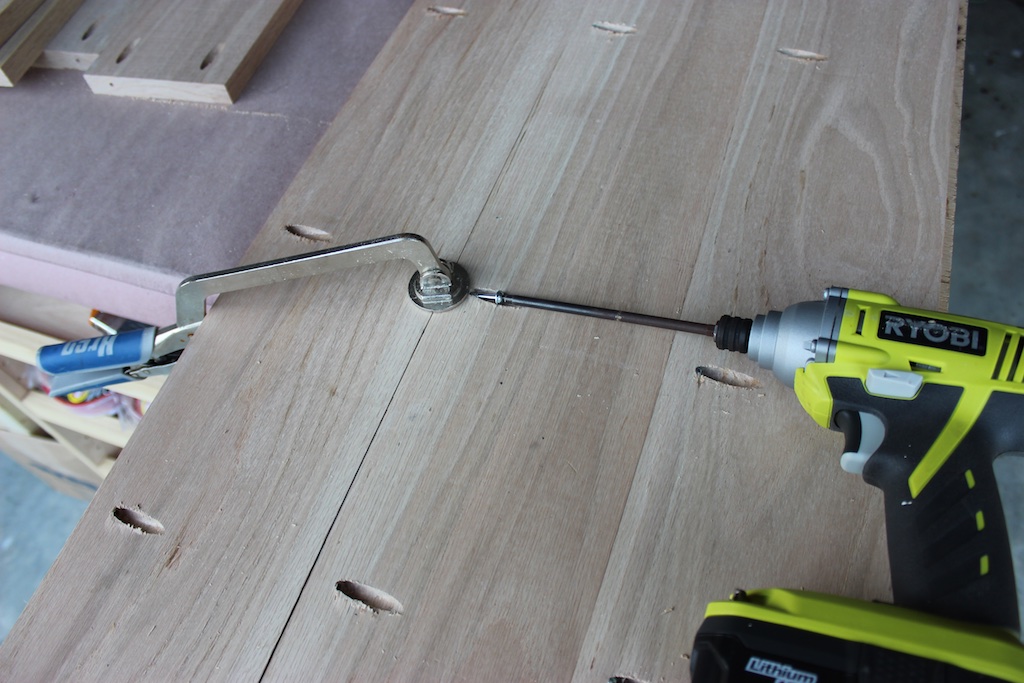
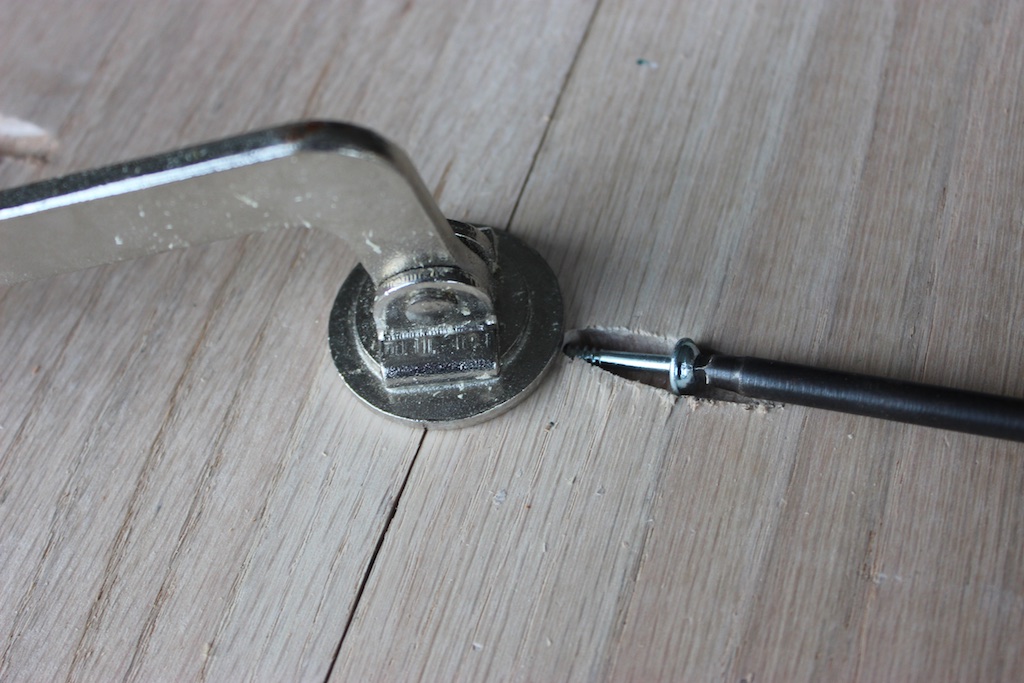
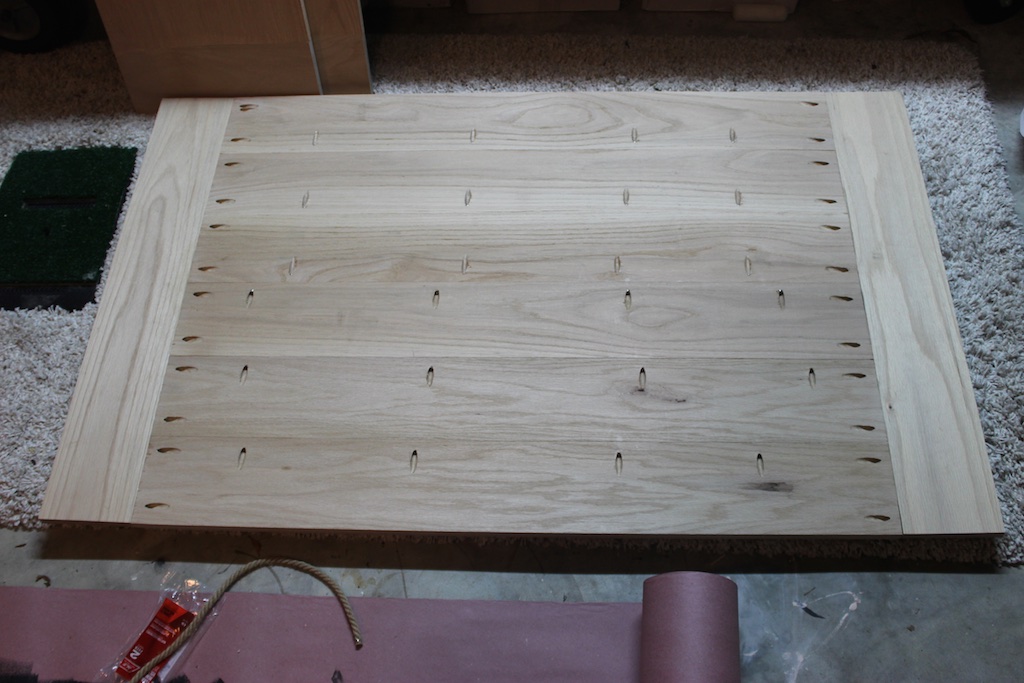
Laying out table top.Drilling and assembling planksClamping to assure flat topCutting straight edge for breadboardAttached breadboard
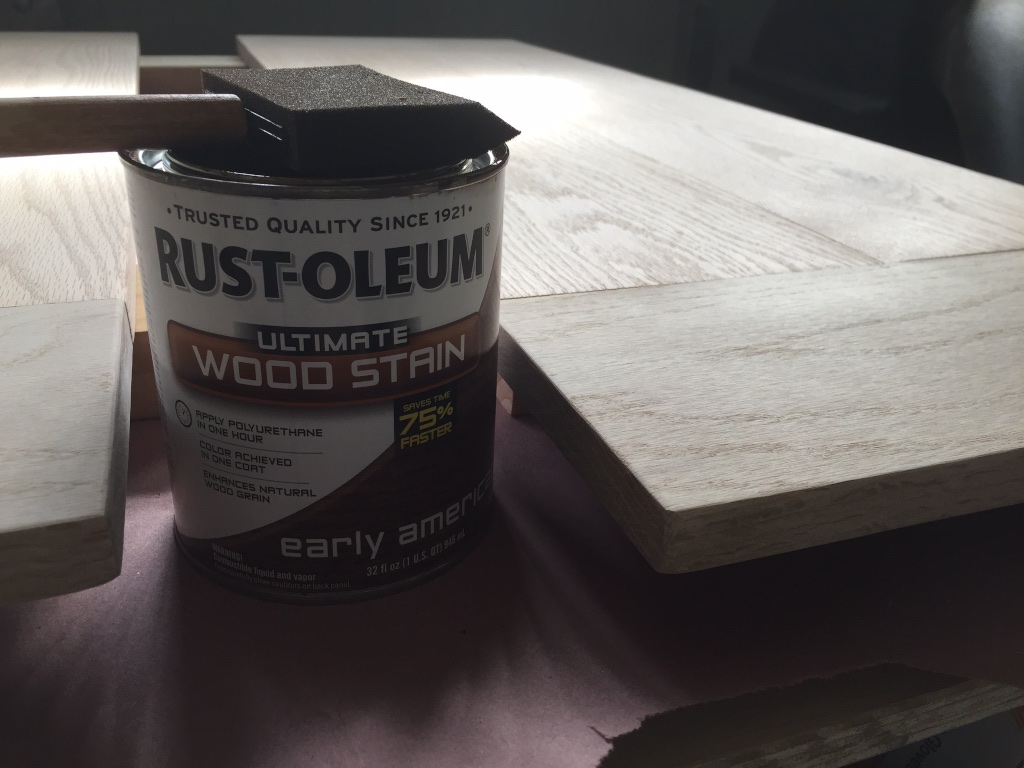
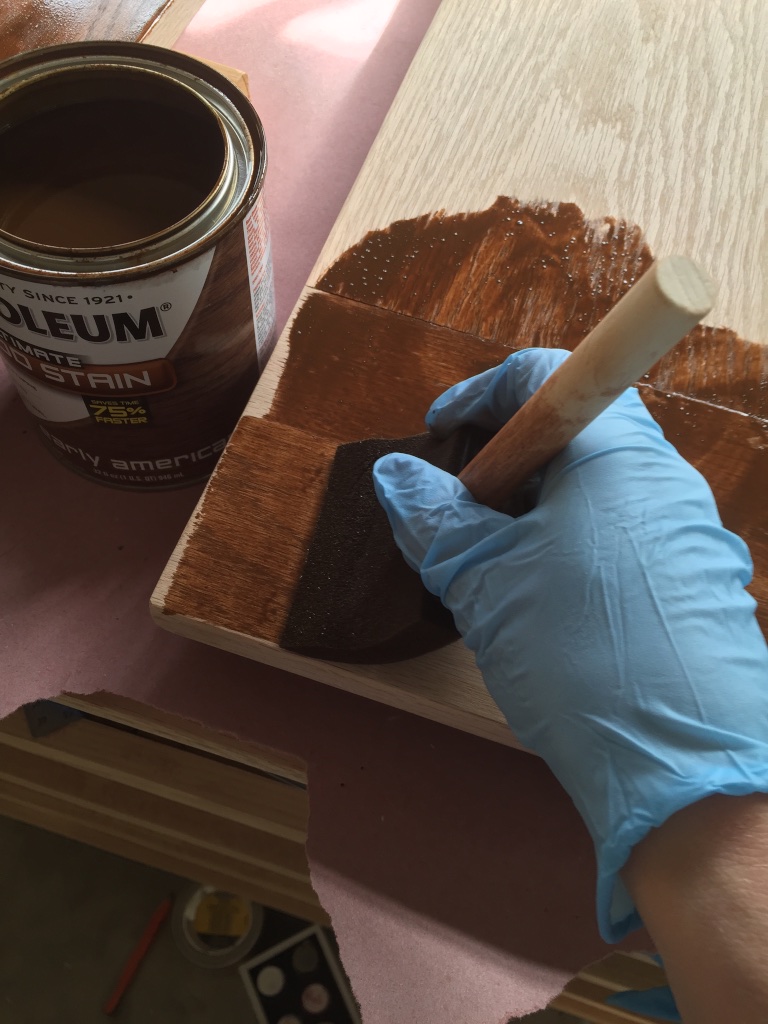
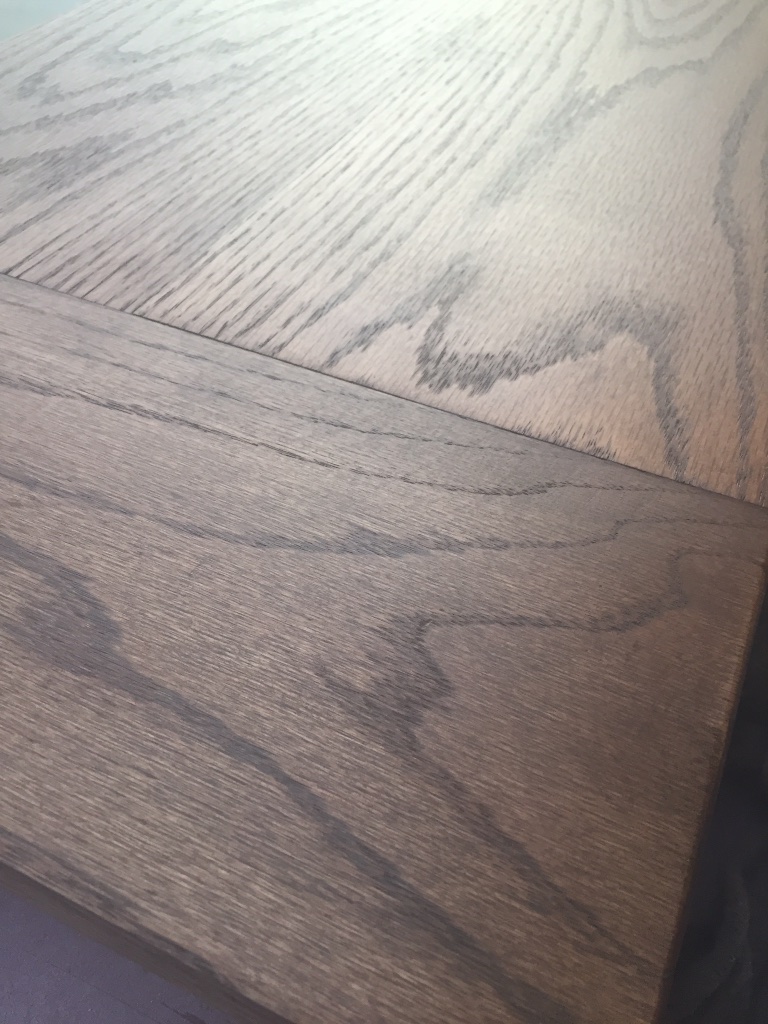
Rustoleum Early American StainApply with foam brushLet sit for a minute or so and wipe off
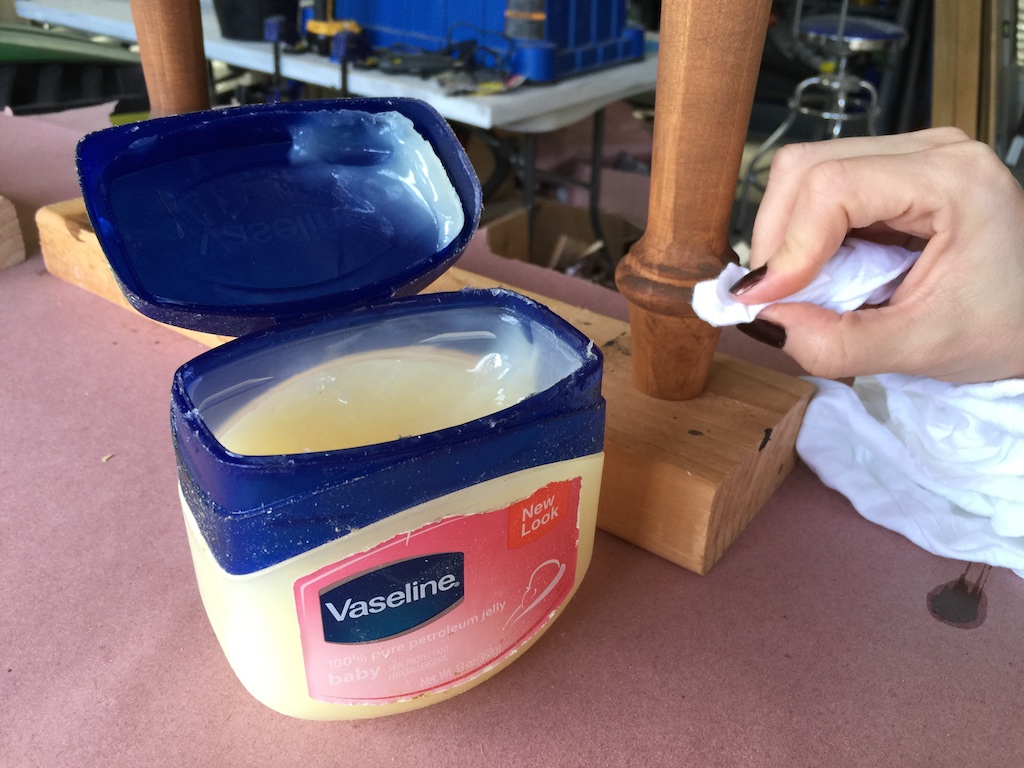
Apply Vaseline to areas that would naturally be distressed
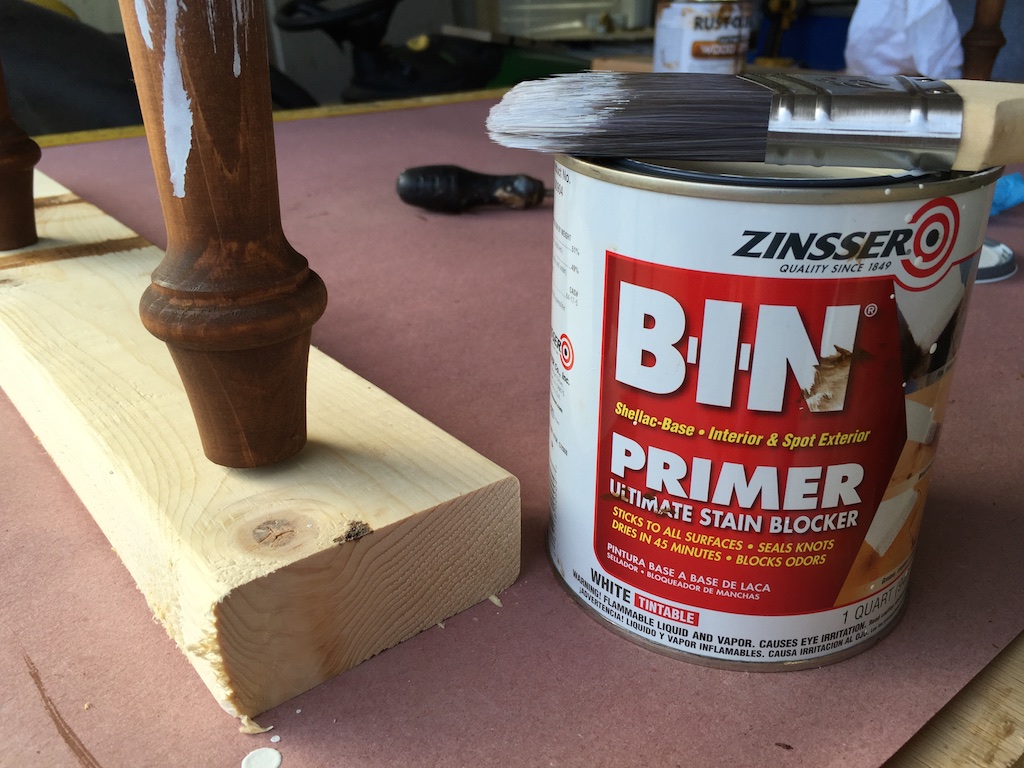
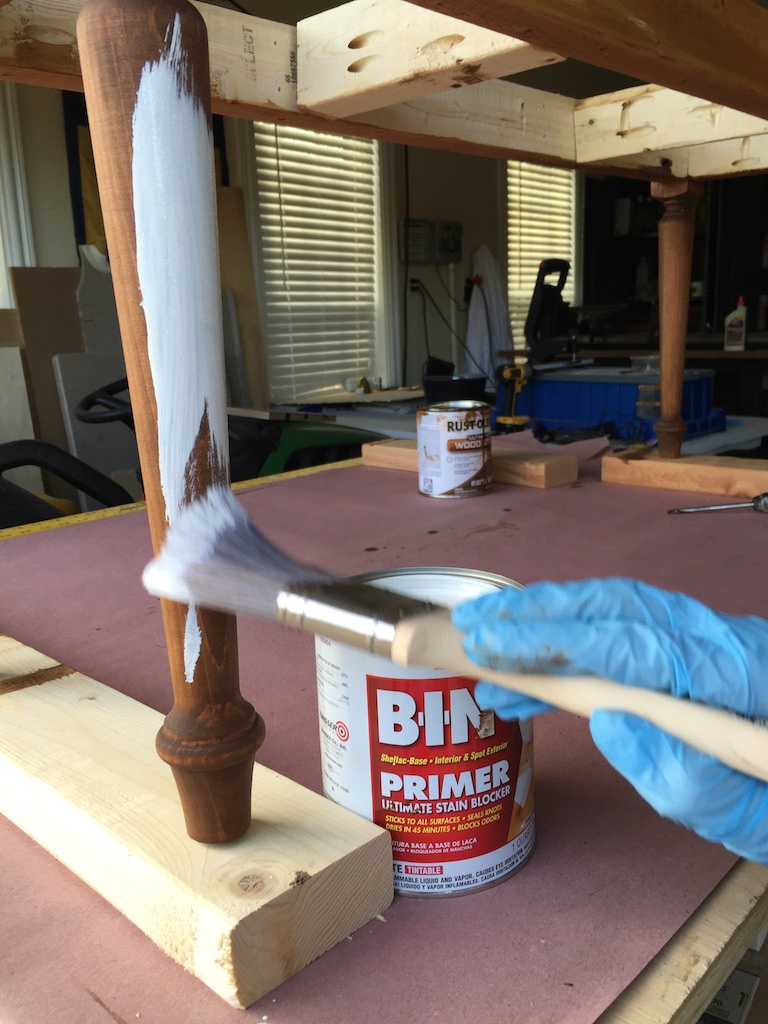
First apply stain blocking primer
Questions? Comments?
As always, if you have any questions don’t hesitate to comment below and especially don’t forget to post pictures of your finished products in the comments! ENJOY!
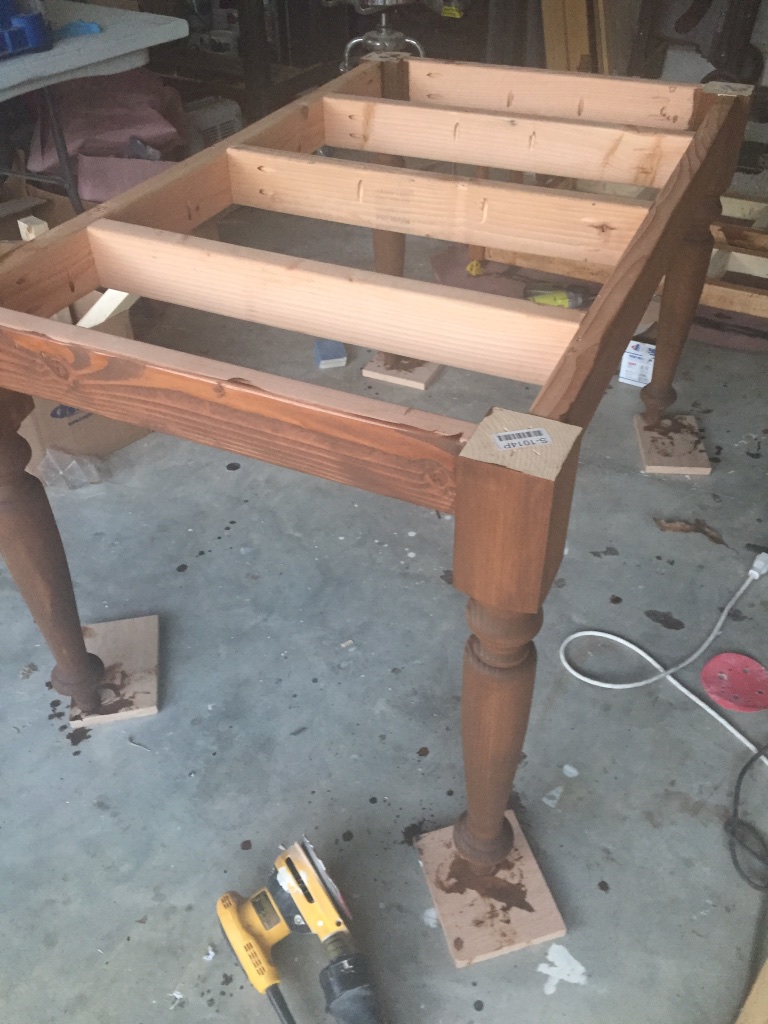
I’m a newbie so please excuse the stupid question. Why would you stain the legs if you’re only going to paint them white? Wouldn’t a simple coat of primer then paint do?
Not a stupid question Bill. The legs get distressed with using sandpaper to reveal the stained leg. This is subtle and in areas that natural wear would occur over time. Like edges and corners etc.
Hi, beautiful table. Can I ask which species of wood you used for the legs? I need paint grade table legs for a similar project and I will not be needing to distress them. Thanks!
I’m building a table from these plans. I’m not sure what do to about the chairs. I don’t have the skills to build them and would like to find some nice ones to go with new set. What do others do to match their table?
1. build a bench to match the table, we have plans for a farmhouse bench to match. 2. Osborne has unfinished chair kits you can purchase and finish to match your table. 3. If you are painting the base, you and refinish chairs in the same paint.
Hi Jamison,
Came across your site recently and have been very inspired by your projects and plans. Out of all the farmhouse table designs I’ve been researching, we have unanimously voted yours as the best!
However… I have 2 questions that I hope you can help us with….
We need a 7 foot table in order to fit our 8 chairs. Besides just using longer 2 x 6 boards (maybe even 2×10’s), is there anything else you would recommend when adapting your plans for a longer table?
Second, we have large family get togethers, which lead us to drag up some other table that is not the same height, and on the shaky side. It occurred to me that perhaps some type of extensions (perhaps 2 feet long each) could be added to either end of the farmhouse table I plan to build… but I’m not quite sure what type of design to use to implement them. Do you have any tips / tricks / suggestions on accomplishing that?
I’m making a modified version of this table currently. Any suggestions to tighten the legs other than the rails? I used a cross brace but still a lot of movement. I haven’t put the top on yet, maybe that will help?
That’s odd. Normally when I use pocket holes I get a solid joint. Are you sure you didn’t over tighten. Sometimes if you over tighten it can strip out the wood causing the screw to not hold. Adding the top might help a little.2
I’m currently building this table to my custom dimensions (68″ x 40″). The pocket screws are awesome for the assembly of the top. My question is, should I be concerned with expansion between the top and the base. I was considering using metal clips that get screwed to the table top and fit into slots on the side rails to allow for differential movement between the top and base. I got mine at Osbornewood.com. Only two pocket screws on the top to the rails, one at each end, in the center. I also used the Kreg plugs and sanded them smooth. I know it’s the bottom, but it does give it a nicer look.
Thanks for any comments.
Expansion of the table top wouldn’t be as much of an issue since it’s hardwood in this case. The pine base would be more likely to see some movement but overall I haven’t had any issues of my own nor have I heard of any.
I dunno about that…oak is one of the more expansive types of woods, almost twice as much as pine. Pine is more stable than oak. Oak is stronger than pine if you’re talking durability and hardness.
Now with this design it’s not as big of a deal. Since the apron supports the entire perimeter of the top, even when the screws eventually loosen, the table’s not going to collapse or anything. But if the relative humidity in the home changes then yes, things will expand and contract.
Say the table is built using oak boards at a moisture content of 10% (about what they would be if the boards are stored in an un-air conditioned space like the lumber yard) and then over several months, the wood dries to 6% moisture (air conditioning or dry winter heated air). The 33 inch width will decrease to 32.6 inches, almost half an inch narrower. The breadboard ends will stay the same (boards get narrower but not shorter when they shrink), as will the frame underneath. This cycle repeats every season and eventually the screws will work loose.
Still, I think this design would be good enough for most people especially if good quality wood is used, and the table is kept in an air conditioned space all the time!
Here is my attempt. It is a bit of a combination of your two farmhouse table plans. The top is red oak and the base is pine. This was my first woodworking project ever and I learned a lot!
Hello. Living in Florida. We have high humidity 99percent of the time. Do you ever use wood glue on the joints? Also, I’d like to attempt this plan in an 72″x 45″. How do I figure the measurements for the base? Will the 3 1/2″ legs be fine for the length of the table or use a larger leg? Thanks.
Hi Jamison, I’m tackling this project soon and have a question about the final finish on the table top. It looks like there is a polyurethane sealer after the stain. What type and sheen do you recommend? (oil vs water and gloss-semi gloss-satin).





I’m a newbie so please excuse the stupid question. Why would you stain the legs if you’re only going to paint them white? Wouldn’t a simple coat of primer then paint do?
Not a stupid question Bill. The legs get distressed with using sandpaper to reveal the stained leg. This is subtle and in areas that natural wear would occur over time. Like edges and corners etc.
Do you have plans for the benches as well?
Sure do!
https://rogueengineer.com/diy-oak-farmhouse-bench-plans/
Hi, beautiful table. Can I ask which species of wood you used for the legs? I need paint grade table legs for a similar project and I will not be needing to distress them. Thanks!
I got knotty pine because it was cheapest.
I’m building a table from these plans. I’m not sure what do to about the chairs. I don’t have the skills to build them and would like to find some nice ones to go with new set. What do others do to match their table?
1. build a bench to match the table, we have plans for a farmhouse bench to match. 2. Osborne has unfinished chair kits you can purchase and finish to match your table. 3. If you are painting the base, you and refinish chairs in the same paint.
Thanks. I’m building the bench, I did not know about the chairs at Osborne. I’ll check them out. I’ll post a picture when I’m done.
Awesome. Can’t wait to see pictures.
Hi Jamison,
Came across your site recently and have been very inspired by your projects and plans. Out of all the farmhouse table designs I’ve been researching, we have unanimously voted yours as the best!
However… I have 2 questions that I hope you can help us with….
We need a 7 foot table in order to fit our 8 chairs. Besides just using longer 2 x 6 boards (maybe even 2×10’s), is there anything else you would recommend when adapting your plans for a longer table?
Second, we have large family get togethers, which lead us to drag up some other table that is not the same height, and on the shaky side. It occurred to me that perhaps some type of extensions (perhaps 2 feet long each) could be added to either end of the farmhouse table I plan to build… but I’m not quite sure what type of design to use to implement them. Do you have any tips / tricks / suggestions on accomplishing that?
Thanks so much, and keep up the great work!
Mike
I’m making a modified version of this table currently. Any suggestions to tighten the legs other than the rails? I used a cross brace but still a lot of movement. I haven’t put the top on yet, maybe that will help?
That’s odd. Normally when I use pocket holes I get a solid joint. Are you sure you didn’t over tighten. Sometimes if you over tighten it can strip out the wood causing the screw to not hold. Adding the top might help a little.2
I’m currently building this table to my custom dimensions (68″ x 40″). The pocket screws are awesome for the assembly of the top. My question is, should I be concerned with expansion between the top and the base. I was considering using metal clips that get screwed to the table top and fit into slots on the side rails to allow for differential movement between the top and base. I got mine at Osbornewood.com. Only two pocket screws on the top to the rails, one at each end, in the center. I also used the Kreg plugs and sanded them smooth. I know it’s the bottom, but it does give it a nicer look.
Thanks for any comments.
Hey Jim, I just saw that I never responded to this. I think the clips would work just as well.
Does this design allow for expansion of the table top?
Expansion of the table top wouldn’t be as much of an issue since it’s hardwood in this case. The pine base would be more likely to see some movement but overall I haven’t had any issues of my own nor have I heard of any.
I dunno about that…oak is one of the more expansive types of woods, almost twice as much as pine. Pine is more stable than oak. Oak is stronger than pine if you’re talking durability and hardness.
Now with this design it’s not as big of a deal. Since the apron supports the entire perimeter of the top, even when the screws eventually loosen, the table’s not going to collapse or anything. But if the relative humidity in the home changes then yes, things will expand and contract.
Say the table is built using oak boards at a moisture content of 10% (about what they would be if the boards are stored in an un-air conditioned space like the lumber yard) and then over several months, the wood dries to 6% moisture (air conditioning or dry winter heated air). The 33 inch width will decrease to 32.6 inches, almost half an inch narrower. The breadboard ends will stay the same (boards get narrower but not shorter when they shrink), as will the frame underneath. This cycle repeats every season and eventually the screws will work loose.
Still, I think this design would be good enough for most people especially if good quality wood is used, and the table is kept in an air conditioned space all the time!
Here is my attempt. It is a bit of a combination of your two farmhouse table plans. The top is red oak and the base is pine. This was my first woodworking project ever and I learned a lot!
Here’s a picture
That looks really good @douglasmaxwell:disqus. Nice choice on the color combo. Thanks for sharing.
That is super nice. What measurements did you use? I’m going to attempt making one. Maybe a little bigger than the plan shows.
Thanks for the plans! My family is able to fit around a mutant version of your plans at 60″ square. Next up – benches. See the attachment.
That is awesome! I am digging the square version of this table. Be sure to share the benches when you are done.
Hello. Living in Florida. We have high humidity 99percent of the time. Do you ever use wood glue on the joints? Also, I’d like to attempt this plan in an 72″x 45″. How do I figure the measurements for the base? Will the 3 1/2″ legs be fine for the length of the table or use a larger leg? Thanks.
Hi Jamison, I’m tackling this project soon and have a question about the final finish on the table top. It looks like there is a polyurethane sealer after the stain. What type and sheen do you recommend? (oil vs water and gloss-semi gloss-satin).