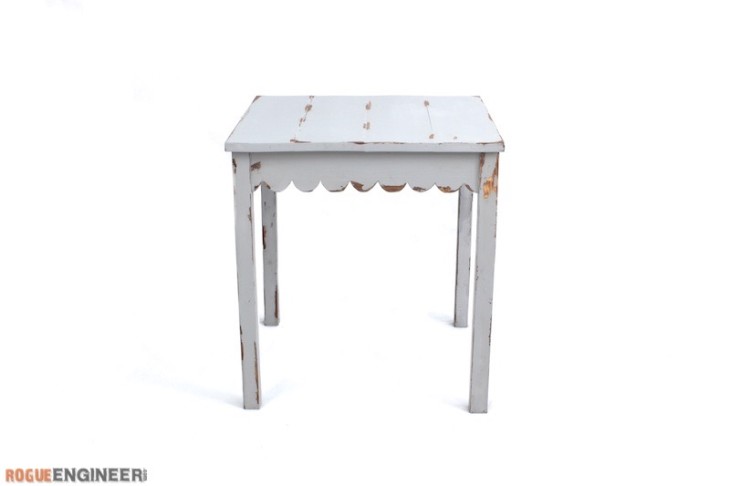
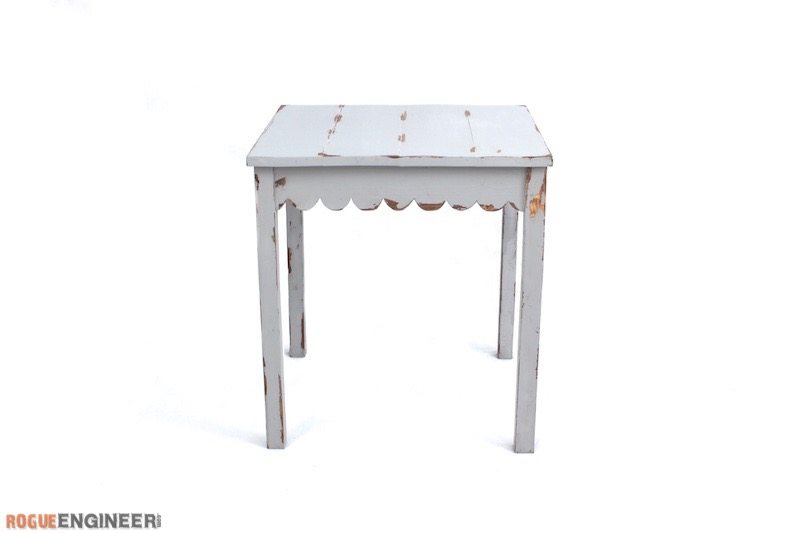
Sometime last year I had stopped into a cute little furniture store in Northern Michigan and fell in love with a coffee table that had a cute scalloped edge apron. One day I will be making that coffee table, but for now I had some scrap wood lying around and came up with this simple little scalloped edge end table. Enjoy!
For sneak peeks of our upcoming projects be sure to follow me on Facebook and Instagram. Also, follow me on Pinterest to get tons of projects plans from all around the web!
Required Tools
Materials
- Qty 1 – 2 x 2 x 8′
- Qty 2 – 1 x 6 x 6′
- Qty 1 – 1 x 4 x 6′ Common Boards; Pine
- 1-1/4″ Pocket Hole Screws
Disclosure: The links provided in the “materials” and “required tools” sections are affiliate links. If you would like to support our site and help keep our content free come find out more about how we can make money with no extra cost to you.
How to build a scalloped edge end table
Step 1: Cut Wood
Using a miter saw make the following cuts.
- Qty 4: 1×6’s at 22″
- Qty 4: 2×2’s at 23″
- Qty 4: 1×4’s at 17 1/2″
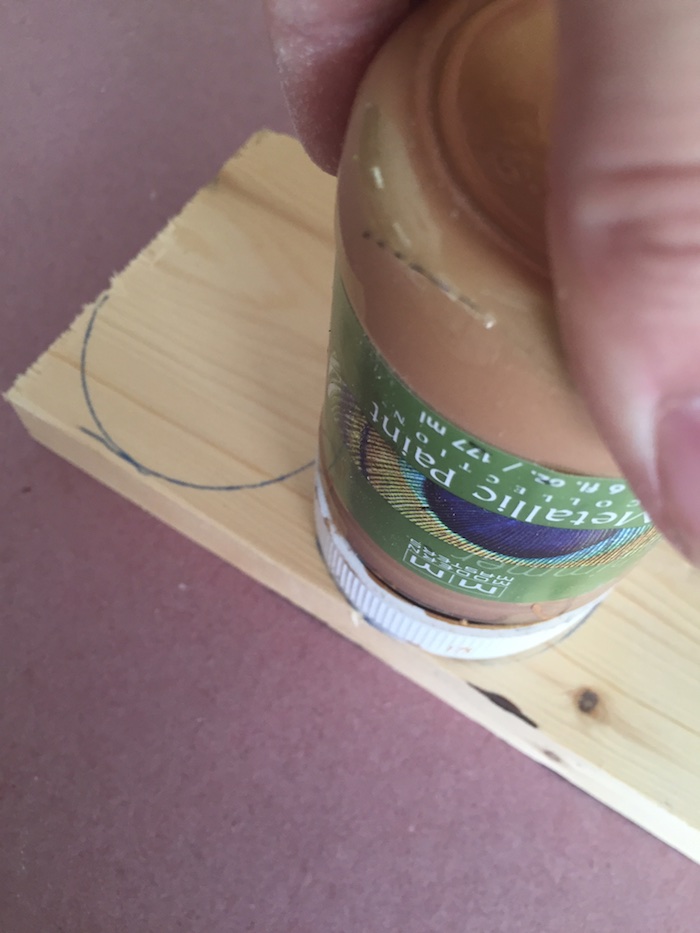
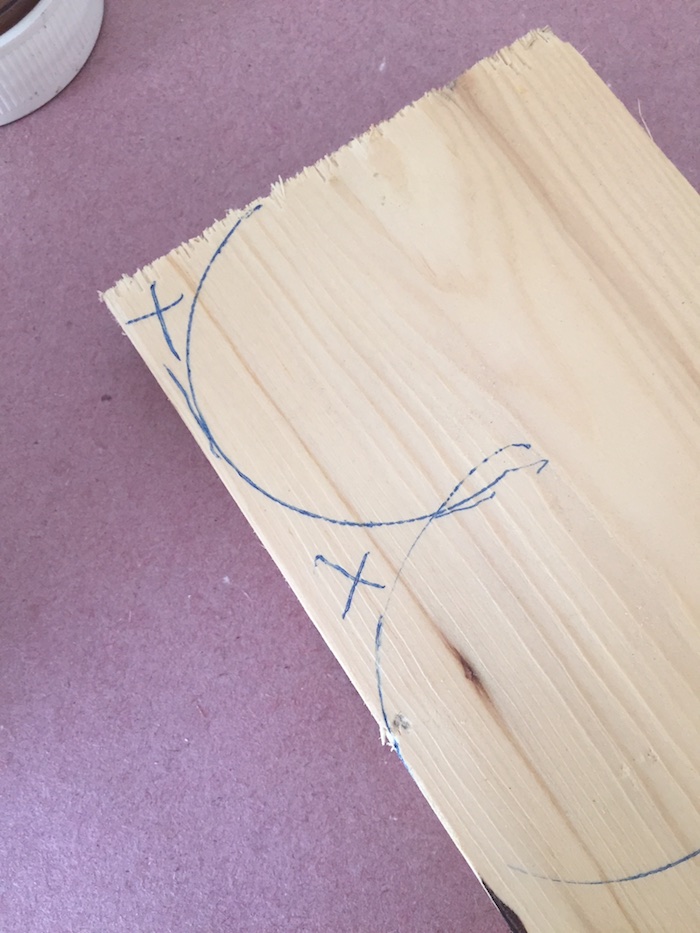
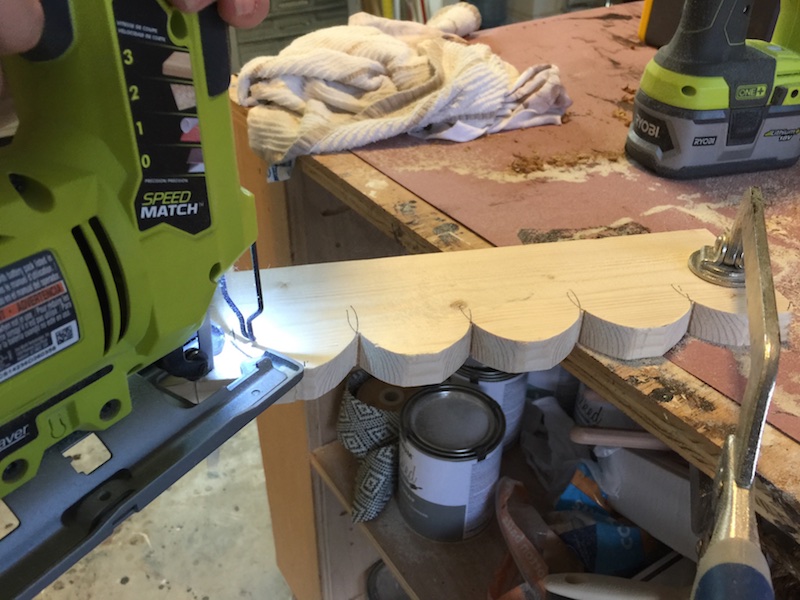
Step 2: Cut Scalloped Edge
For this step I simply used a paint top to create my scalloped edge, however since I have a super fancy pants husband he made things easy for y’all and you can just print out the template below (print 4). If you made your life easier by using the template you can use spray adhesive and stick the template directly to the 1×4 and being cutting out the scalloped pattern. I used a jig saw to cut out the scalloped pattern on all 4 of 17 1/2″ 1X4’s.
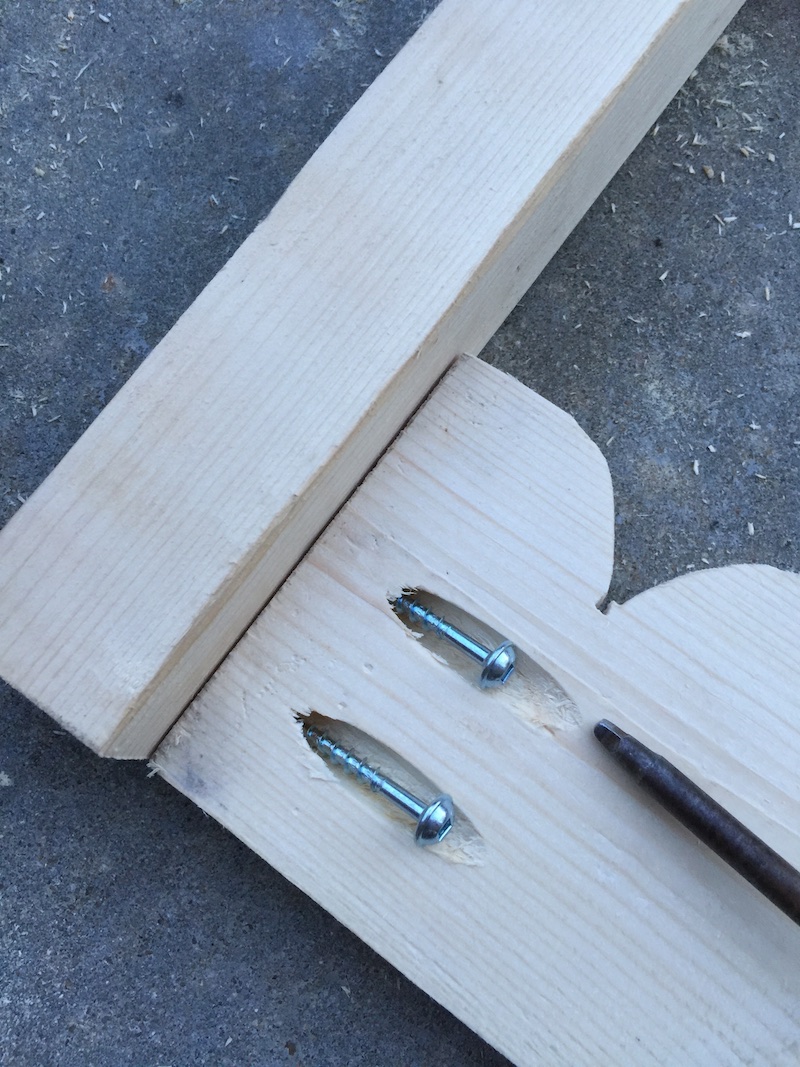
Step 3: Drill Pocket Holes
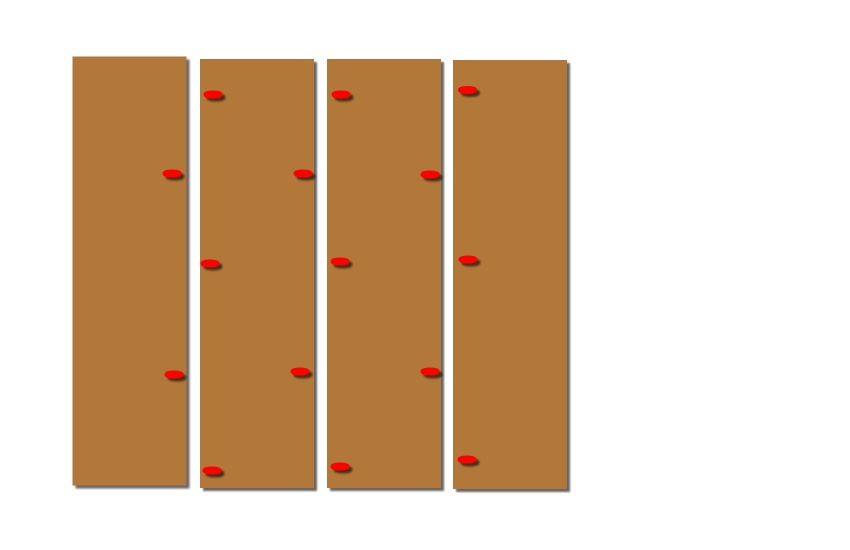
Using a Kreg Jig, drill pocket in the 1X6 boards as follows:
Also, drill 2 pocket holes on each end of your scalloped 1×4’s along with 2 along the top edge that will be used to attach the base to the top.
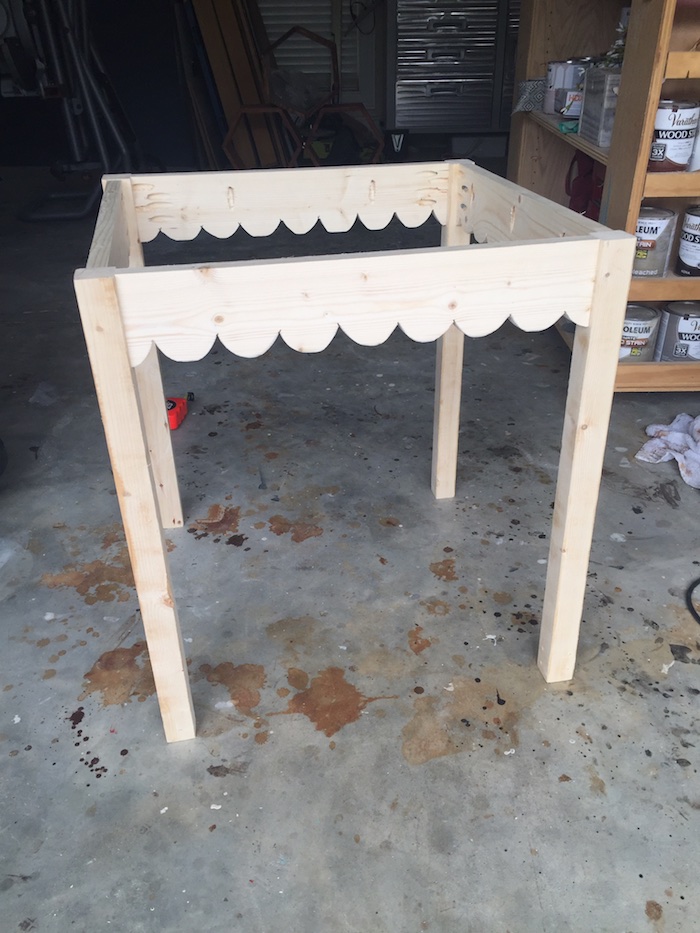
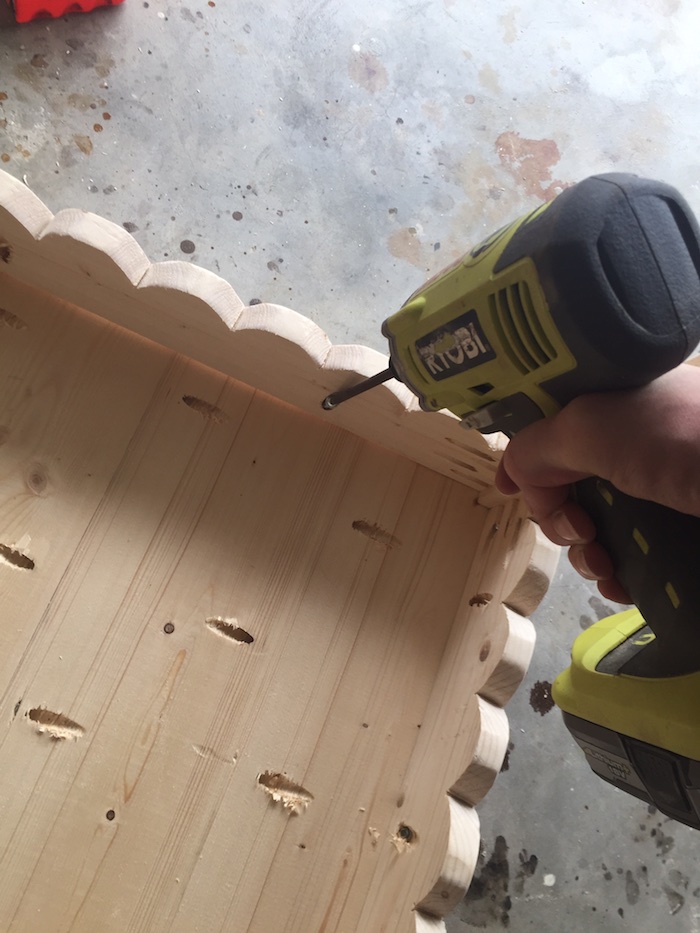
Step 4: Assemble Top and Frame
Assemble the top of the table with 1-1/4″ pocket hole screws. Set this aside and we will attach the top to the base in the next step. Now to assemble the base, attach the scalloped 1×4 to the 2×2 leaving 1/4″ from the front of the 2×2.

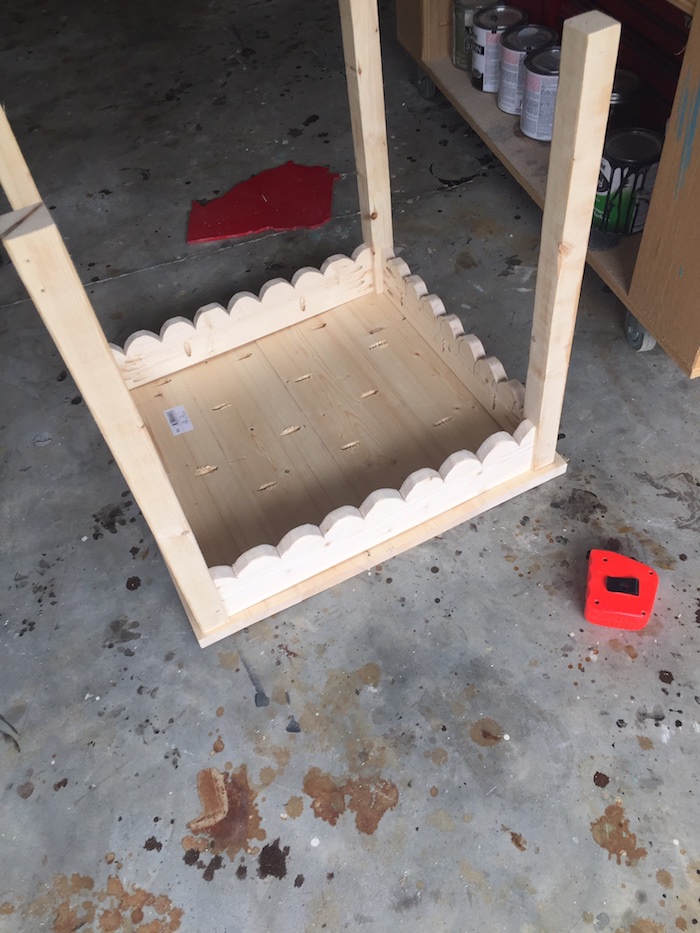
Step 5: Attach Top to Base
Place the base onto the top, leaving 3/4″ space from the edge of top. Attach using 1-1/4″ pocket hole screws.
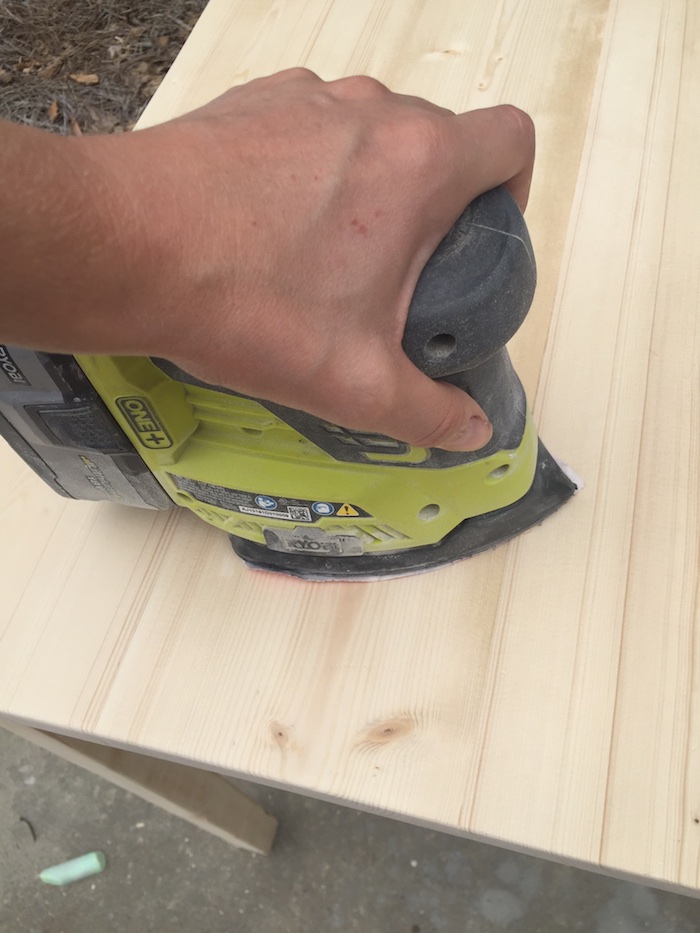
Step 6: Sand and Finish
Sand table starting with 120 grit and finish with 220 grit paper.
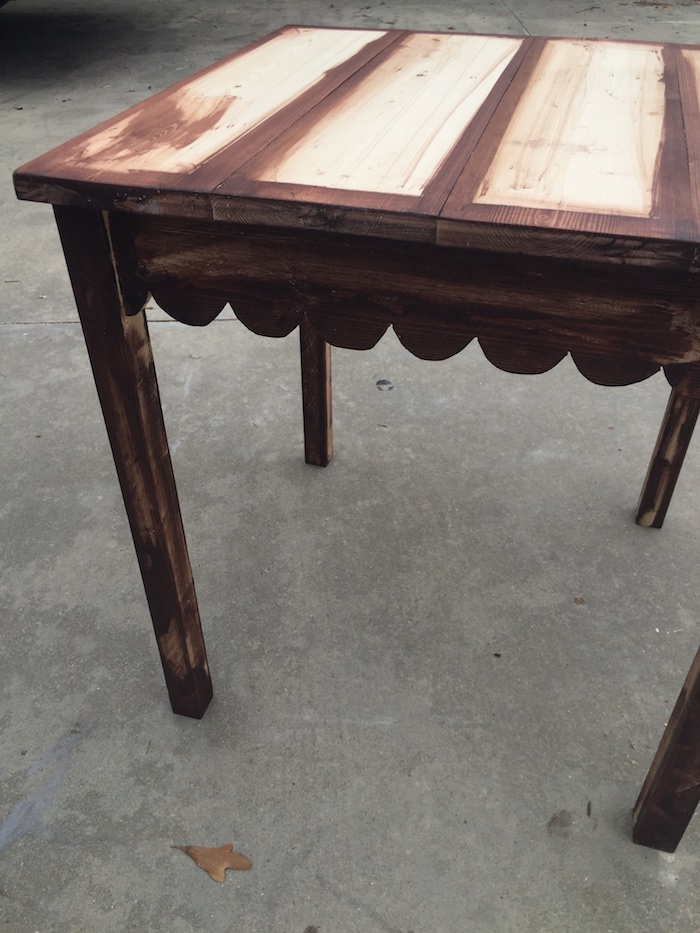
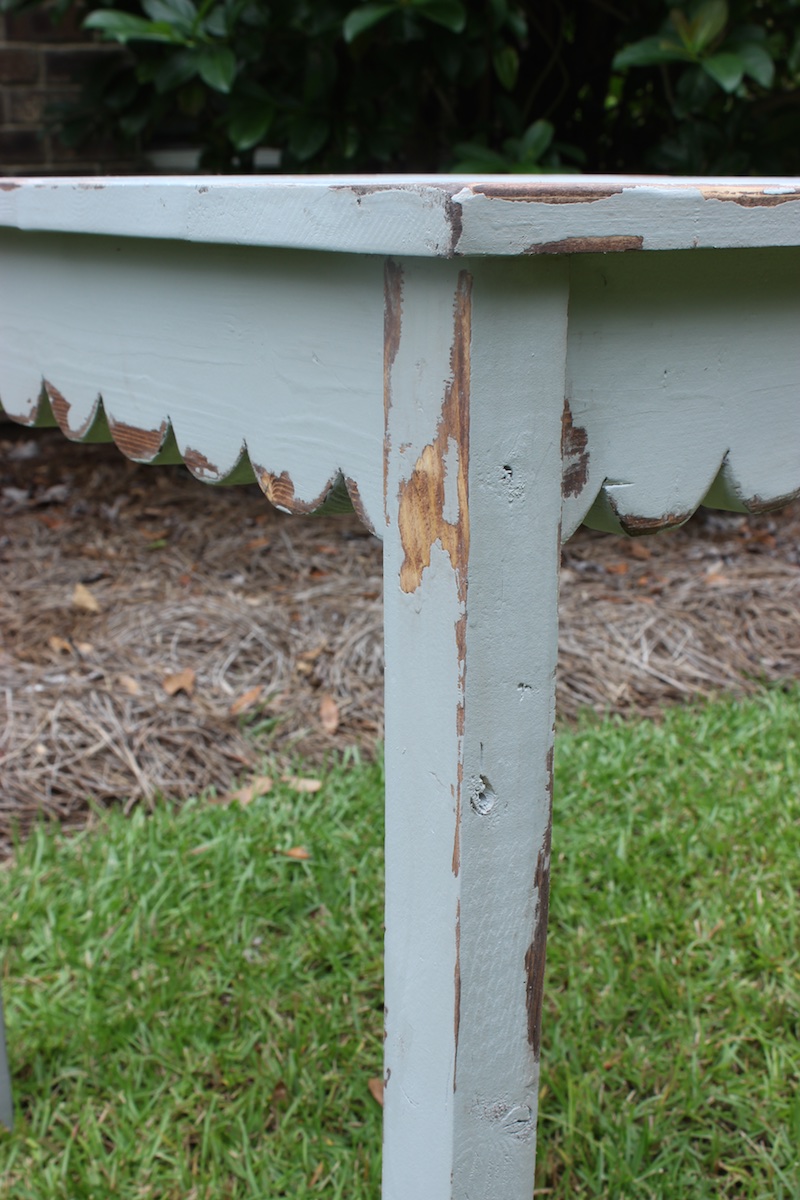
For the finish on this table I decided to use a distressed chippy finish. I started by applying stain to the edges and areas I wanted to distress. I used Rust-Oleum Carrington stain. Allow to dry.
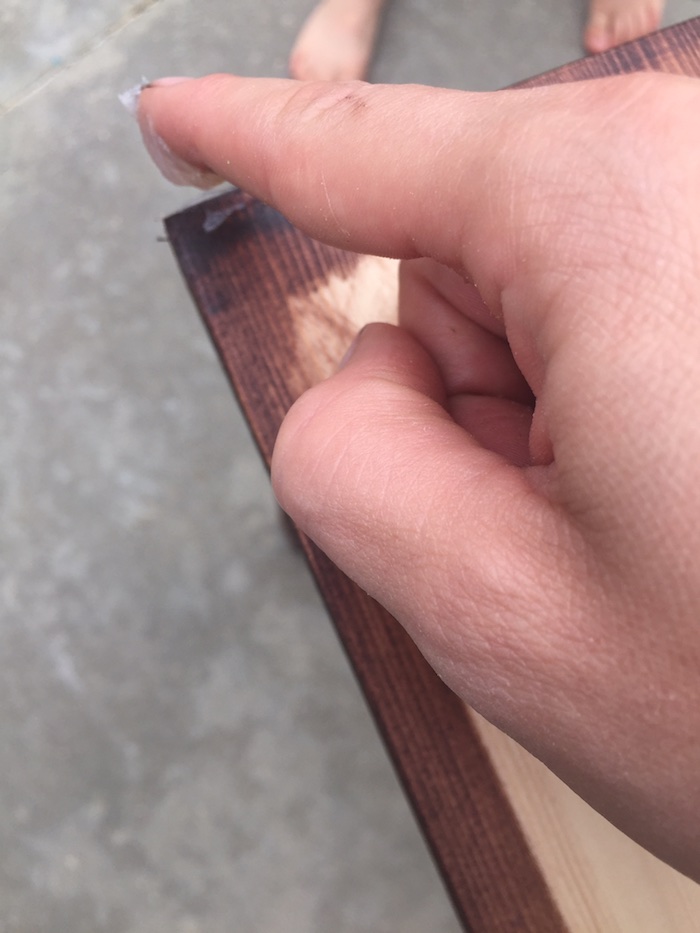
Rub Vaseline in the areas you want to easily distress. You can see more on how to distress with Vaseline here.
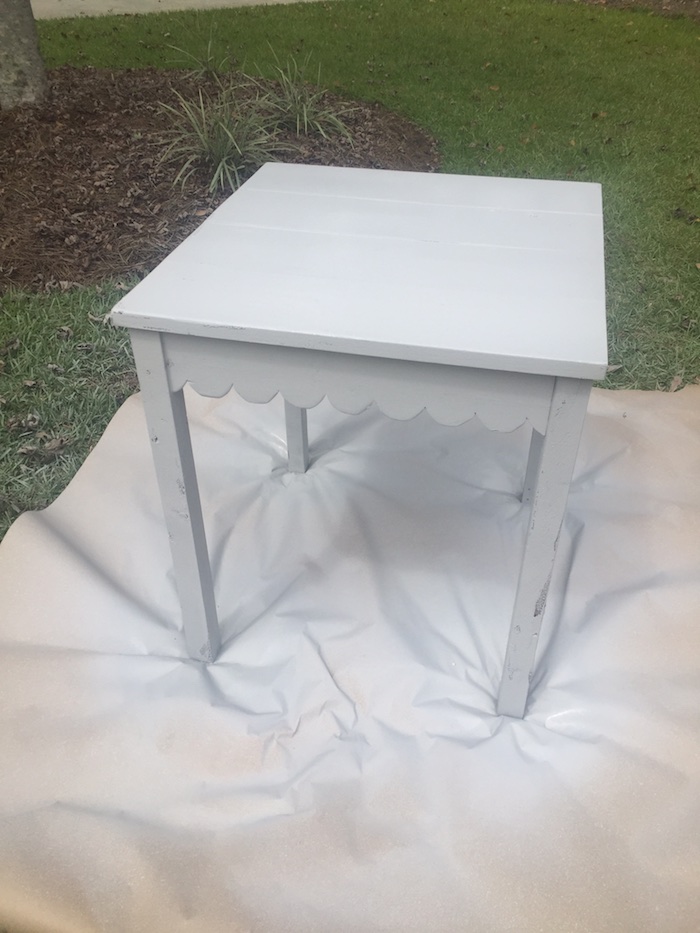
I sprayed a coat of Rust-Oleum Chalked Paint in Aged Grey.
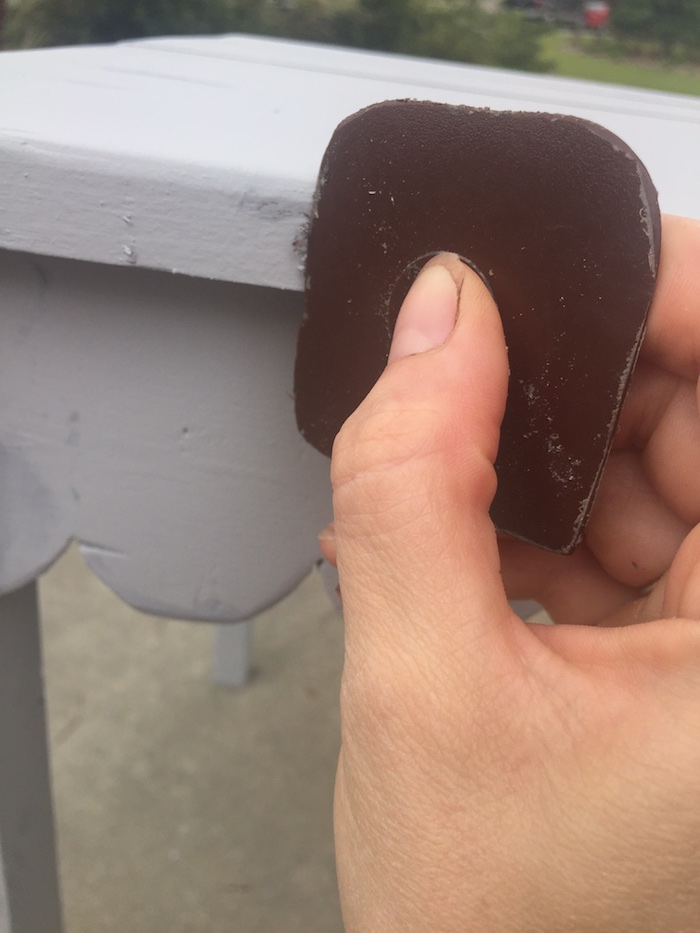
Let the paint dry completely, and using a plastic scraper, rub off the areas where Vaseline was placed. It’s easy to tell where to scrap because the areas where Vaseline was placed will remain a darker color.
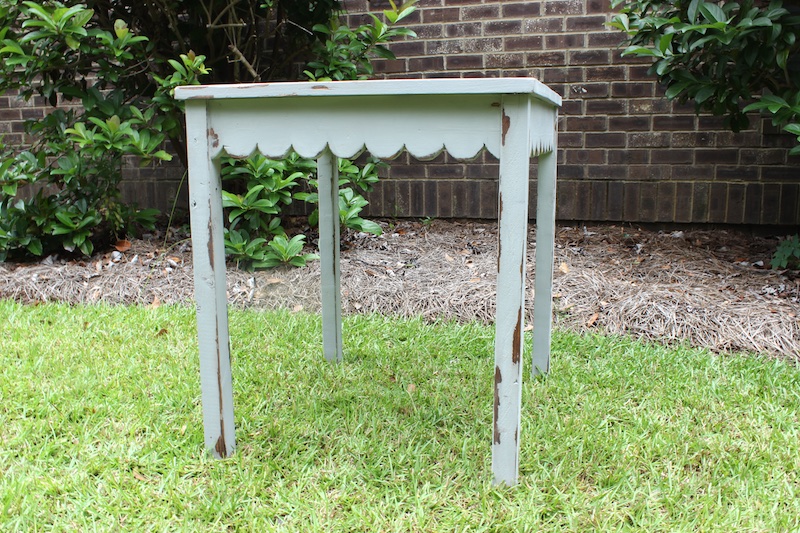
To finish I rubbed on a coat of Wood Paste Wax using a stain rag.

Questions? Comments?
As always, if you have any questions don’t hesitate to comment below and especially don’t forget to post pictures of your finished products in the comments! ENJOY!