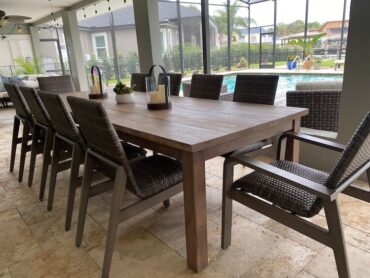
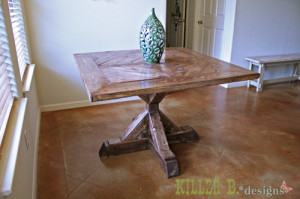
So a neighbor of mine had an old table that she really loved the legs on but she wanted to make a circular table top for, to fit in her dining room. Not to mention that the current top was pretty much ruined. Since I had not done a round top before, nor had I seen it done, I really wanted to give it a shot. So here is me giving it a shot. Hope this is helpful/entertaining for you!


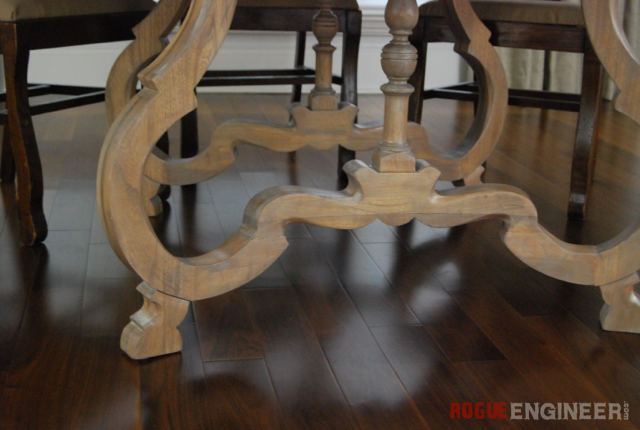
Legs recycled from another table
Required Tools
- Table Top
- Option 1: Router + Jig = Perfect Circle
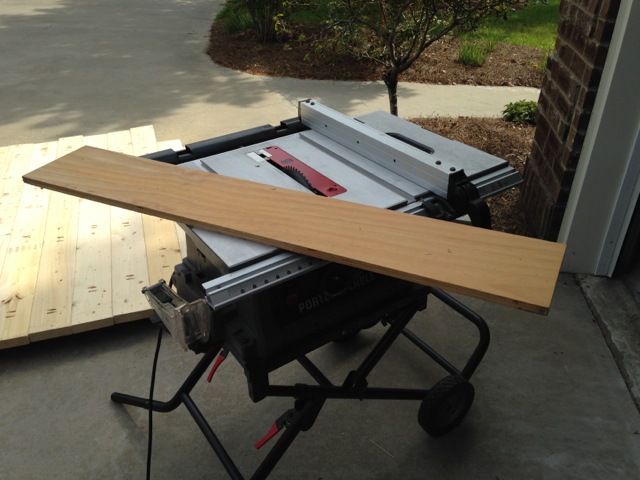
- Circle Saw or table saw (to cut wood used for jig)
- 1″-1-1/2″ diameter wood bit
- Router
- Spiral Upcut Router Bit (1/2″ Shank or 1/4″ Shank)
- Option 2: Jig Saw + Pencil = Almost Perfect Circle
- Jig Saw
- String
- … and a prayer
- Pencil
- Tape Measure
- Eye Protection
- Hearing Protection
Materials
- Table Top
- 11x 2 x 6 x 10′
- 2-1/2″ Pocket Hole Screws
- Router Jig
- 3/4″ x 7″ x 40″ plywood (I used scraps)
- adhesive sliders
Cut List

Cut List – Print this out!
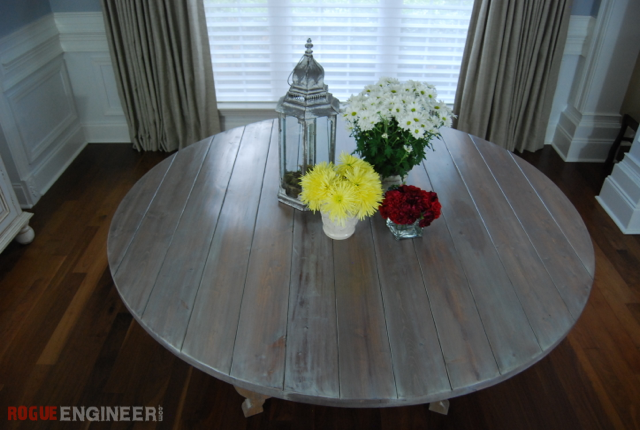
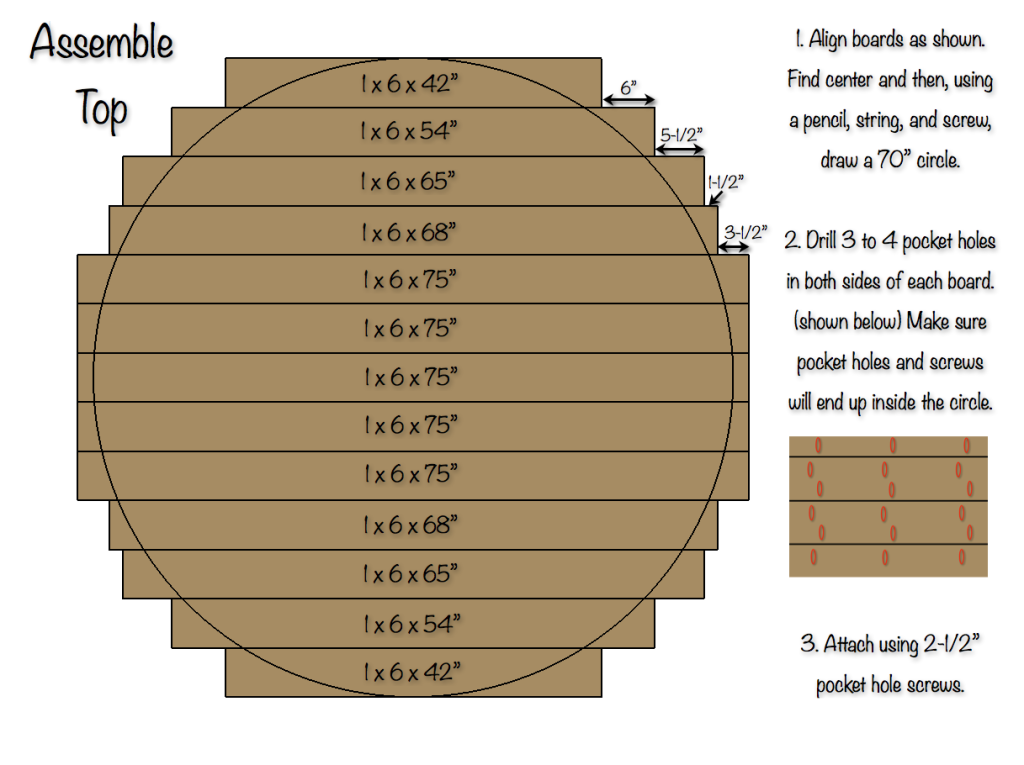
70″ Round Table Top Plans
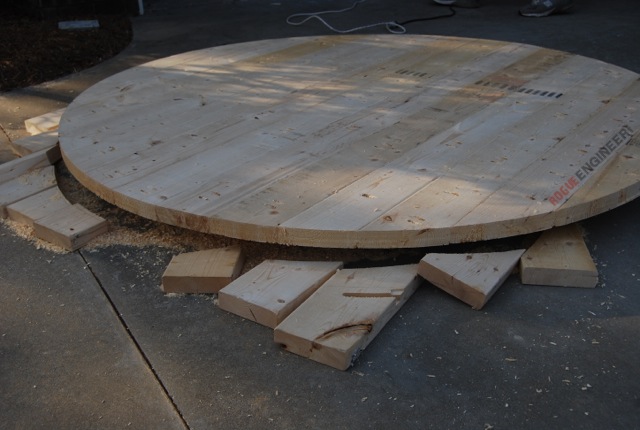
Assemble Boards for Table Top
Circle Cutting with a Jig Saw
I did want to note that you could cut your circle out with a jig saw but I’ve never trusted my jig saw with a task this important. The blade seems to always wander and never turns out quite as nice. But if you’re too intimidated by the router, go for it and just take your time and plan on sanding quite a bit when your done.
Circle Cutting Router Jig
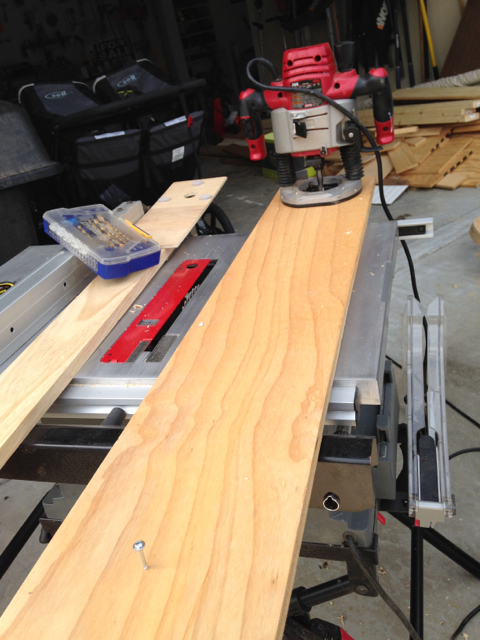
Step 1: Cut board slightly wider than your router and no shorter than 40″ long. (I used a scrap piece of plywood)
Step 2: Mount your plunge router base to one end of the jig. I had attached with 1″ wood screws using existing holes.
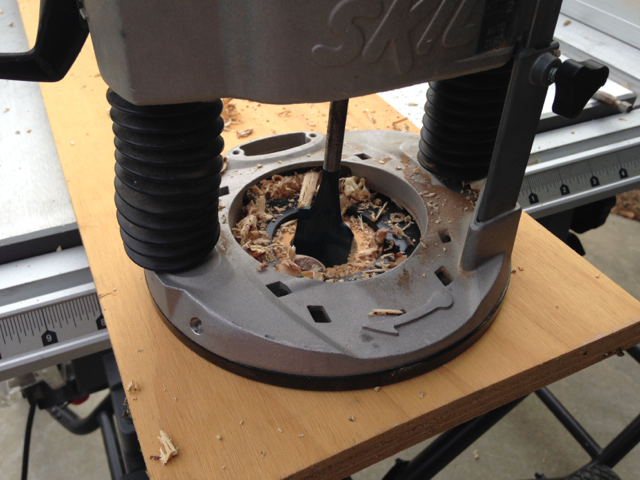
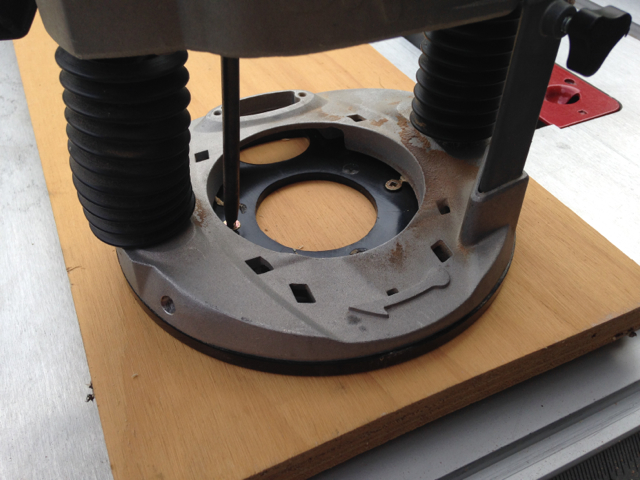
Step 3: Drill, no smaller than, a 1″ hole where your router bit will go. Then drop your router in place.
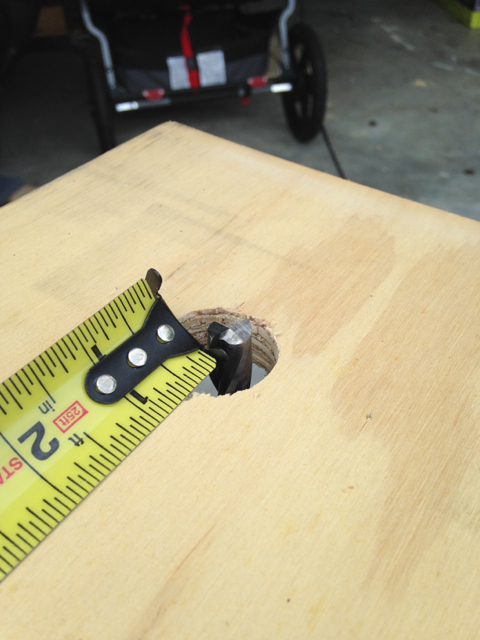
Step 4: Measuring from the inside edge of the router bit …. (continued on next slide)
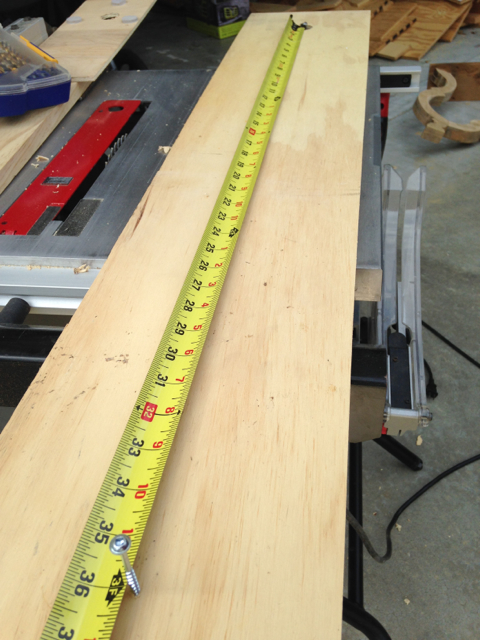
… screw in a 2″ pocket hole screw at 35″ (yes I realize mine is at 36″)
Step 6: Back your screw out and flip the board over and screw it in the other side.
Cutting the Circle
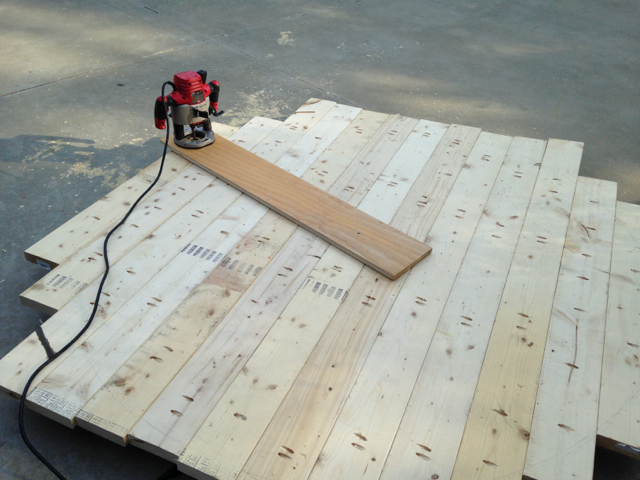
Step 1: Screw Jig into center of the table top.
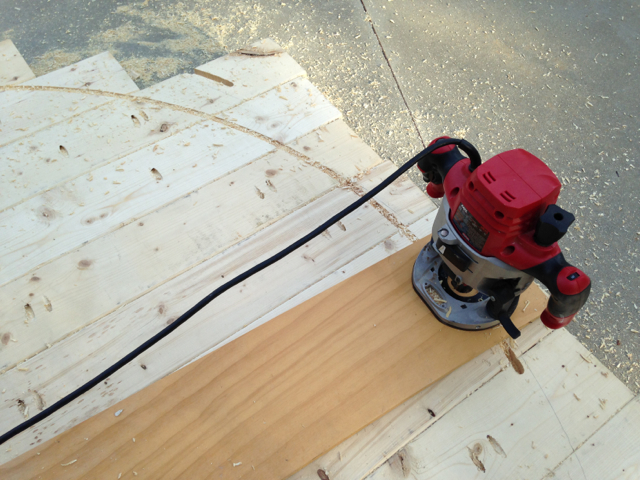
Step 2: Cutting only 1/4″ deep each pass….
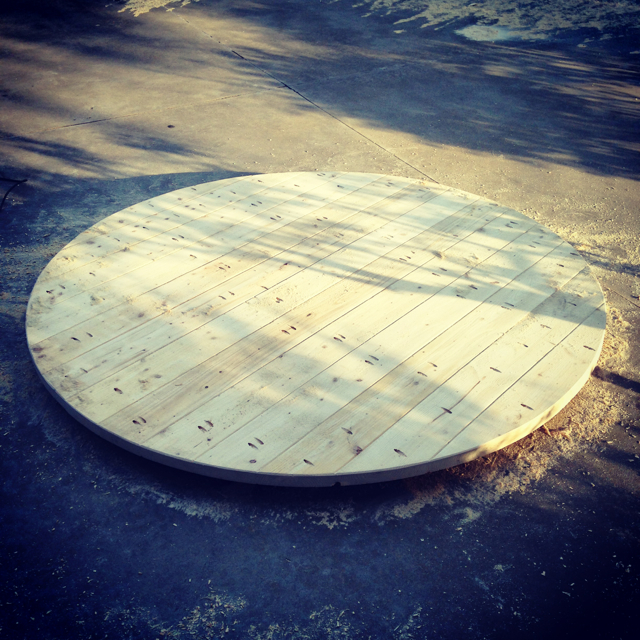
Isn’t she a beauty?!?
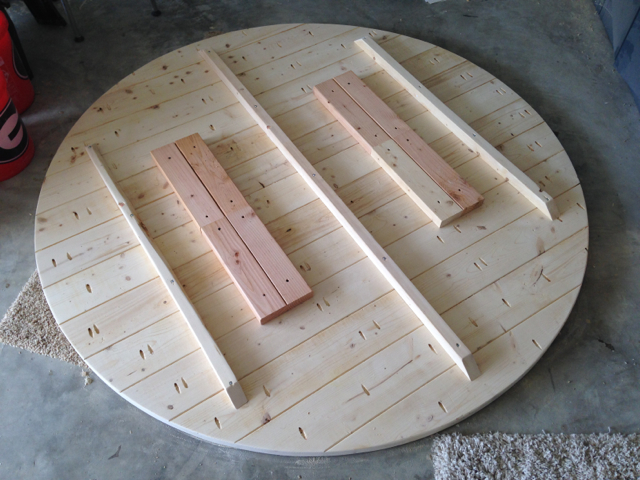
Step 3: With all those joints in the table top, it is naturally flexible in that direction. Make sure to add stringers (I used 2×2’s) in the direction shown to help support the top. Cut to appropriate lengths and taper the ends. Don’t mid the 2×4’s they are there only to bring the table top up to an appropriate height that the legs we have didn’t do.
Here’s a short clip of the actual cutting so you can get a feel for what you’re in for..
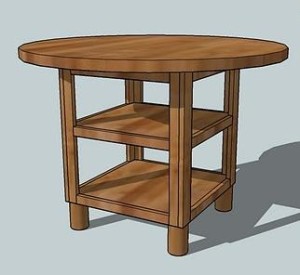
Base Options
As I said before, the legs used on this table were some that were recovered from an old table. You may or may not be in the same situation. If not and you need ideas for a base, here are a few:
Comments
As always if you have any questions don’t hesitate to comment below and especially don’t forget to post pictures of your finished products in the comments! ENJOY!