

Theater Riser Construction
Quick answer: A home theater riser is a framed platform that elevates the back row so it can see over the front row — depending on your front-row height and screen distance you need 7″ to 16″ of rise; this build lands at about 14-1/4″. The structure: pressure-treated 2×6 base boxes on the concrete, 2×8 joists at 16″ spacing, mineral wool insulation so the platform doesn’t boom like a drum, and two glued-and-screwed layers of 3/4″ OSB — with a built-in step. Full video and diagrams below.
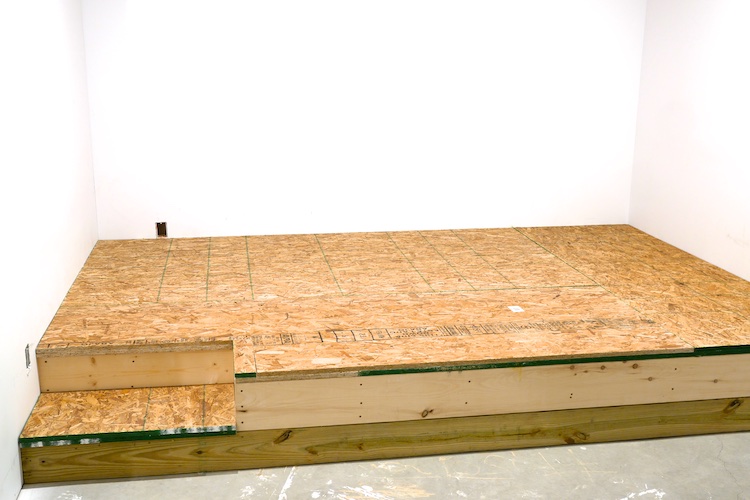
It has always been a dream of mine to have a home theater so in our basement we reserved a small room for just that. The room was a rectangle and just big enough for two rows of seating. But in order to make sure the back row could see over the front row we needed to elevate that row with a riser.
In any theater, if you have one row behind another, you will need to elevate that row so that the viewer can see the full screen. Depending on the height of the first row and the distance of the screen from the ground, you’ll need somewhere between 7″ and 16″ of additional height. This tutorial will show you how to build an approximately 14.25″ height home theater riser.
Tools & materials
Home theater riser construction
Step 1: Assemble the bases
Two boxes are assembled with pressure treated 2x6s and 3″ wood screws. These smaller platforms are made out of treated lumber since they are in contact with concrete which may cause them to rot. The boxes should be about 16″ deep. These will act like the beams of a deck so the closer they are together the better off you’ll be.
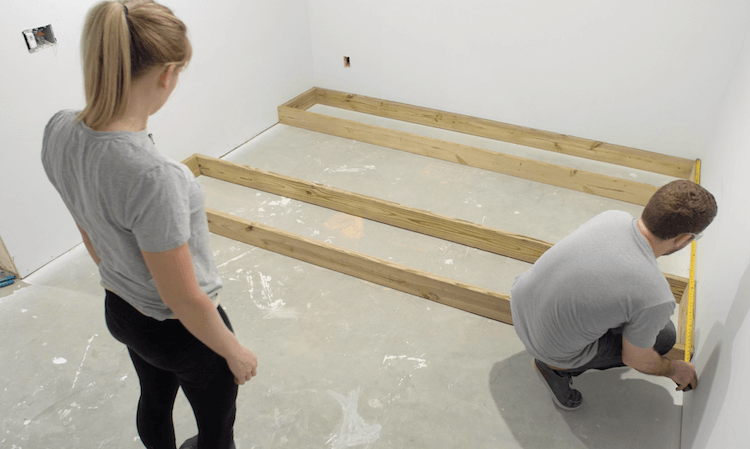
Make sure the overall platform area is deep enough that you can fully recline your theater seating and still have room to walk in front of it. Then secure the bases to the wall studs with 3″ wood screws.
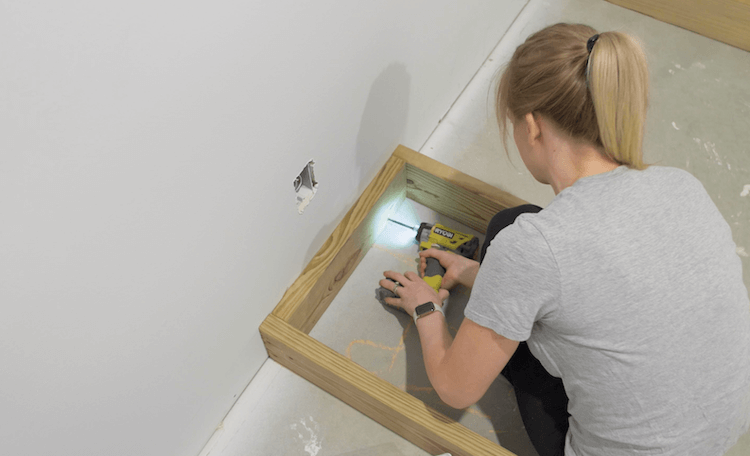
If you plan to build the step into the platform like we did, now is the time to install blocking to support the step. We used 2×8 cut offs from the riser joists in step 2 and turned them sideways.
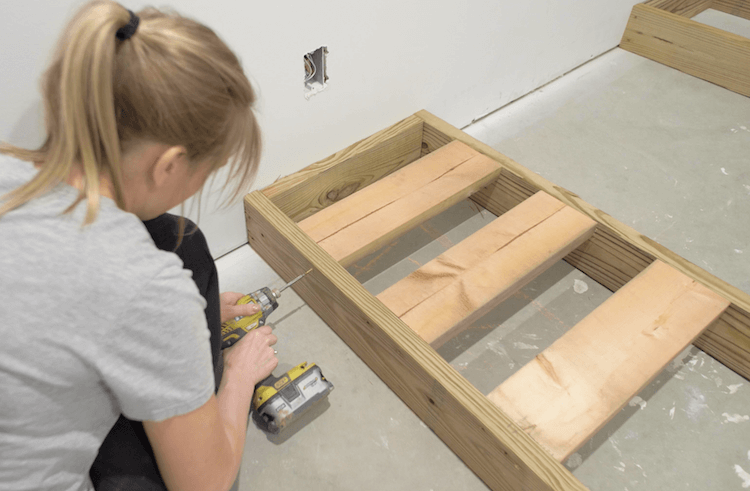
Step 2: Install the riser joists
The joists are 2×8 untreated lumber and they are spaced 16″ apart. They get secured to the 2×8 rim board with 3″ wood screws. Then the joists and rim boards get secured to the lower platforms and wall studs wherever possible.
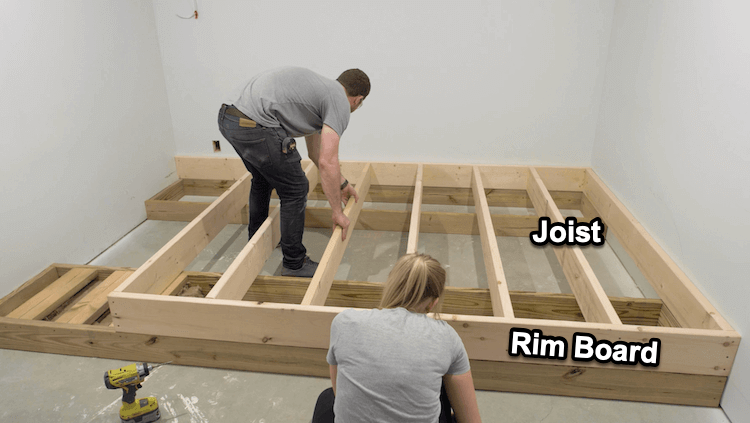
As you can see I left a 2ft wide recess in my platform for the step. This meant that the rim joist on the front is cut short and the remaining piece is recessed about 14″ for a comfortable step.
Step 3: Add insulation
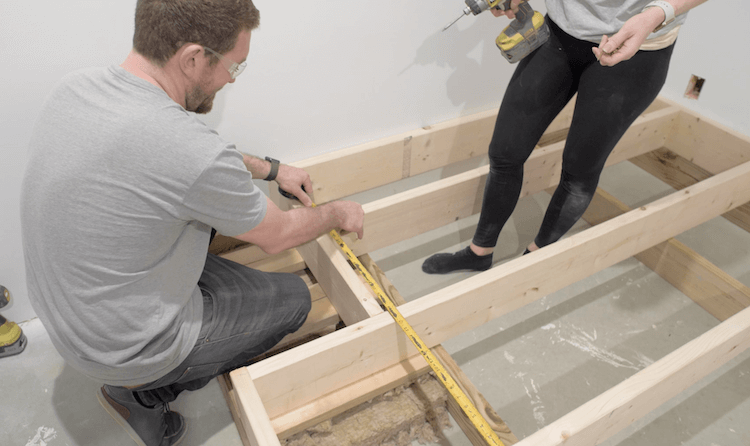
Since we have essentially created a big box, when it gets hit with something (like bass) it could act like a drum and create unwanted noise, muddying the sound that you really want. In order to prevent this we are installing soundproofing mineral wool insulation to dampen any unwanted sounds that enter that box.
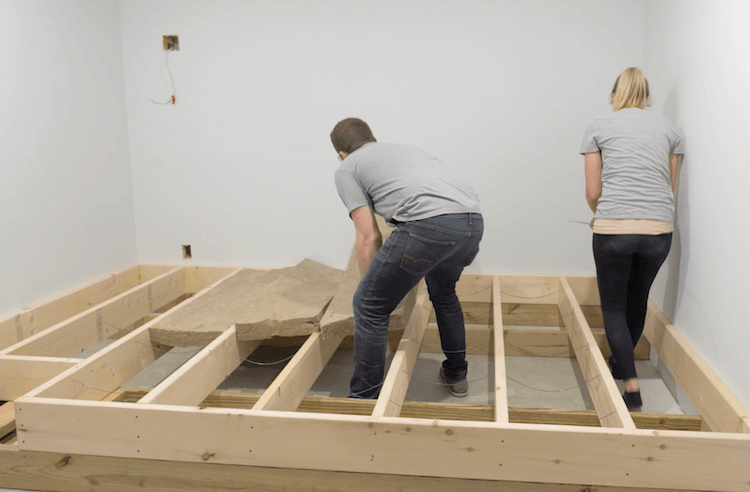
The insulation is held close to the surface with 16″ insulation supports.
Step 4: Install the subfloor
Now the 3/4″ OSB subfloor can be installed using subfloor adhesive or construction adhesive and wood screws.
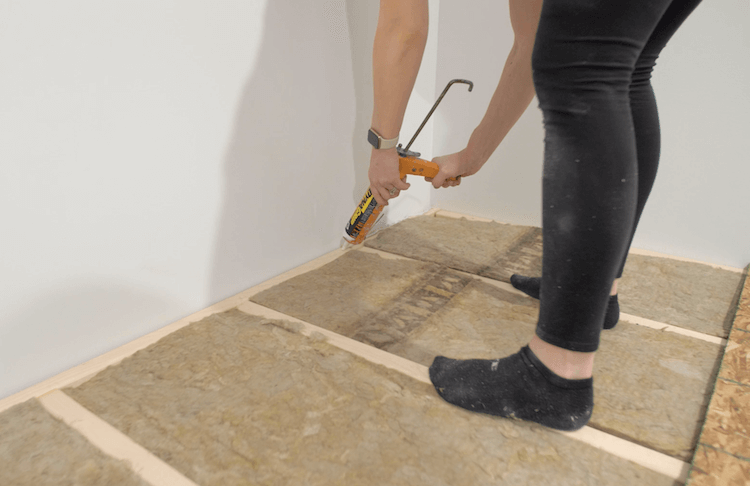
Make sure to cut the subfloor to size such that the end lands on the center of a joist. Then the end of the next piece can also sit on that joist.
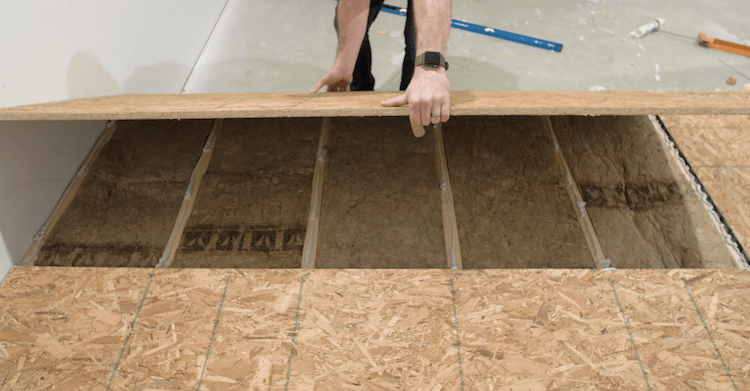
To stiffen up the platform and reduce vibrations, I glued and screwed down a second layer of subfloor with seams running in the opposite direction.
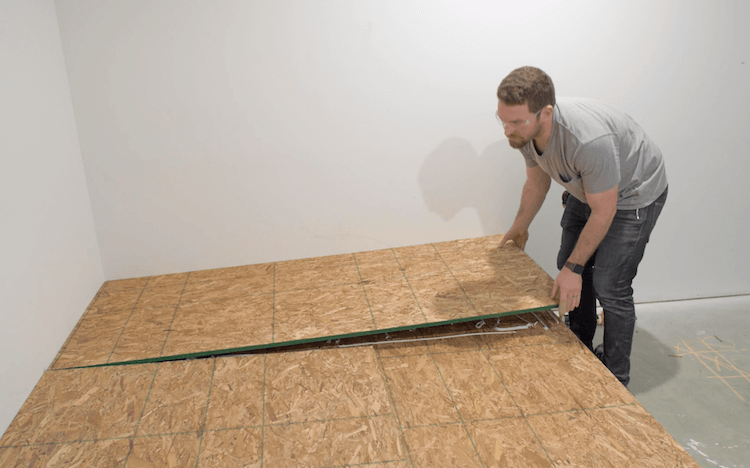
When cutting the subfloor at the step make sure to overhang the subfloor by 1″ on the front of both steps to create that step tread look.
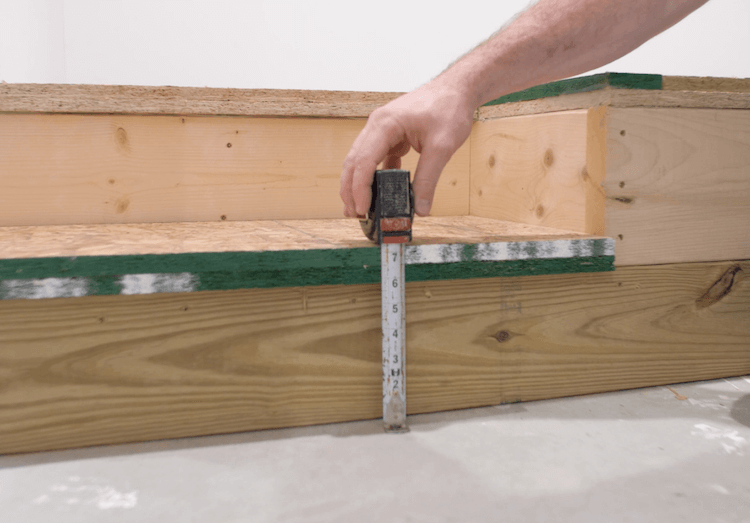
Now with the platform complete you can see why I chose the 2×6 base and 2×8 platform. These two platforms allow us to create a near uniform step height very easily. The first step is approximately 7″ and the second step is 7-1/4″.
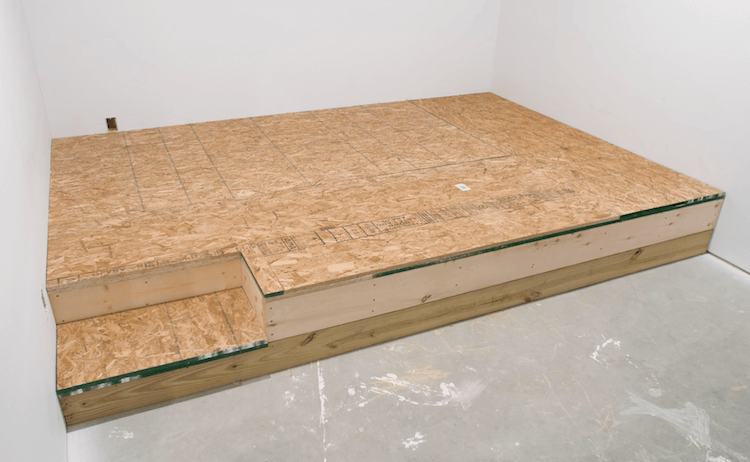
The next steps are carpeting and theater build out! I can’t wait to get started on that and will be sure to add links here when it is available.
Theater riser questions, answered
How tall should a home theater riser be?
Somewhere between 7″ and 16″, depending on the height of your front-row seating and how far the screen sits from the floor — the back row needs a clear line to the full screen over the heads in front. This build comes out at approximately 14-1/4″, which also splits neatly into two ~7″ steps.
What do you build a theater riser out of?
Pressure-treated 2×6 base boxes where the platform touches the concrete (untreated lumber on concrete can rot), untreated 2×8 joists and rim boards at 16″ spacing above, and two layers of 3/4″ OSB subfloor, glued and screwed with the seams running in opposite directions. Everything is fastened with 3″ wood screws, and the base boxes and rim boards get anchored to the wall studs.
Should you fill a home theater riser with insulation?
Yes. A framed riser is essentially a big hollow box, and bass energy can make it resonate like a drum, muddying the sound. Filling the cavities with mineral wool insulation — held near the deck with 16″ insulation supports — dampens that resonance. The doubled, glued subfloor helps kill vibration too.
Do you need to attach a theater riser to the wall?
Wherever possible, yes. The base boxes get screwed to the wall studs with 3″ wood screws, and the joists and rim boards are fastened to the lower platforms and studs as well — that keeps the platform from shifting or creaking once a row of recliners and a step are living on it.
Build out the rest of the fun zone
Questions? Comments?
As always, if you have any questions don’t hesitate to comment below and especially don’t forget to post pictures of your finished products in the comments! ENJOY!
Did you consider using Green Glue between the wood and wall, and between the flooring sheets?
How did you finish it? Paint? Carpet?
How large of a hole can I put in the rim board? I would like to make an access port to reach LED lighting strips I have running under the stair lip. I could put the power supply inside the riser, but I want to get to it if needed.
You shouldn’t attach the riser to the wall. A riser should be off the wall and preferably use some sort of isolators as feet. A big platform extending outward into the room may vibrate when the subs kick in and when that vibration transfers to the walls it has that bottoming out sound and generally hurts acoustics overall. If you install buttkickers into the platform or seats it will be unbearable.