

Pool Table Renovation
Quick answer: If the slate is in good shape, an old pool table is absolutely worth renovating instead of replacing. We rebuilt our hand-me-down 7ft table with new red oak 2×6 rails cut using the old rails as templates, salvaged cushions re-glued with contact cement, new felt we installed ourselves, mitered plywood box legs, brass sights, and leather pockets — a completely modern table for under $1,000, in about 3 days of work, saving thousands over buying new. Full video and all 11 steps below.
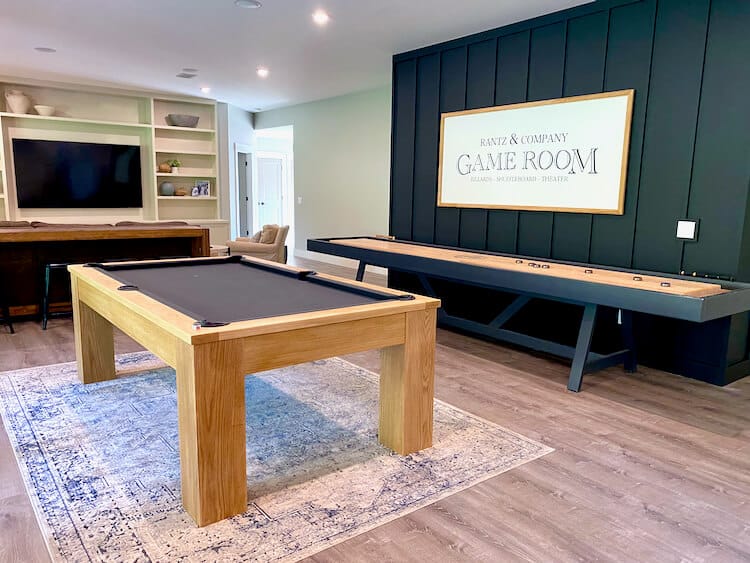
We’ve had an old hand-me-down pool table in our basement for some time now. The slate is in great shape and the size was perfect for our space but it was in need of a serious overhaul. So we decided to give it a face lift and it turned out even better than we both could have imagined.
In this tutorial I will detail how we took an old 7ft pool table and gave it a new modern look. From building new rails, to recovering and installing new legs and aprons. This table is exactly what we wanted and saved us thousands compared to buying a new one.

Tools & materials
How to renovate a pool table
Total Time: 3 days
Remove the Rails
Depending on your pool table the rails may come off in pieces or all as one like ours. Just remove the bolts from below to free the rails.
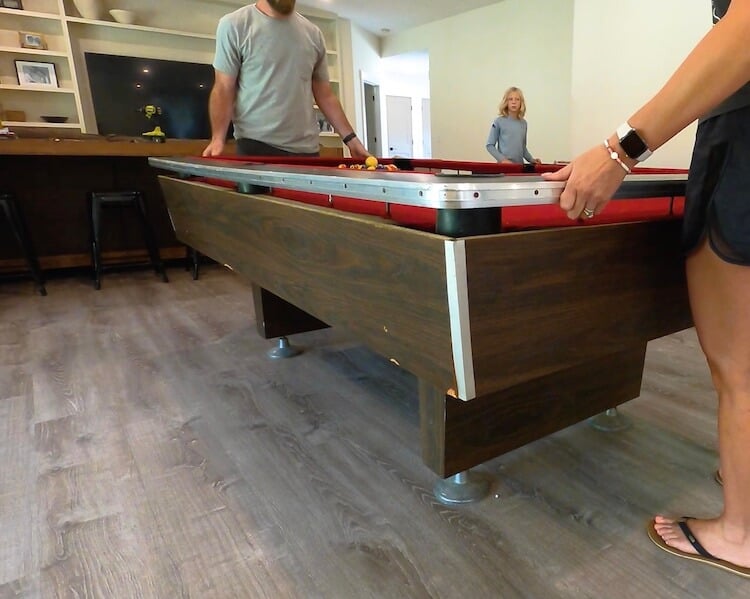
Remove the felt by cutting with a utility knife and prying out the feather boards. Remove all staples and hanger bolts as well.
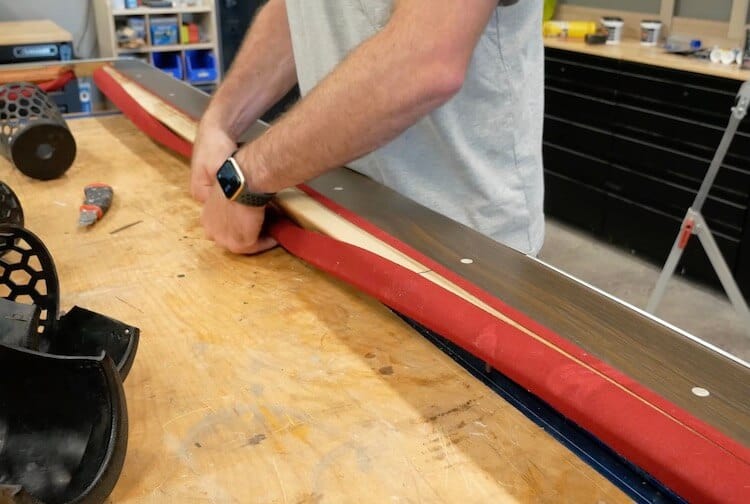
Cutting New Rails
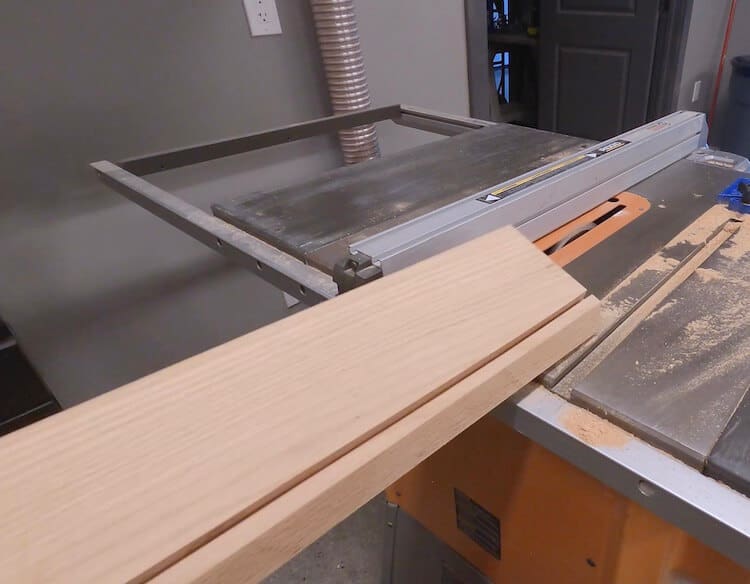
I used my old rails as a template by first measuring the angles and matching them to the cuts made on the new, red oak, 2×6 rails. The angles you should be matching are the top angle, keeping in mind the length of cut on the rails (cushion mounts to this), and the bottom angle (matches cushion) which returns to the table.
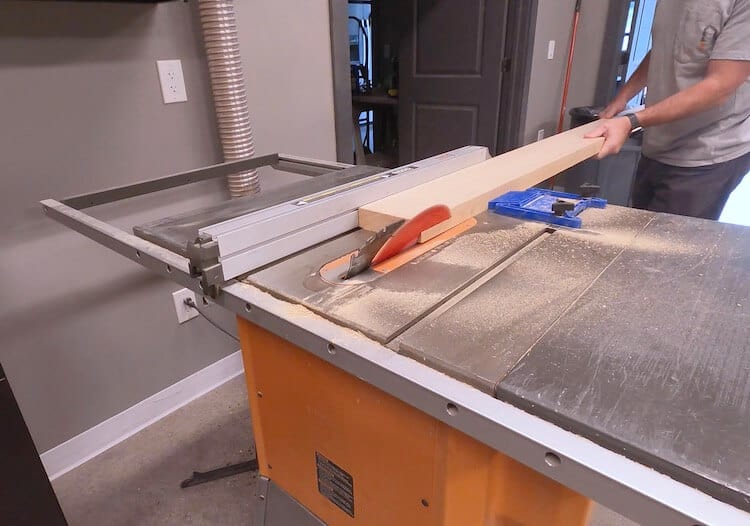
I also cut a dado to match the old one which will be used to install the fabric to cover the bumpers.
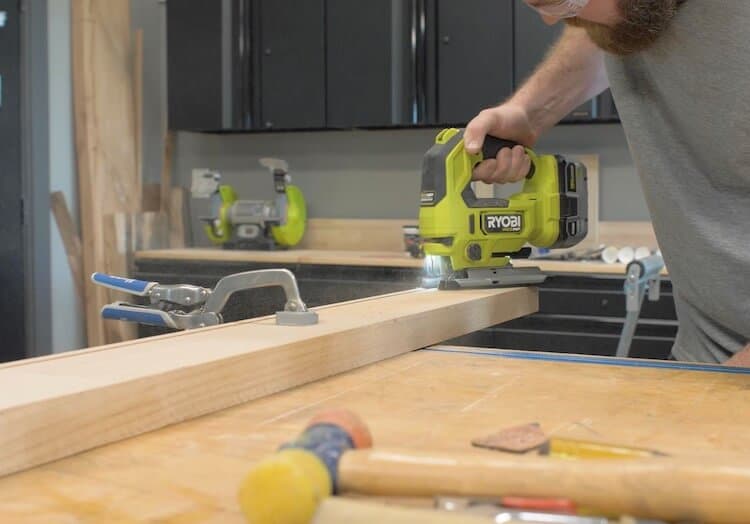
I then traced the pockets and rough cut them with a jigsaw. The pocket holes are cut on a slight angle to help accept the pockets.
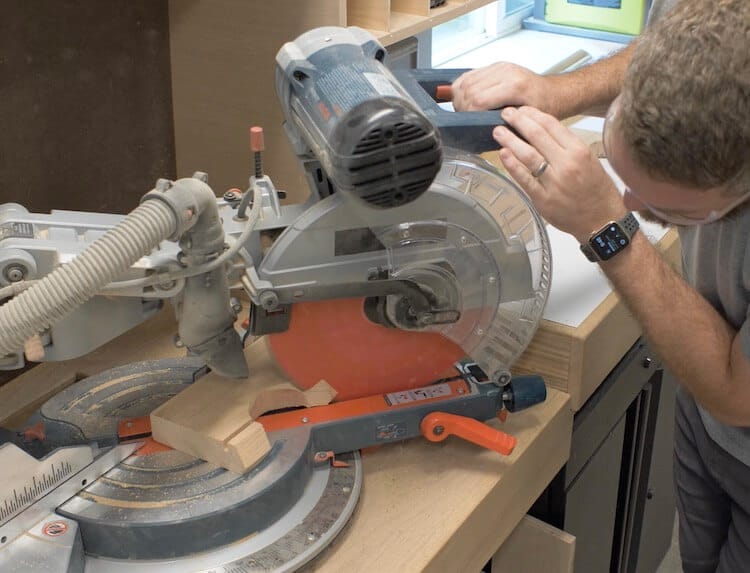
I finished the pocket holes by matching the compound angled cuts of the old rails on the miter saw. This is an important angle to try to match up.
Joining the Rails
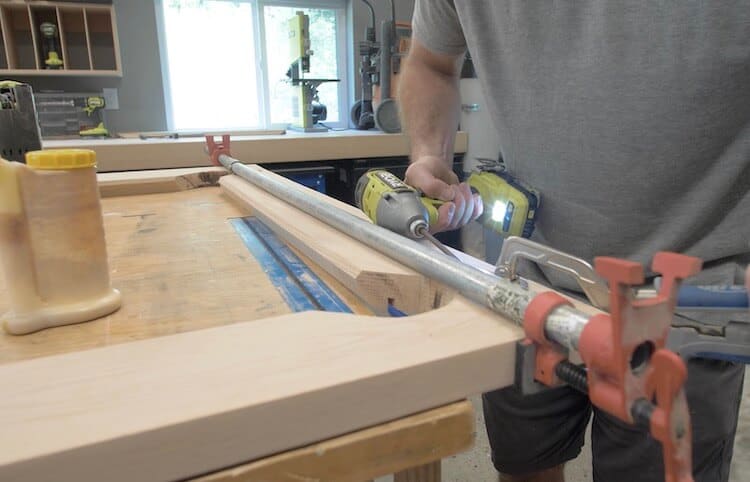
I cut the rails down to their final length based on the old rails as a template and joined them together by gluing and clamping the rails and securing with 1-1/4″ hardwood pocket screws.
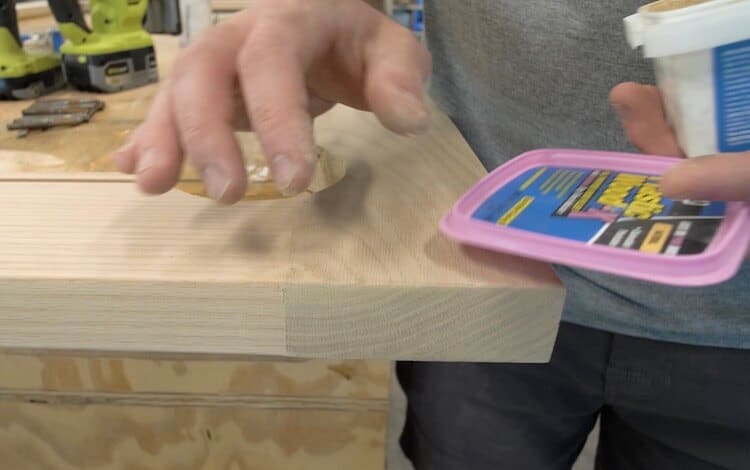
I then filled in any imperfections with DAP Plastic Wood-X which dries to a nice natural color.
Installing the Hanger Bolts
I first removed the existing skirting to make things a little easier.
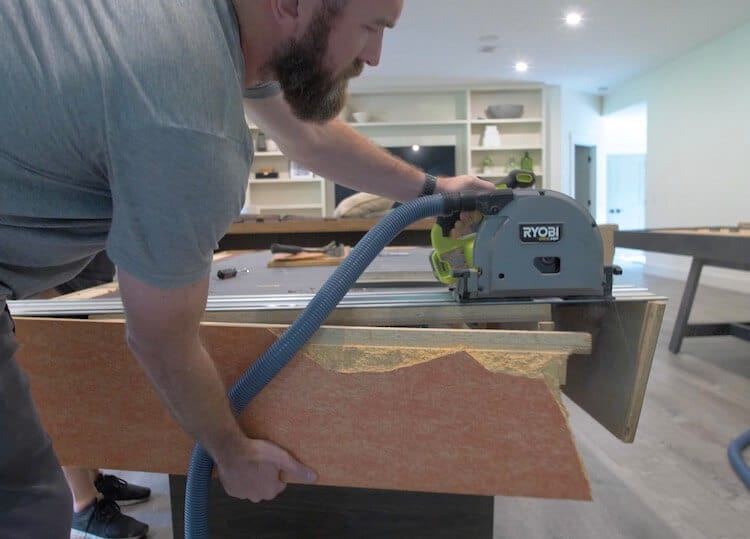
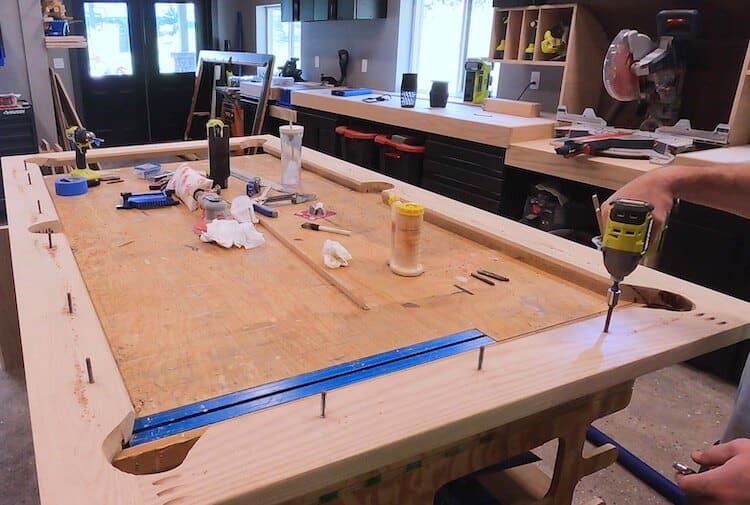
I then located the rails on the table and marked the hanger bolt locations.
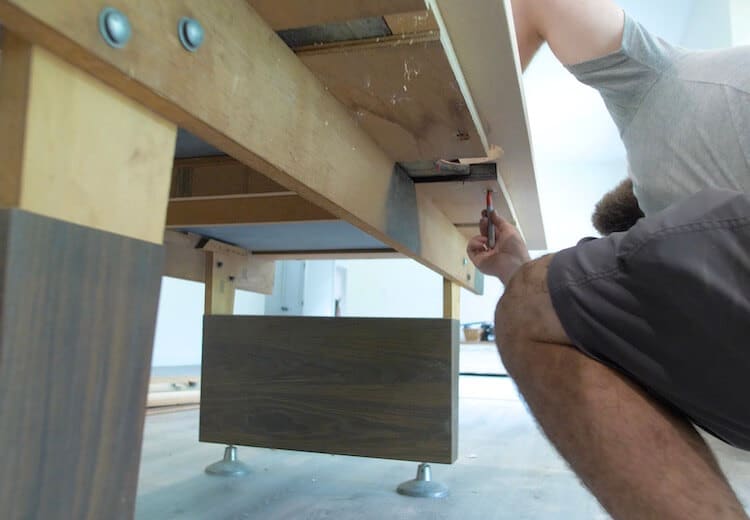
Using an appropriate sized drill bit, I predrilled the hanger bolt locations.
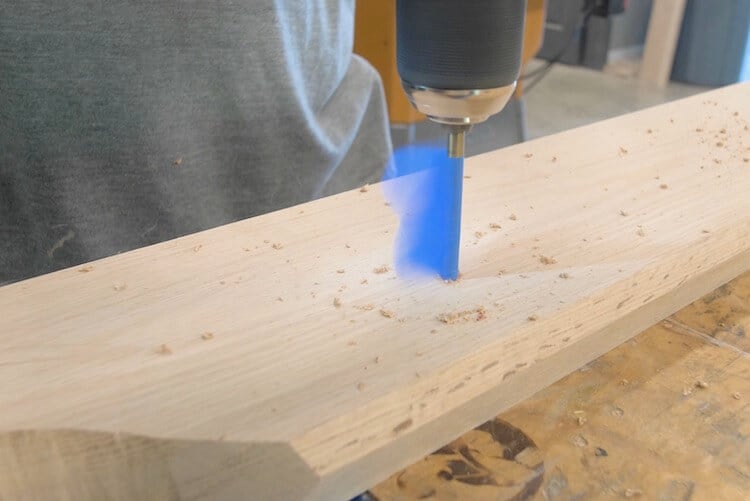
And installed the hanger bolts by cinching two nuts together and screwing the course threaded end into the rails with a socket.
Building the Legs
For the legs we wanted to bring them out to the corners. The problem was that this is where the pockets are. So I decided to build 8 inch boxes out of plywood. The boards were all mitered on a 45 and glued together with DAP Weldwood Wood Glue for a strong hold.
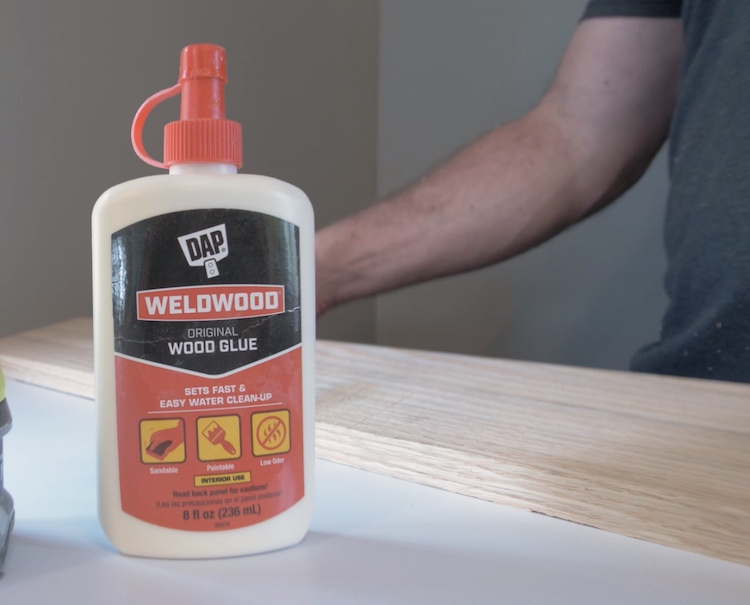
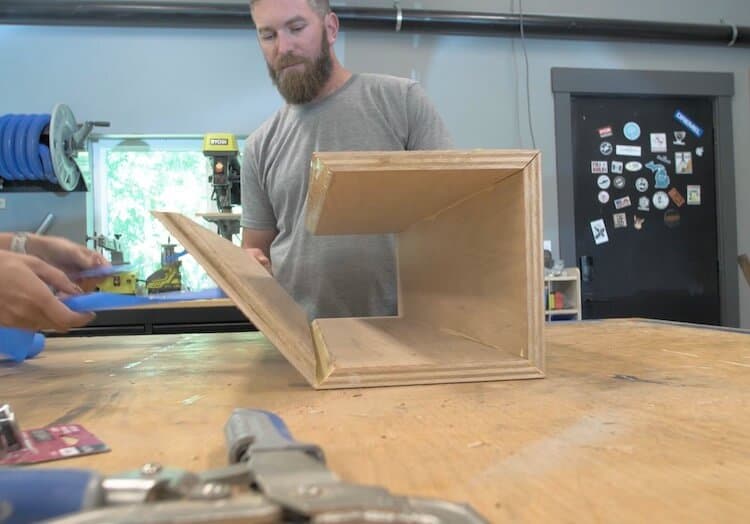
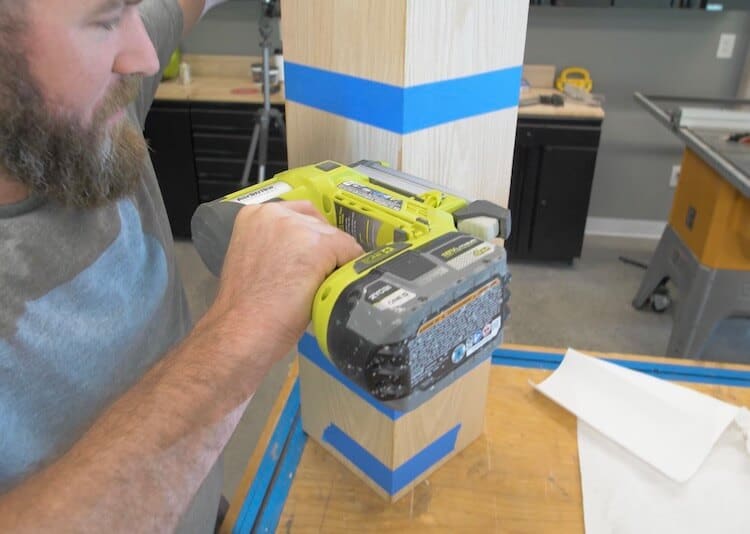
I laid down two strips of painters tape and placed the boards on that to help hold the miters. Then finished off the joints with a pin nailer.
Finishing
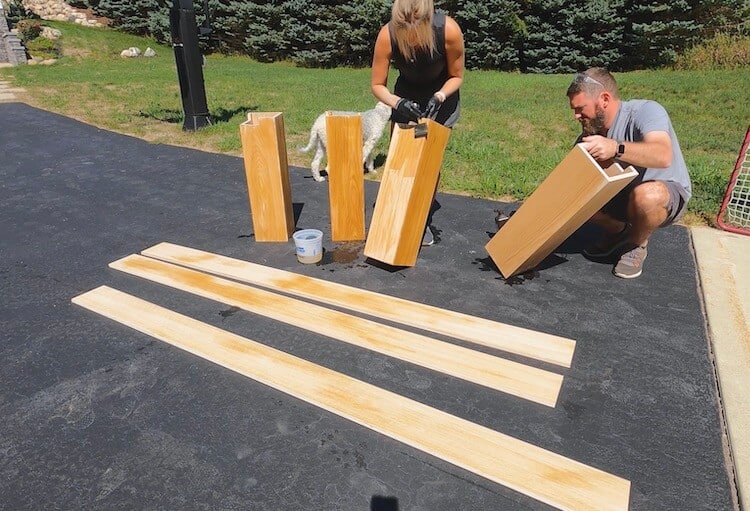
The red in the red oak really stands out when you apply a finish to it. So we opted to bleach all the wood. This process consists of wiping the wood with peroxide and then applying a lye mixture and allowing to bleach in the sun. The mixture is 3 teaspoons of lye in 1 quart of water. After it drys, you wipe it with clean water to remove any residue and apply a wipe on polyurethane for protection.
Installing Cushions
For a permanent bond I installed the cushions with DAP Weldwood Contact Cement. This is applied to both the cushion, and the rail where it mounts, and allowed to cure until both pieces were tacky. I was able to salvage the old cushions which were still in good condition.
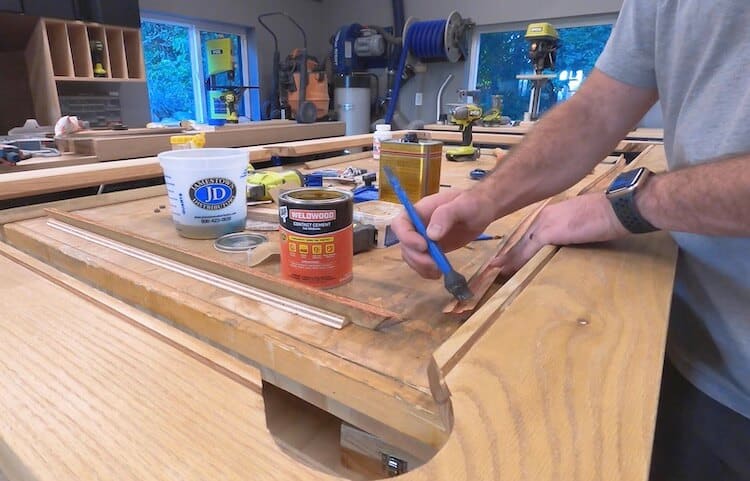
Then it can be pressed into place for an instant bond on contact.
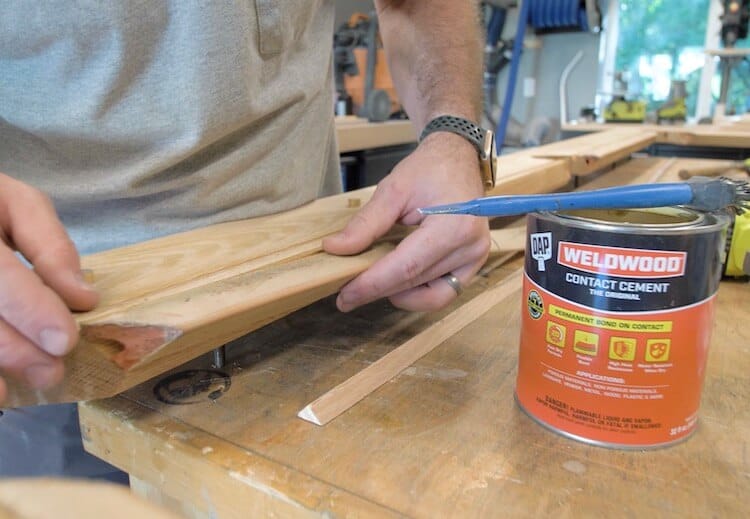
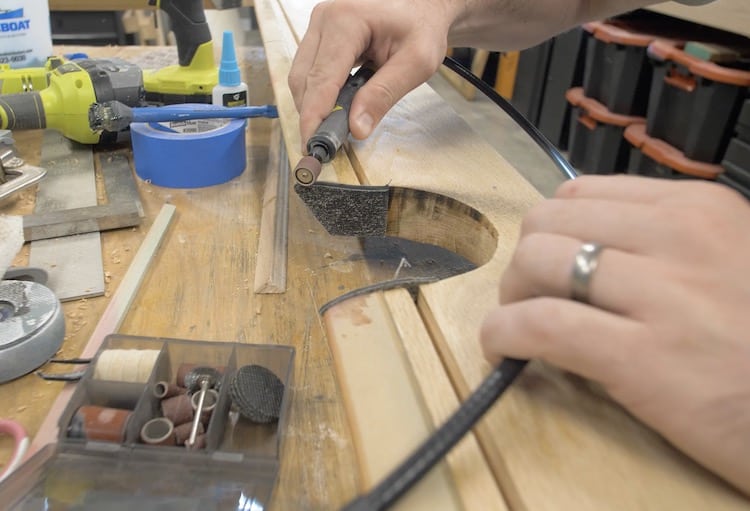
The bumpers I purchased on Amazon were also installed with contact cement. They are kind of like rubber end caps for the cushions and recess into the pocket. Once bonded we trimmed with a utility knife and eased the edges with a rotary tool.
Installing Sights
Sights are the dots on the side of the pool table that help you line up your shot. The old sights were a pearl inlay that I didn’t think would go well with the new style of the table so I opted to cut discs out of 1/2″ brass rod.
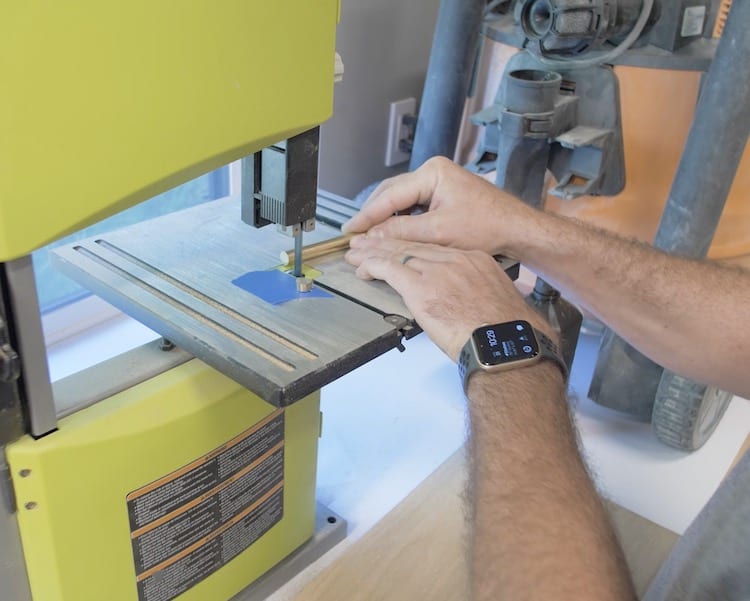
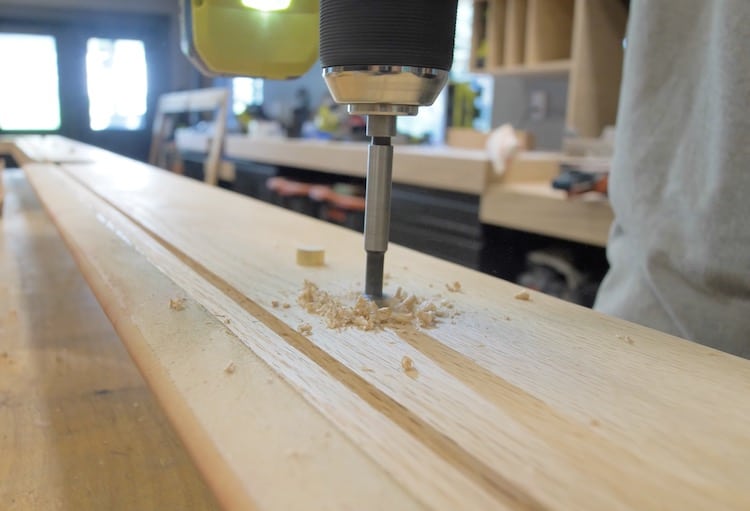
I then sanded them down, marked the locations based on the old rails and used a 1/2″ forstner bit to drill a hole the same depth as the discs. I checked the depth by placing the discs and removing with a piece of tape before adhering.
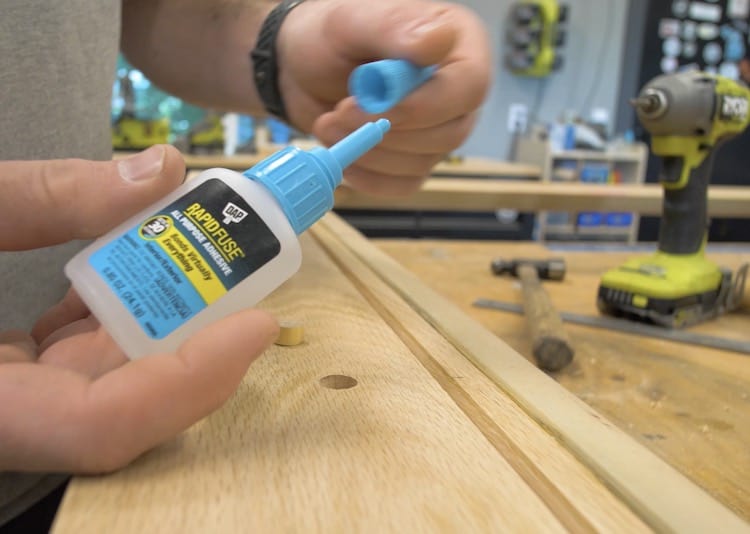
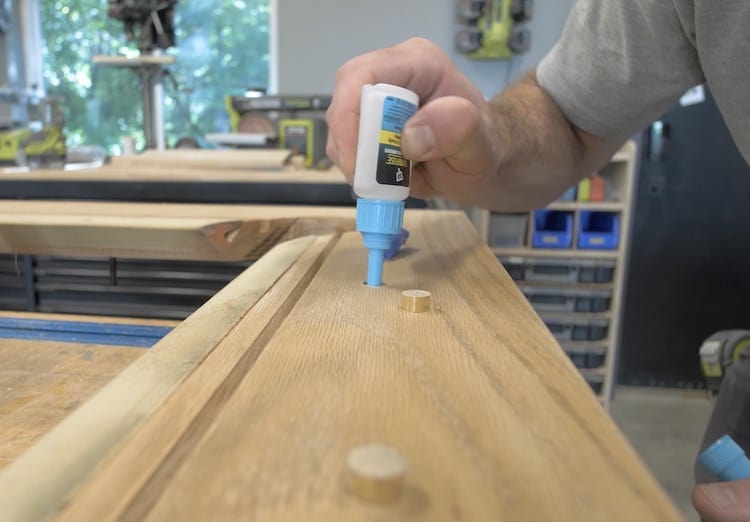
The discs then get bonded into place using DAP RapidFuse All-Purpose Adhesive.
Recovering the Table and Cushions
In the beginning I thought “I going to have to get a professional to recover this table” but after rebuilding the entire table and watching enough YouTube videos my confidence was pretty high, so I ordered some charcoal pool felt on Amazon and went for it.
I started by installing the felt on the table. Stapling the middle of one end and stretching both sides toward the pockets. I then did the same at the other end getting the felt nice in tight, lengthwise. After that I moved on to the sides, making sure to staple every 3/4″ or so and pull evenly.
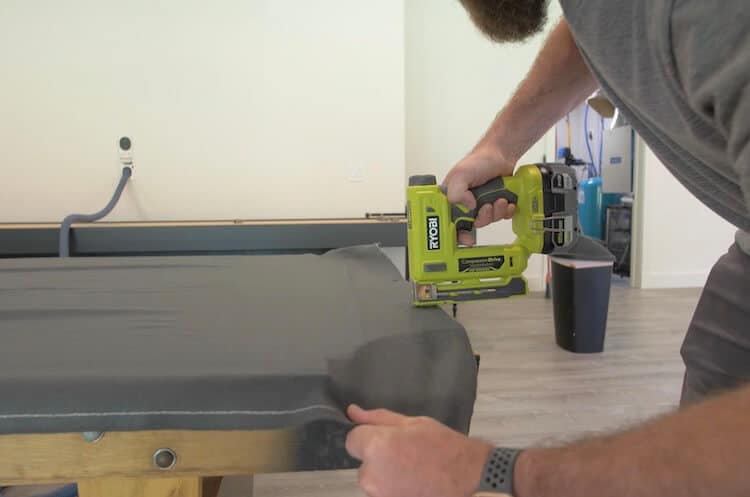
After trimming the felt I cut 3 slits in each pocket and pulled tight, stapling below. This part of the recovering process wasn’t hard.
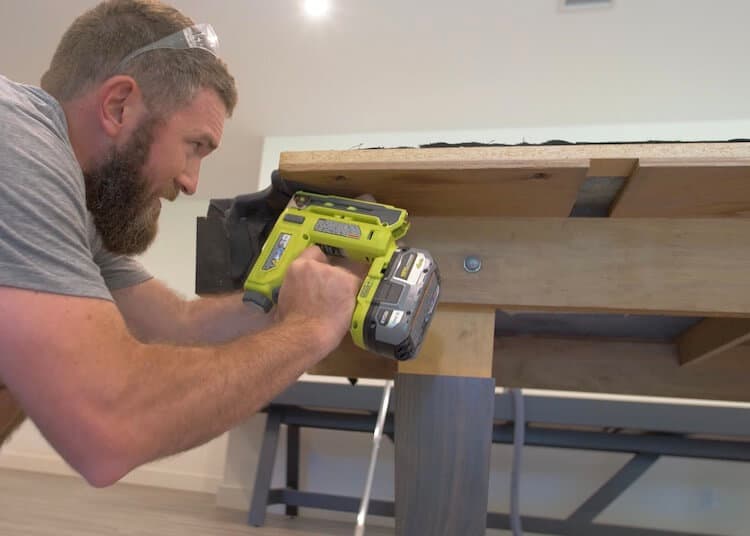
Then it was on to the rails. The part I was most nervous about. I highly recommend watching as much content on this process before beginning. I started by laying the fabric upside down and hammering the featherboard into the dado to secure the felt to the top of the rail.
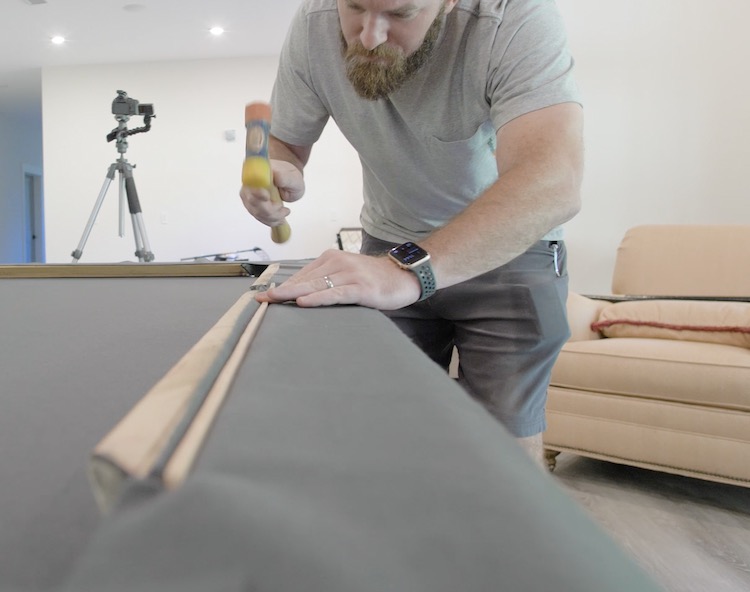
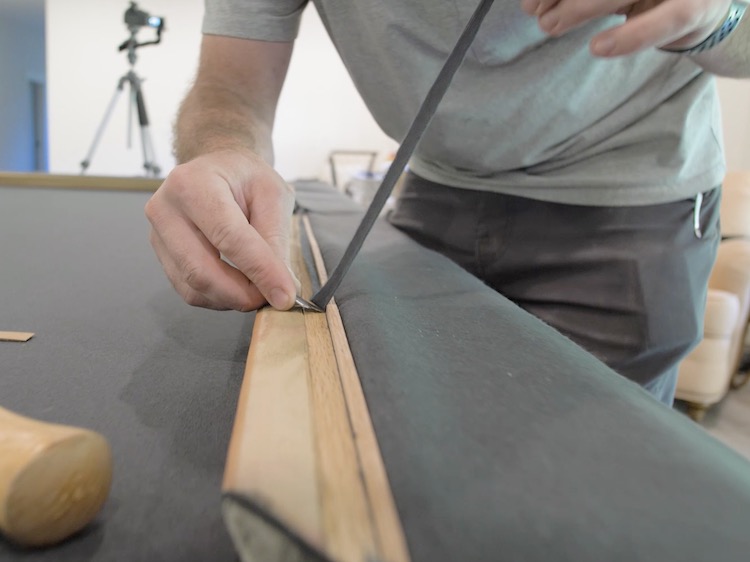
Before completely seating the featherboard I trimmed the excess felt off.
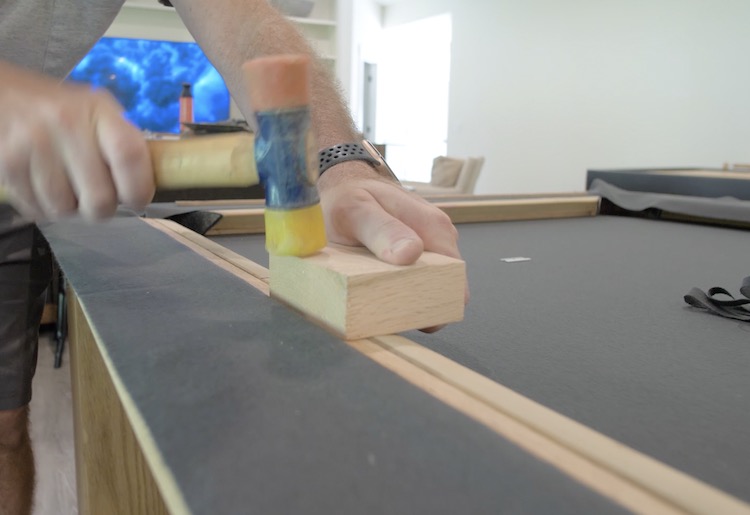
I completed hammering the featherboard in with a scrap piece of wood.
I then flipped the rails over, wrapped the cushions, pulled the felt tight in the middle and placed one staple there. I then stapled the corners of the side pockets getting the fold and tension just right.
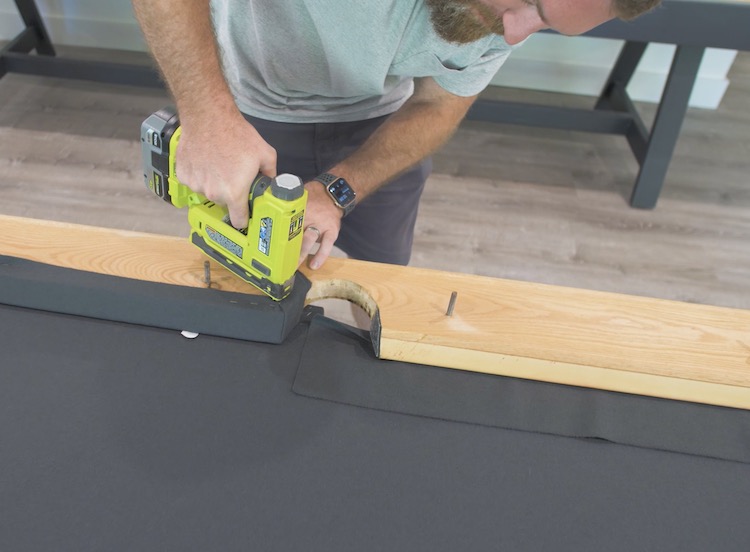
After pulling the felt tight and stapling back to the middle, I moved on to the corner pockets which just get stretched around the corner and stapled tight. Then finish out the rail back to the middle, stapling about 3/4″ apart and trimming the excess. Sounds easier than it is to get it right, but this isn’t a recovering tutorial.
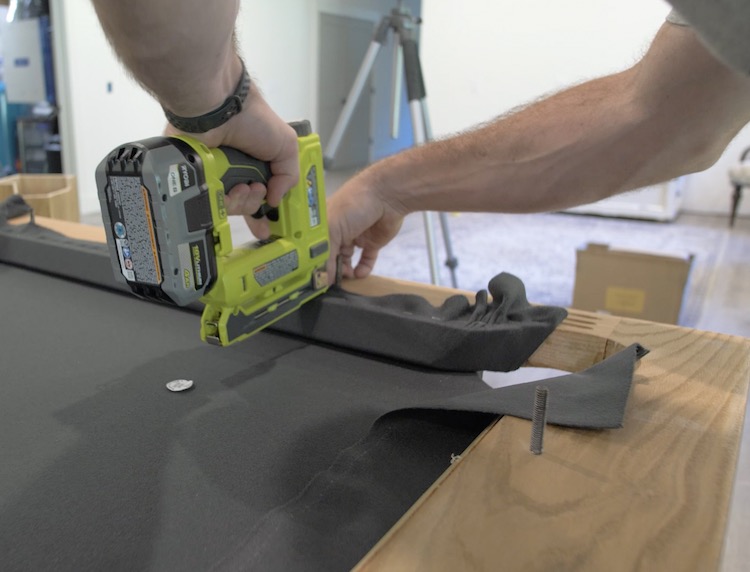
Flip the rails back over and insert the hanger bolts into the holes on the table.
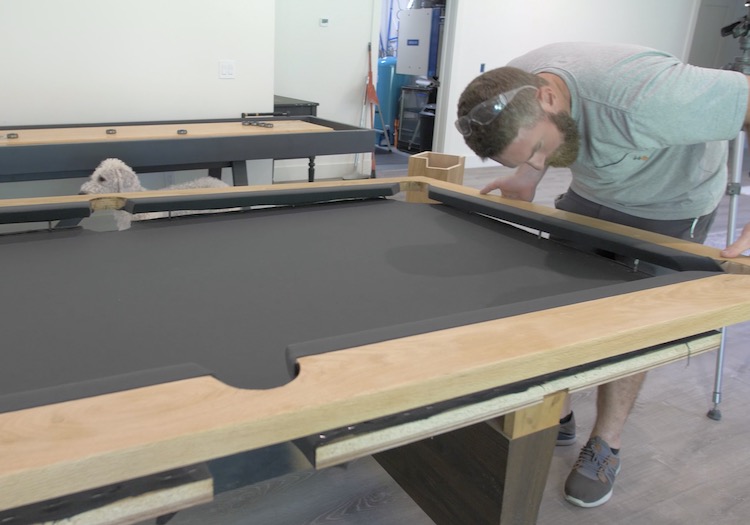
Secure the rails from below with washers, nuts and socket wrench.
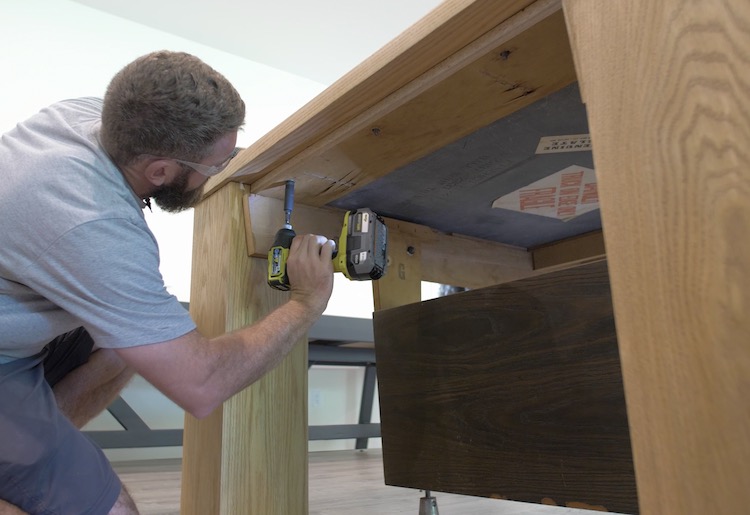
Installing the Legs
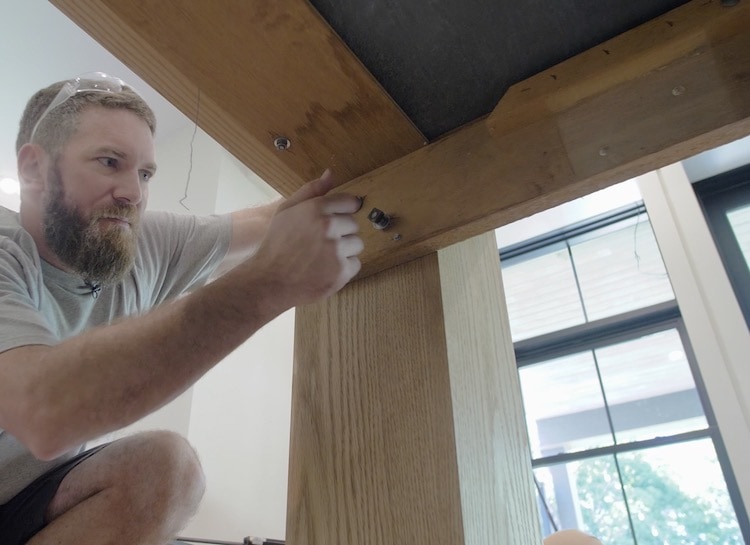
I first placed the legs at the outside corners of the table such that the pockets would recess into them. Then I secured the beams to the legs with wood screws temporarily.
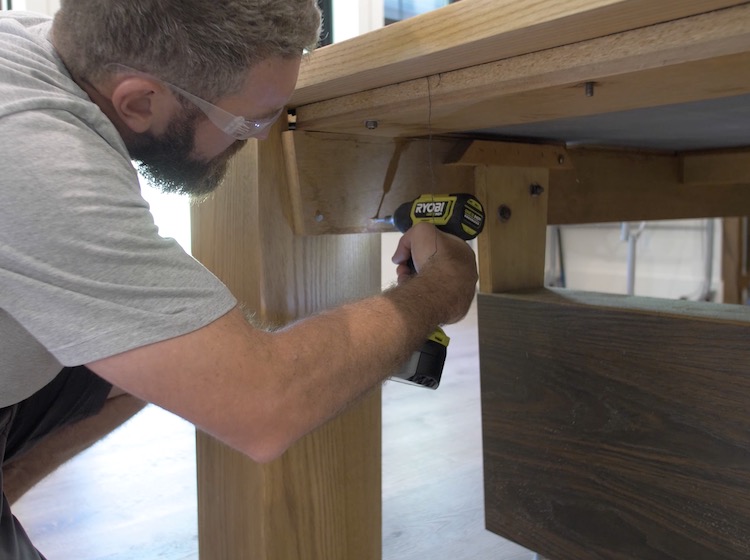
We then unbolted and removed the old legs from the table.
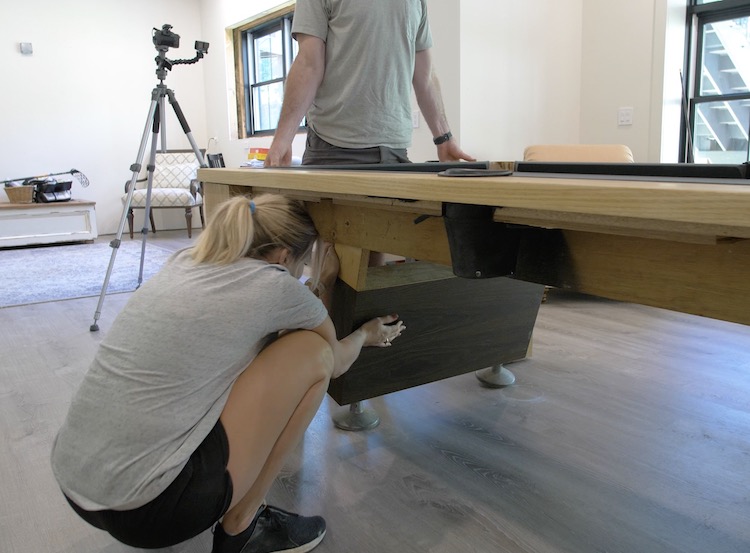
Using a drill I drilled holes for through the beam and into the new legs.
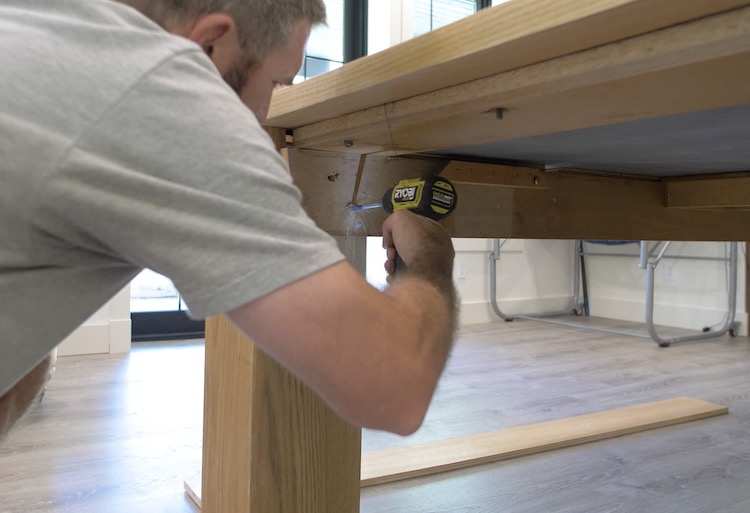
Then, using the old bolts I secured the beams to the new legs.
Aprons & Pockets
The final pieces of the table were the aprons. These were ripped to 6-1/2″ which is enough to cover the side pockets and secured with four 1-1/4″ pocket screws at each end and 90 degree clips in the middle.
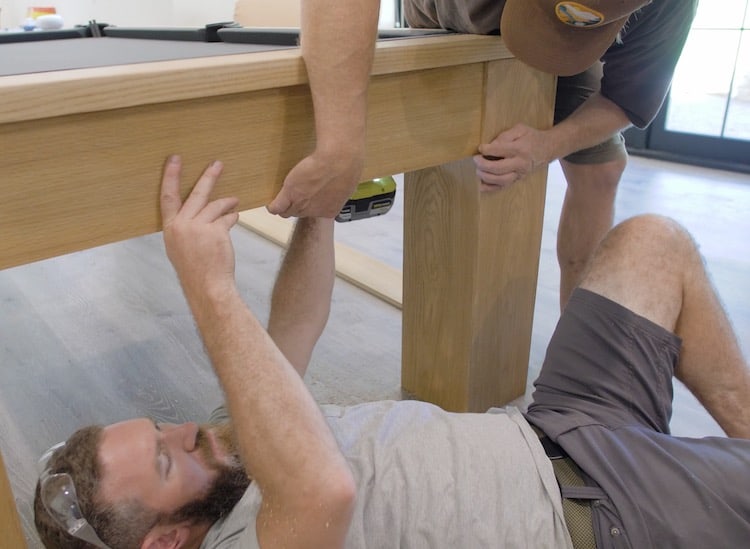
I then placed the upgraded leather pockets and secured with black tack nails.
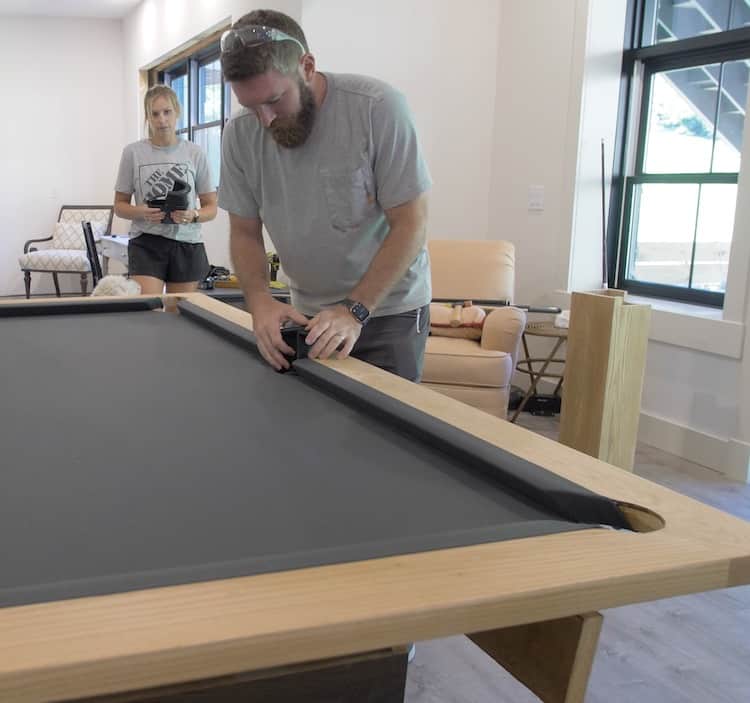
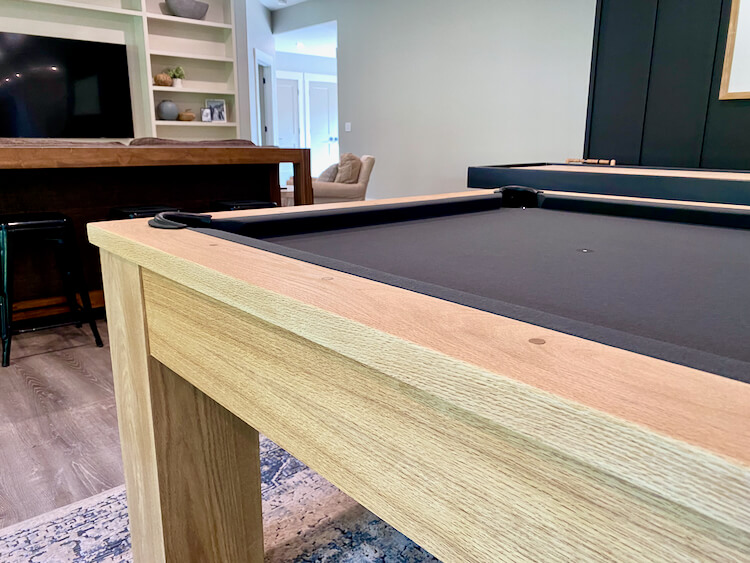
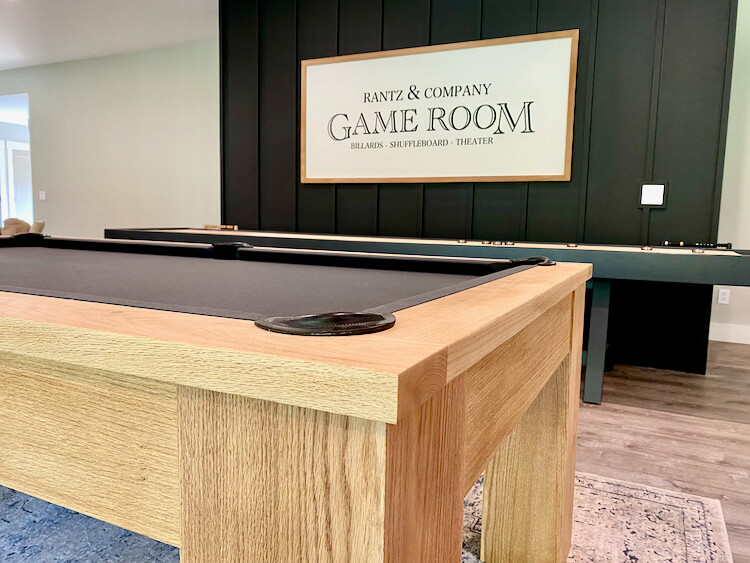
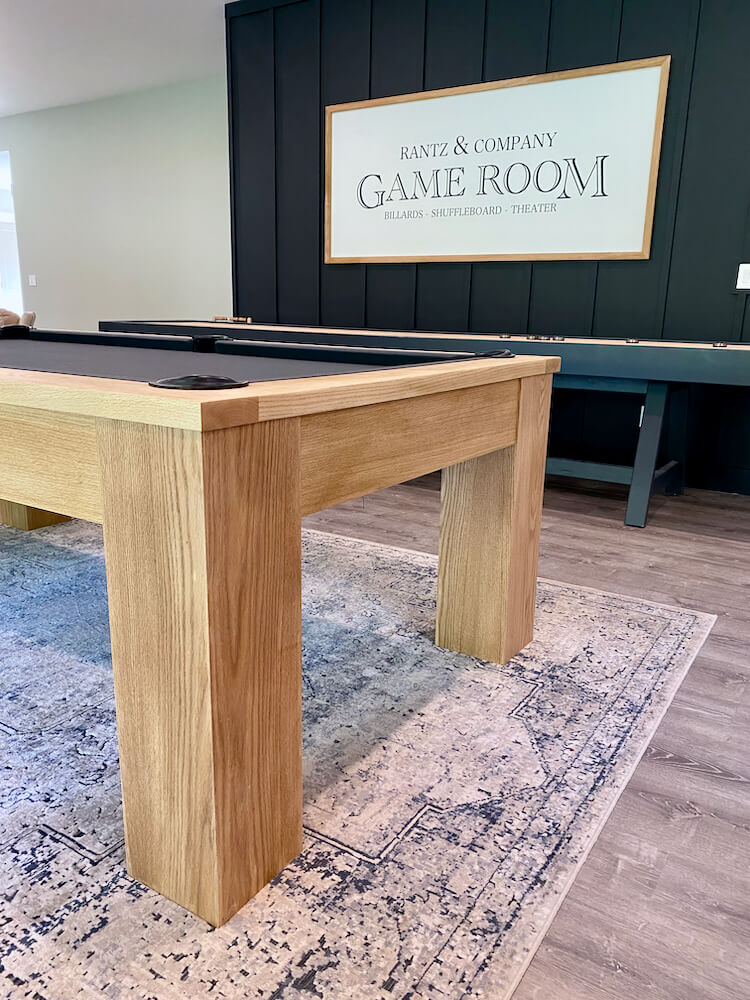
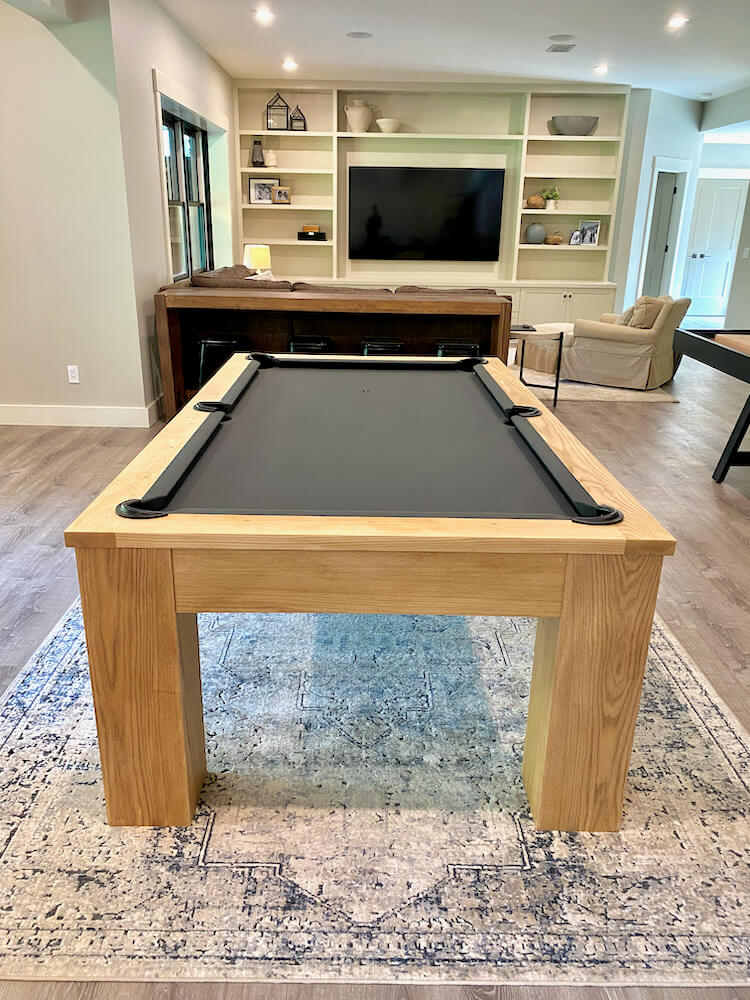
And there you have it! A new modern pool table. Not only did we save the old pool table but we got a great new look for under $1000. Not bad if I don’t say so myself.
The finished table
Pool table renovation questions, answered
Is it cheaper to renovate a pool table than buy a new one?
Dramatically. This entire renovation — new red oak rails, new felt, new legs, aprons, brass sights, and leather pockets — came in under $1,000, thousands less than a comparable new table. The catch: your slate needs to be in good shape, because the slate is the one part this makeover doesn’t replace.
Can you re-felt a pool table yourself?
Yes — it’s the step that scares everyone (me included), but it’s doable. The bed felt gets stapled from the middle of each end outward, pulled evenly, with three slits cut at each pocket. The rails are the harder part: the felt is held in a dado by a hammered-in featherboard, then wrapped, stretched, and stapled about every 3/4″. Watch as much footage of the process as you can before starting.
What wood do you use for pool table rails?
We used red oak 2x6s, cutting the compound angles with the old rails as templates — the top angle, the bottom cushion angle, the dado for the featherboard, and the angled pocket cutouts all get matched to the originals. Red oak shows a lot of red under a clear finish, so we bleached the wood (peroxide, then a lye solution) before sealing with wipe-on polyurethane.
Is an old pool table worth restoring?
If the slate is flat and crack-free, absolutely — the slate is the expensive, heavy heart of the table and ours was in great shape. Rails, felt, cushions, legs, aprons, and pockets are all replaceable or rebuildable with normal woodworking tools, and you end up with a custom table for a fraction of new-table money.
Build out the game room
Questions? Comments?
If you have any questions, drop them in the comments below — and when your build is done, post a picture. That’s the good part.