
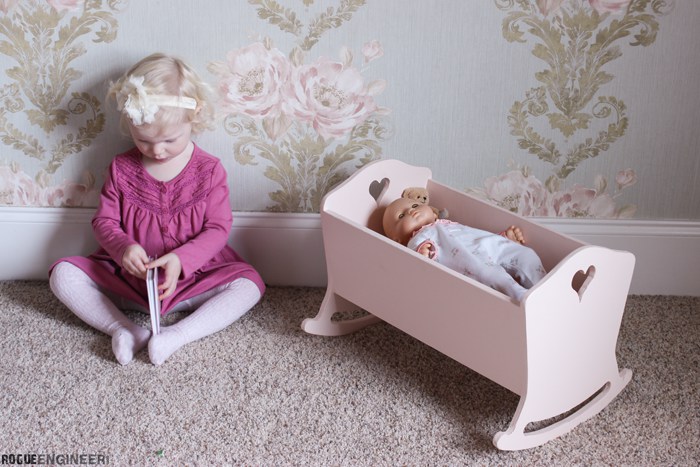
American Girl Doll Cradle
Recently our little girl really started to love taking care of her “baby”. She feeds her bottles, reads to her, and puts her “night night”. So in typical last minute style, 2 days before Christmas we knew we had to build her a cradle for her baby doll. Needless to say, she LOVES it and we love that with we made it for only $20! We made this one a simple build with the free printable template.
For sneak peeks of our upcoming projects be sure to follow me on Facebook and Instagram. Also, follow me on Pinterest to get tons of projects plans from all around the web!
Required Tools
Disclosure: The links provided in the “materials” and “required tools” sections are affiliate links. If you would like to support our site and help keep our content free come find out more about how we can make money with no extra cost to you.
Cut List

How to build an American Girl Doll Cradle
Step 1: Cut Wood
Once you have printed out the cut list and template, cut the project panel using a table saw.
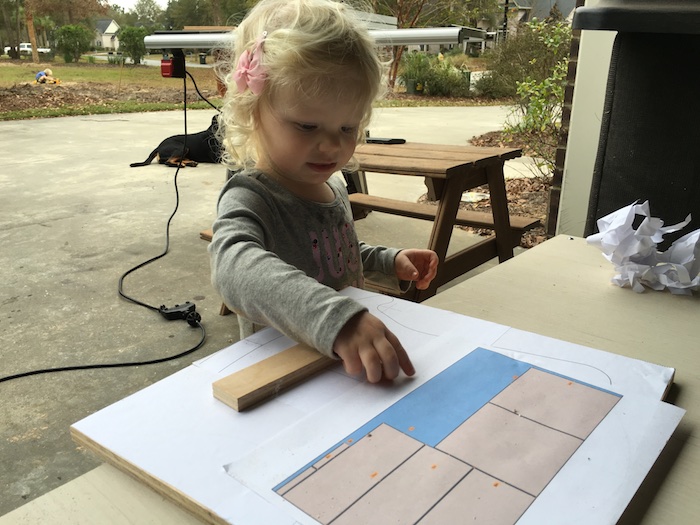
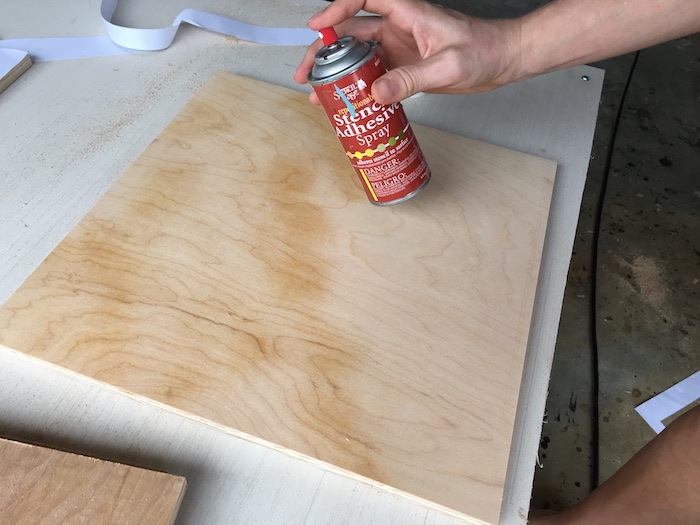
Step 2: Apply Stencil
Cut out stencil around the dotted lines to lay on top of the 14″ x 14″ wood squares. I used a spray adhesive to apply my stencil. Another option it o cut around the stencil and trace pattern. The spray adhesive just makes things easier.
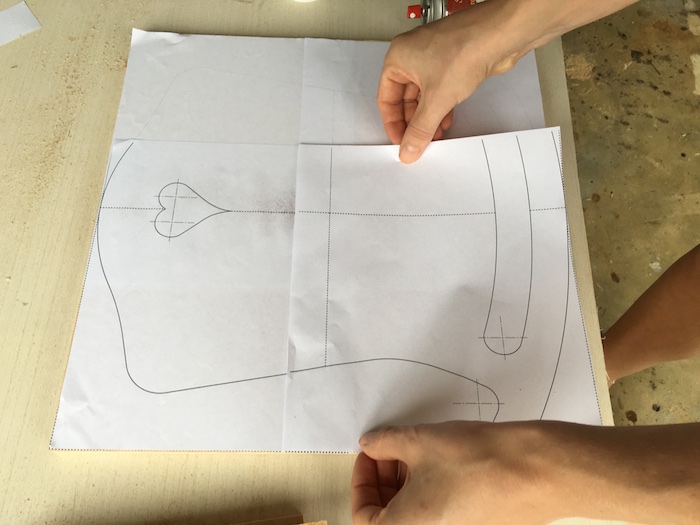
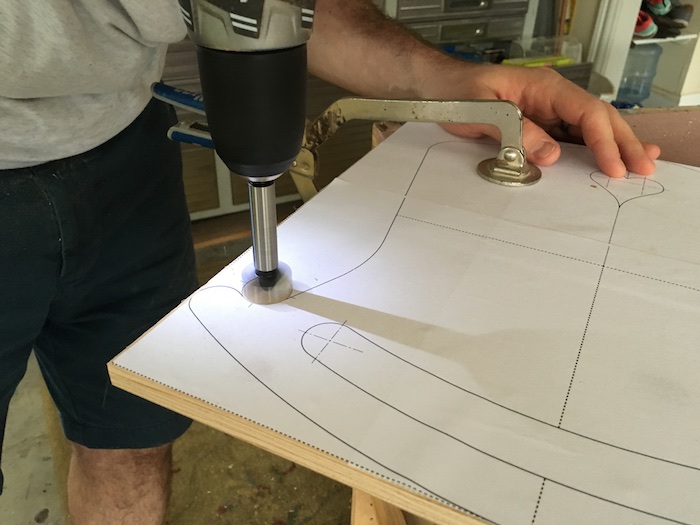
Step 3: Cut Out Template
One option on the template it to use a 1″ drill bit to cut the along the curved edges. I have included the cross hairs on the template to show you where drill these holes.
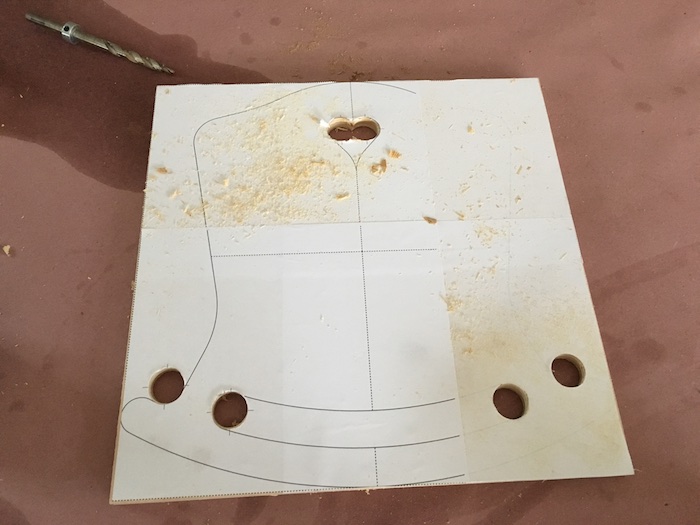
Using a jig saw, cut along the template outline.
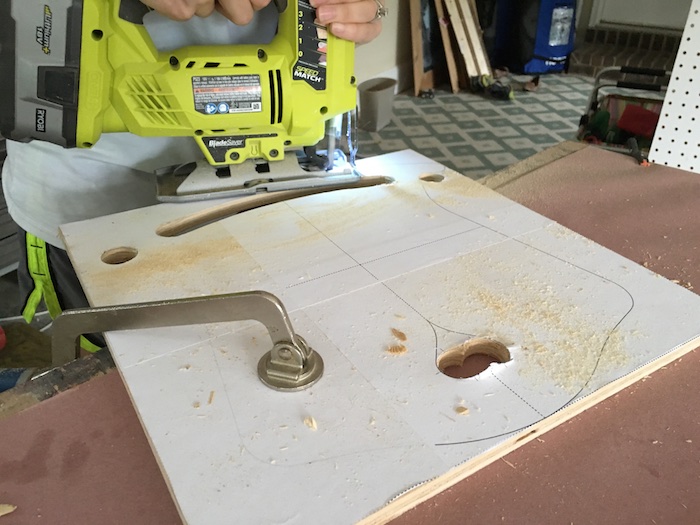
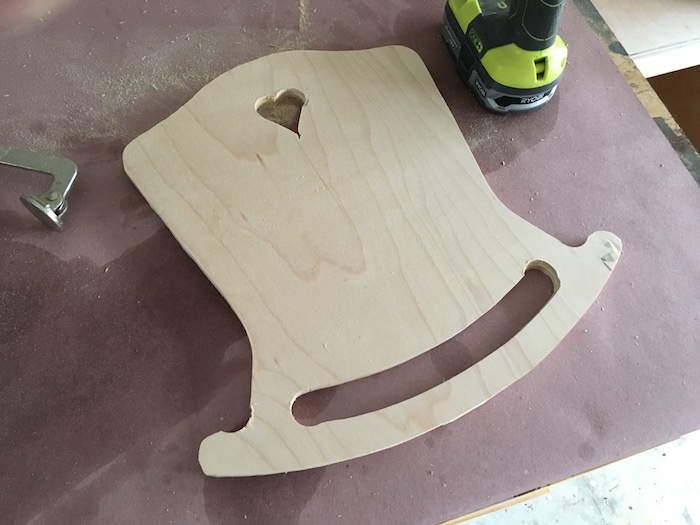
Once template it cut, sand a smooth any of the uneven edges and make smooth.
Step 4: Assemble Cradle
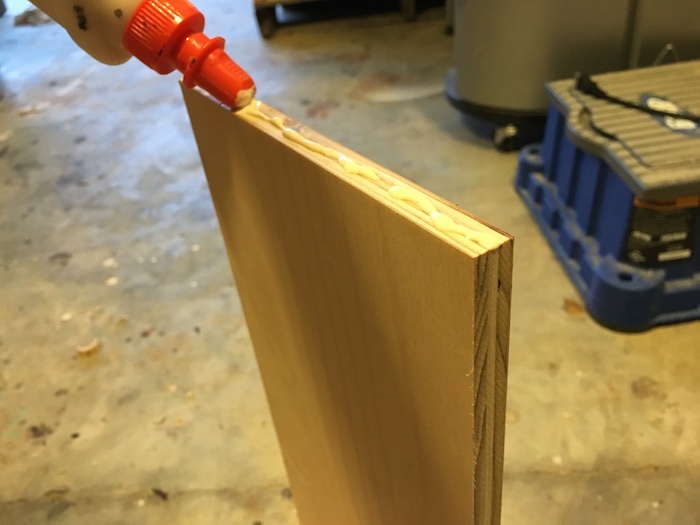
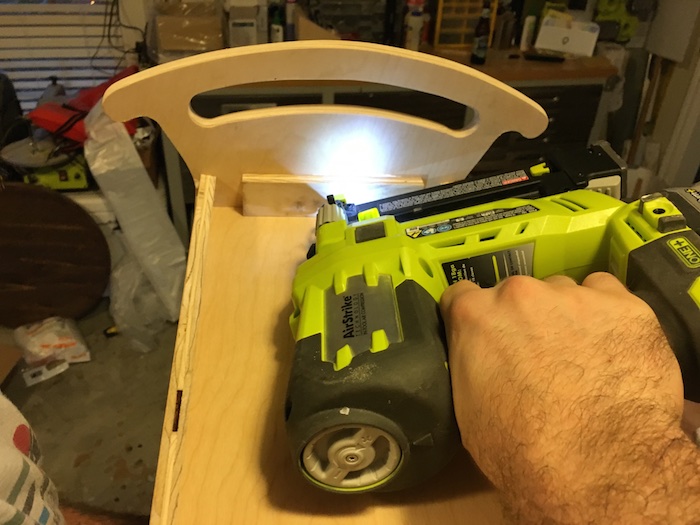
To assemble the cradle start by applying wood glue and to the sides and nailing them to the ends using 1-1/4″ brad nails.
The top of the side should be even with the tangent of the top radius. This doesn’t have to be exact just get it close.
Next, set the bottom in place so that it is even and level. Again, this doesn’t have to be exact just get it close.
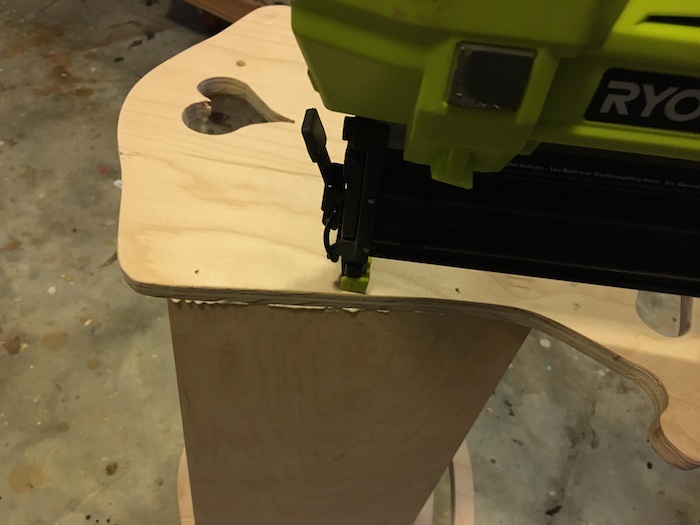
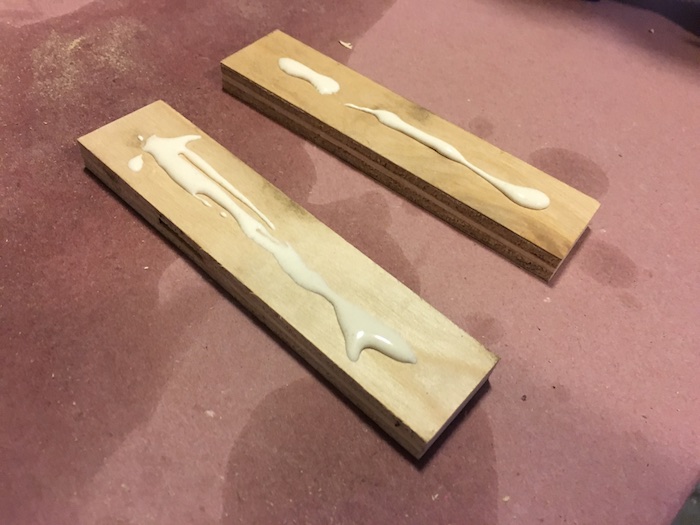
Now apply glue to the supports and nail them in place using 3/4″ brad nails.
Finally, glue and nail the bottom in place using 1-1/4″ brad nails.
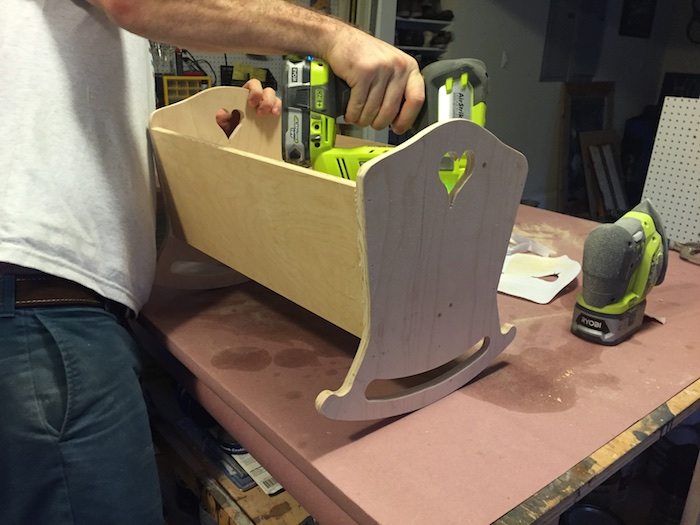
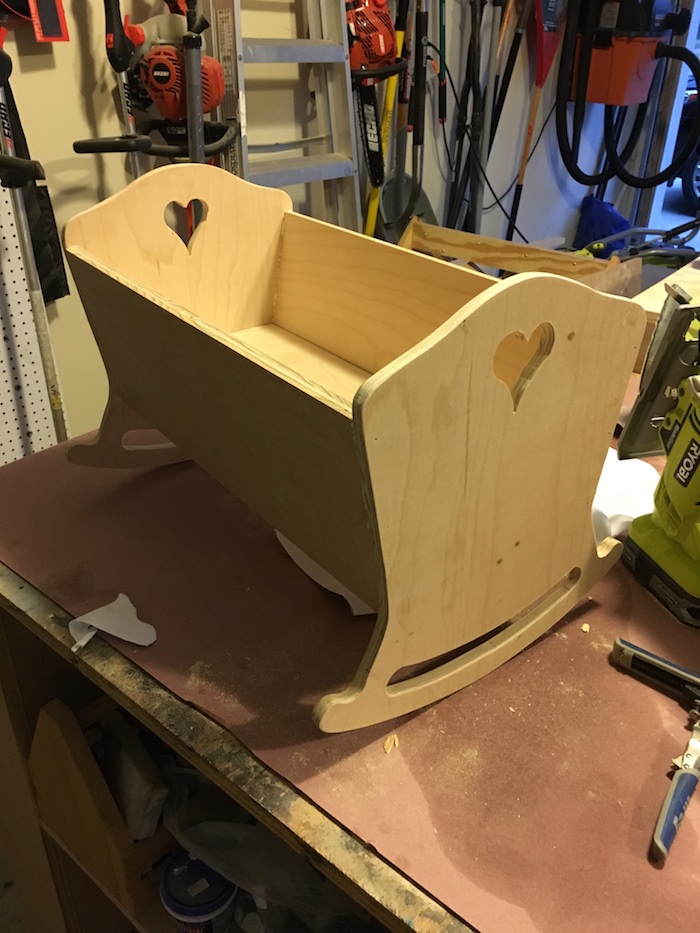
For the finish on this project, I used some of the extra paint I had left over from Madison’s room. This little cradle turned out pretty stinkin cute and was the perfect Christmas gift for our little girl.

Questions? Comments?
As always, if you have any questions don’t hesitate to comment below and especially don’t forget to post pictures of your finished products in the comments! ENJOY!
I have just made one using these plans for my granddaughter. Will post a picture if I can when done with the paint/clear coat. Looks great and appreciate the plans!
I don’t see how the 8″wide bottom fits. Is yours 8 inches wide?
Scott
You lay the bottom inside the cradle, level, then turn over and nail in the support pieces. The sides narrow down so the bottom does not go all the way down. Hope that make sense. https://uploads.disquscdn.com/images/208bd1516ecf4aea377b899b077d54733e07c126d4b2ca5cefe6803ca80cafa7.jpg
I understand how it goes together. I’m saying that where you have the bottom of the sides it is about 8 inches across. Subtract 1 inch for the thickness of the sides and the bottom does not fit there. It would just fit about 2 inches below the heart! Perhaps my pattern got ‘wrong sized’ by the printer?
I have made two of them and had no issues. is your bottom piece 8″ x 19″? If so, you messed up somewhere else or in assembly. check your dimensions against the sizes in the plan. There is one page with the cut diagram. The cut work on the end pieces should bring you right up to the edges of the 14″x14″ end pieces. If you cut off more than that, it might be your problem. Also, did you overlap the end piece templates to align properly?
Sides – 7″ x 19″
Bottom – 8″ x 19″
Ends – 14″ x 14″
Supports – 6″ x 1″
Assembling mine now. 8″ is way too wide for the bottom. No way that fits anywhere. I’ll trim it down but where did that dimension come from?
Scott