

Cornhole Boards
Quick answer: These regulation cornhole boards are built from two 2×4 ft sheets of 3/4″ plywood and four 2x4s — a 24″ × 48″ playing surface with a 6″ hole and folding legs for storage. Drill, saw, and an afternoon is all it takes. Free tutorial with dimensions and cut list below; the printable plans put it all in one PDF. Documented by Jamison Rantz.
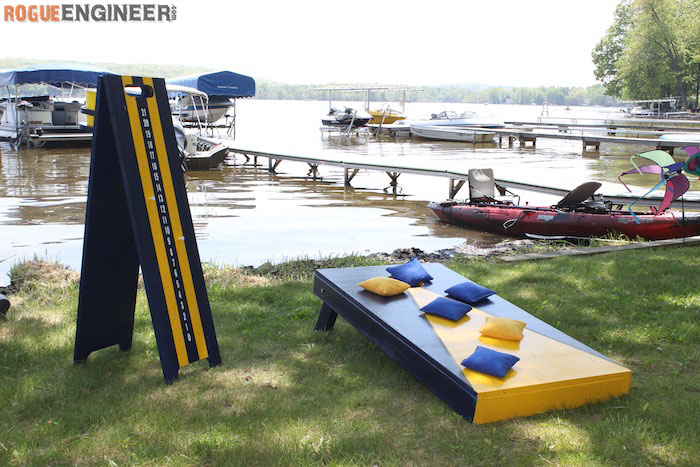
We wanted to build some cornhole boards for our friends’ lake house since we spend so much time out there. When I googled regulation cornhole board plans to find the dimensions, I found quite a few tutorials — but since I was building them anyway, I figured I’d do a better job of it.
I also built a cornhole scoreboard and drink holder to match — full tutorial for that over here.
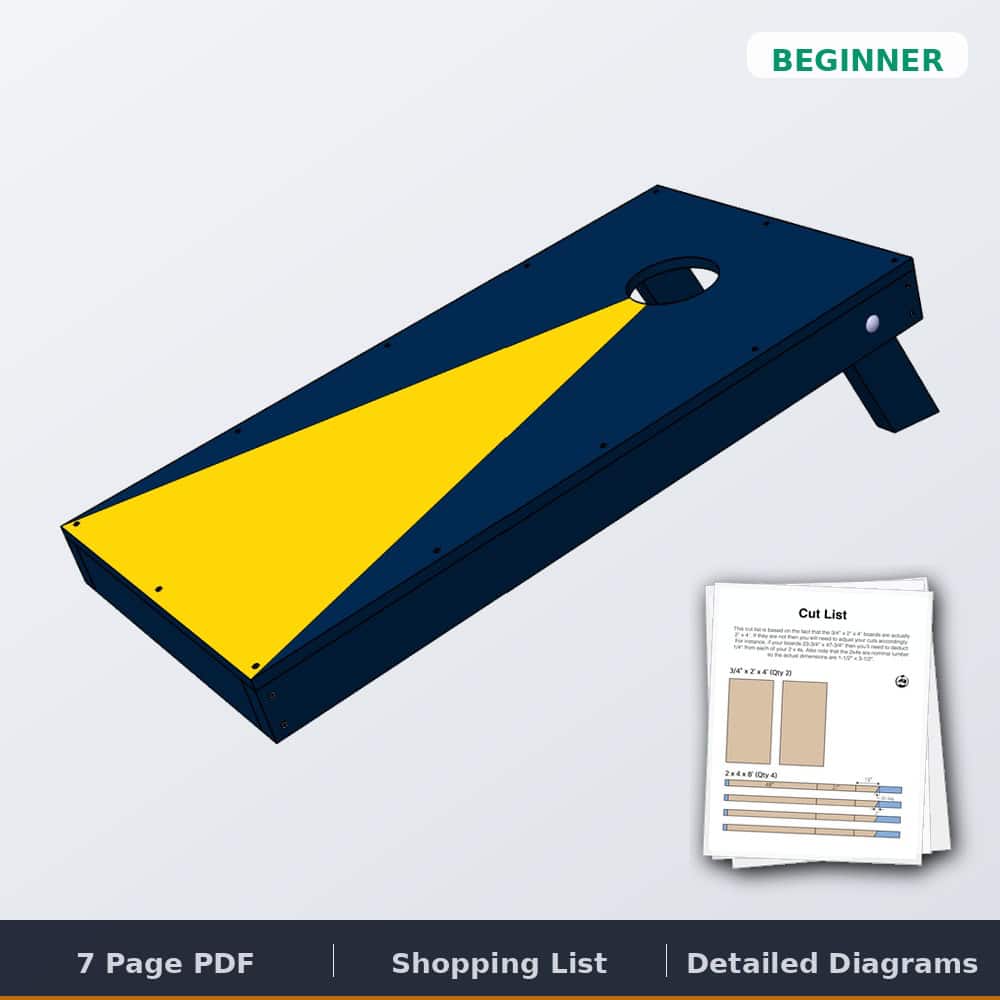
Tools & materials
Dimensions

Cut list
This cut list assumes the 3/4″ × 2 ft × 4 ft boards are actually 2 ft × 4 ft. If yours measure 23-3/4″ × 47-3/4″, deduct 1/4″ from each of your 2×4 cuts. The 2x4s are nominal lumber — actual dimensions 1-1/2″ × 3-1/2″.

How to build cornhole boards
Step 1: Drill holes and round the legs
Using a 3/8″ wood bit, drill a hole in each leg as shown in the plans. Then round off the legs with a jigsaw or bandsaw and sand smooth — this radius is what lets the legs rotate and swing flat into the boards for storage. A roll of tape makes a perfect template for marking the curve.

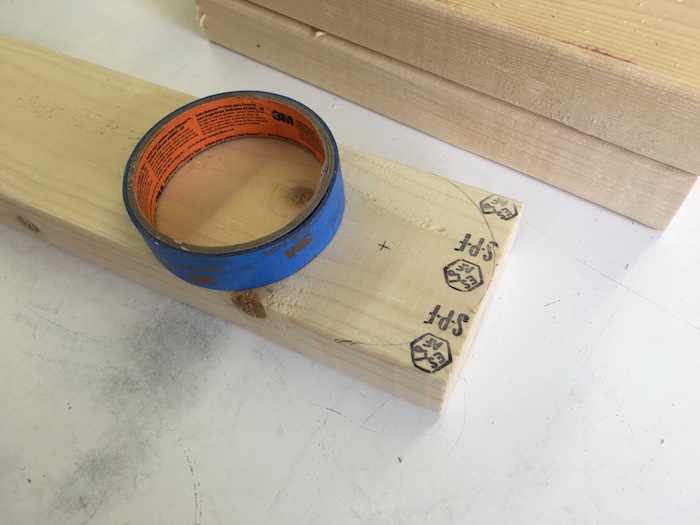
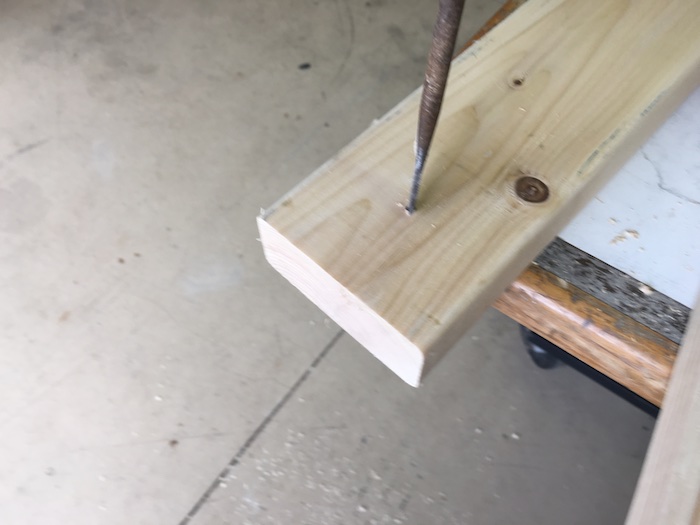
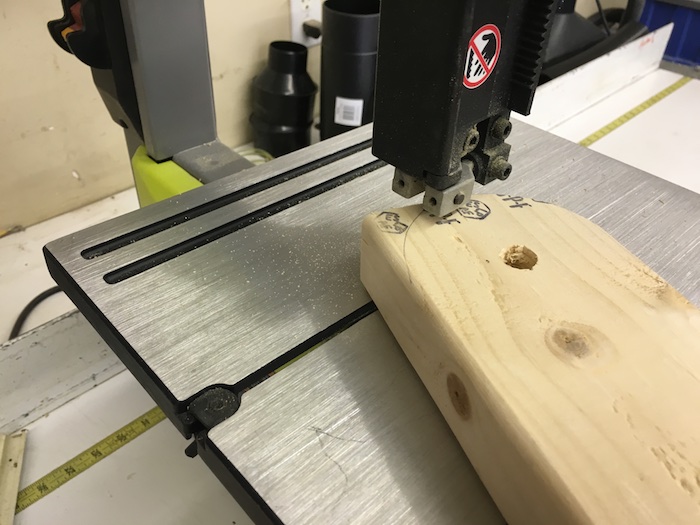
The jigsaw worked well for rounding the corners; a bandsaw gives an even cleaner cut. Either way, follow up with a good sanding.
Step 2: Assemble the frame
Pre-drill and screw the 2×4 frames together with 2-1/2″ wood screws — 7/64″ pilot holes for #10 screws, 3/32″ for #8s.

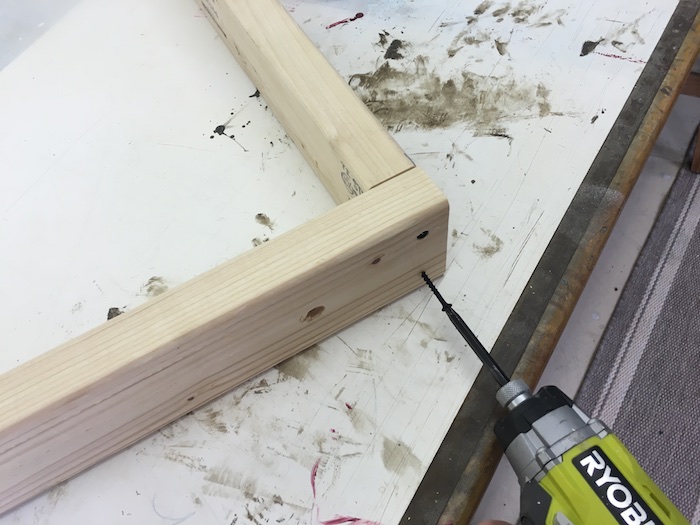
Step 3: Attach the top
Pre-drill and attach the plywood tops to the frames with 1-5/8″ wood screws as shown.

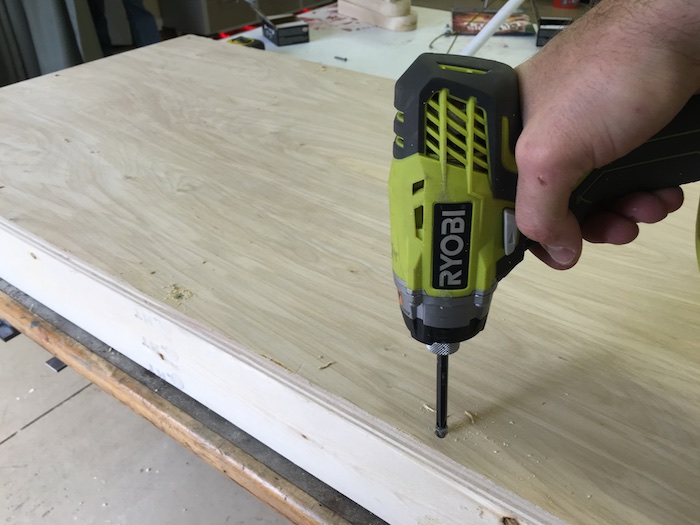
Step 4: Cut the holes
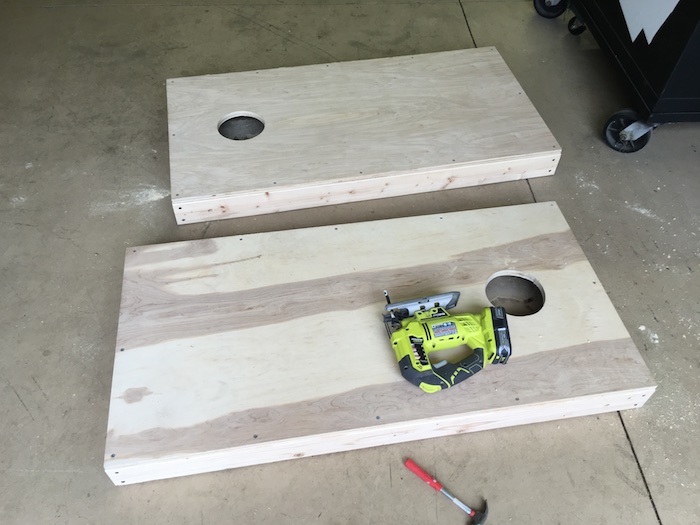
Cut the 6″ holes as shown, then sand the inside edges smooth. Two ways to do it:

Option 1 — hole saw: chuck a 6″ hole saw and drill it out. Done.
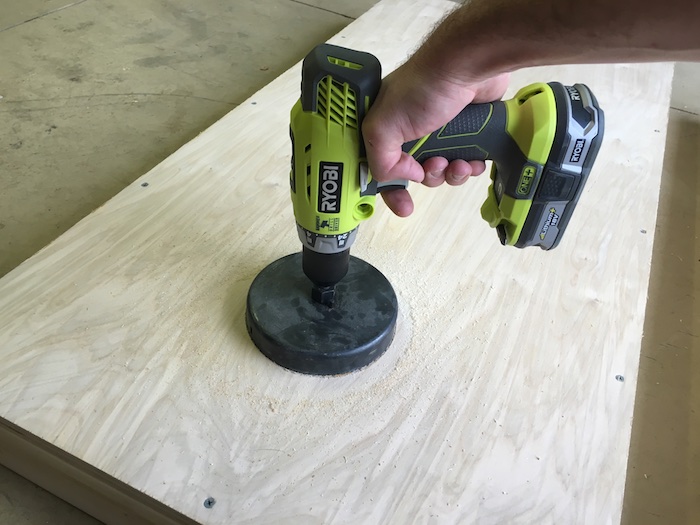
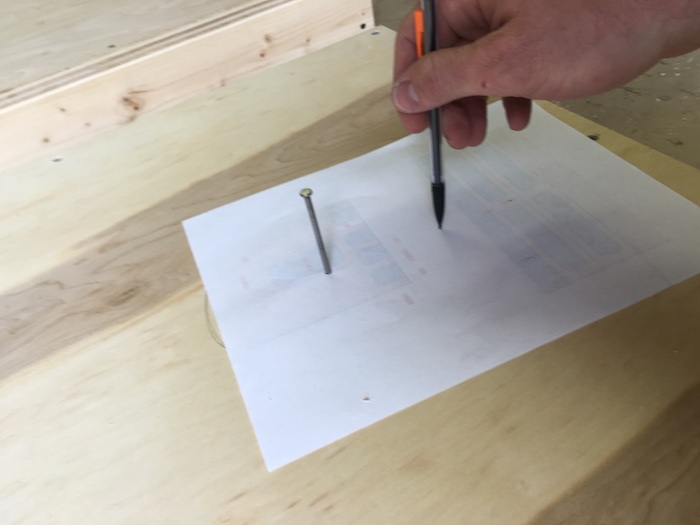
Option 2 — jigsaw: poke two small holes in a sheet of paper 3″ apart; nail through one at the marked center and drag a pencil through the other to draw a perfect 6″ circle. Drill a 1/2″ starter hole inside the line and cut it out with the jigsaw.
Step 5: Finish the boards and legs
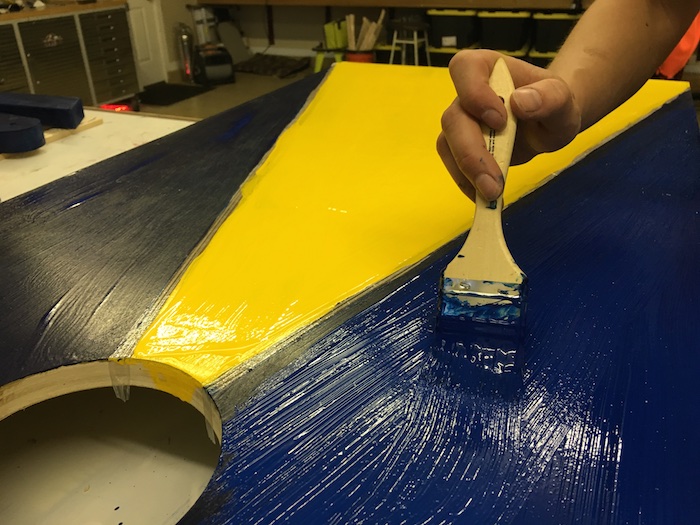
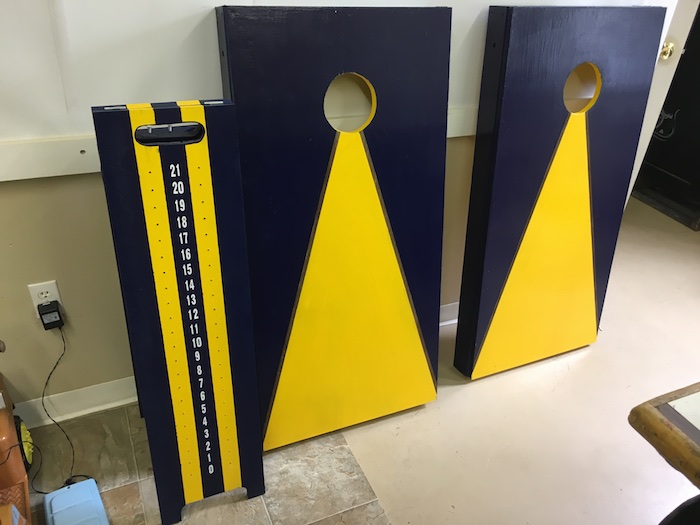
Sand everything smooth with 220 grit, then make them yours: paint team colors, add decals, stick on a cornhole board wrap, or go full night-game with board lights.

Step 6: Attach the legs
Bolt the legs on with the carriage bolts, washers, and wingnuts — snug enough to hold position, loose enough to fold flat.

Cornhole board questions, answered
What size is a regulation cornhole board?
24 inches wide by 48 inches long, with a 6-inch hole centered 9 inches from the top edge — exactly what these plans build. The front edge sits 3–4 inches off the ground and the back 12 inches, which the angled folding legs handle.
What plywood should I use for cornhole boards?
3/4″ birch plywood is the sweet spot — smooth face for consistent bag slide, stiff enough not to trampoline. 23/32″ sanded ply works on a budget; skip anything thinner or rough-faced.
How do you cut the hole in a cornhole board?
Fastest: a 6″ hole saw in your drill. No hole saw? Draw a 6″ circle with the paper-compass trick in step 4, drill a 1/2″ starter hole, and cut it with a jigsaw. Sand the edge smooth either way.
Should I paint or wrap cornhole boards?
Either works — paint plus a few coats of polyurethane gives a durable classic finish you control; vinyl wraps give a pro graphic look in minutes. Sand to 220 first and topcoat over paint so bags slide, not stick.
Build out the game collection
Questions? Comments?
If you have any questions, drop them in the comments below — and when your build is done, post a picture. That’s the good part.
Appropriate colors for your new state. Go Blue!
Ha Thanks! My sister in law goes to school at U of M so these colors were only appropriate!
These plans look amazing, I’ve had this project on my radar for a while now that the plans are here I have no excuses! I’m just surprised there are no pocket holes 😛
Thanks! ha yeah somehow managed a project without them! Happy building!
Thanks for the plans my guy!!!!
Great plans! Will definitely be using. Do you not think 1/2″ plywood would work? It is not only cheaper, also lighter by about 33% compared to 3/4″. Just curious your thoughts on using 1/2″.
Thanks!
I’m sure 1/2″ would work fine, I just wanted to be sure they were study. With 2 kids running around I knew they were going to get walked on quite a bit.
FWIW, the American Cornhole Organization says if you want to use 1/2″ ply, there should be some bracing underneath.http://americancornhole.com…Found this site as I wanted to make sets for Christmas gifts this year. Am currently in the middle of making 4 sets, 2 with 1/2″ ply, and 2 with 3/4″ ply.
I used 1/2” plywood and 2×3’s instead. It worked great and it was lighter.
If you use the 2×3 instead of the 2×4, move the bolt hole 1/2” closer to the end. When the leg is extended, it will hit the frame square and not rest on the frame edge. It will make it sturdier. I also added a cross brace between the legs so all you need is one hand to flip it out. I guess that’s what happens when a mechanical designer sees room for improvement. Good initial design though.
@Alex @Jamison Rantz I have used 1/2″ plywood and it works great. Really does cut down on weight. Also I swapped out the 2x4s on the sides and back for 2x2s and that helped cut down on the weight too. Great article and how to!
I used the Kreg Jig on my second set and didn’t have as much work. Thanks for such a wonderful site.
The kreg jig does come in handy!
Did you use a sealant on these after you painted them? I’m trying to figure out what type of sealant to use!
Getting ready to start this, just printed the free downloadable pdf. Just FYI. Your title picture, step 5 picture, and step 6 picture – are all very dark navy. For printing, that used up a LOT of ink. If you changed your pics a little it would save me some money 🙂 I’ll let you know how it goes once I start building.
yoo bruh got me messed up…….
The downloadable pdf for the corn hole board is not coming to my email. I have entered my email into the form, but it’s not working.
email me directly at @Jamison Rantz.com">jamison@Jamison Rantz.com and I’ll get them over to you
Where do you find the pdf?
I love the simplicity of your tutorials. Thanks. Here’s a set I made and I think they turned out great. I did change it up a bit by using pocket holes to create the frame. I actually attached the plywood with brackets underneath so there would be no visible holes or patch areas. Thanks again. https://uploads.disquscdn.c…
What type of paint would you recommend.
A stain?
Or more of a lacquer?
Likewise would you recommend a coat of poly after paintstain.
Thanks so much for this, I’ve just gotten my wood marked up for the 3 sets I’m making tomorrow. I noticed you didn’t include the carriage bolts for connecting the legs in the necessary materials. I would suggest that would help people like me who made the shopping list from the list at the top.
I know for the board to be considered certified the end has to be 12″ from ground to top of board. If I use 1/2″ plywood willI have to adjust where the holes are in my legs to compensate for that 1/2″ loss?
It would be cool to add some clasps that hold the two sandwiched together, with a handle on the side so you can carry it, then put the beanbags inside.
I’m doing a 3’ foot using 2 x 3’s. What would the dimensions be for the legs and the holes?
Howdy! Great plans! I dropped the 2x4s into the table saw and sliced an 1/8th of an inch off either side to square the boards and make everything more flush. I dropped the hole back a quarter of an inch and the board sits exactly 1’ high on the end!
Thank you for everything!