

Double Compost Bins
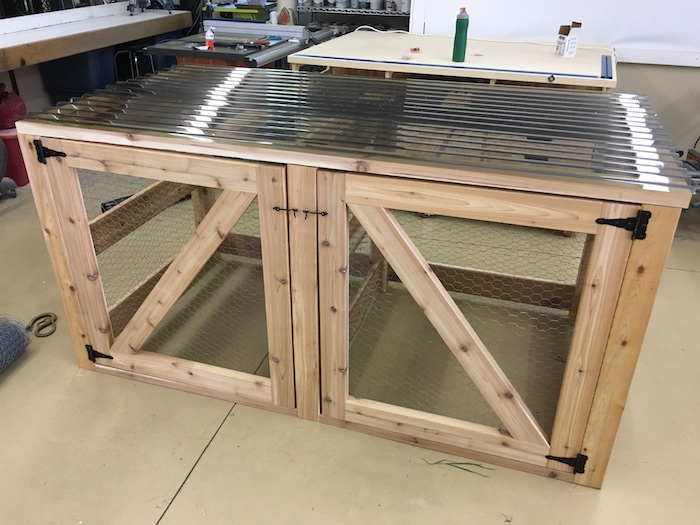
Quick answer: This DIY compost bin is a pocket-screwed pressure-treated 2×4 and 4×4 frame with poultry-wire sides, hinged front doors, a hinged lid, and PVC roof panels to shed rain. Two compartments means one batch cooks while you fill the other — and the finished compost feeds our raised garden beds. Free tutorial below; the printable plans put the full cut list and diagrams in one PDF. Documented by Jamison Rantz.
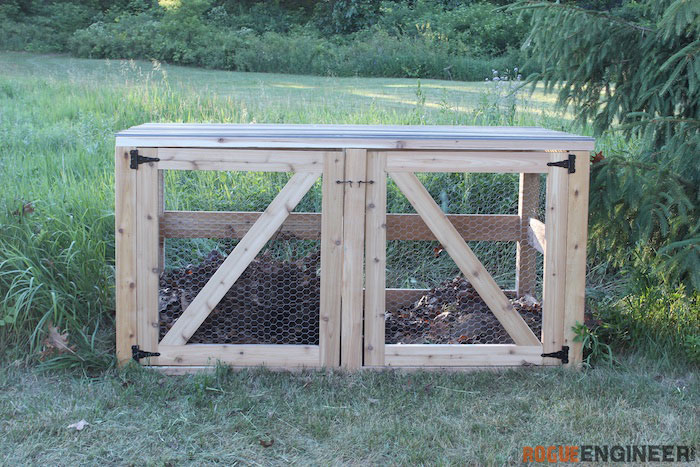
Composting is one of the greenest things you can do: you divert garbage from the landfill and turn it into amazing soil. Since composting takes time, this double compost bin runs two batches at once — fill one side while the other cooks. The lid makes for easy disposal, the doors make for easy removal when a batch is ready, and ours keeps the raised garden beds fed (the soil calculator will tell you exactly how much of the mix your beds need).
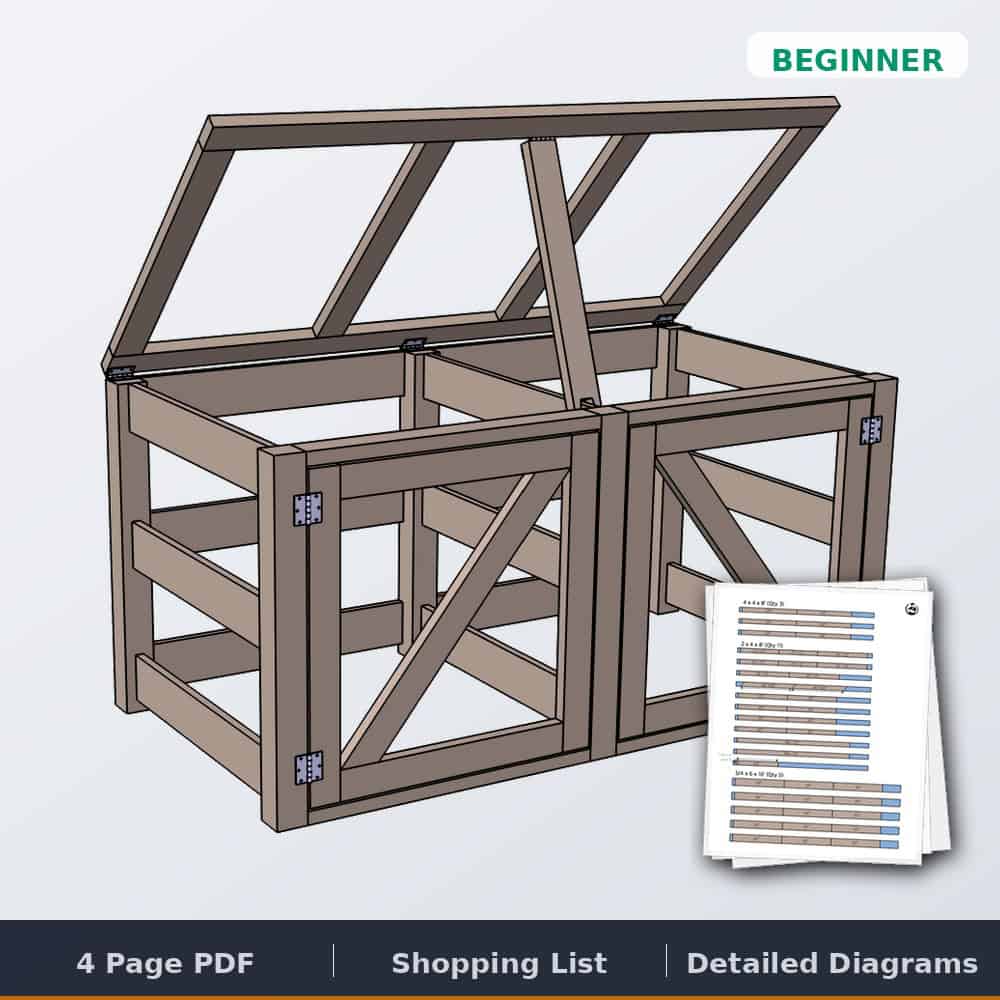
Double Compost Bin Plans
The complete printable PDF — full cut list, dimensioned diagrams, and step-by-step assembly for both compartments. Build it in a weekend.
Tools & materials
Dimensions
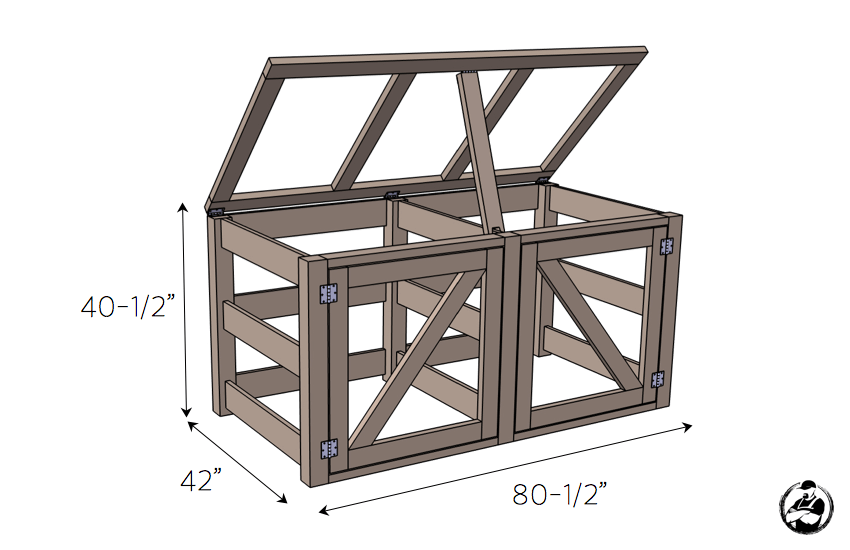
Overall footprint and heights are above — every individual part dimension, the complete cut list, and the assembly diagrams are in the printable plans.
How to build a two-compartment compost bin
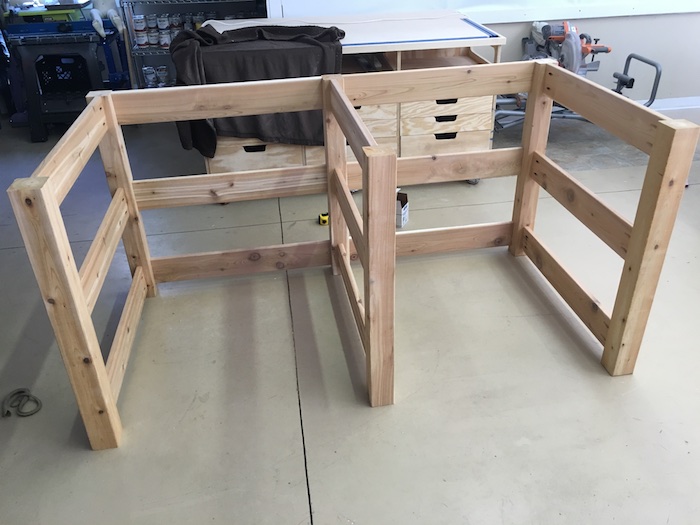
Step 1 — Assemble the frame
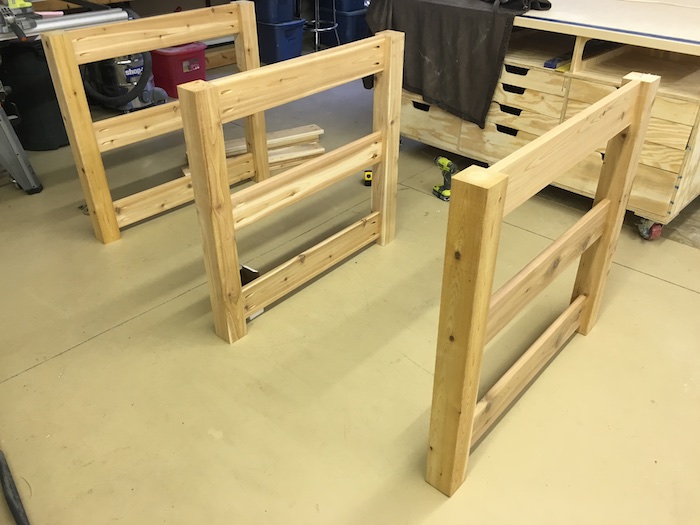
The frame goes together with 2½″ Kreg HD pocket screws. You’ll notice mine looks a little different from the plans — after building it I decided the doors needed to be framed in to prevent sagging, so the plans add the 2×4s above and below each door that my early photos are missing.
Step 2 — Build the lid
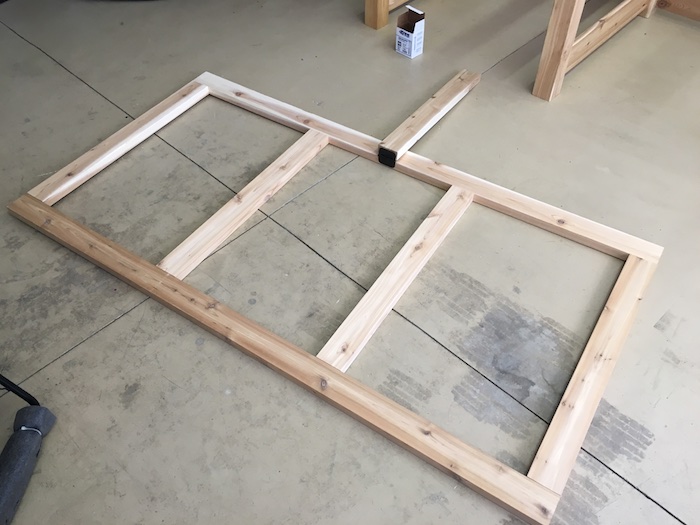
The lid is its own 2×4 frame, assembled the same way with the Kreg HD screws.
Step 3 — Build the doors
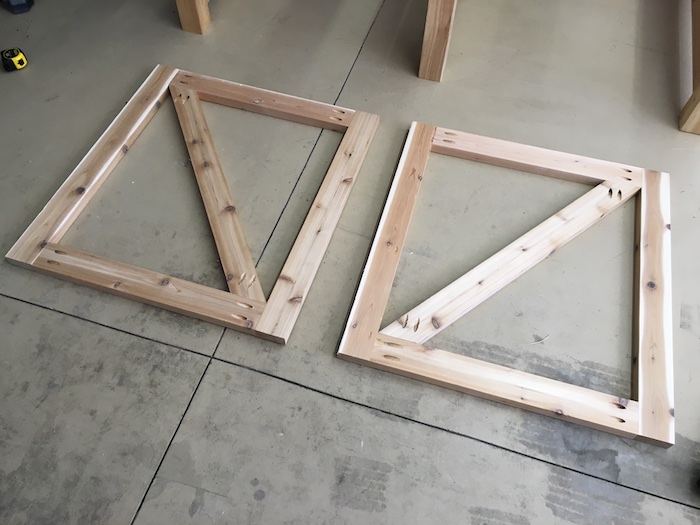
Now the front doors get assembled. Take note of which side the pocket holes get drilled on the diagonal brace — it is not reversible.
Step 4 — Attach the poultry wire
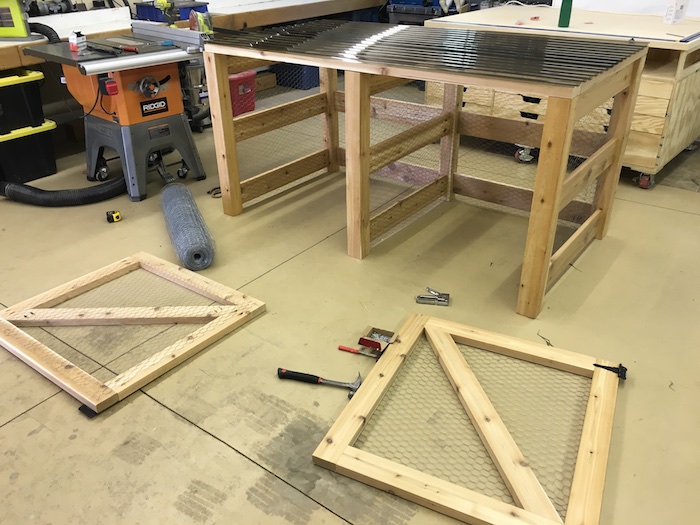
Cut the poultry wire to size and attach it with ¾″ poultry staples. Fair warning: nailing those little staples in with a hammer is a real pain — I can’t tell you how many times I hit my thumb. If you have a narrow crown stapler, use it.
Step 5 — Hang the lid and doors
Finally, the lid and doors get attached with the hinges, and the latches keep everything closed against curious critters.
If you’d like more info on composting itself — what to add, what to skip, how long it takes — the EPA’s composting-at-home guide is a solid reference.
Double Compost Bin Plans
The complete printable PDF — full cut list, dimensioned diagrams, and step-by-step assembly for both compartments. Build it in a weekend.
Questions? Comments?
As always, if you have any questions don’t hesitate to comment below — and don’t forget to post pictures of your finished bins in the comments!
Be safe and happy building.
— Jamison
Poultry staples are. the. worst. I just pursued a ton of chicken sites and saw that a lot of people screw it into place using washers to keep it secure. Wish I’d have read that a week ago!
This looks so great! I just decided to work on my outdoor garden area and was trying to find a good compost bin plan. This may be too wide for my space, but it’s so nice looking, I may just have to make it work..!
Yes poultry staples are the worst! ha You could always make a single composite bin to fit your space.
I love this plan! It is on my list of things to make. Right now I just have chicken wire stretched around steel fence posts and held on with zip ties for my compost bins! I made removable fences for my raised beds and used a narrow crown stapler to attach chicken wire to them. It was fast & easy.
Well that works too! These composite bins might take a bit longer, but they will be worth it in the end!
I plan to use hardware cloth in place of chicken wire since the hardware cloth has much smaller openings. I’ll be using H/C with either 1/4″ or 1/8″ openings. Any leftover lumber and hardware cloth is great tor making a compost sifter.
Going to start this project next week. I am going to use all cedar. What are your thoughts on throwing a couple coats of polycrylic on it? Just looking to not have the base rot out on me in 4-5 years.
Any issues with the pieces under the doors being in contact with the ground? Rotting?
If using pressure treated lumber, you’ll want to specify lumber that’s rated for “Ground Contact” (avoid that rated for above ground lumber). Both Home Depot and Lowes carry it.
One alteration I’d suggest to the plan is using either chicken wire or hardware cloth for the lid, rather than the panels shown in the photo. You normally want to take advantage of any rain to keep the compost damp to aid in decomposition (unless you really enjoy watering the compost regularly with a hose!)
With the Kreg joints, they usually show a clamp holding the two pieces together for screwing. Did you make a jig to hold the piece to the center or the rear of the 4×4?
https://uploads.disquscdn.c… Great for our backyard. Thanks for the plans : ) https://uploads.disquscdn.c…
I’m getting ready to build new bins and I think I’ll go with these. The issue I see that could use a modification is that when they are full, there can be a lot of weight on the bottom of the door panels. I think with latches at the top, the doors will start to flare out at the bottom. I’d add a wooden toggle top and bottom instead of the hooks.