

How to Build a Raised Garden Bed (18-Inch Walls + Full Cut List)
Quick build: Here’s how to build a raised garden bed that lasts: 2×10 pressure-treated boards lag-screwed to 4×4 corner posts in a staggered pinwheel pattern. Two rows gives 18-1/2 inches of wall depth, enough for any vegetable. Posts sink 12 inches into the ground so nothing shifts. A 12×4 bed takes about 67 cubic feet of soil, roughly $450 bagged. Documented by Jamison Rantz, October 2026.
Prefer to watch? See the beds on YouTube.
Most raised bed tutorials are four boards screwed into a rectangle. They work for a season. Then the corners rack, the long walls bow outward under wet soil, and by year three you’re rebuilding instead of planting.
This build fixes all three failure points and none of them cost extra. The corners are staggered pinwheel-style, so every board overhangs its post by 1-1/2 inches and the next wall butts into that overhang. Each corner locks the one before it. The posts run 12 inches into the ground, so the box is pinned to the earth instead of sitting on it. And on beds 8 feet or longer, 2×4 cleats tie the walls together mid-span, which is the only thing standing between you and a bowed wall after the first wet spring.
One more thing before you shop: the lumber is not the expensive part. A 12×4 bed at 18-1/2 inches deep needs about 67 cubic feet of soil, or roughly 2-1/2 cubic yards. At that volume bulk delivery beats hauling bags by a wide margin, and it’s the biggest lever on what this project costs you.
Skip the math. The raised garden bed soil calculator takes your length, width, and wall height and returns the exact soil order plus a custom cut list at your dimensions.
How to Build a Raised Garden Bed
Pick the spot and prep the ground
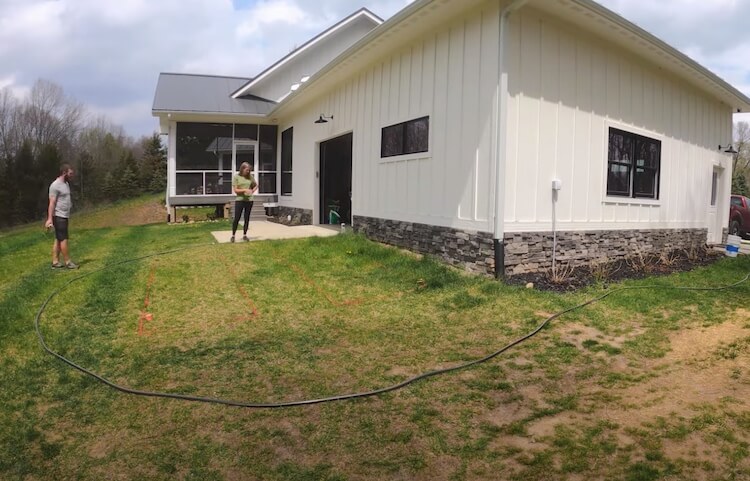
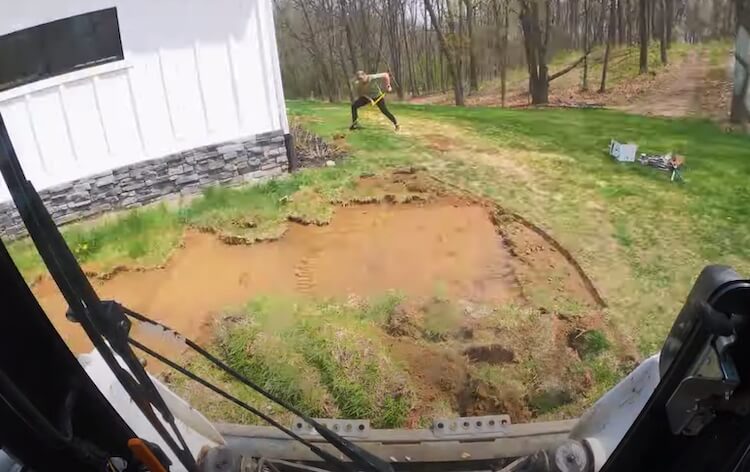
Vegetables want 6 to 12 hours of full sun, and you’ll water this bed constantly, so pick a sunny spot within reach of a spigot. Mark the footprint with spray paint, strip the sod and topsoil inside the lines, and cut a clean vertical edge. Getting the grass out means weeds can’t grow up into the bed, and it leaves you solid, level ground to build on.
Stain the boards first (optional)
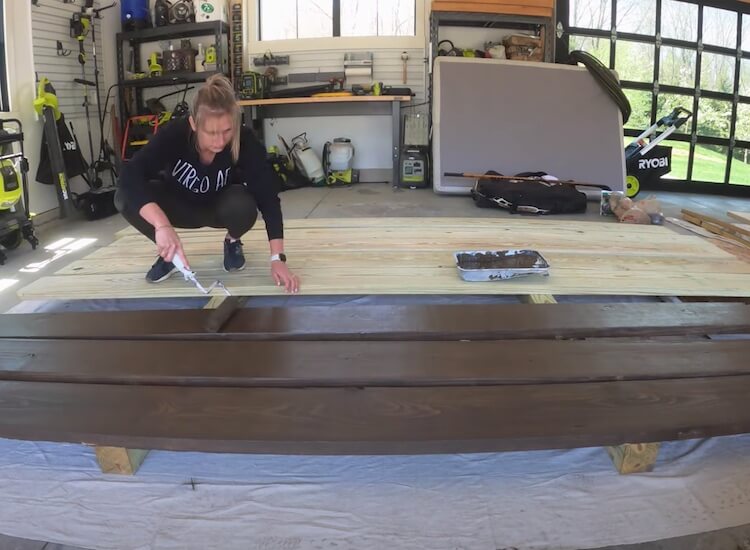
Pressure-treated lumber doesn’t need a finish. Ours sit next to the house, so we wanted them to look deliberate. Staining flat on sawhorses before assembly is far faster than cutting in against the ground afterward. Run it a little way down the inside faces so the wood still looks finished above the soil line.
Build the first row
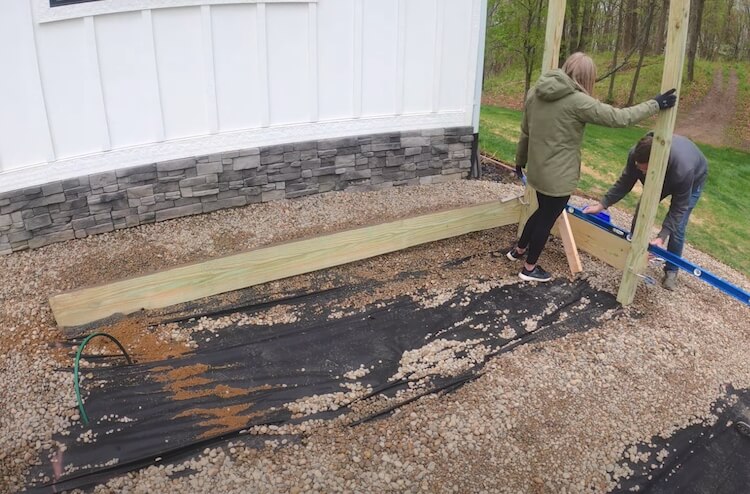
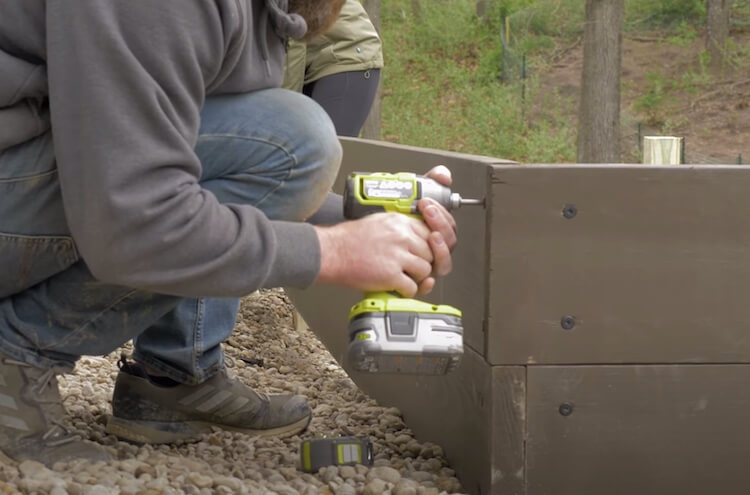
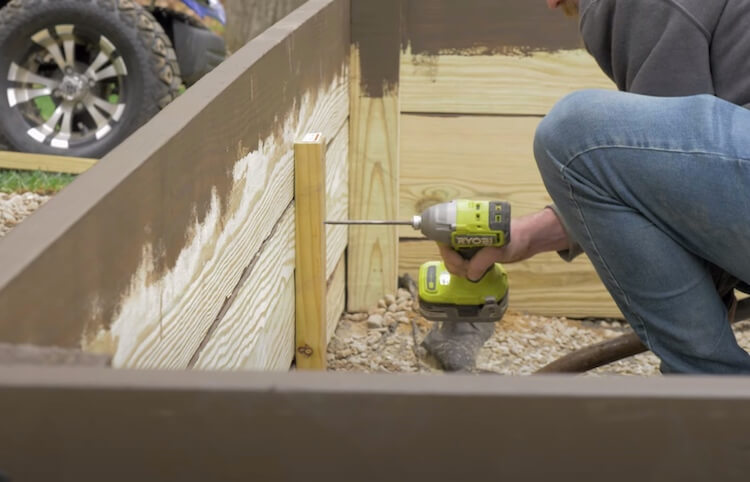
Start at the highest corner of your site. Set one end of a full-length board on the ground, clamp the other end to a 4×4 post, get it perfectly level, then drive two lag screws through the board into the post. Work around the box the same way: level, then lag. Every board is cut to its full stated dimension and overhangs its post by 1-1/2 inches, which is why a 12 ft bed uses uncut 12 ft boards straight off the rack. If the ground isn’t level, don’t bury the low board. Mark the taper at each end and cut it with a circular saw.
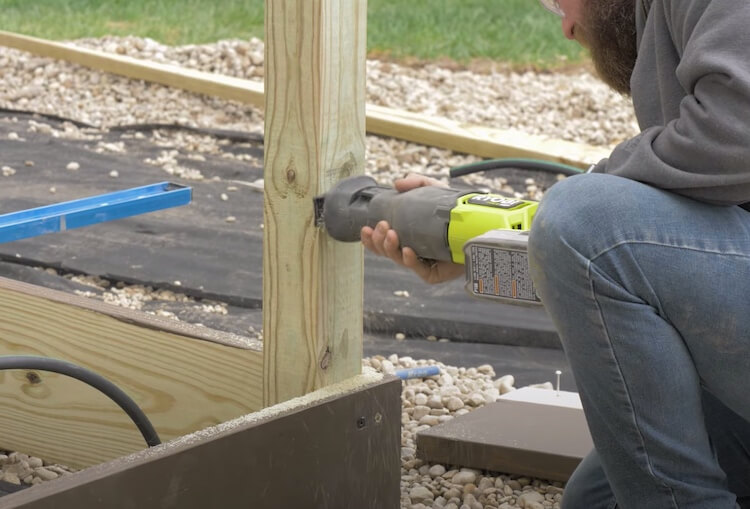
Stack the second row and cut the posts
Measure and cut each 4×4 off at what will be the top of the second row, then repeat the level-clamp-lag process, keeping the pinwheel stagger going. On beds 8 ft and longer, add 2×4 cleats inside the box tying the two walls together mid-span. Skip them and a long wall of saturated soil will slowly push itself outward. The calculator adds these automatically on longer beds.
Line it, then fill it
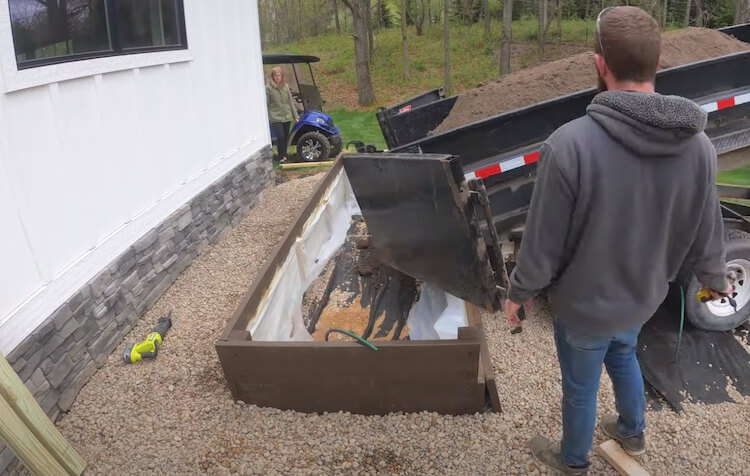
Staple plastic sheeting to the inside walls. It protects the lumber and keeps soil from seeping through the seams. Lay weed barrier under the bed and leave the bottom open to the ground, because the bed has to drain and roots should be able to go deeper. For fill, the mix that’s served us well is roughly one third topsoil, one third compost, one third garden soil.
Make it water itself
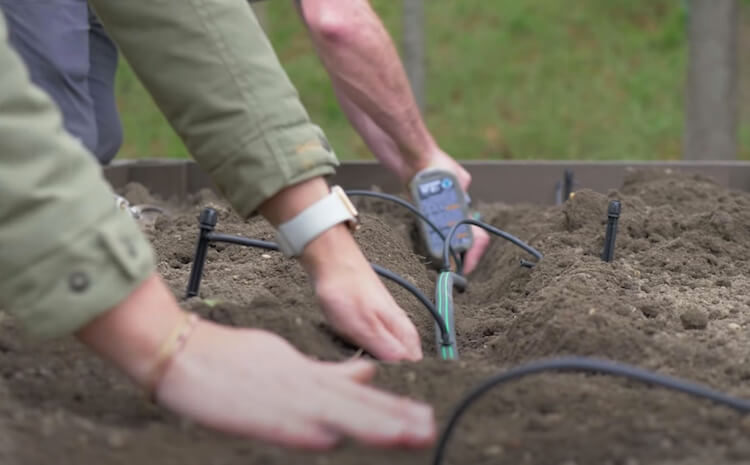
The single best decision we made was automating the watering: a buried half-inch line from the spigot, micro sprayers in each bed, and a hose timer running daily. Plants don’t die when life gets busy. The full setup, including trenching, parts, and timer settings, is its own guide: raised garden bed irrigation.
Plant and enjoy
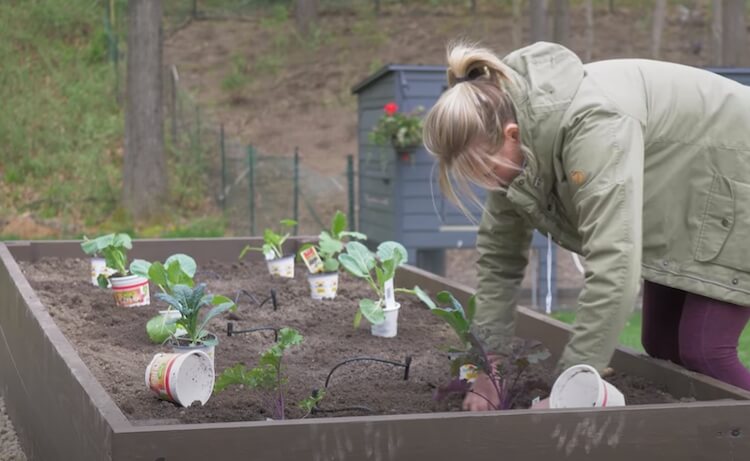
Most vegetables want 18 to 24 inches of spacing, which worked out to about 24 plants across our two beds. If deer or rabbits treat the garden like a buffet, the welded wire garden fence we built around ours has kept them out for years.
Final Result
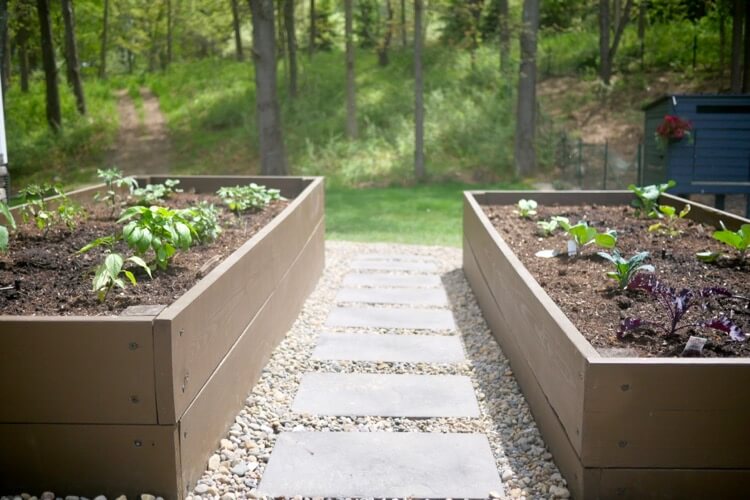
Two 12×4 beds that have fed us every summer since 2021. Corners that haven’t moved, walls that haven’t bowed, and 18-1/2 inches of soil deep enough to grow anything we’ve tried. The first year’s tomatoes and peppers roughly covered the lumber.
FAQ
What do you put in the bottom of a raised bed garden?
Weed barrier over the stripped ground, and nothing else. Leave the bottom open so the bed drains and roots can reach past the box into native soil. Don’t put landscape fabric between soil layers, and don’t fill the bottom third with logs unless you’re deliberately doing hugelkultur, because that material decomposes and the bed settles several inches in the first two seasons. If you have voles or gophers, staple 1/2-inch hardware cloth across the bottom before you fill.
Is it cheaper to build your own raised garden bed?
For anything larger than about 4×4, yes, and it isn’t close. A prefab kit at 12×4 costs more than this pile of lumber and is almost always shallower, usually 8 to 11 inches instead of 18-1/2. The honest caveat: the box is the small line item either way. A 12×4 bed needs roughly 67 cubic feet of soil, so soil is the real budget. Build the box, spend the savings on bulk soil.
What kind of wood is best for raised garden beds?
Untreated cedar is the premium food-safe default. It resists rot on its own, needs no finish, and typically lasts 10 to 15 years, longer in a dry climate and shorter in a wet one.
Modern pressure-treated lumber is cheaper, and it’s what we used. Since the end of 2003, when the EPA phased CCA out of residential lumber, residential PT has been treated with copper-based preservatives (ACQ, MCA, copper azole) rather than the old arsenic-based CCA, and university extension research consistently finds copper leaching into raised beds falls well below levels of concern for plants or the people eating them. Both are legitimate choices. What you should never use: railroad ties, creosote timbers, or salvaged pre-2004 CCA stock. Either way, line the inside walls with plastic sheeting like we did. It separates soil from lumber and buys the wood years.
How deep does a raised bed need to be for a garden?
Six inches is the floor, and it only covers lettuce, greens, and herbs. Twelve inches handles most vegetables. Eighteen inches covers everything, including carrots, potatoes, and deep-rooted tomatoes. Ours are 18-1/2 inches, which is two rows of 2×10. One thing that buys you margin: leave the bottom open to native soil so roots that want to go deeper can, which is why a 12-inch bed on open ground outperforms the same bed built over pavers.
Your Move
Go stand in the yard and find the sunniest spot within hose reach. That’s the decision that matters most, and it takes five minutes. Then punch your dimensions into the calculator, order the soil first because it’s the long lead item, and grab the lumber Saturday morning. Level, clamp, lag, repeat. Two people can have a 12×4 bed built before lunch.
The first cut is the hardest. After that, the build practically does itself.
Be safe and happy building, Jamison
First veggies picked from the garden. Proof that I may actually have a green thumb 🙂
Seat around the top edge…GENIUS!
Thanks Cathy it’s been quite nice
[…] garden in our yard for a while. I wanted a raised four by four bed and was planning on modifying Rogue Engineer’s plans (once again). And on the first Sunday in June, I decided to make it happen. Drinking my morning […]
Hey Jamie… Loved it !! This is exactly what i had been searching for – step by step guide to build a raised bed vegetable garden. Thank You !! 🙂
I got 2 questions here –
1) Drainage – i saw you covered the whole of bed with lining sheet – so the water will be trapped and wouldn’t drain out, is it? Isn’t drainage of water required for plants to flourish? Sorry if this question sounds like a silly one but I am no expert in planting- and curious to learn it these days. 🙂
2) I plan to make the same one on my apartment balcony – can I do this on a solid concrete floor as well?
I stay on 5th floor and have a big balcony – so really want to make something similar in there.
Looking forward for your guidance 🙂
Regards,
Shantanu
Thanks Shantanu! As far as drainage, the lining is just a weed blocker so it drains perfectly fine but keeps the weeds out. As far as putting it on a balcony, I’m not sure. I would be concerned about the weight (it is very heavy). But you say you have concrete floors so it may be okay. The other issue would be drainage. Mine drains out of the bottom into the ground. You having a concrete floor would not allow for that. You could add some weeping holes at the base though.
Hey, I just found your site and am loving it so far! As I was reading through this, I noticed your Amazon referral links have an extra space between the backslash and ASIN, thus not correctly redirecting to the listing. I know this probably helps pay for the upkeep on the site so I wanted to let you know.
Outside of that, this is my favorite garden bed plan I’ve found so far. When my backyard is ready I think I’m going to try this out. Thanks for all the work you put in to making these!
Kyle, thanks so much for pointing that out. I am going to look into that. I appreciate you looking out for me, and glad you are going to try building from my plans!
Hello! Love the site and these plans. My hubby and I built these a few weeks ago and they look great. Only issue we’ve had is that the top boards are separating. Any ideas on how to fix this?
This looks awesome. One option would be to add a metal bracket to help keep the corners from separating.
If I may, since this requires #10 x 4″ deck screws, I would put 2 screws through each corner to hold it together.
I like this design. I built a raised bed a few years ago, but used 1 inch cedar boards from Home Depot. The thicker stock you’re using will work much better. I also had a deer problem which may not be a problem everywhere. I looked into getting a small electric fence. After a little more research I decided to add 3 rows of 30 pound monofilament fishing line around the bed (supported on metal posts), leaving a small inner buffer for me to walk. So far, I haven’t had any problems with the deer. Downside, is it does detract from the look of the raised bed. But it works.
Great tutorial! And great you got your little helper involved.
Thanks! We built these raised beds at our old house and luckily since it was in a neighborhood we didn’t have a deer problem! However, we now live out in the country and planted a big garden this year. We have learned a few tricks to help keep the deer away, along with a fence around the garden we have a motion activated deer deterrent. We also have tired a couple other things, like human hair around the garden edges (ask your local barber) and cut up irish springs soap and tied in a cloth and hung on the fence posts. Something about the smell is supposed to keep deer away. It’s hard to say what is working, but we haven’t had a deer problem so far!
I don’t know if the fishing line is the solution or not. I’ve been told that they can’t see the monofilament but they bump into it. Supposedly it creates an uncertainty about what they are jumping over and into. I think this probably works best on smaller raised beds. My dad has a large garden and he uses an electric fence which seems to work. But if the fence goes out for an extended time they quickly adapt and don’t hesitate to jump over.
I just started the build to surprise my wife, I have all of my boards cut and I am struggling with screwing them together as shown in Step 1. If the boards are 4×6 and the screws are 4″, I am not sure how they screw together? Thanks for the help and enjoy the site. I can see many projects in my future.
Well 4×6 aren’t 4×6. They are 3.5 x 5.5. So a 4” screw will bury 1/2 inch into second beam.2×4=1.5 x 3.5.
It would be nice to do something like this: https://uploads.disquscdn.c…
Nice simple design, and great little helper.