
Welded-Wire Garden Fence
Quick answer: This welded wire garden fence sits on 4×4 posts set with Simpson EZ-Spikes — no digging, no concrete. Pressure-treated 2×4 rails pocket-screw between the posts, 2×2 verticals frame each section, the welded wire staples to the inside, and a 5/4 deck board caps the top. The gate is a pocket-screwed 2×4 frame with anti-sag corner ties and self-closing hinges. Finished in black solid stain. Full steps and the video are below. Documented by Jamison Rantz.
Years ago I built a modern chicken coop and it has been great. So much so, that we loaded it on a trailer and moved it out to our new house that we built. After weeks of allowing the chickens to roam about and crap all over we decided we had enough of that and fenced in a run for them with some cheap landscape fence and T-posts.
Fast forward a few years and that cheap fence now looks like crap. Not to mention that we never had anyway of getting into the run besides hopping the fence. That being said, it was finally tome to give our trashy little fence a makeover. We decided to build a welded wire garden fence that would keep the chickens in, our dog out, and look good around the house. The posts are 4x4s and with the Simpson Strong-Tie EZ Spikes, the post setting went fast, making the entire project quick and easy. Read on to see exact how we did it.
This fence went around the same garden as our raised beds — if you’re building those too, the free raised garden bed soil calculator will give you a custom cut list and exact soil order for any bed size.
Full Project Video
Tools & Materials
Garden Fence Tutorial
Post Layout
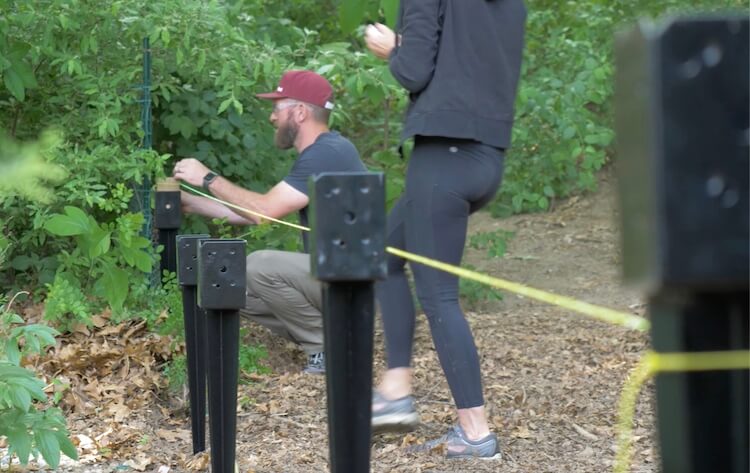
For the post bases I am going to be using the Simpson StrongTie EZ-Spikes. These makes setting posts quick and easy versus digging holes and pouring concrete. I started by pressing the first and last spikes into the ground slightly to get an idea of where the fence was going to go.
Then I ran a string between the two for alignment and spaced the other spikes out evenly. Spacing them less than 8 feet apart.
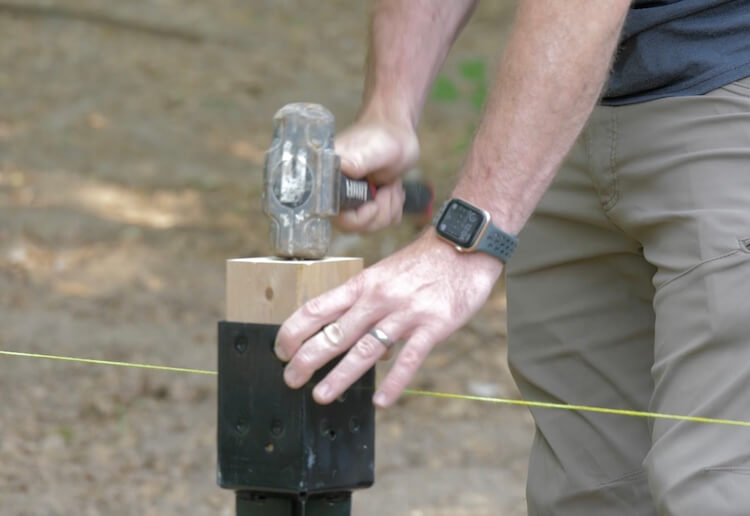
Driving the Post Base
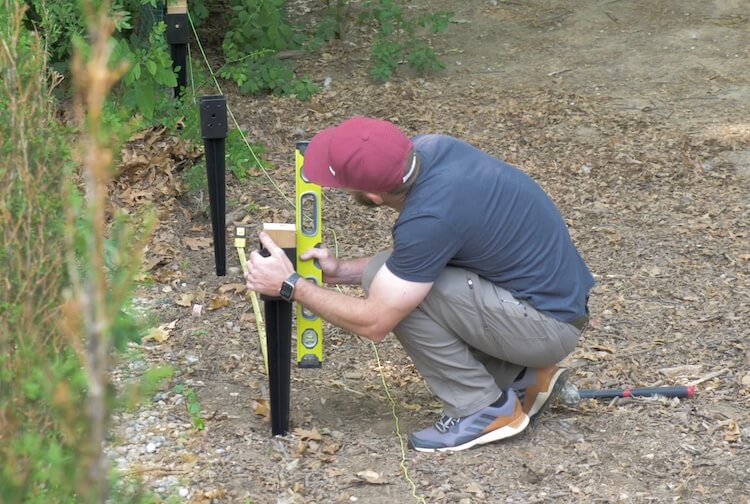
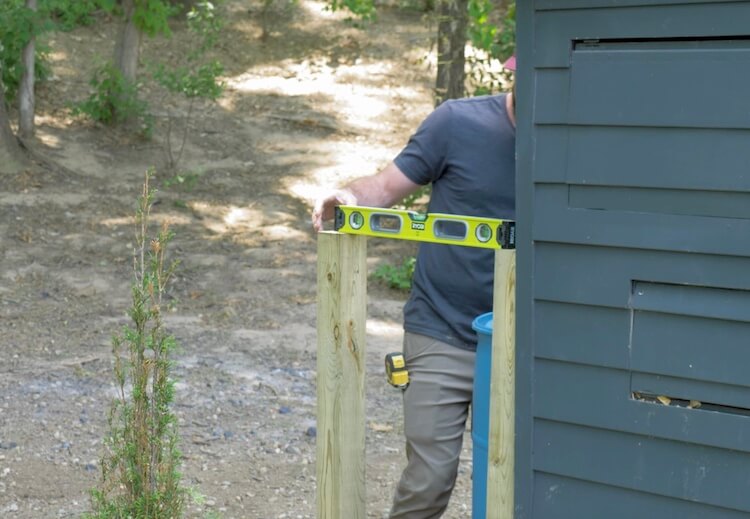
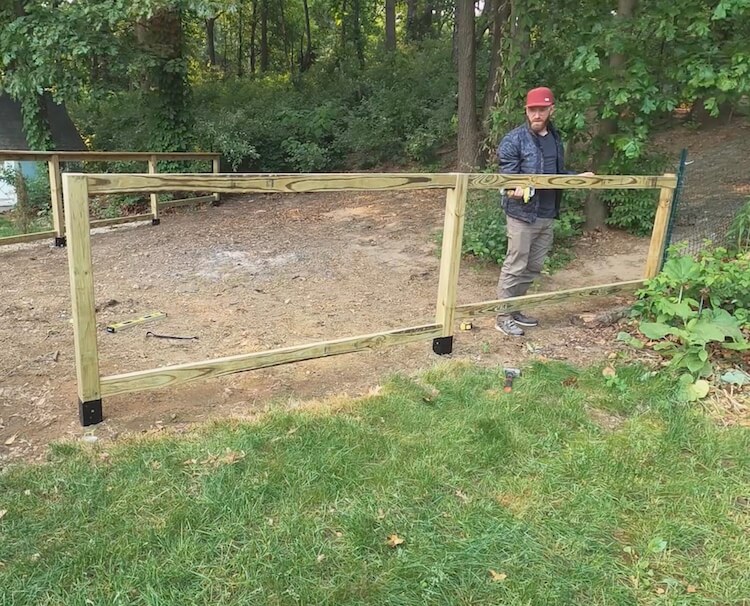
Installing the Posts
I started by cutting two 4 foot long pressure treated 4x4s. I checked to make sure they were level at the top and then used a string to extend that line across to all the other posts that were inserted in the post bases.
With the string to show where the tops should be cut. I then used a speed square to mark that line on the 4×4 posts.
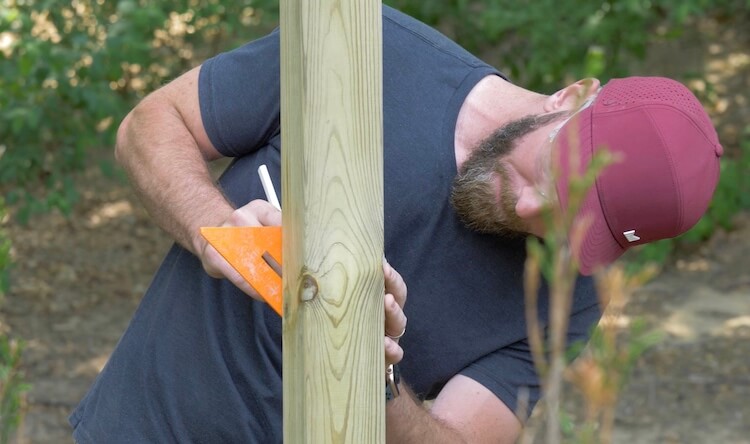
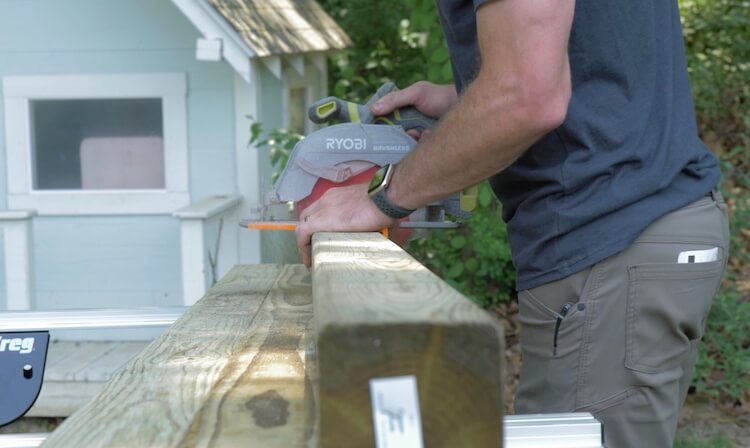
To cut a 4×4 with a standard circular saw you will need to mark both sides and cut twice as the blade is not long enough to do it in one pass.
The post then get inserted into the base and secured with four connector screws.

Installing Horizontal Supports
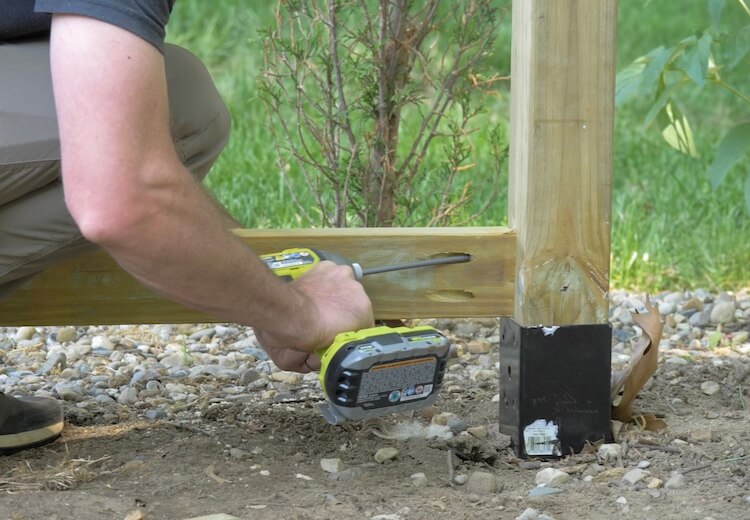
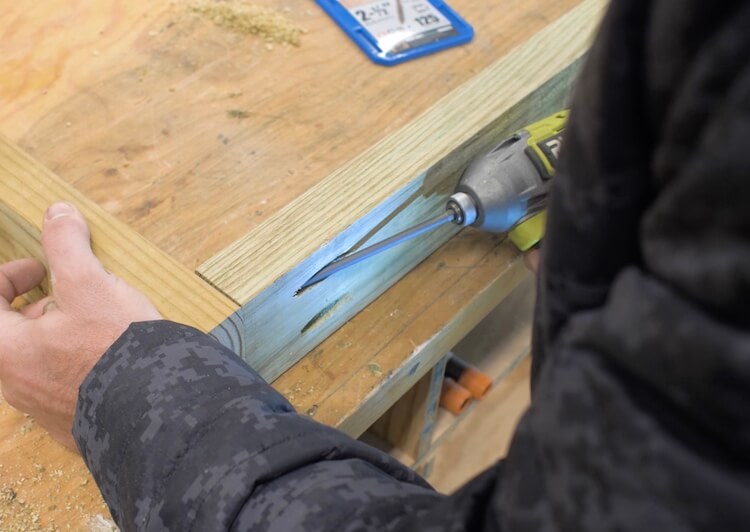
Start by measuring between the 4×4 posts, just above the EZ-Spikes. Then cut two pressure treated 2x4s at that length. Those 2x4s will get two pocket holes drilled in each end using the Kreg XL Pocket Hole Jig.
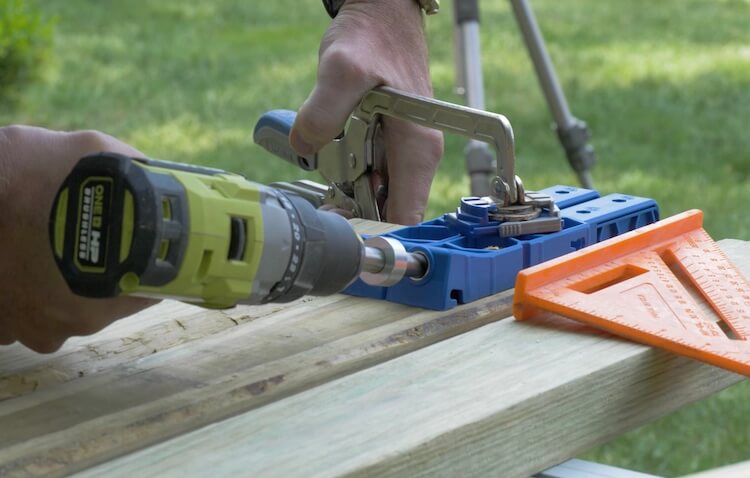
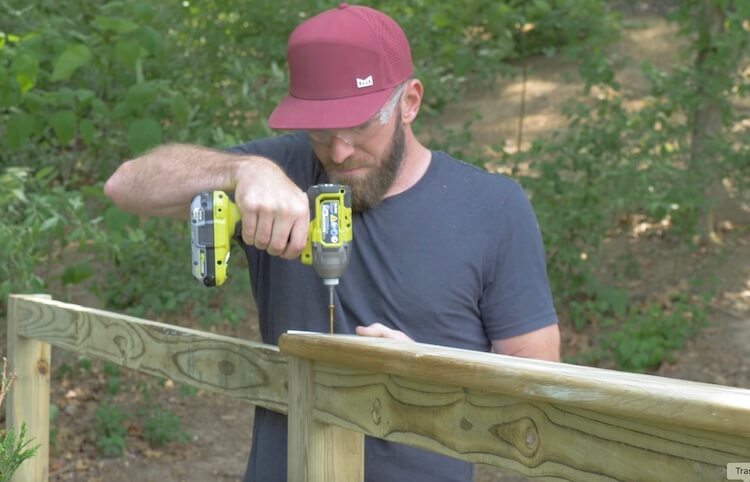
Then install the lower 2×4 using 2-1/2″ Kreg XL pocket hole screws. These screws are outdoor rated and incredibly beefy and will make sure you get a good strong connection.
Repeat the process for the top board and the remaining sections. Note, if you are building a fence on a slight slope, like I am, I would recommend leveling the bottom 2×4 with the lowest spot on the higher spike. For steeper inclines the entire sections should be higher as your incline increases.
Installing the Top Cap
To dress up the top of the fence, I installed a 5/4 pressure treated deck board using 2 inch deck screws. These boards come in 16 foot lengths which will help tie multiple sections of the fence together and stiffen up the fence.
Applying Finish
To protect the fence and to make it look nice, we opted to finish the treated wood with a solid color deck stain in the color black.
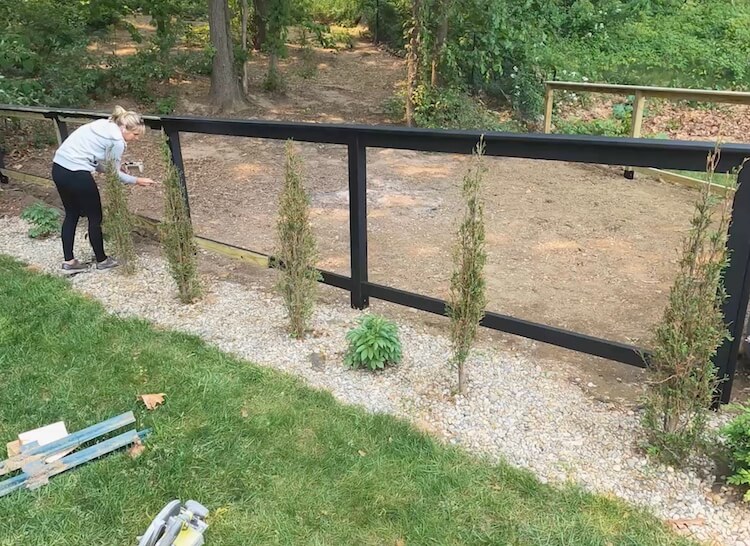
Vertical 2x2s
To secure the welded wire fence to the side of the 4x4s we needed to install 2x2s between the upper and lower 2x4s. These were cut to length, stained, and installed with 2-1/2 inch deck screws.
Assembling the Gate
The gate opening gets measured and a 2×4 frame is assembled for the gate that is about 1 inch narrower than the opening. The gate frame is assemble with the Kreg XL pocket hole jog and screws.
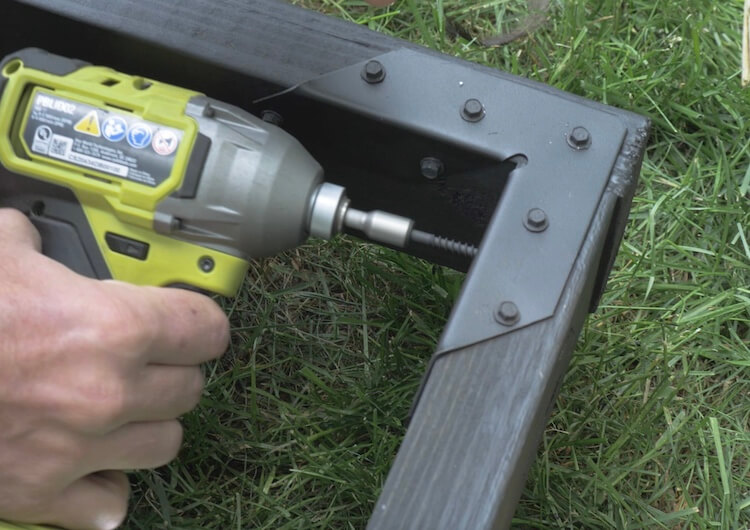
After applying the finish I then installed the Simpson StrongTie Rigid Tie Connectors to each inside corner to assure the gate does not sage over time.
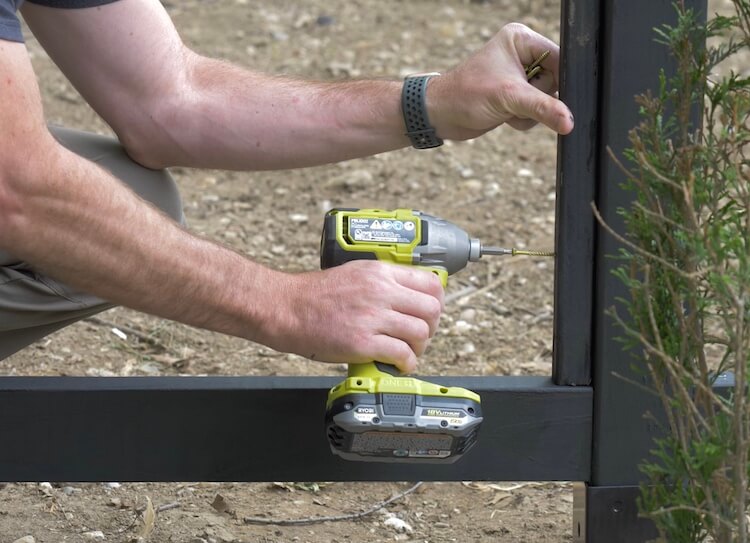
On the inside of the frame I installed 2x2s, cut to length, with 2-1/2 inch deck screws. These will be used to fasten the welded wire fencing to.
Gate Installation
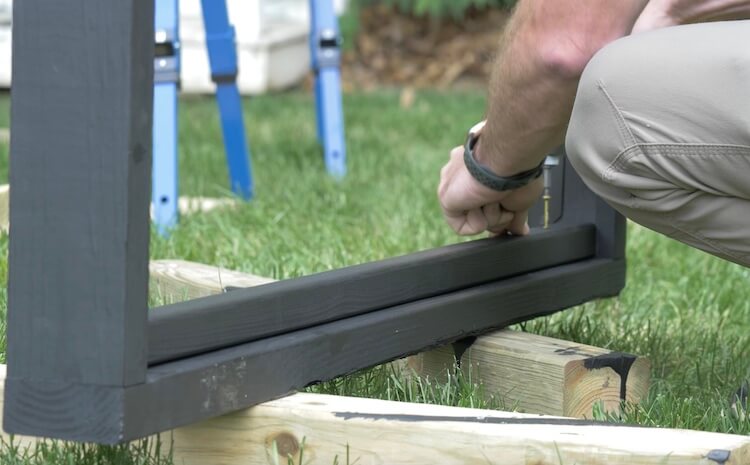
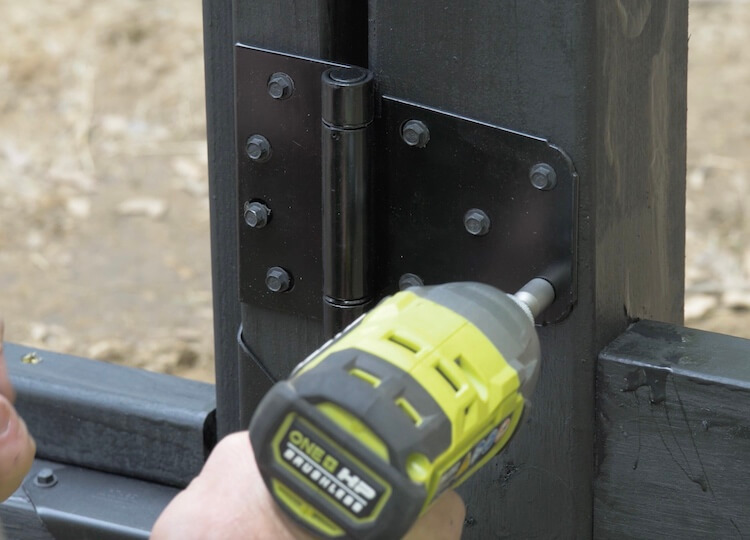
Using a 3/4″ to 1″ spacer below the gate, I then installed the gate using self closing hinges and latch.
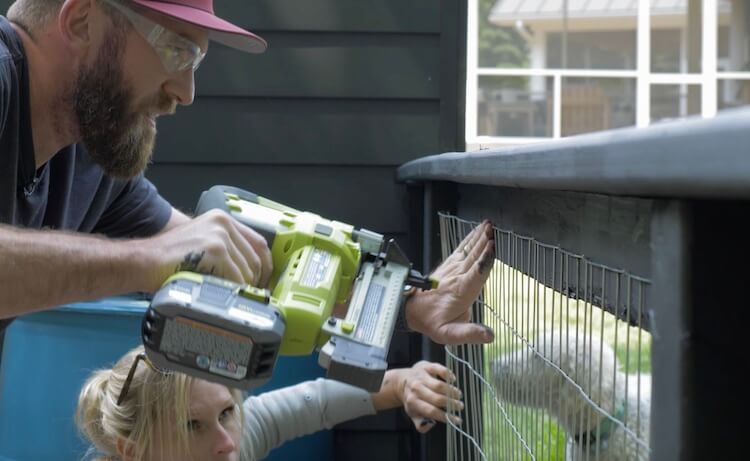
Installing Welded Wire Fencing
The welded wire fencing then gets cut to size for each section and stapled to the inside of the fence. For this I used a narrow crown stapler and 1-1/2″ galvanized staples.
Do you have to let the PT lumber dry before you paint it? If so, how long?
I didn’t and it turned out fine. But you are supposed to let it dry for a few weeks.