

Bookcase with Toy Storage
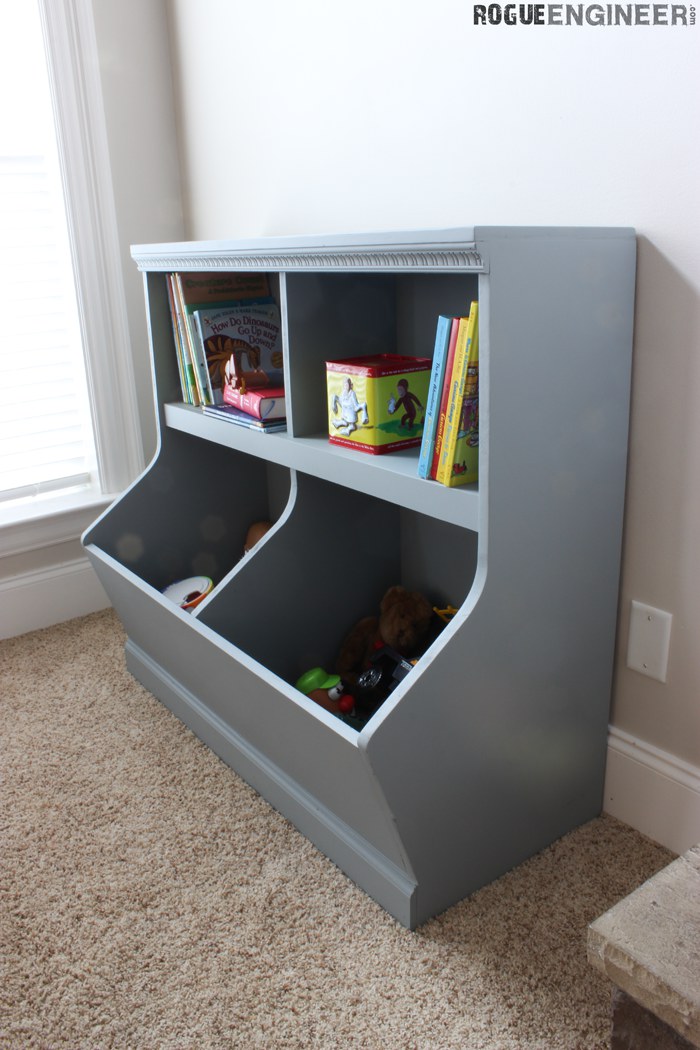
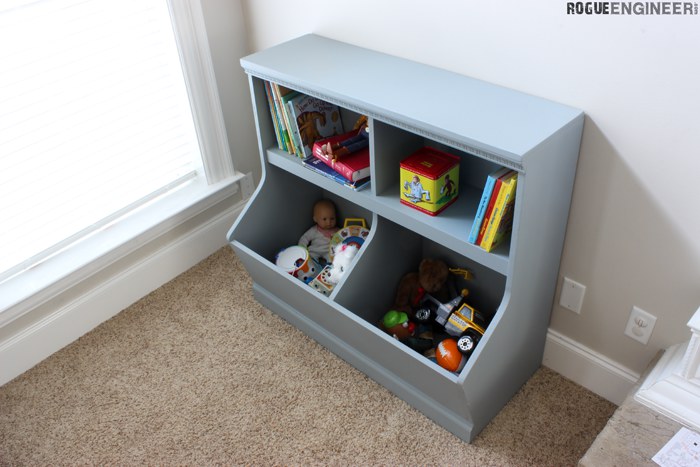
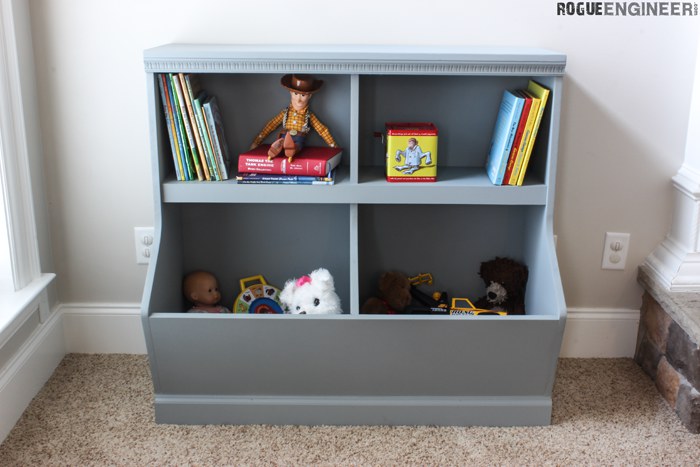
If you have kids then you know how important toy storage is. This wall unit not only gives you a ton of toy storage but it incorporates a book shelf for all those nighttime stories. This this can house a boat load of toys which is just what we need after the holidays. Enjoy!
For sneak peeks of our upcoming projects be sure to follow me on Facebook and Instagram. Also, follow me on Pinterest to get tons of projects plans from all around the web!
Required Tools
Materials
Disclosure: The links provided in the “materials” and “required tools” sections are affiliate links. If you would like to support our site and help keep our content free come find out more about how we can make money with no extra cost to you.
Dimensions
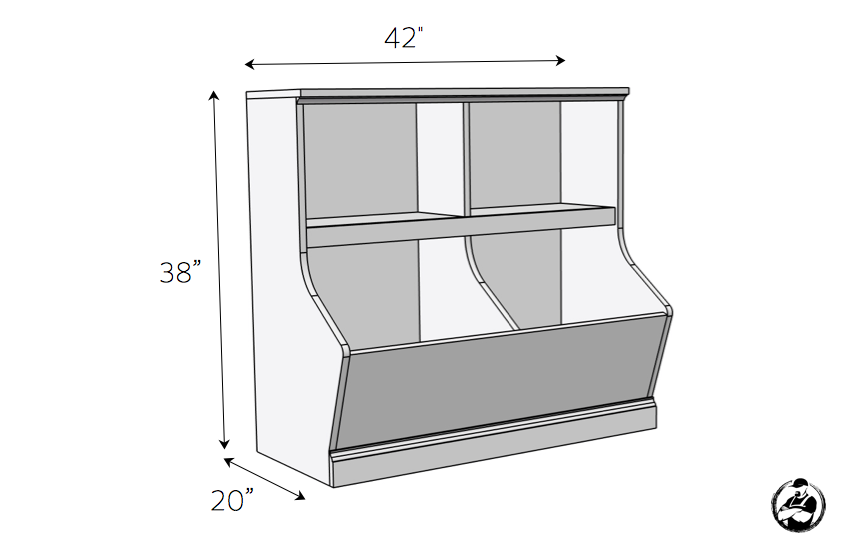
How to build a Bookcase with Toy Storage
This project has been sponsored by buildsomething.com so make sure you head on over there for the full project plans. Build Something is another excellent source for DIY furniture plans and this is my first of many projects plans on their site.

I started out by drawing out the sides and middle panel using the diagram in the plans.
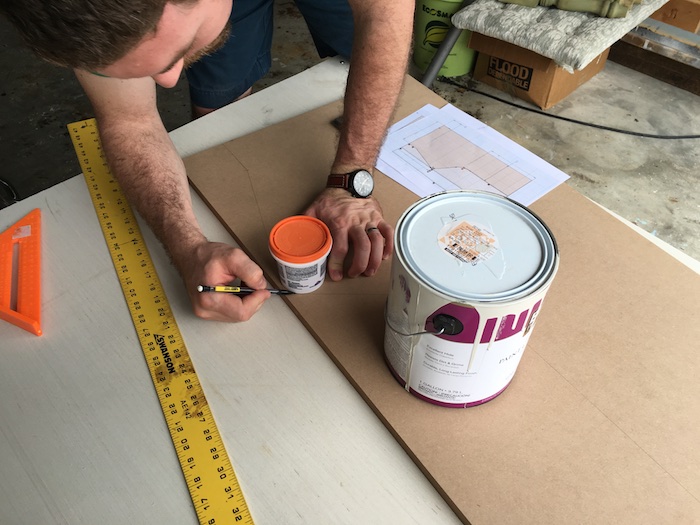
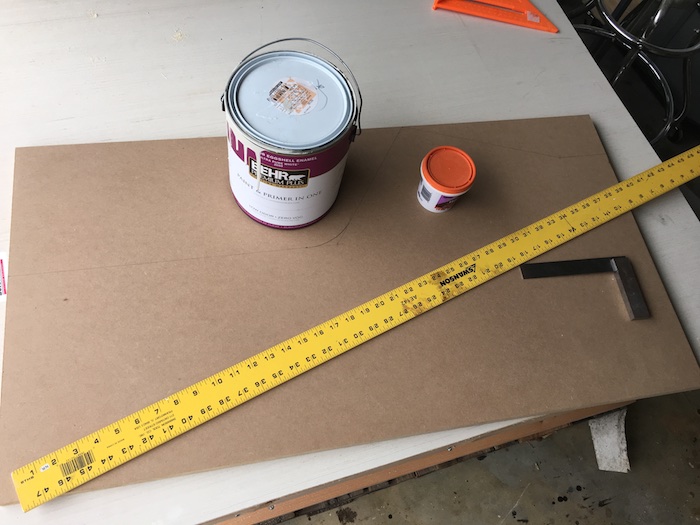
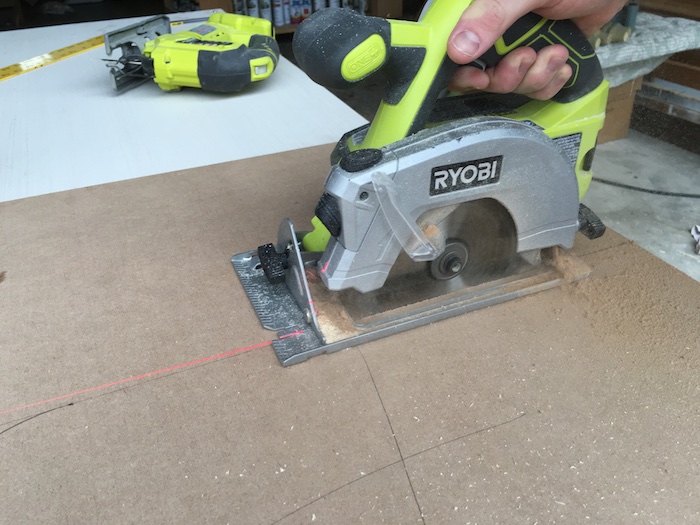
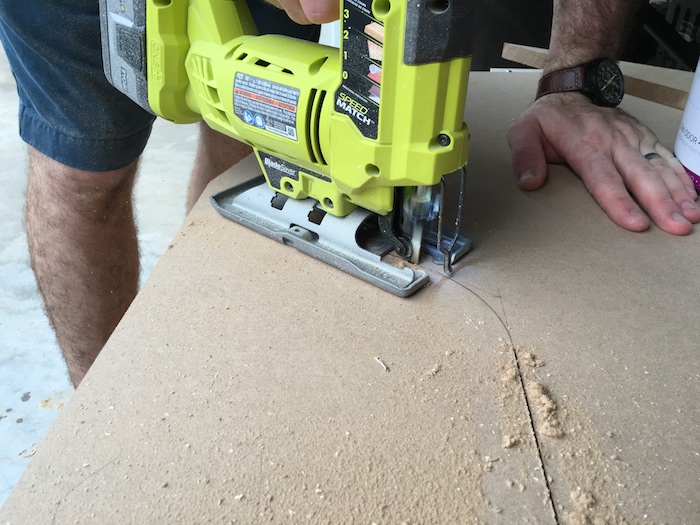
Next, I cut them out with a circular saw and jigsaw.
Then, I began assembly with one side, back, front and bottom using pocket hole screws.
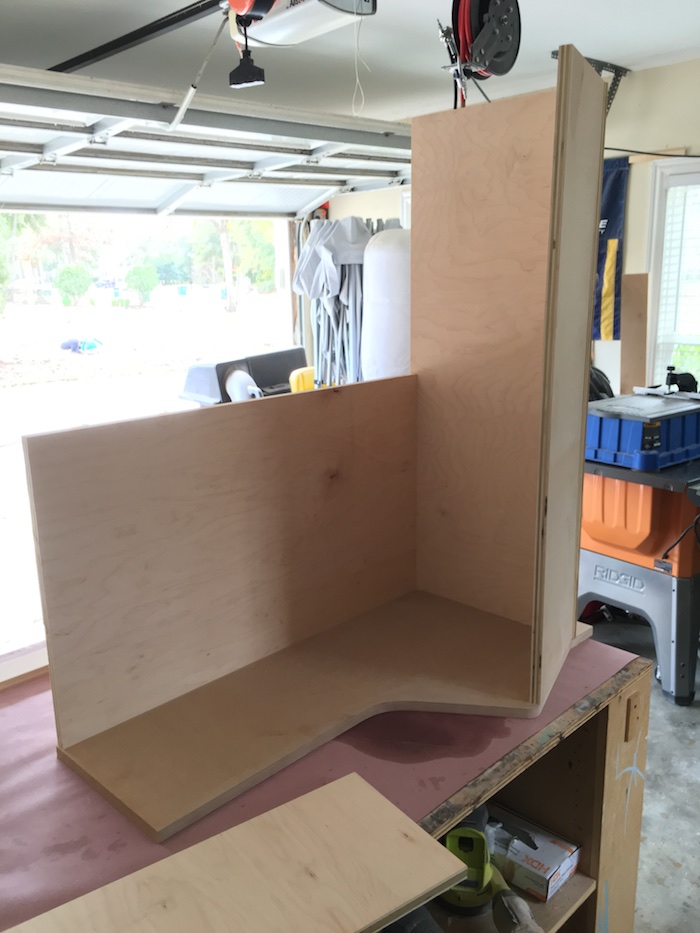
Then I used the shelf to space the middle panel and joined that with pocket hole screws.
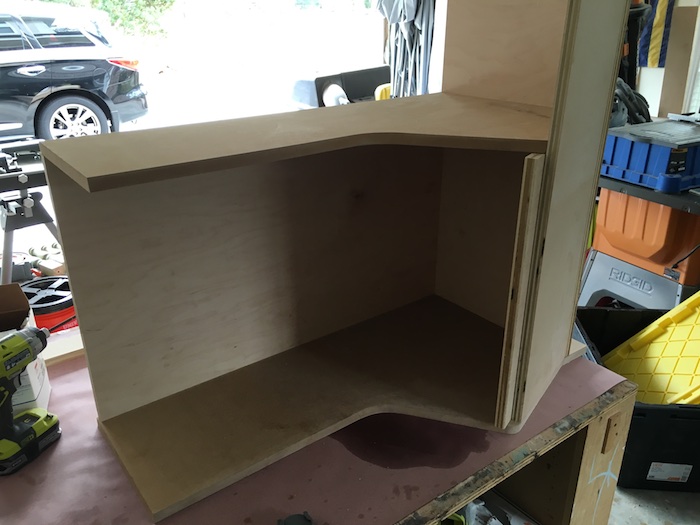
Now the support gets installed.
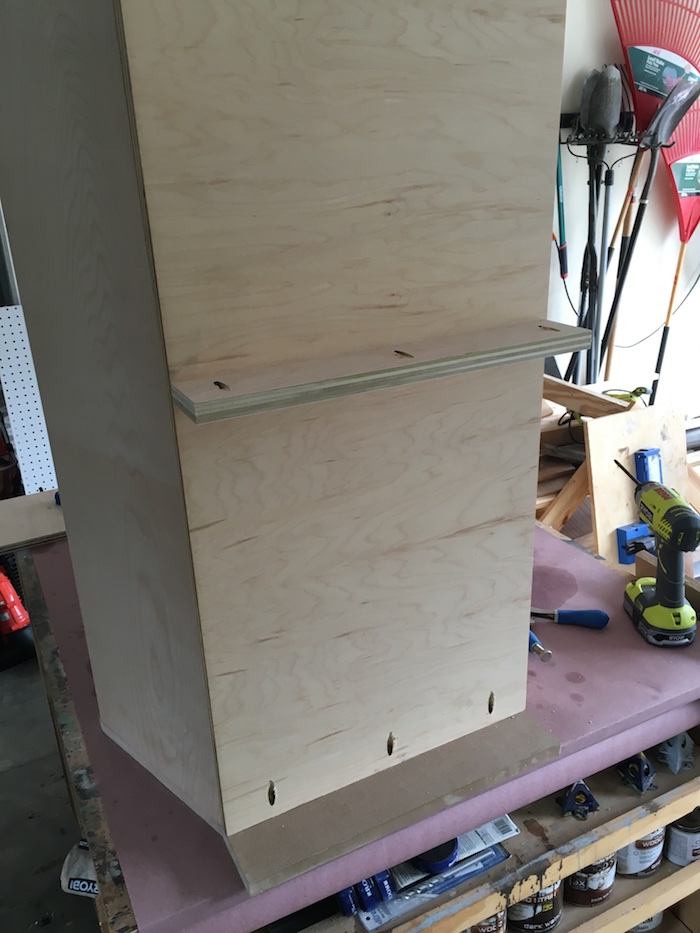
Followed by the remaining back and side.
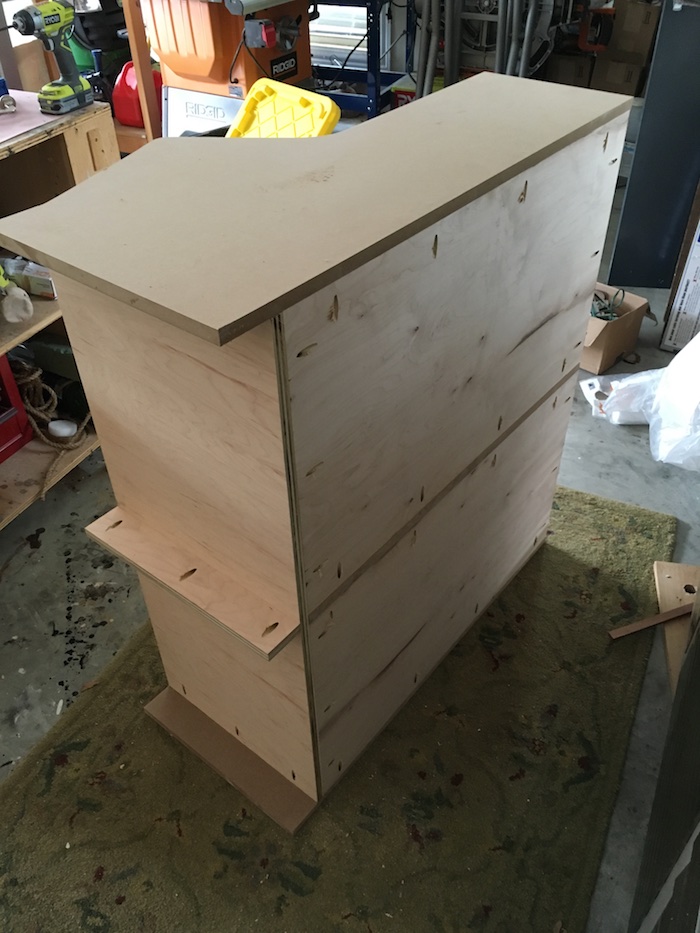
And finally the top is installed with pocket hole screws as well.
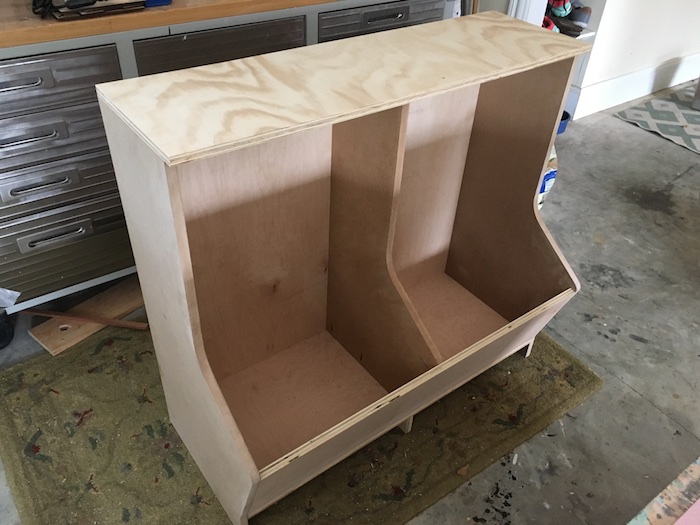
Now, the shelf gets assembled using pocket hole screws.
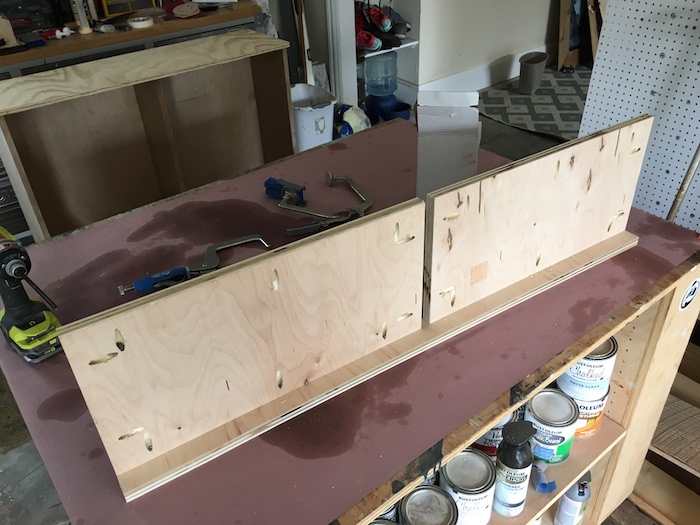
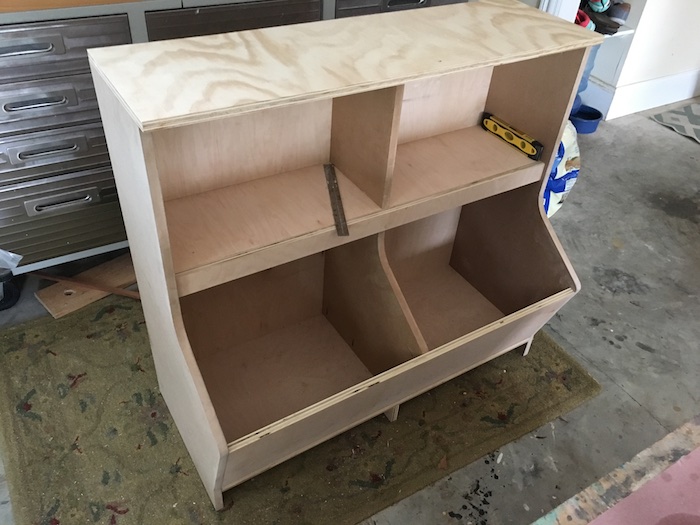
Once it’s located and level is achieved then the shelf is installed.
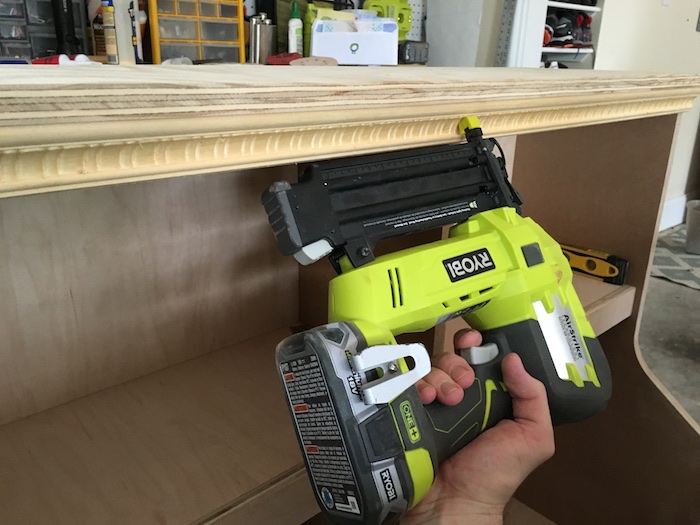
Finally add the baseboard and decorative trim using 1-1/4″ brad nails.
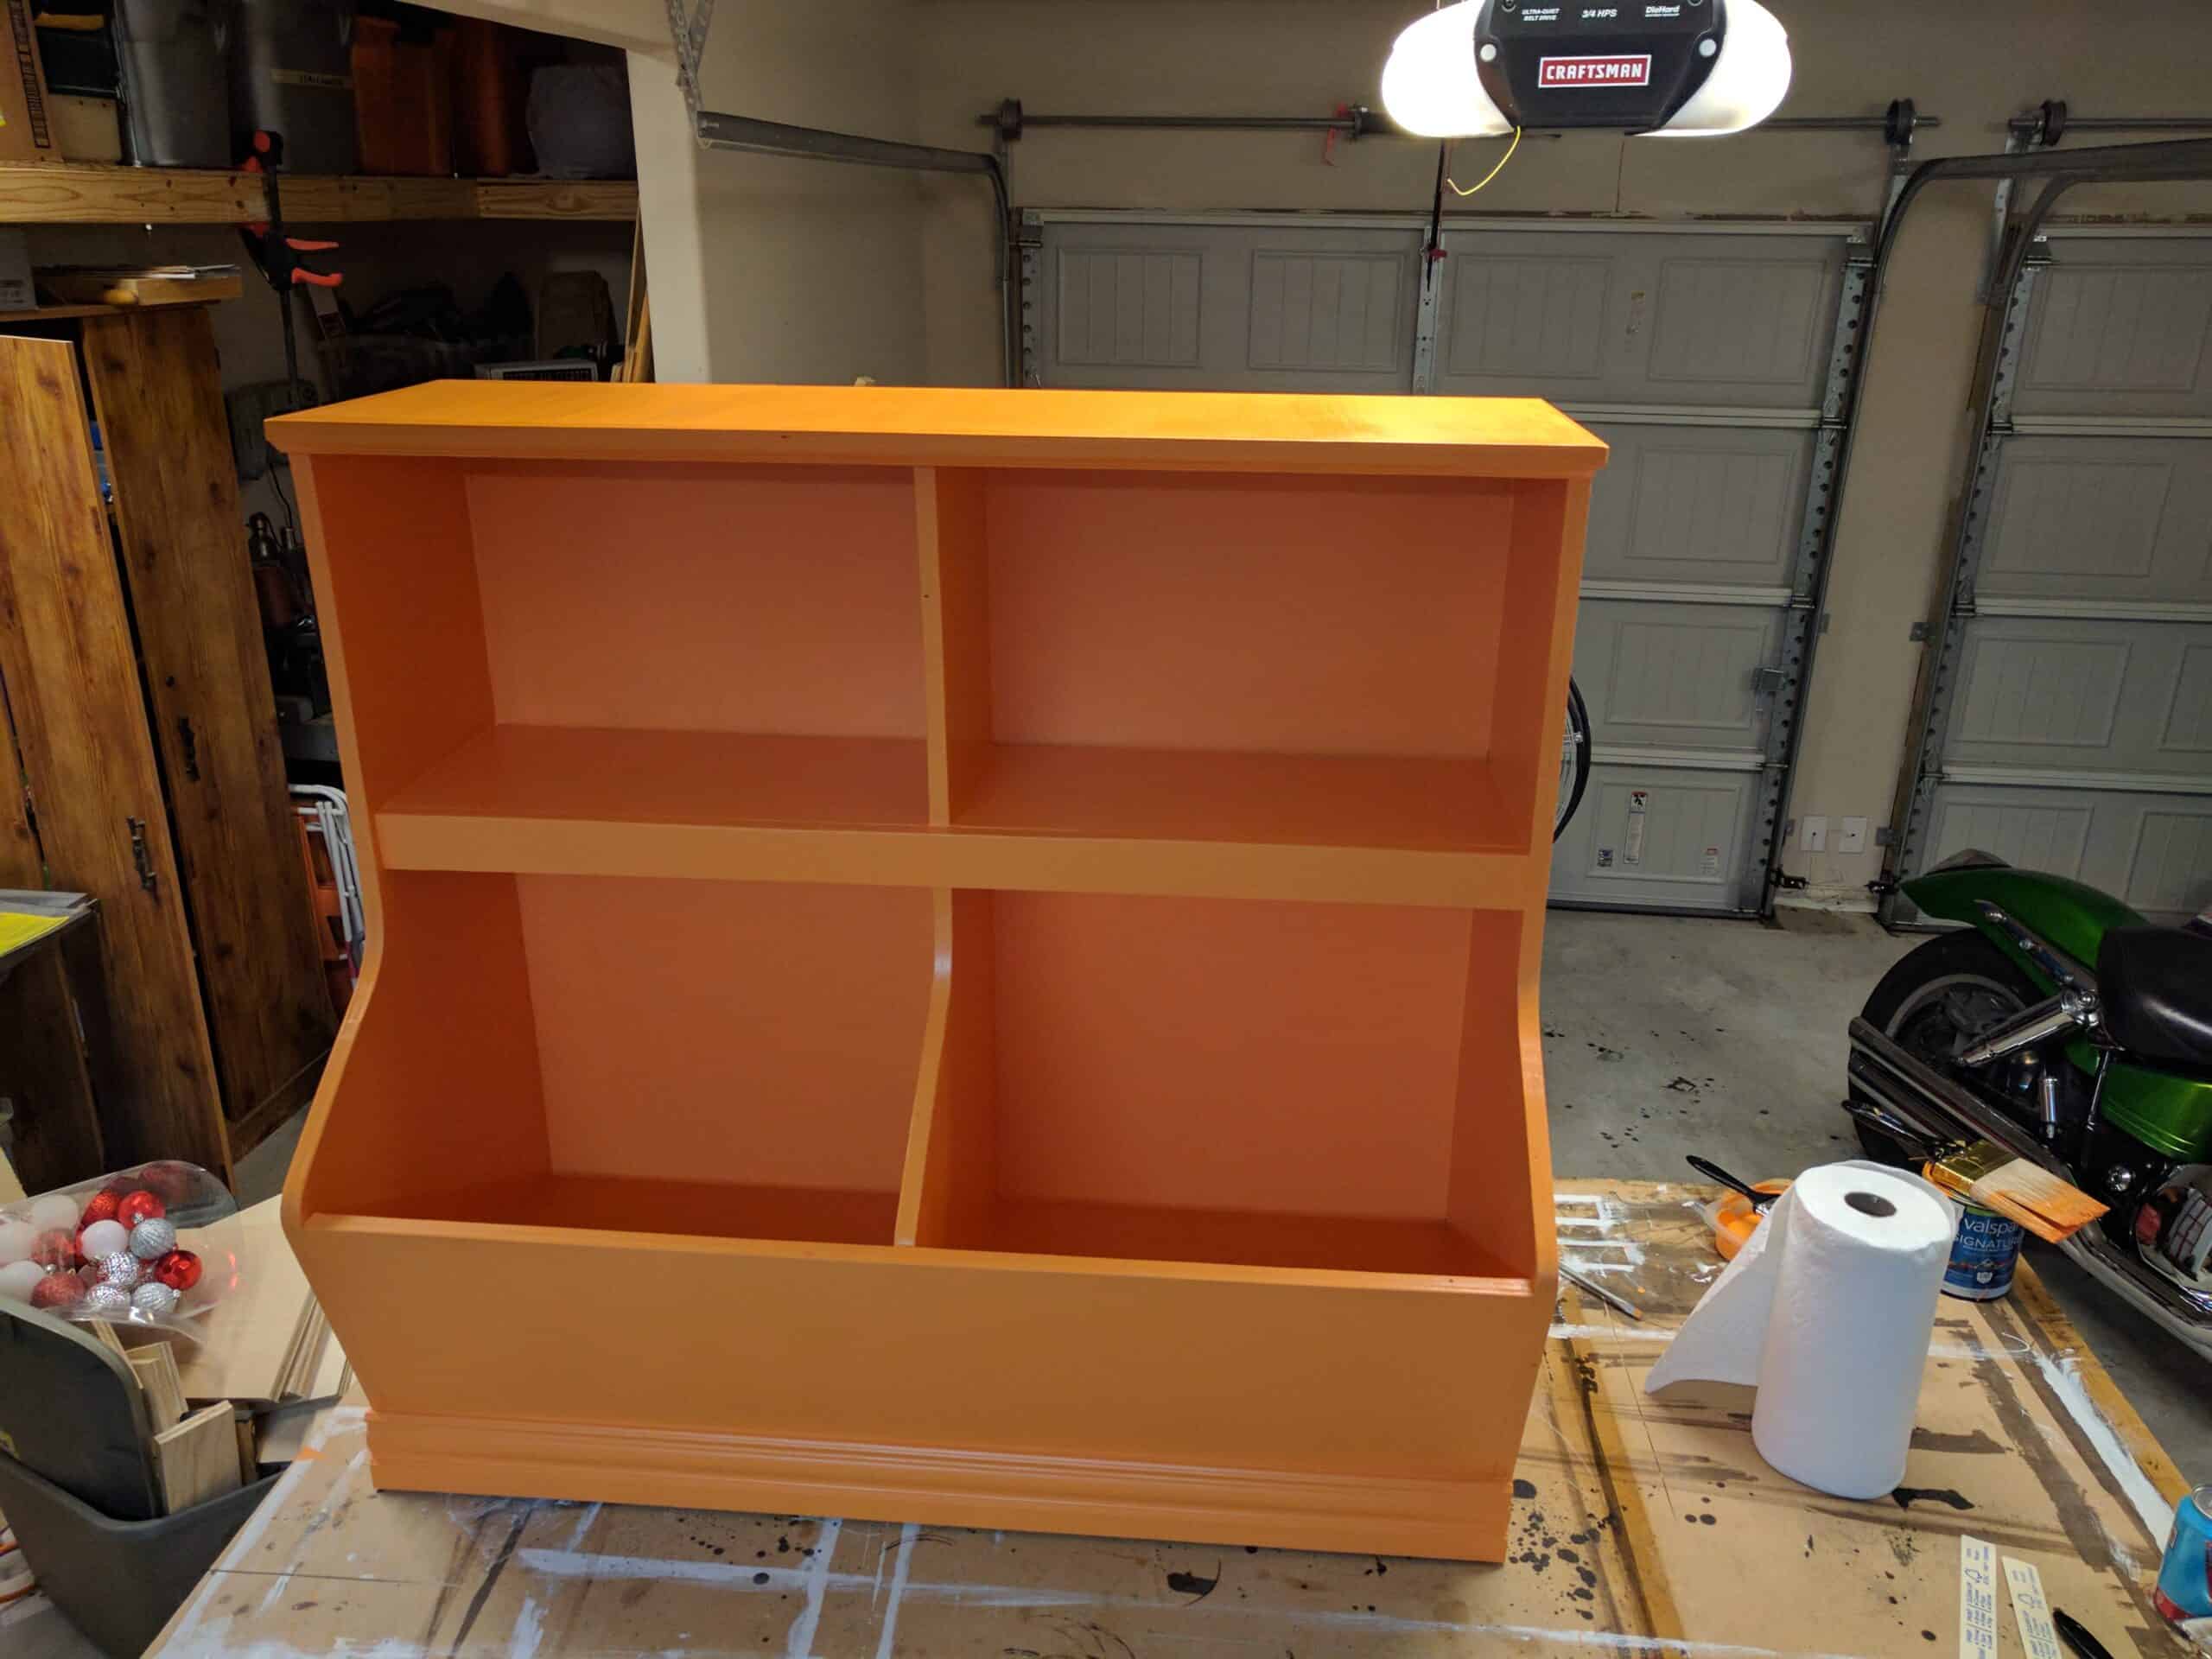
I finished the bookcase with some Seaside paint I had left over from from my Rustoleum Cabinet Transformations Kit.
I hope you enjoyed this project and be sure to head over to buildsomething.com for the full plans.
Questions? Comments?
As always, if you have any questions don’t hesitate to comment below and especially don’t forget to post pictures of your finished products in the comments! ENJOY!
Love it! This would be great in my son’s room. His floor is always cluttered with books and stuffed Pokemon. This would contain them all!
Thanks Vineta! This has been a big help for us!
It looks like mdf on the sides,is that correct?
It is MDF. I actually had a bunch of scrap 3/4″ plywood and MDF so mine is actually all different types. I knew I would be painting it so it didn’t matter to me. However, if you don’t have scrap like I did, then just go with the materials in the materials list.
Love the shelf and color as well! Do you mind sharing what color paint you used?
Thanks. I actually used some leftover paint from redoing my kids bathroom cabinets. It is Rust-Oleum cabinet transformations in seaside.
Thanks. I actually used some leftover paint from redoing my kids bathroom cabinets. It is Rust-Oleum cabinet transformations in seaside.
Love the shelf! So much that we decided to build one as we were running out of book shelf space! Our girls love it and with the plans was super easy to build. Thanks Jamison for another awesome build.
This turned out AWESOME! Thanks so much for sharing.
Worked out great for my son’s room! Thanks for the great plans!!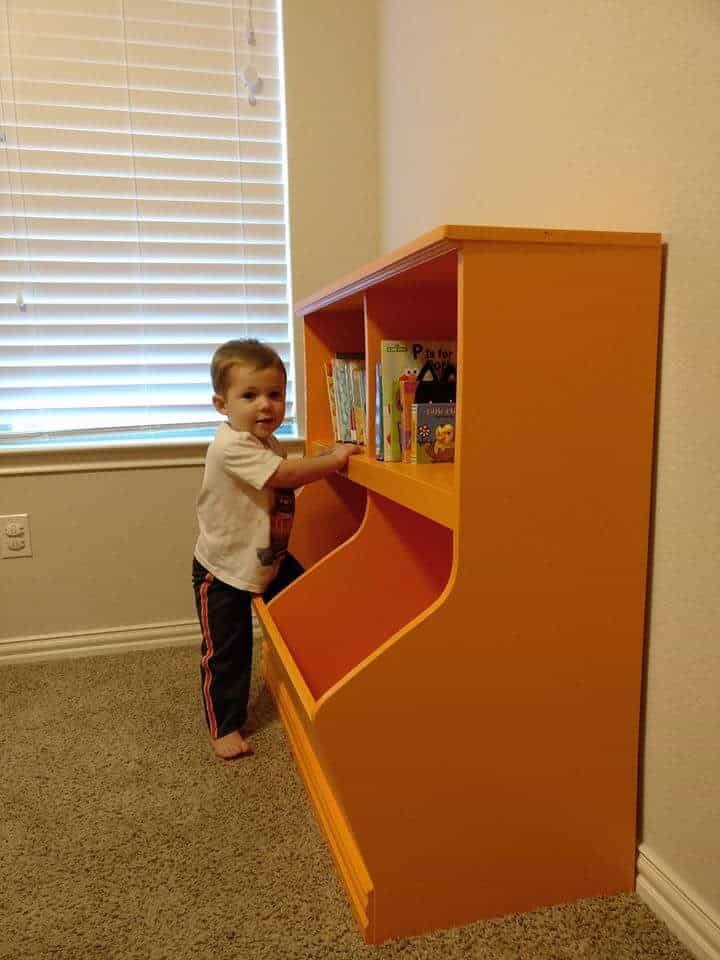
https://uploads.disquscdn.c… Worked out beautifully!