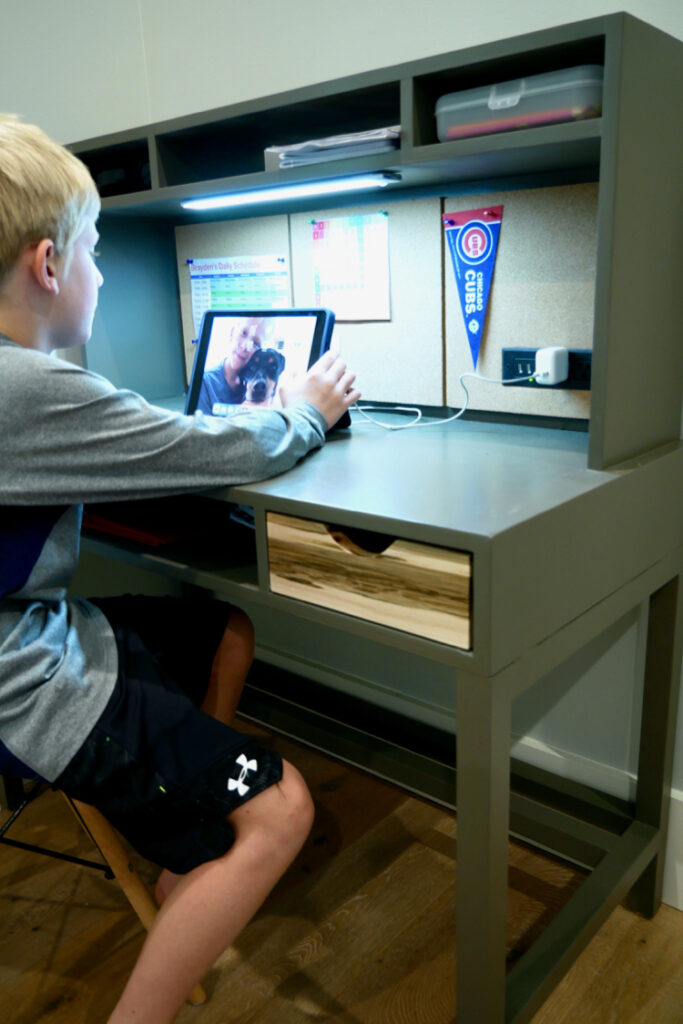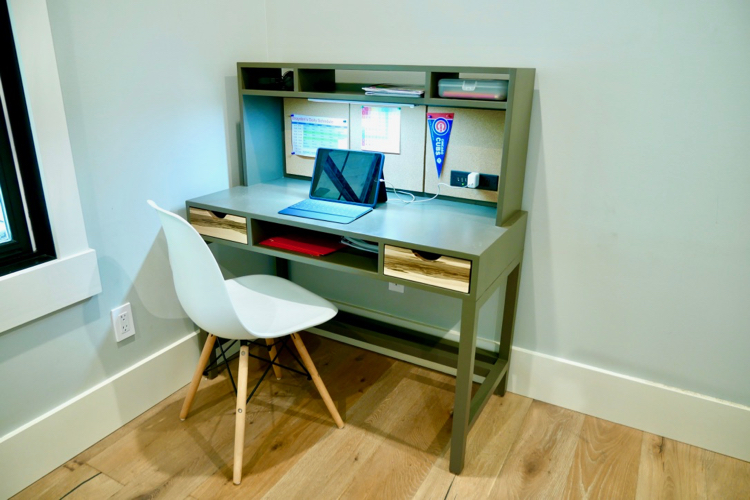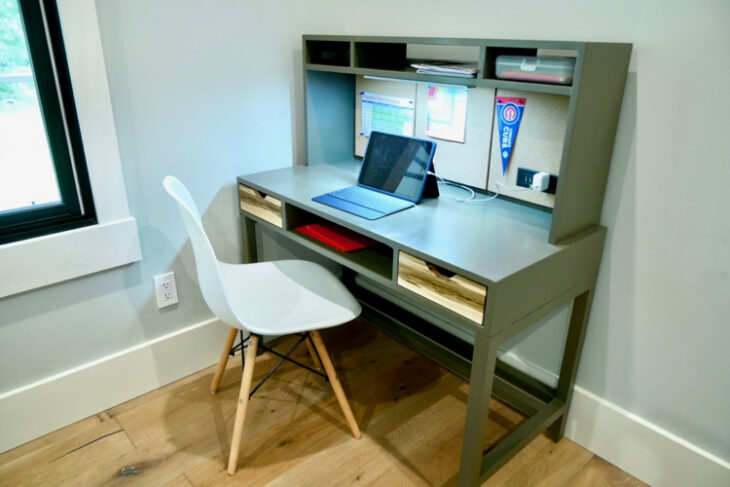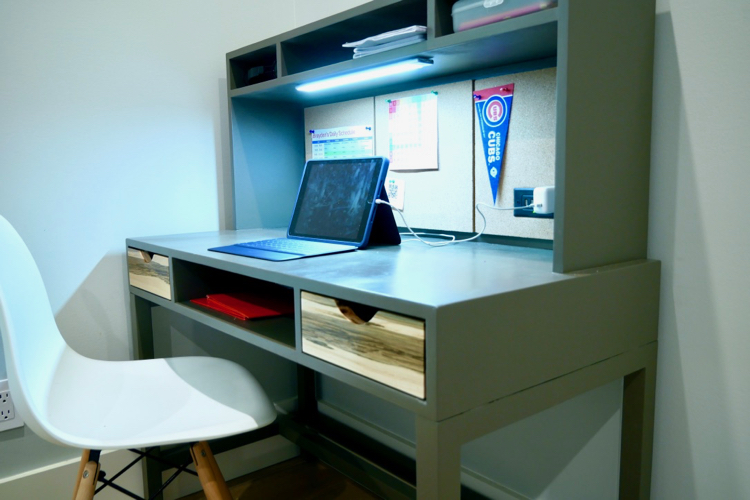
With our kids going back to school virtually and now entering a hybrid learning schedule, we new we needed a good workspace for our son. We made our daughter an easy plywood desk but our son is a typical 9 year old boy with lots of energy. That being said, we decided this space need to have some type of hutch to keep help limit distractions and offer more storage. With the prices of wood being as high as they are right now I tried to maximize the usage of each board. That being said, we were able to build this desk for around $75 in lumber.
If you love this stuff as much as we do, you might want to consider following us on Instagram where we post sneak peeks and behind the scenes stuff in our stories. Also, did you know you can get tons of projects plans from all around the web when you follow us on Facebook and Pinterest!
Tools
Disclosure: This project is sponsored by DAP however the plans and design are 100% my own. Also, the links provided in the “materials” and “required tools” sections are affiliate links. If you would like to support our site and help keep our content free come find out more about how we can make money with no extra cost to you.
Dimensions
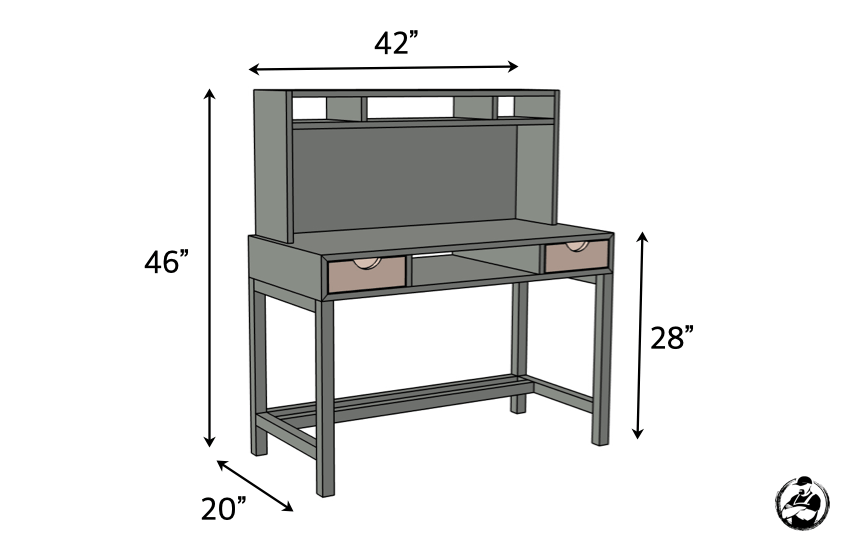
Time needed: 2 days.
The steps below will guide you through the process of cutting stock lumber and assembling a child’s desk and hutch.
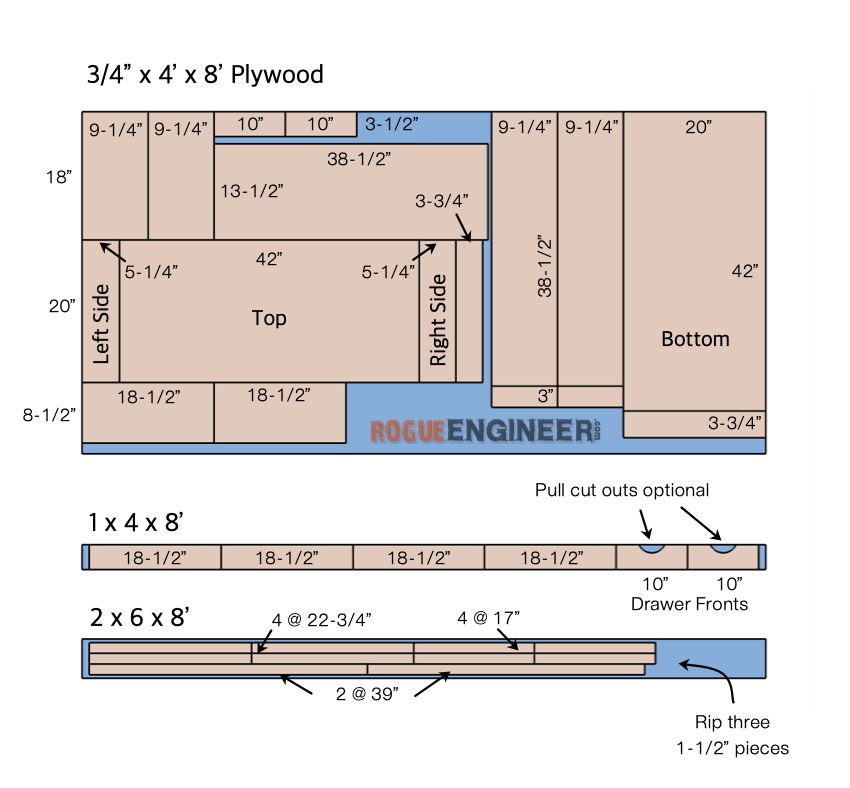
- Cut List
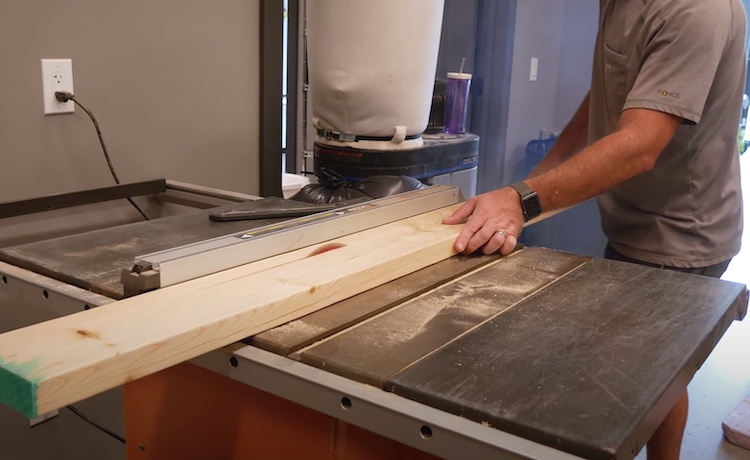
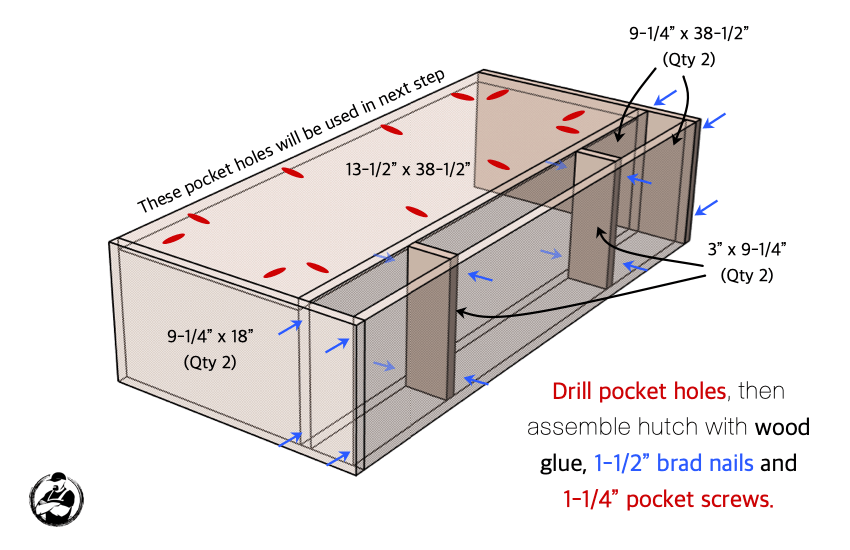
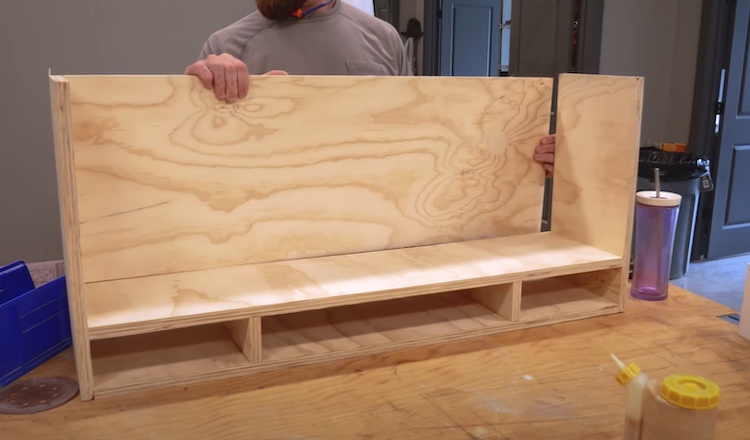
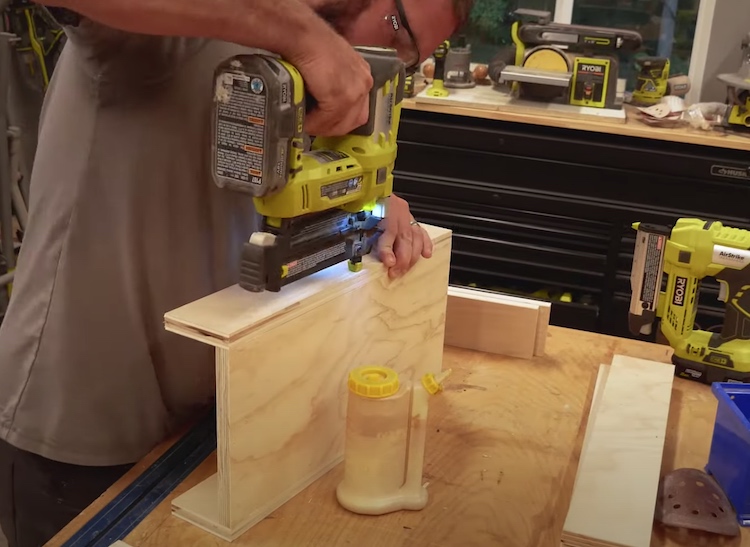
Cutting the sides off the 2×6 first will give you square edges on all sides. - Assemble the Hutch
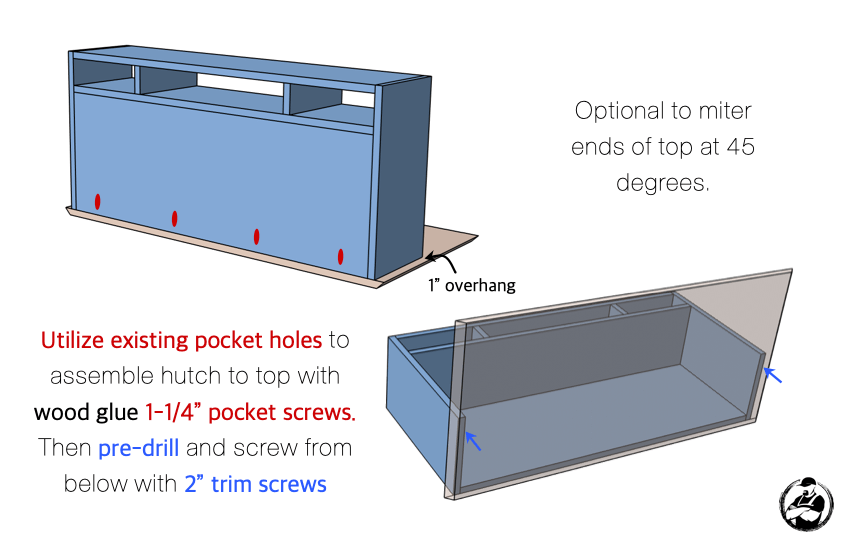
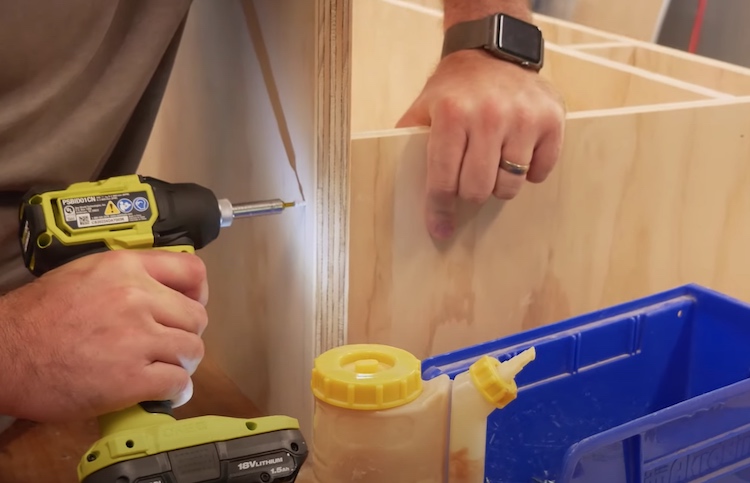
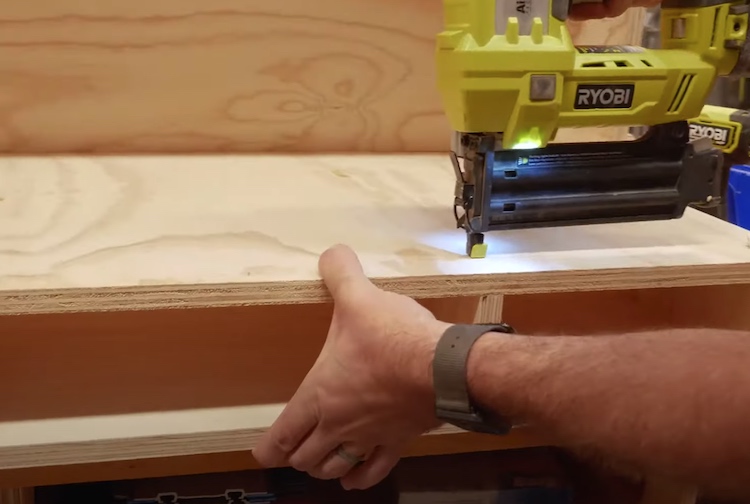
- Attach Hutch to Desk
Miters can be cut on the table saw with a crosscut sled (best) or with a circular saw (beveled) and a straight edge. - Complete Desk Assembly
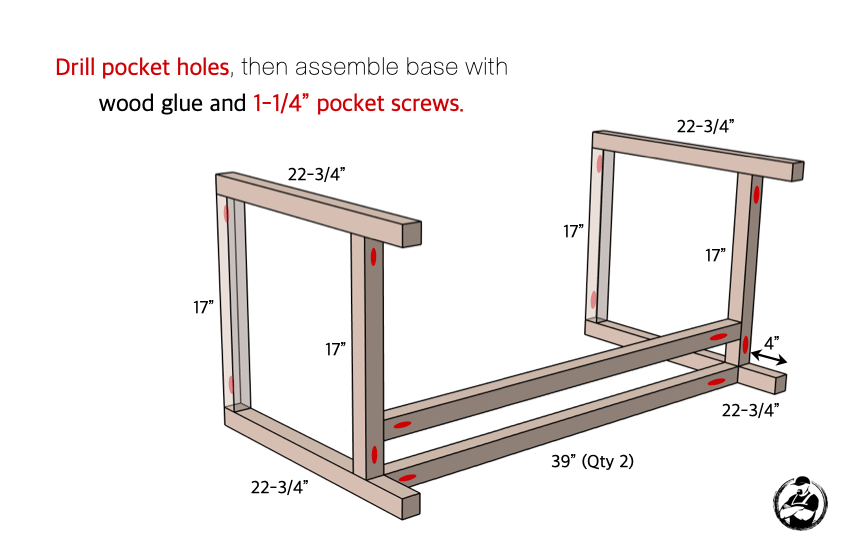
- Assemble Base
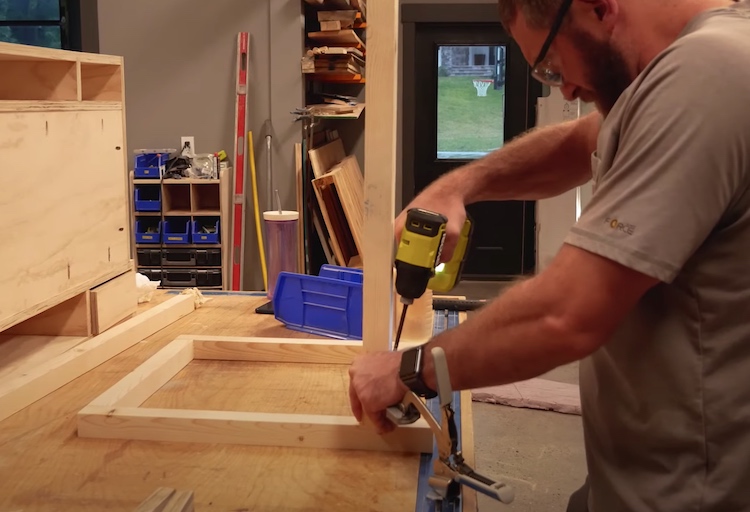
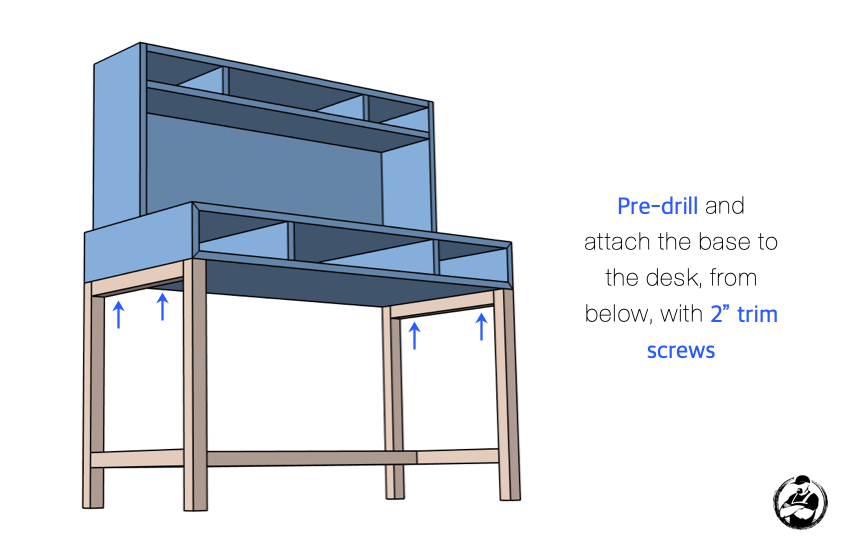
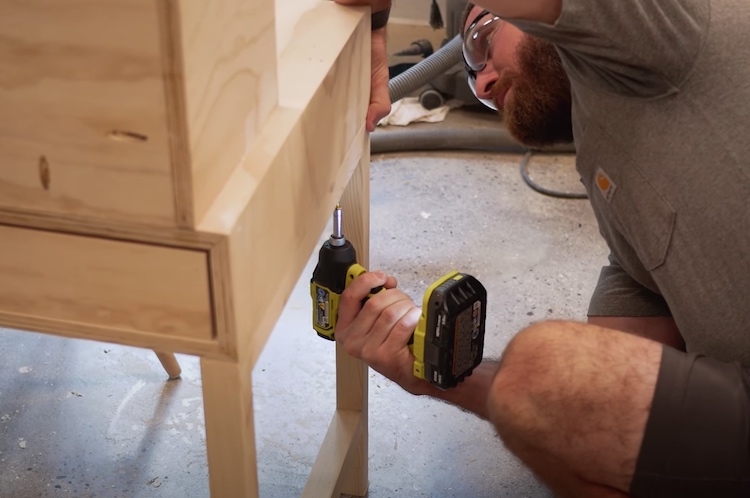
- Attach Base
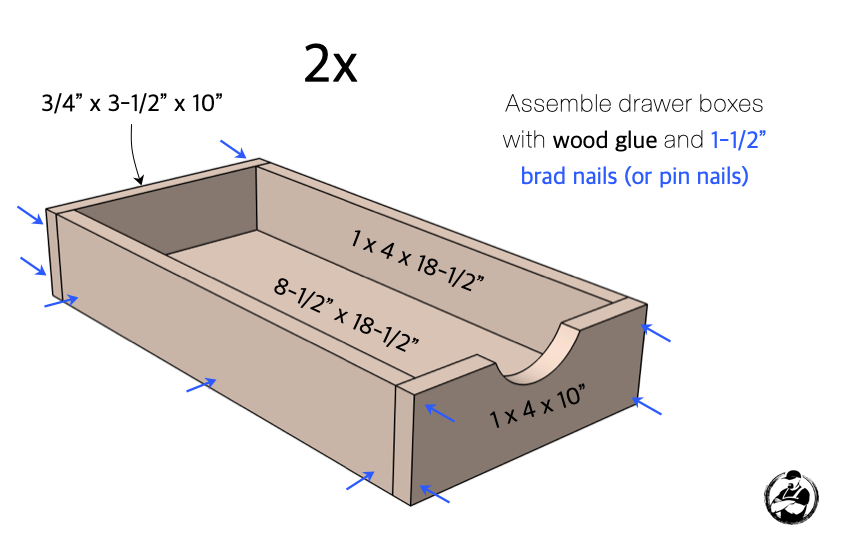
- Assemble Drawer Boxes
- Applying Wood Filler
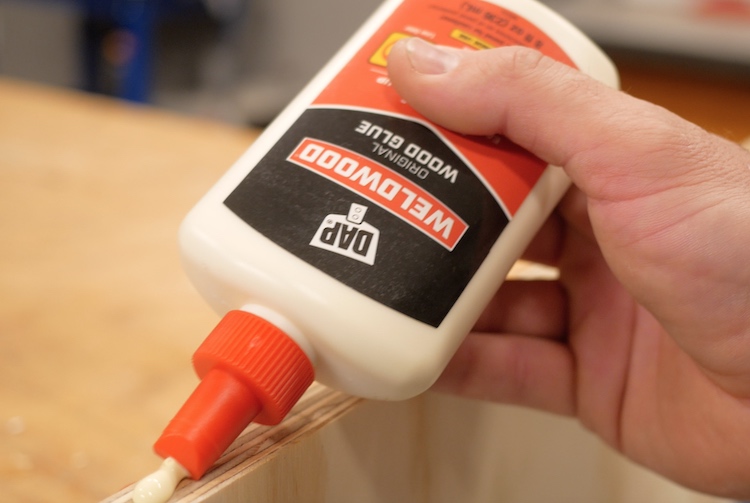
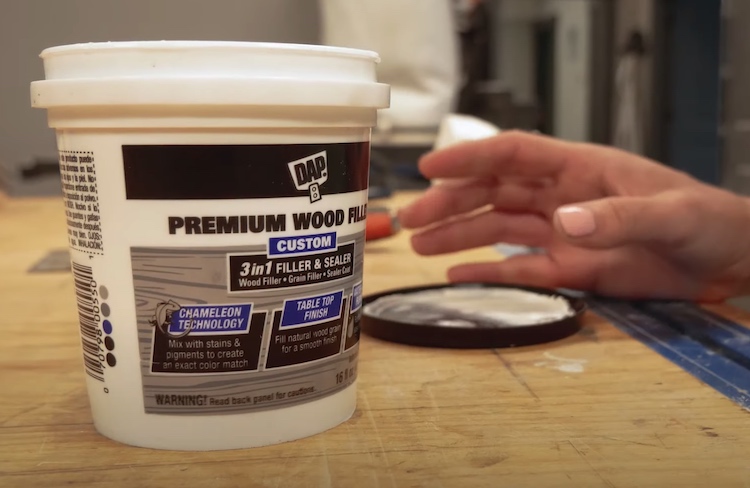
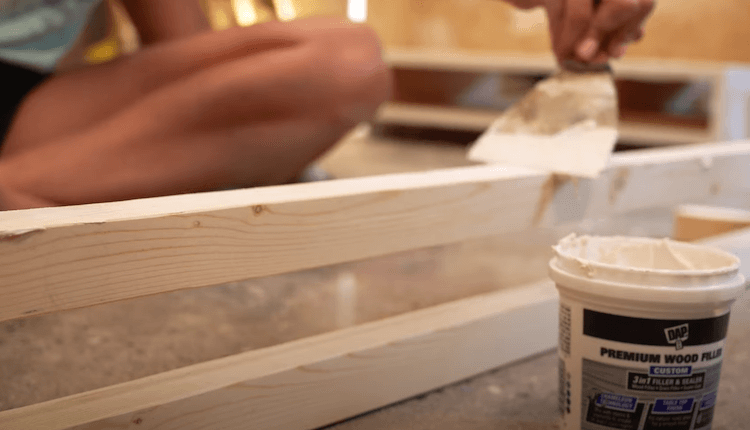
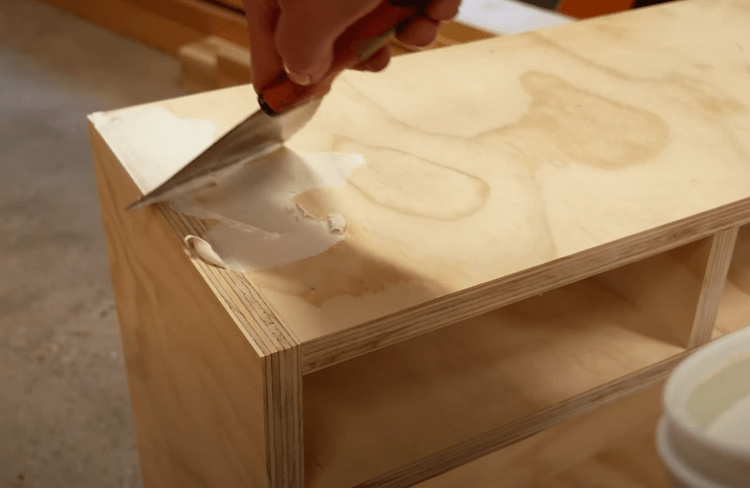
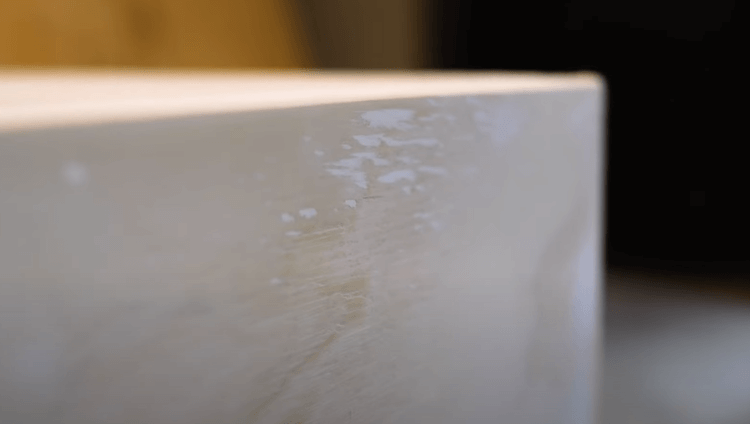
Apply a thin coating of DAP Premium Wood Filler to the exposed plywood edges and anywhere there is a rough texture in the wood.
The thinner texture of this filler makes it much easier to apply with a putty knife and blend joints together.
Since we went with a cheaper plywood we used it to fill the grain in places and it worked out really well. - Prime and Paint
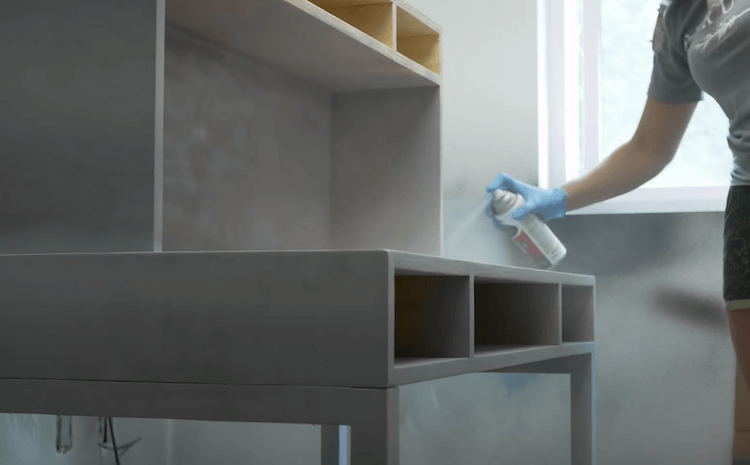
We then primed the bare wood with a spray filler primer and painted with Behr Alkyd paint in the color Burnished Pewter. - Install Drawer Glides
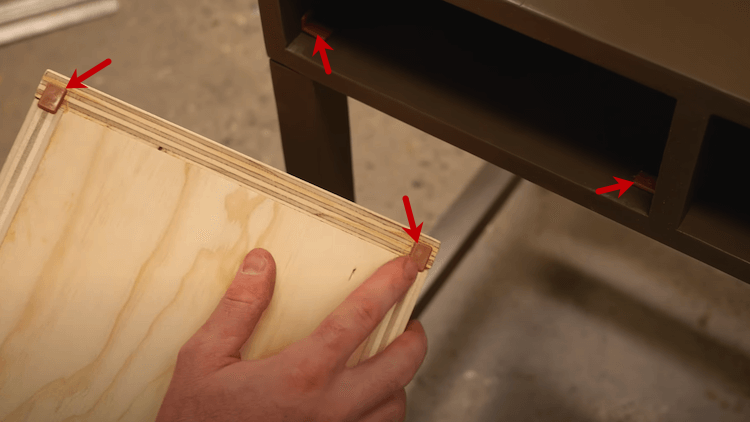
Rather than installing drawer slides, to keep it easy, I opted for tack in drawer glides. These are little hard plastic tabs with a nail on them that, when installed, allow the drawer to glide easily within the opening and not damage or stick to the painted surfaces. We installed flat glides (for drawer bottom) and the corner glides (for drawer opening). - Accessorize
We added adhesive cork tiles to the back of the hutch to allow him to pin schedules and other notes that he need to have on hand. We also cut and installed a recessed power strip for charging his iPad and any other devices.
As I expected, Brayden was pumped to get his new desk and it has worked like I wanted, helping to keep him focused on what’s in front of him.
