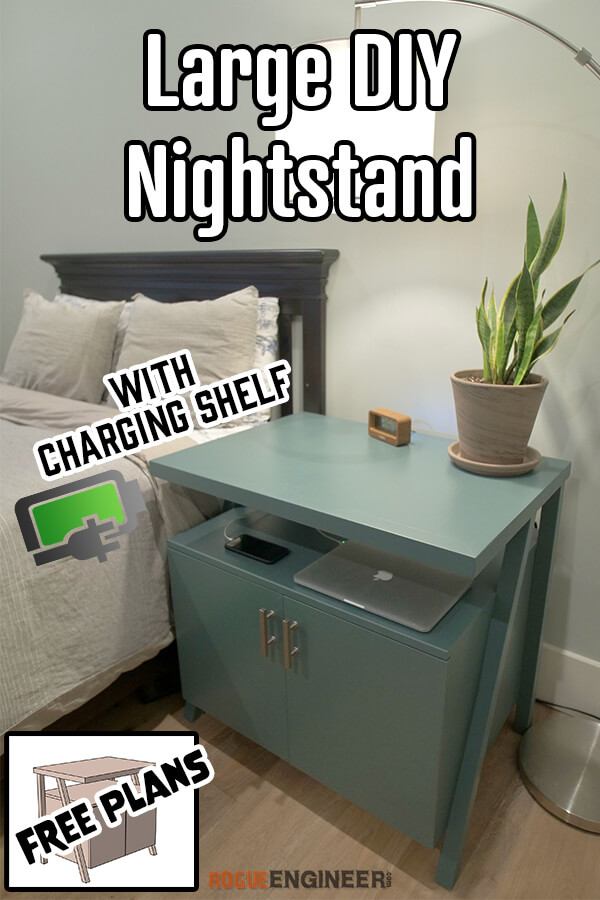
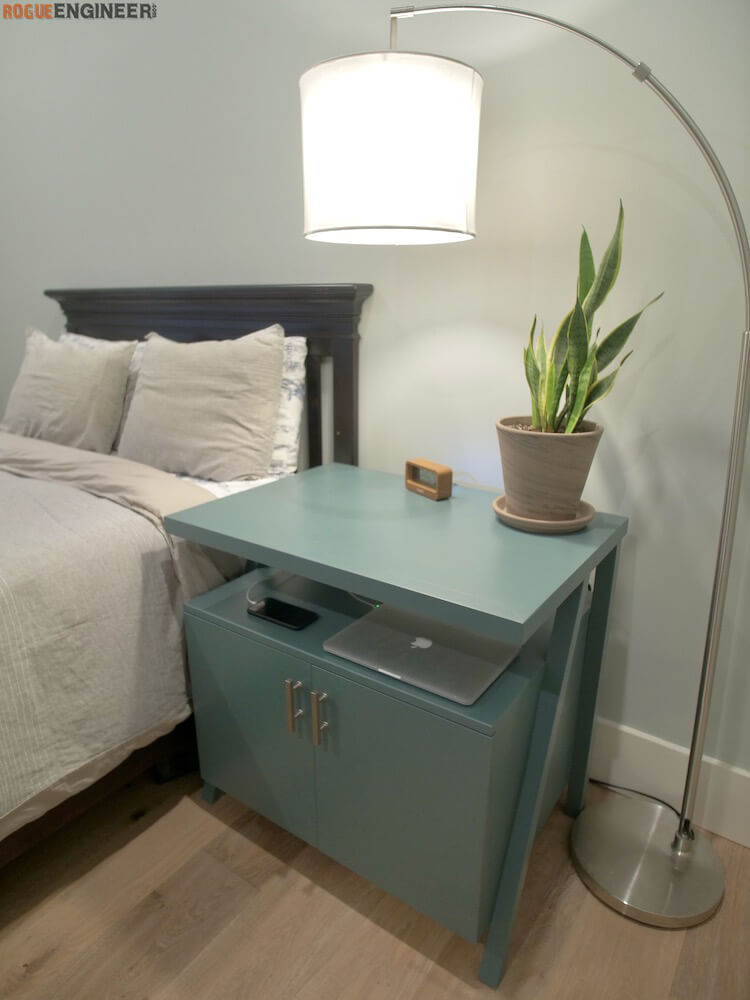
Large Nightstand with Charging Shelf
Time to Complete
1 Wknd
Estimated Cost
$100-$150
Skill Level
Intermediate
When it comes to nightstands I feel like you can never have too much space. And, with all the devices that we need to store and charge at night I thought that integrating an open, and accessible, shelf just below the top with outlets and USB ports would be a welcomed accessory.
Disclosure: This project was sponsored by Kreg Tool Company however the design and opinions are 100% my own.
Tools
- Kreg Pocket Hole Jig
- Drill/Driver
- Miter Saw
- Kreg Track Saw and/or Table Saw
- Jigsaw
- Level
- Tape Measure
- Pencil
- Safety Glasses
- Hearing Protection
Materials
- Qty 3 – 2 x 2 x 8′ Select Pine Boards
- 3/4″ x 4′ x 8′ Plywood
- Iron On Edge Banding
- 1-1/4″ Kreg Pocket Screws (Coarse)
- 1-1/4″ Wood Screws
- 2″ Wood Screws
- 3″ Wood Screws
- Qty 2 – Frameless Full Overlay Hinges (pair)
- Recessed Power Strip
- Door Pulls
- Wood Glue
Disclosure: The links provided in the “materials” and “required tools” sections are affiliate links. If you would like to support our site and help keep our content free come find out more about how we can make money with no extra cost to you.
Dimensions

Cut List
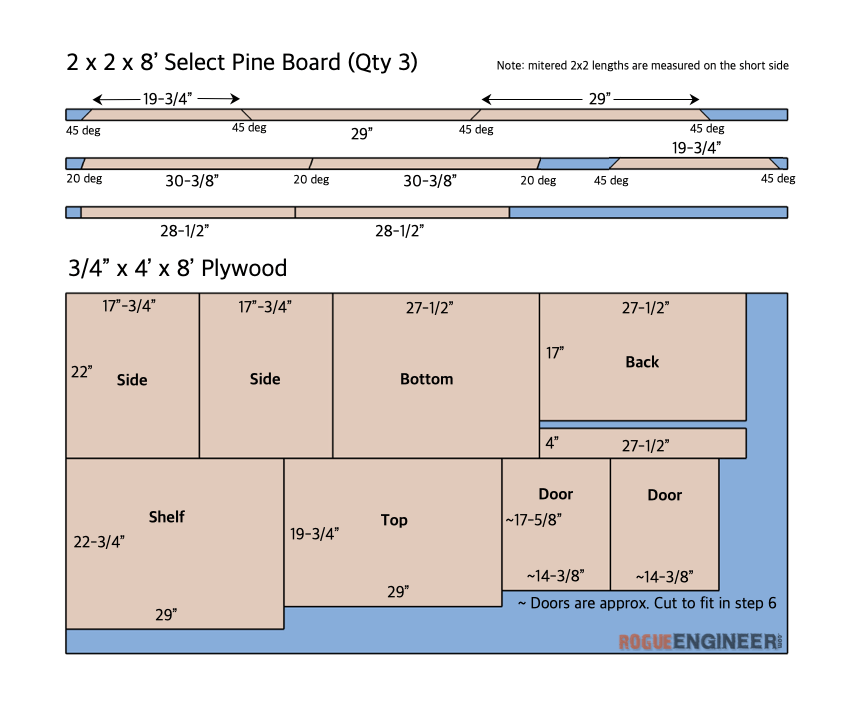
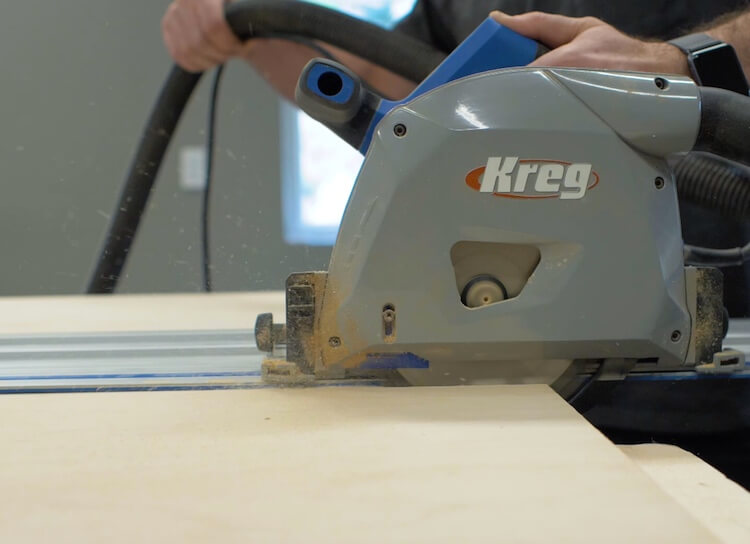
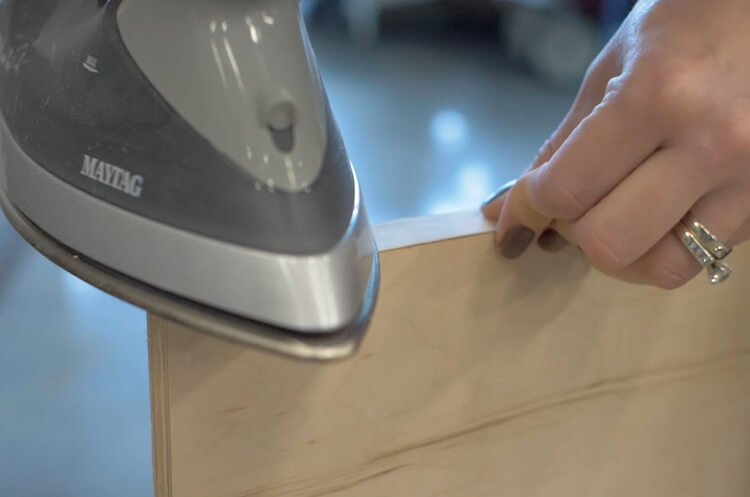
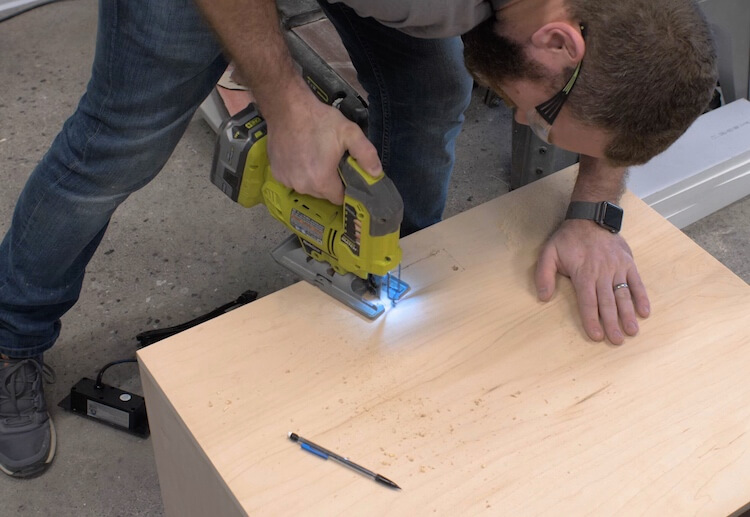
The doors should be cut to fit so wait on those until the unit is assembled. When cutting down plywood you can do so with a table saw or a track saw. I have been loving my Kreg track saw lately because it is safe and easy to handle. A piece of foam board under the plywood when cutting will support the wood completely and not slow the saw down.
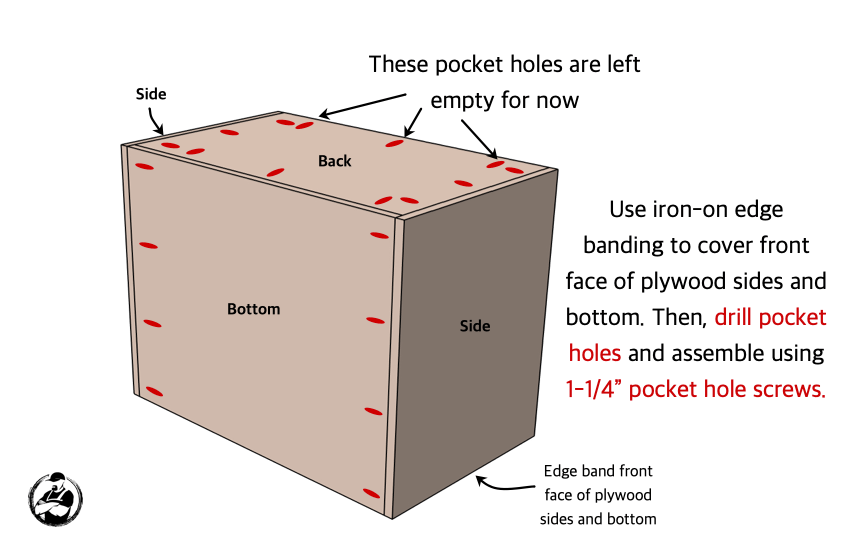
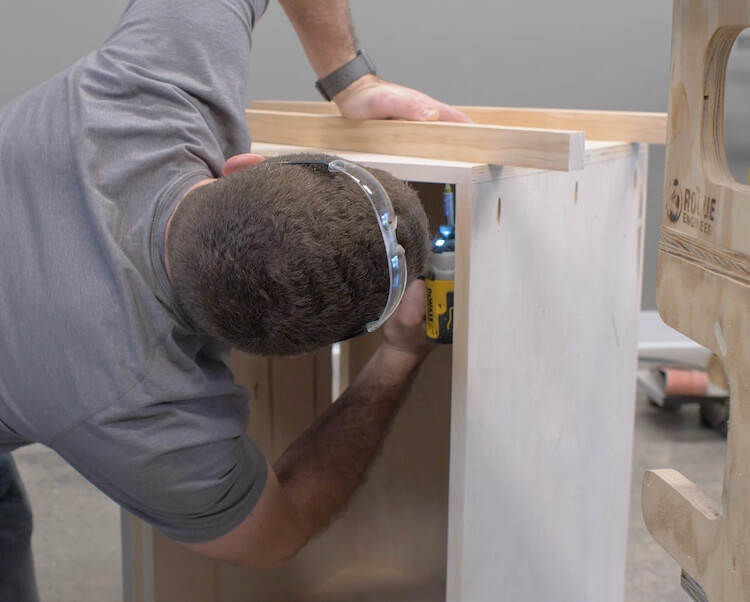
Step 1: Cabinet Assembly
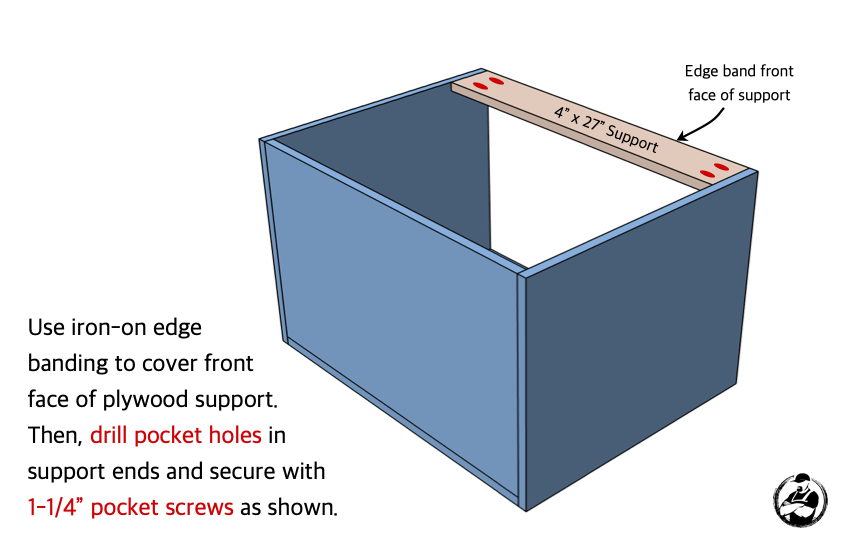
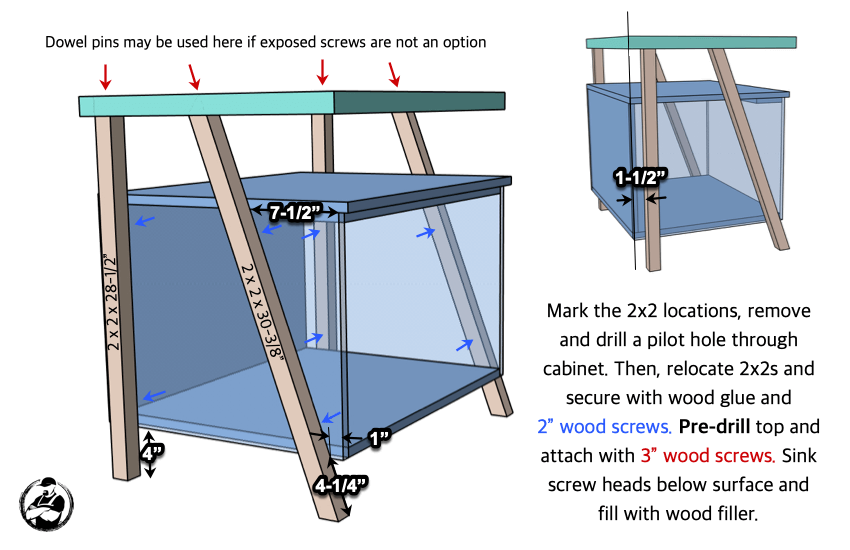
Step 2: Add Support
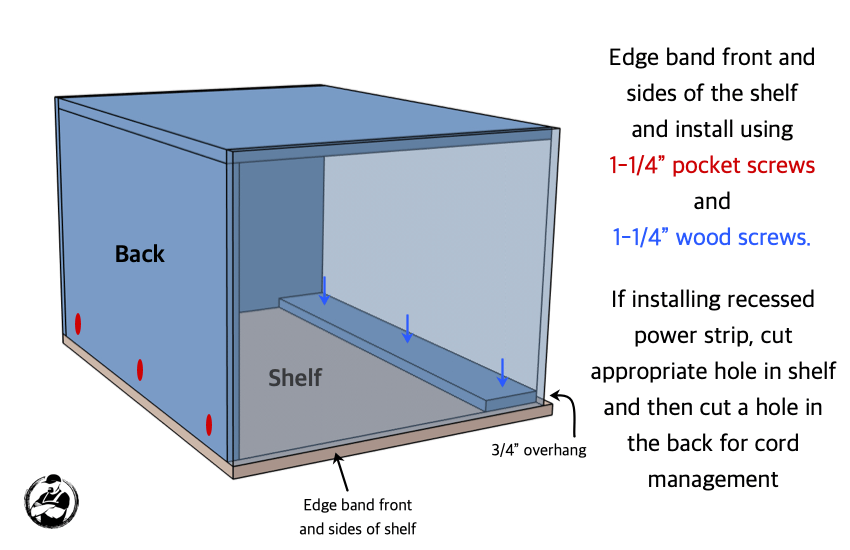
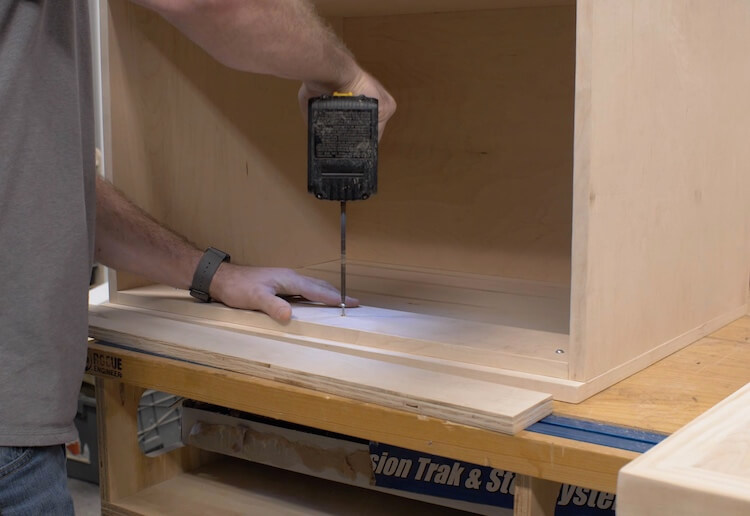
Step 3: Install Shelf
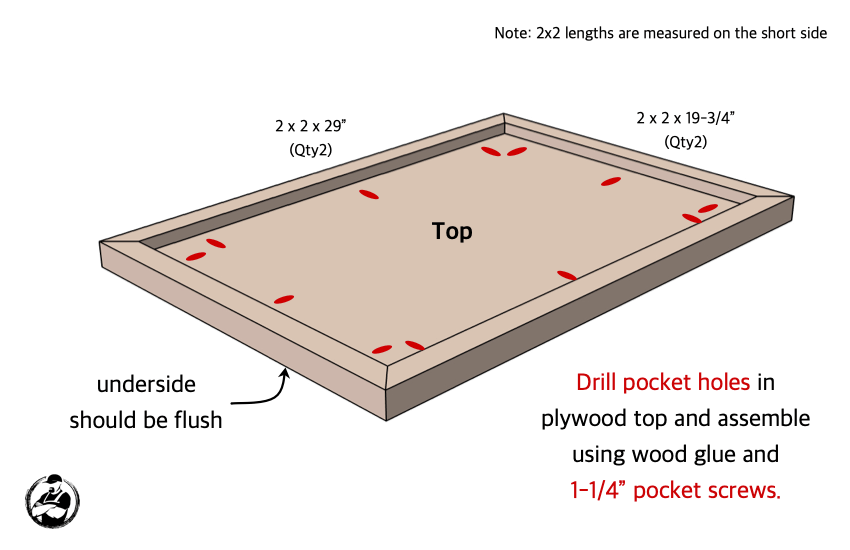
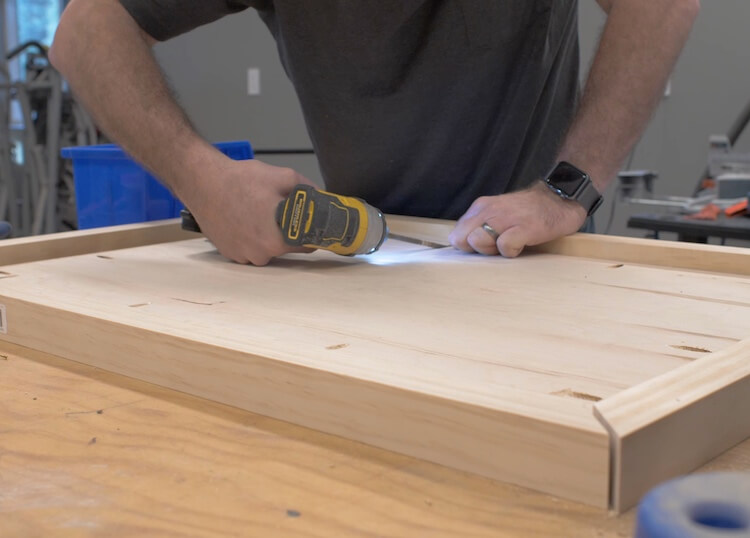
Step 4: Top Assembly
Step 5: General Assembly
Step 6: Finish & Doors
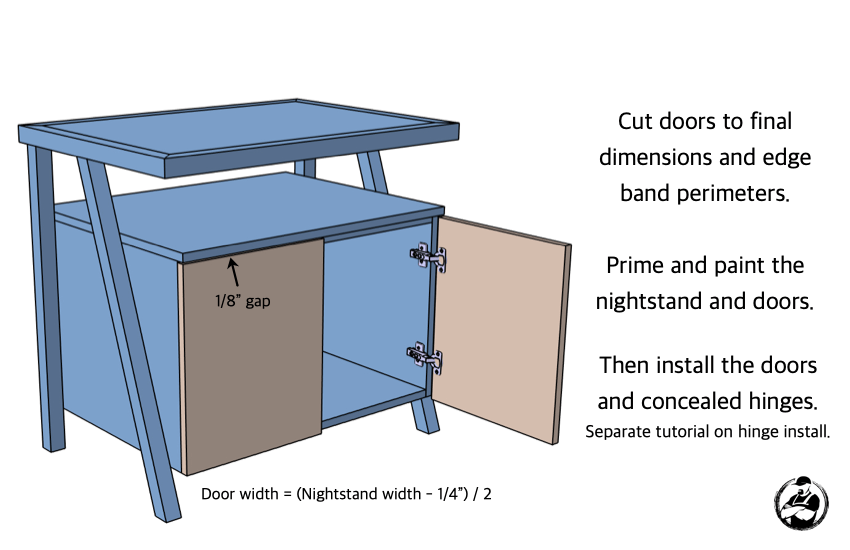
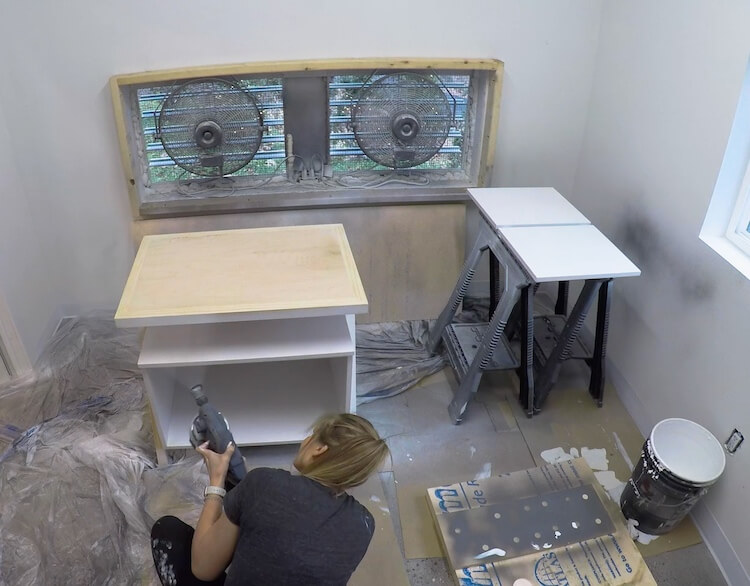
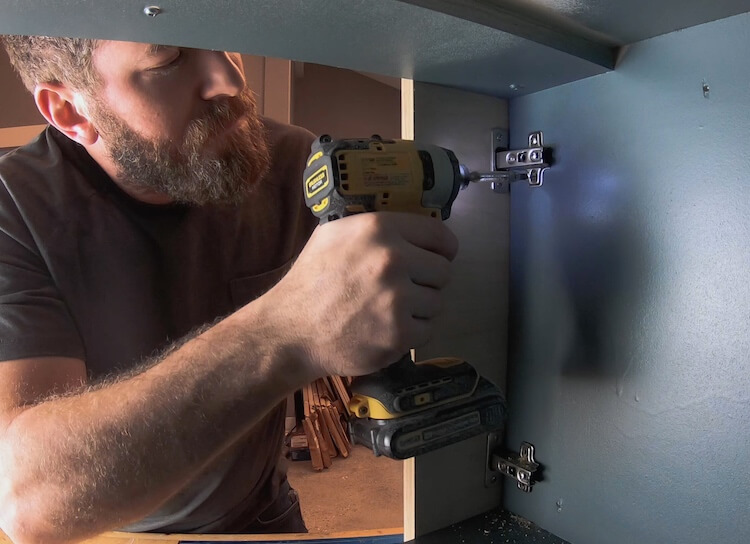
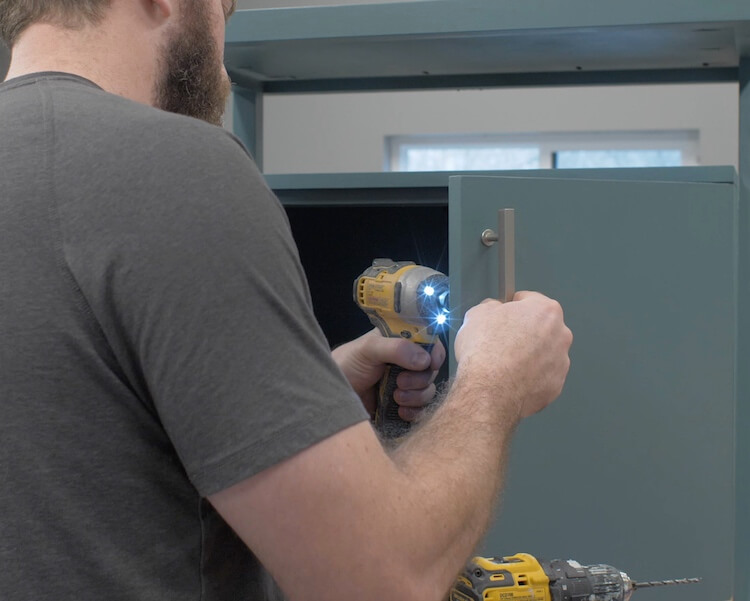
The cabinet doors were cut to size and edge banded. When measuring, for the doors, leave 1/8″ gap at the top and 1/4″ Then, we drilled the holes for the concealed hinges in the doors just before priming and painting.
If you want to learn more about installing cabinet doors with concealed hinges check out my full post on how to do so!
How to Install Concealed Cabinet Door Hinges and Hardware!
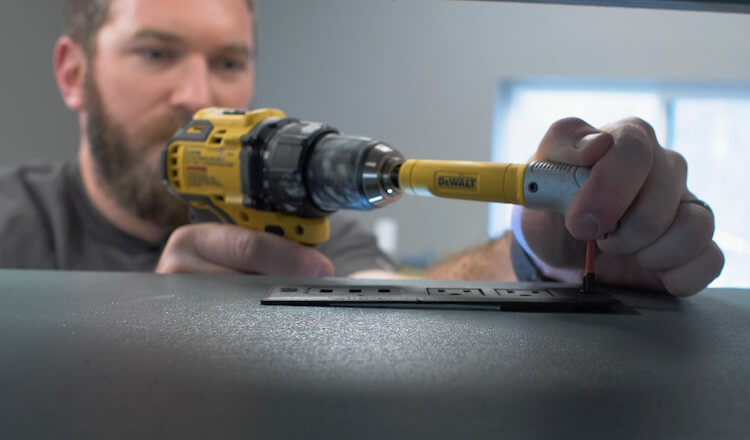
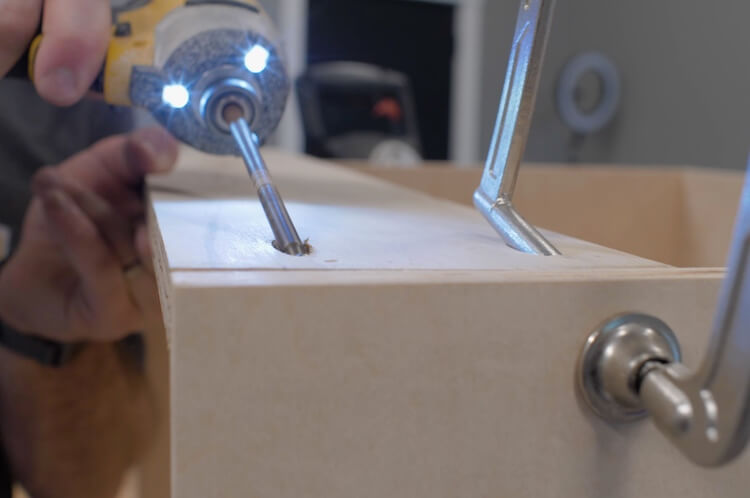
Finish off the nightstand by installing door pulls and the recessed power strip.
With limited access to the shelf area I utilized my right angle attachment to install the power strip.