Disclosure: This post is sponsored by The Home Depot, DAP Products, and RYOBI Tools, however the design and opinions are 100% my own.
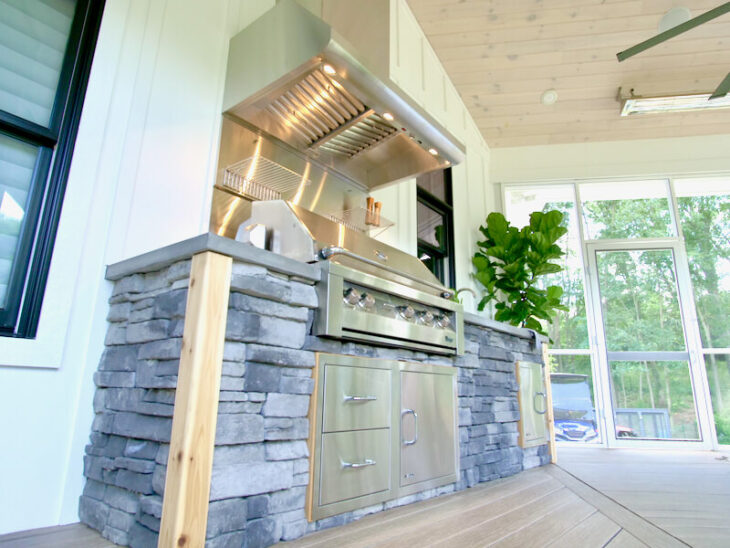
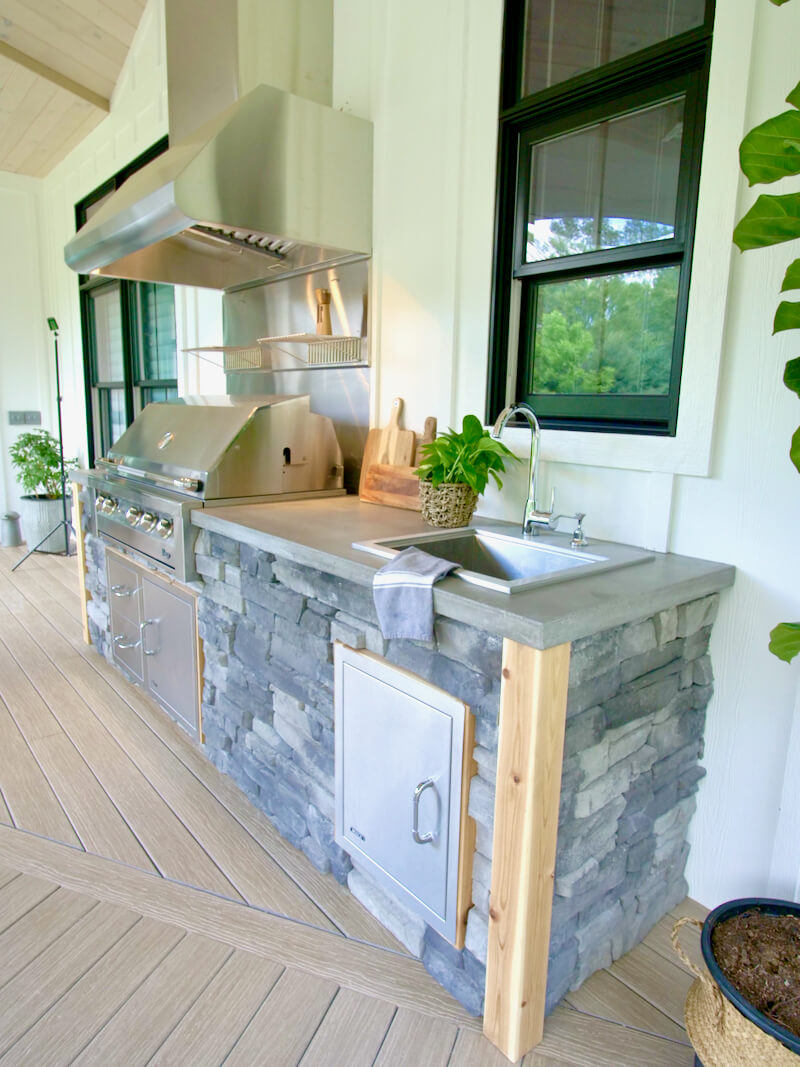
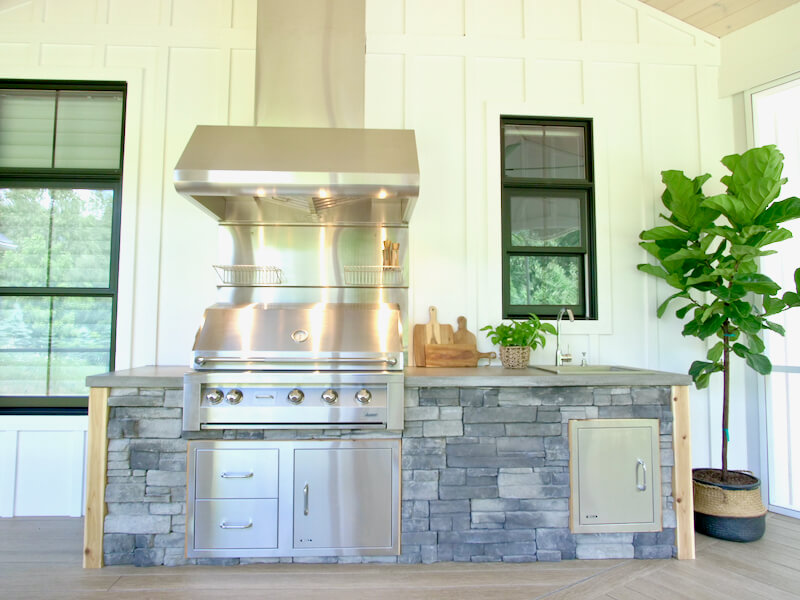
One thing we planned for when building our house was an outdoor kitchen. We had the gas line roughed in and the hood installed on our screened in porch. Not having a grill for this long has been killing me but that is about to change! When planning our outdoor kitchen I ultimately decided to invest in a really nice drop-in grill and a sink to rinse off dirty dishes. We debated on refrigerator and/or ice maker but at the end decided against it. I wanted plenty of space to set platters and work from and I think it worked out perfectly for our needs.
If you love this stuff as much as we do, you might want to consider following us on Instagram where we post sneak peeks and behind the scenes stuff in our stories. Also, did you know you can get tons of projects plans from all around the web when you follow us on Facebook and Pinterest!
Plumbing
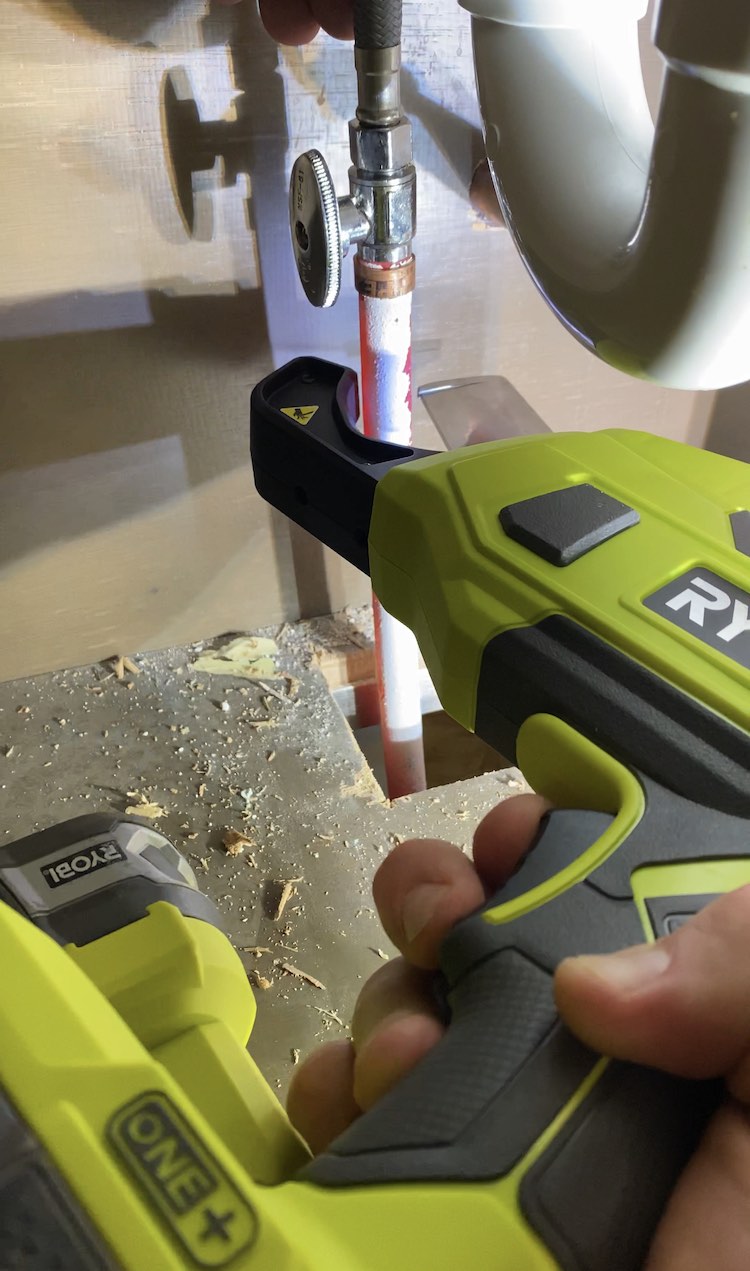
One thing I didn’t have was a water source for our sink. So what I ended up doing was teeing into a bathroom sink water supply lines on the other side of the wall. I used the RYOBI PVC cutter to make my cuts on the hot and cold supply lines.
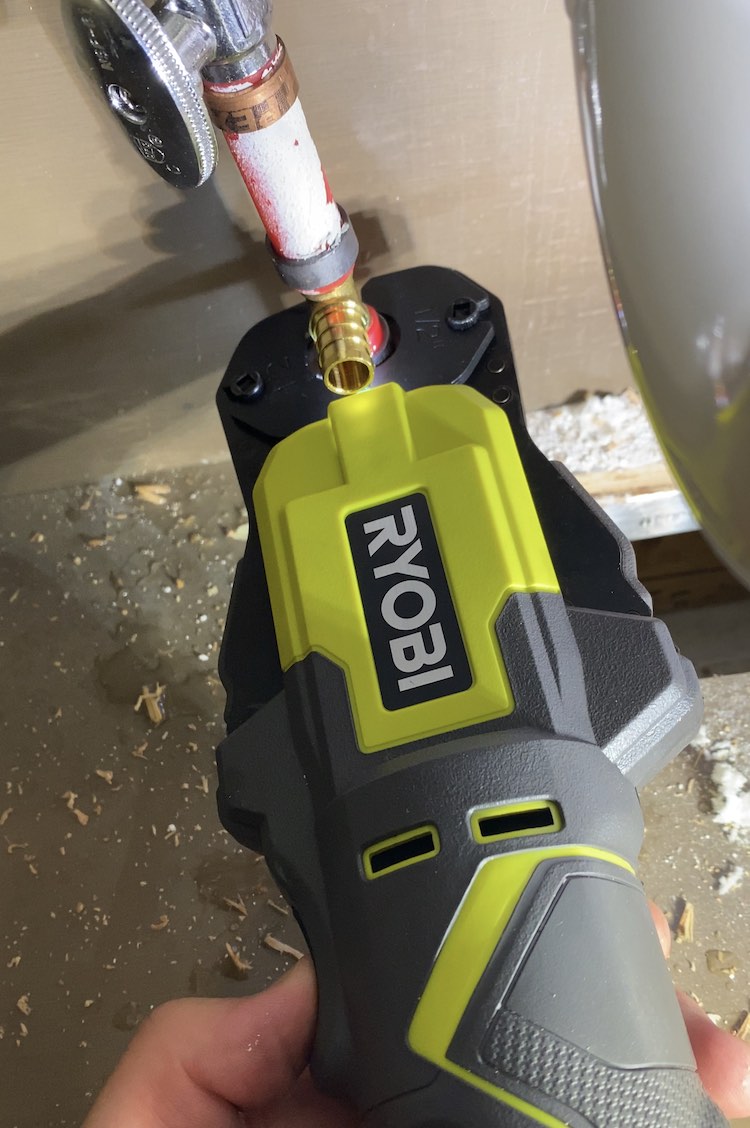
The I installed the tees using the RYOBI PEX crimper. This was my first time using this tool and I love it. While I didn’t have to do a ton of fittings, I do see how an 18V option would be awesome for a full time plumber over a manual crimper plus it doesn’t require a bunch of space, giving you access to tighter spaces.
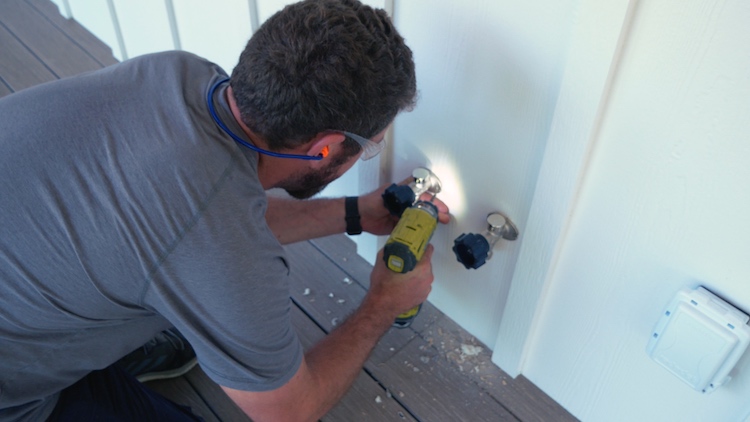
Then I drilled out through the exterior wall and installed the frost proof hose bibs. These are great because the water actually shuts off way back inside the house so when it comes time to winterize the outdoor sink I can simply shut off the water, disconnect and drain the lines.
Framing the Base
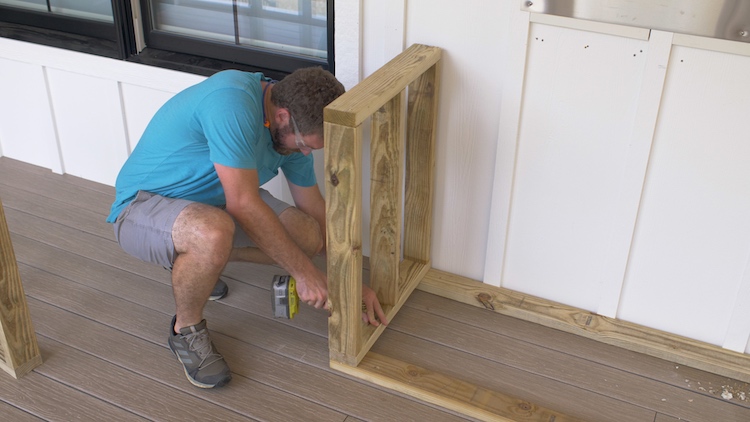
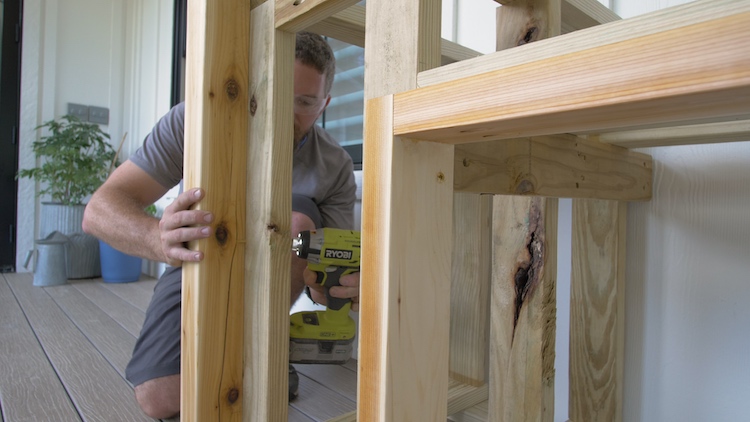
I’m using treated wood for this project to avoid rot and to reduce the flammability of the structure.
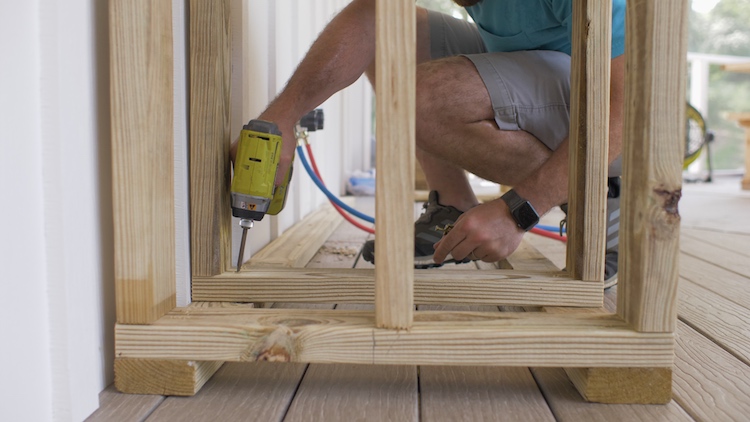
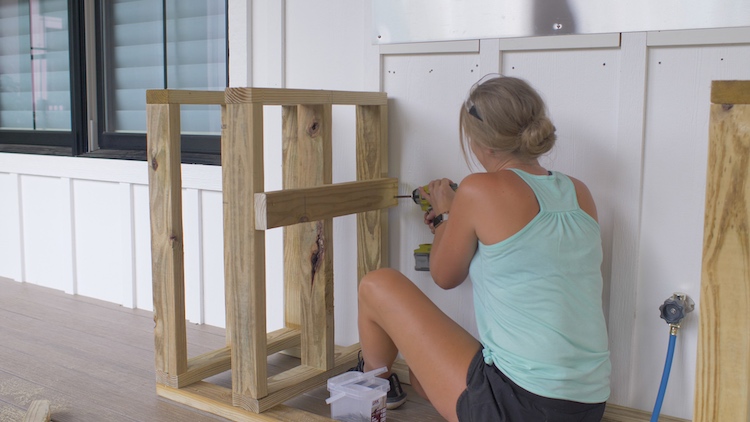
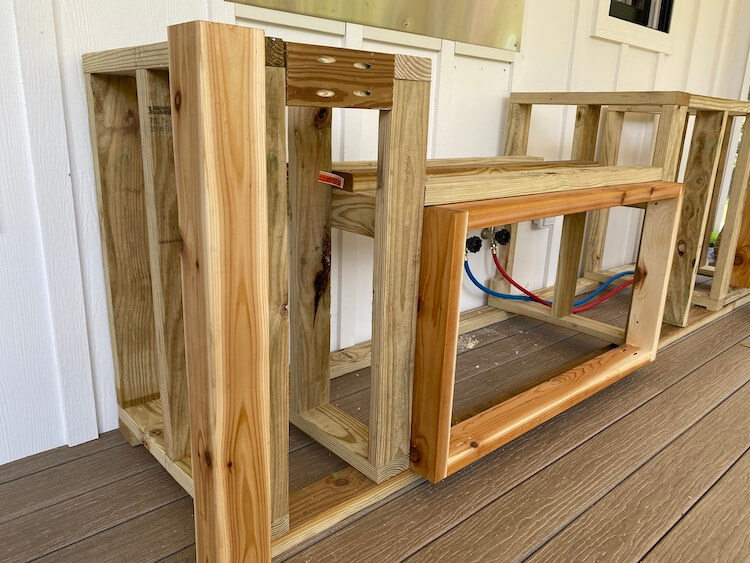
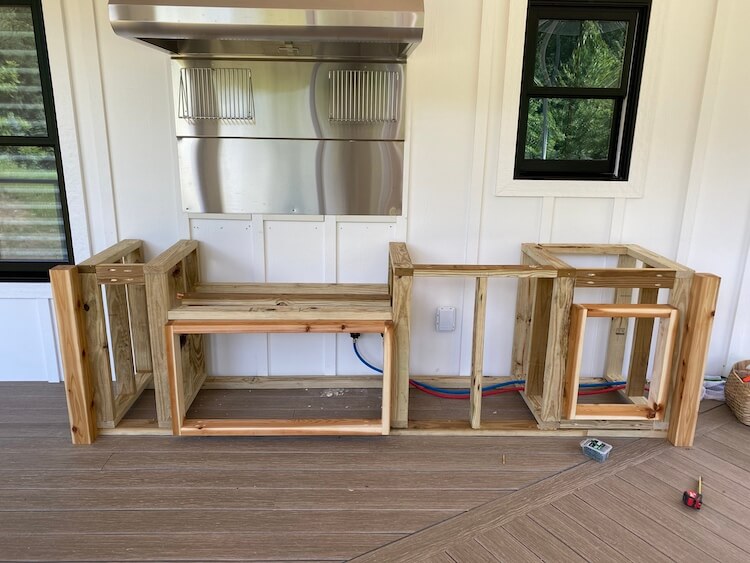
I started by installing two boards to the deck that get anchored to the joists below. These will allow me to secure the mini walls to the floor even if it falls between joists. The height of the walls were based on a 36″ high work surface with a 2″ thick concrete counter.
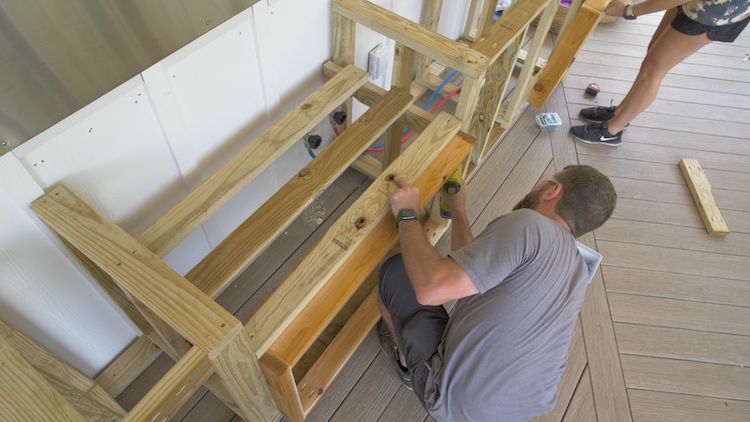
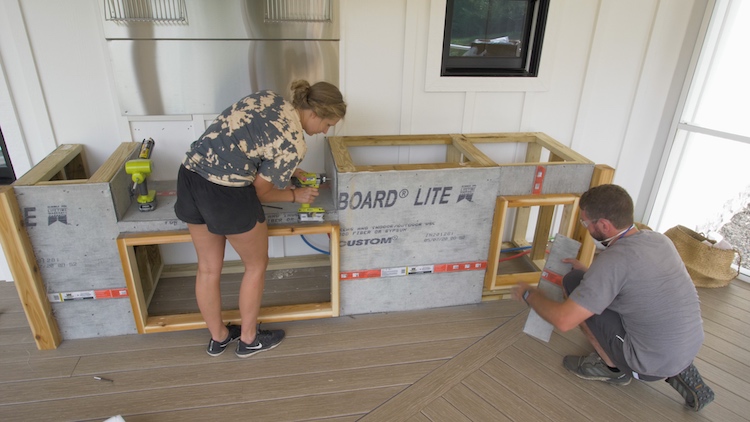
Then I made my opening and supports for the grill. The width of that opening allows for clearance for the grill as well as cement board being installed on the sides and bottom to cover the wood structure. The back is open to route the natural gas line and power cord.
Cedar Accents
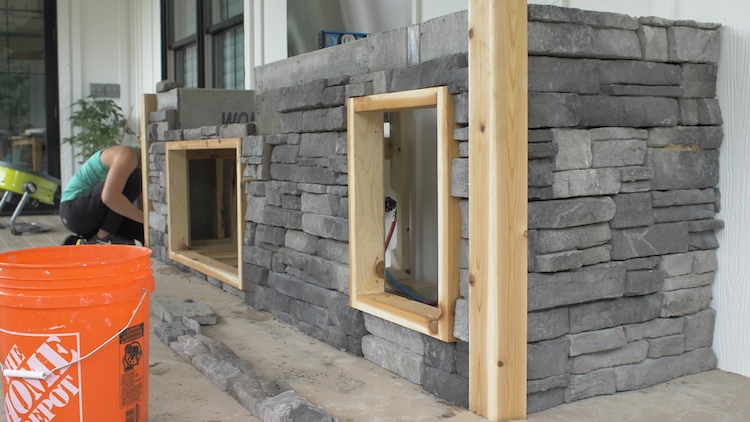
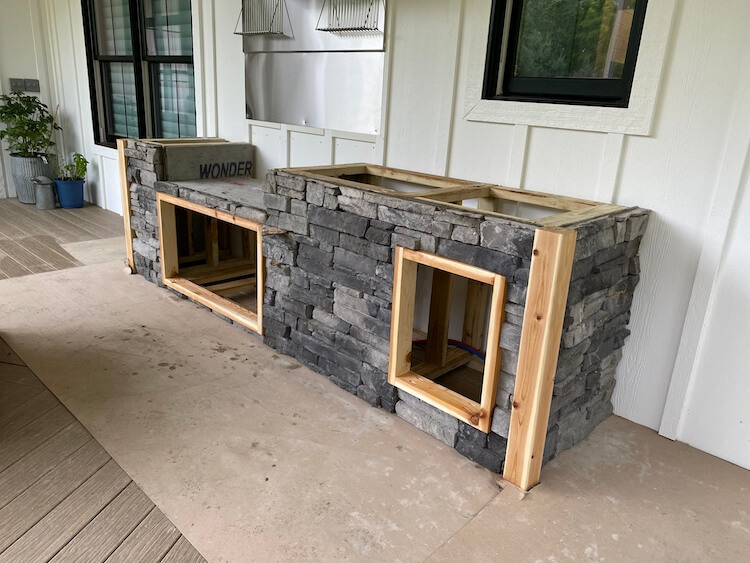
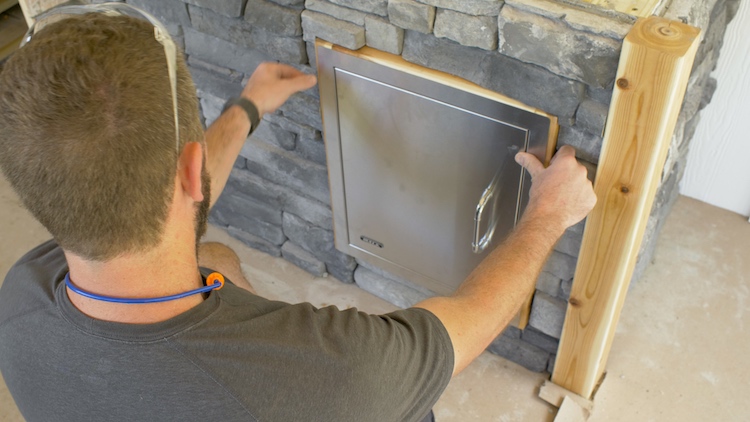
After thinking long and hard about how to mount the access doors to the stone with such a variation in thickness, I decided to create a cedar frame for each access door. This will allow the stone to butt up to the cedar when installed.
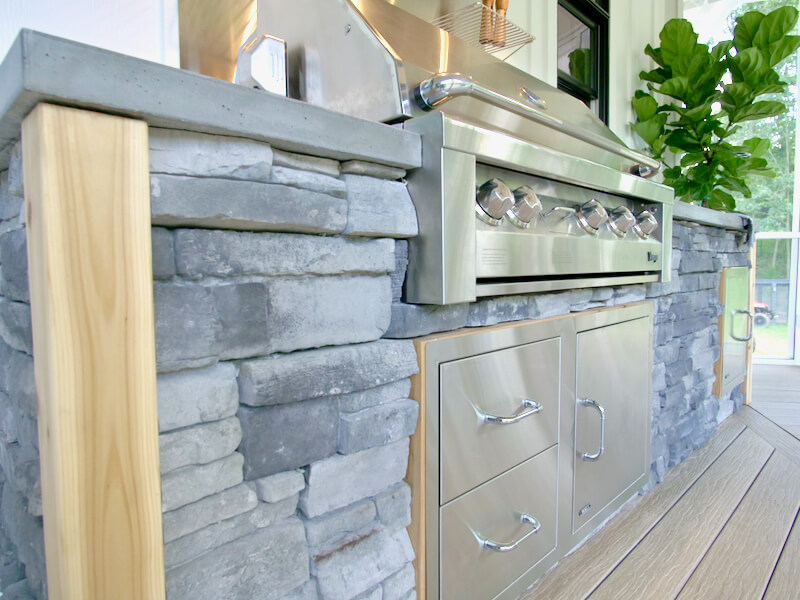
The stone we are using is left over from our house construction but we didn’t have any corners so we opted to install cedar posts as the corners. We love the look of the natural wood and with all the gray going on it will warm it up a bit.
The frames and corner post sit out 3″ from the framing to allow for 1/2″ cement board and 2-1/2″ max stone thickness.
Installing the Cement Board
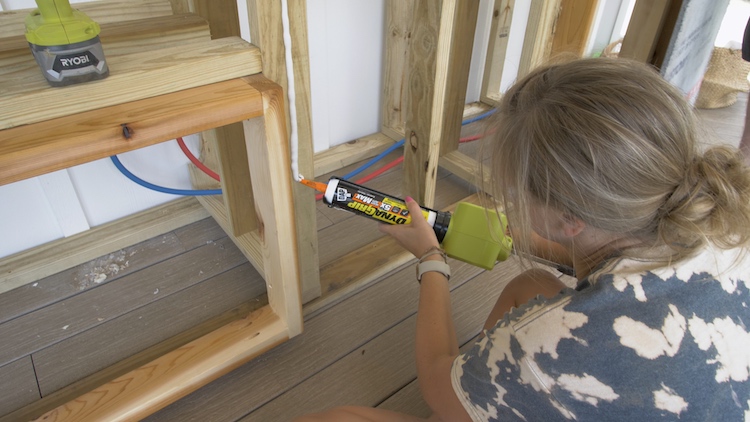
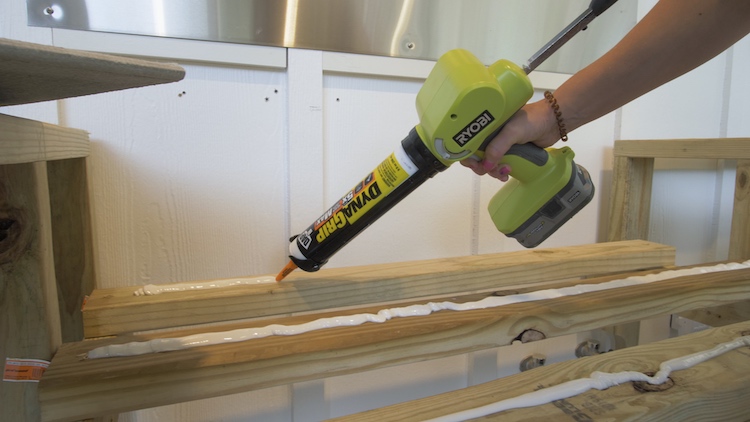
To make sure the cement board never moves we adhered it to the structure using DAP DynaGrip Heavy Duty Max and 1-1/4″ cement board screws.
I really like this adhesive because of its exceptional adhesion to all kinds of surfaces, even wet wood, and it performs well in extreme temperatures. Plus it’s not flammable so it’s perfect for this project.
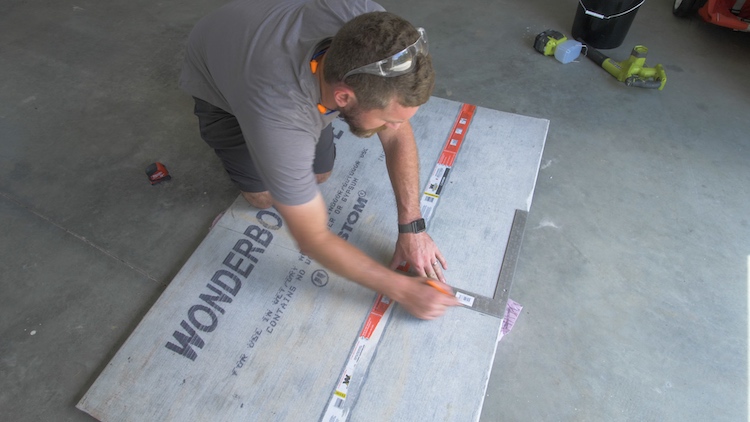
The cement board gets cut down to size but what I didn’t realize until after I was done is that the cleaner, quieter, and easy way to cut cement board is by scoring with a utility knife and snapping it.
Nevertheless, we got it all up and at this point we can really start to see how it’s going to come together.
Installing Stone Veneer
As I said before, we had some stone veneer leftover from the construction of our house so we wanted to use that to clad the outdoor kitchen with.
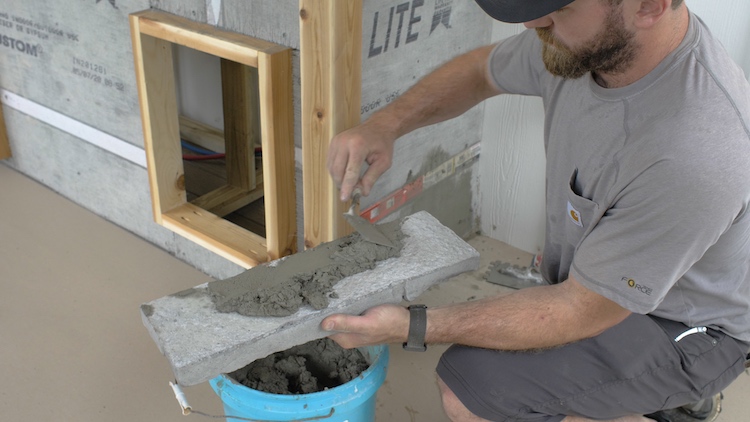
This was my first time installing stone veneer so I contacted the manufacturer to get the best practices for installation. They confirmed that a scratch coat was not necessary when installing this stone on cement board and recommended back-buttering Type S mortar onto the back of the stone about 1/4″ to 1/2″ thick. Then, wet the cement board with a spray bottle and press the stone into place, wiggling up and down to assure 100% coverage. The water will keep the mortar from drying out too quickly, creating a better bond.
All the cuts are made with a wet saw and it turned out really nicely with the cedar accents.
Installing the Access Panels
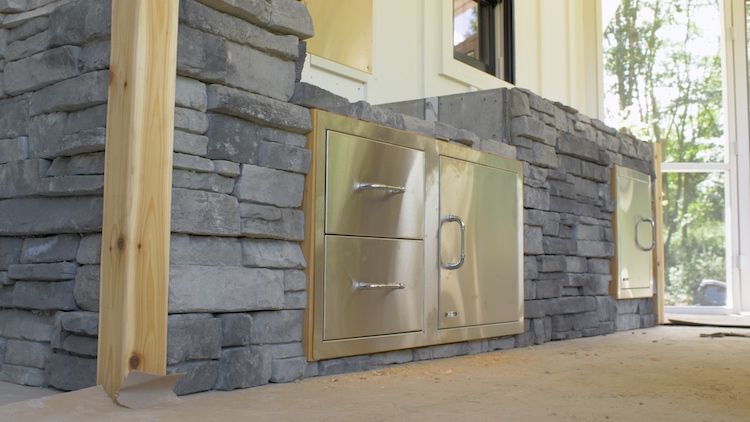
The access panels were then installed in those cedared framed openings. Below the sink gets a single access door to allow for access to the plumbing for installation and winterizing.
Below the grill gets a larger, 2 drawer, 1 door, combo system. These units are really nice with an all stainless construction, double walled doors and soft close drawers.
Concrete Countertops
After debating countertops we decided on concrete because it was something that we could do ourselves and it’s pretty bulletproof for an outdoor project like this.
To start we measured and built forms to cast the 2″ thick countertops upside down. The forms are made up of 3/4″ melamine because it is smooth and will leave a great finish on the concrete top.
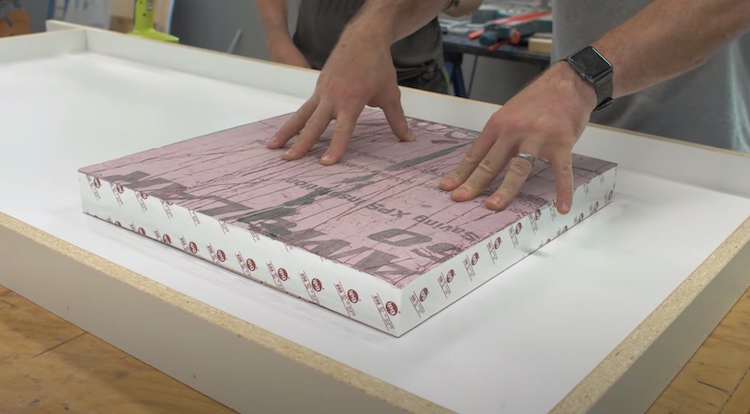
We needed to add a hole for the sink so we used 2″ thick rigid foam insulation and wrapped the edges with foil tape to make sure it released easily. That knock out gets glued into place with silicone so it doesn’t shift during the pour.
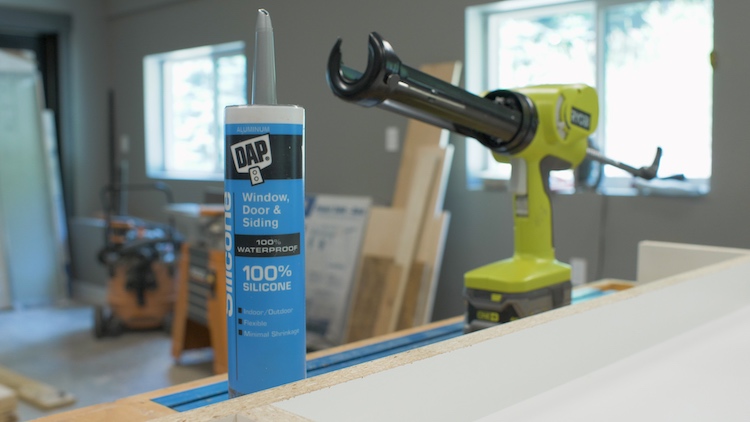
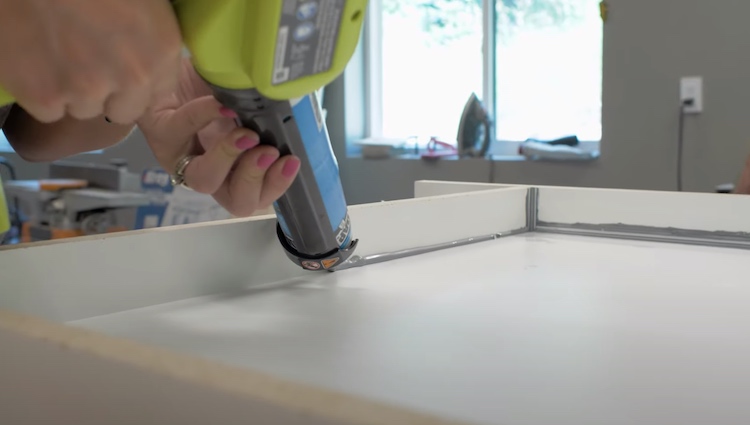
To create a roundover on all the edges we used DAP’s 100% Silicone. Using silicone will make sure it releases from the concrete as intended, leaving a nicely eased edge.
It is best if you can get 100% Silicone in a color (ideally black), that way you can come back and remove any excess after the silicone has cured.
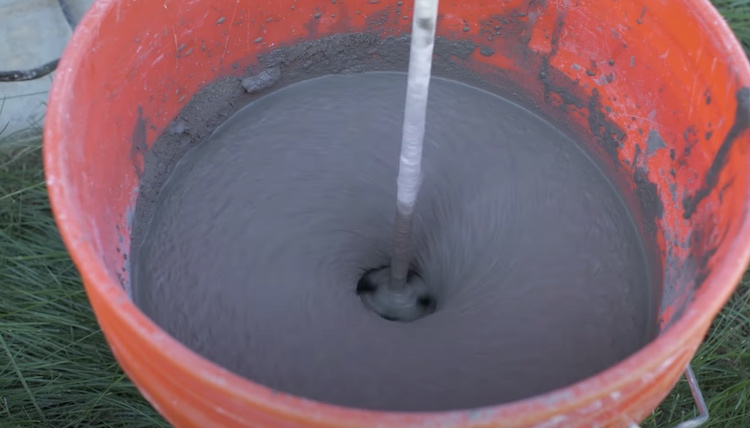
I went with a concrete countertop mix however I wasn’t happy with the consistency of the mix. I think next time I will try the Rapid Set mortar mix and use the flow control additive to increase the fluidity and strength.
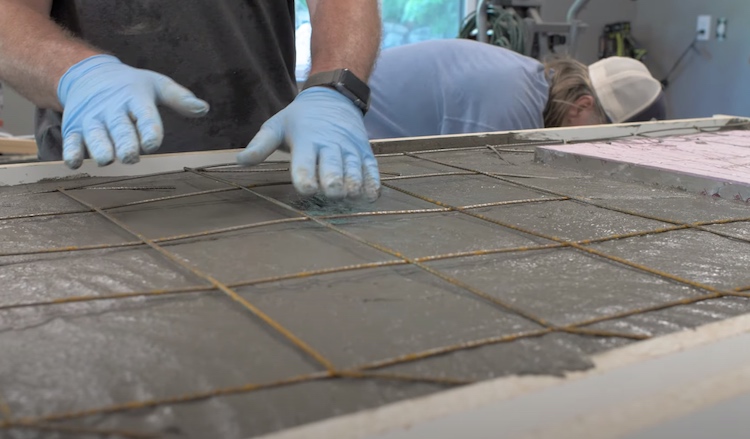
After pouring about 2/3rds of the concrete in, we added steel remesh as reinforcement.
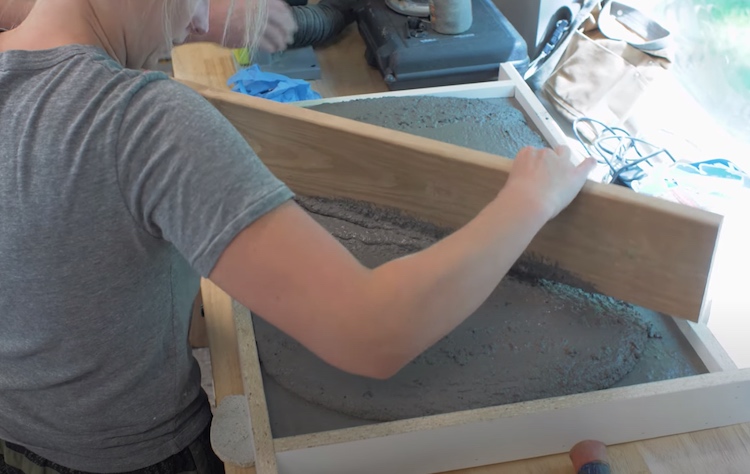
Then we topped the form off with the remaining concrete and screed the concrete with a board to assure the bottom was flat and the form was evenly filled.
Then we vibrated the form with a reciprocating saw and no blade to work out as much of the air as possible.
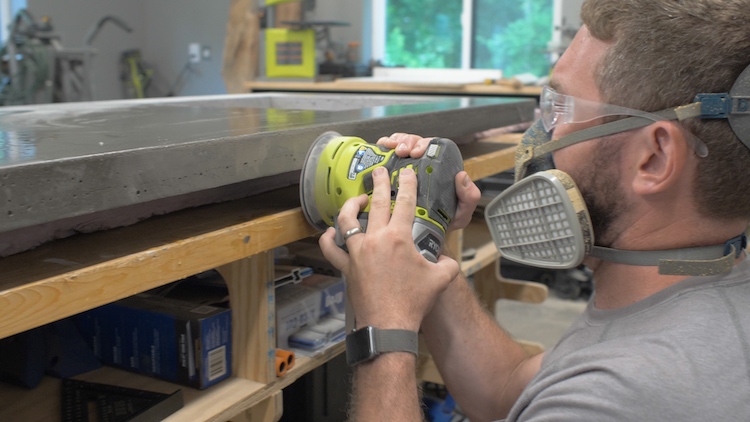
After the concrete had set up we removed it from the form and began sanding to get any of the imperfections out.
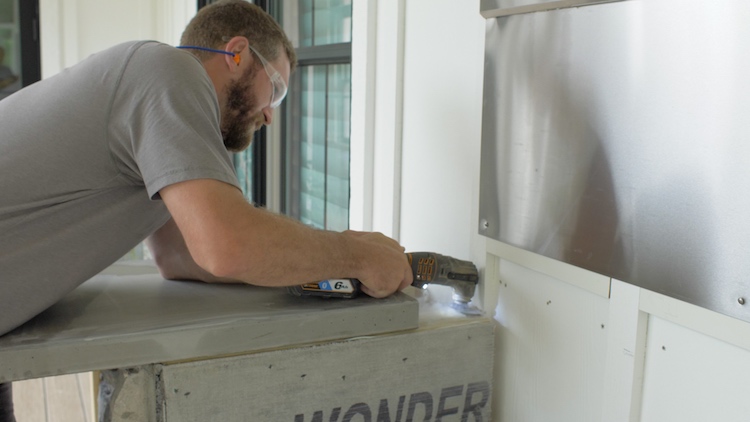
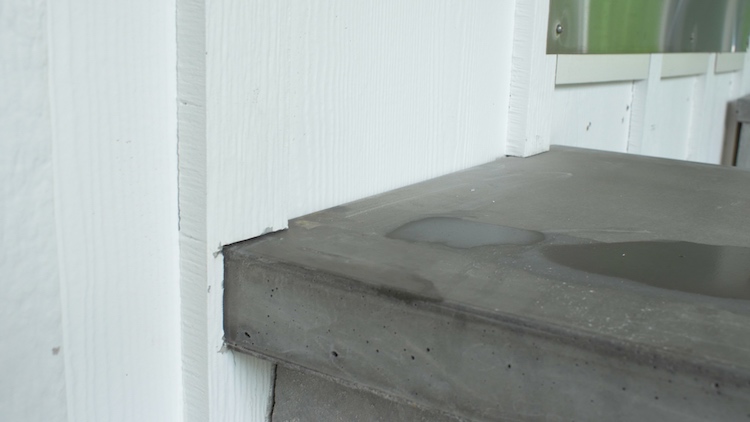
To install the tops I had to cut out a section of the batten strips which I did so using a oscillating multi-tool.
With those cut outs the concrete top could slide all the way back against the siding.
Installing the Grill and Sink
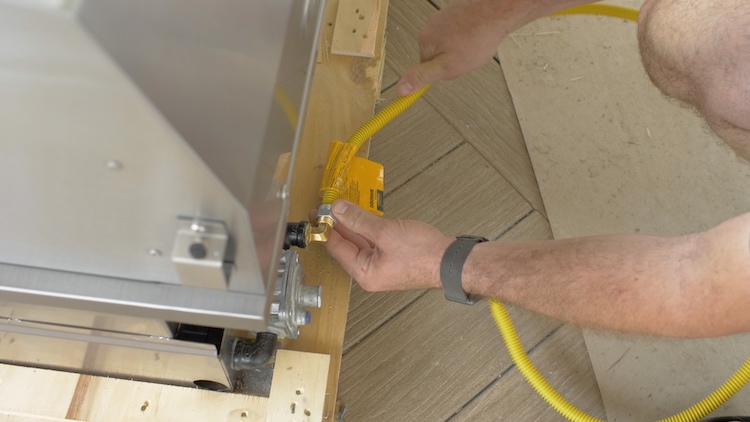
When building the house we had a natural gas line and valve ran to the grill area. So we decided to with this amazing 42″ natural gas grill from The Home Depot. Before we could drop it in we connected the gas line to the back of it.
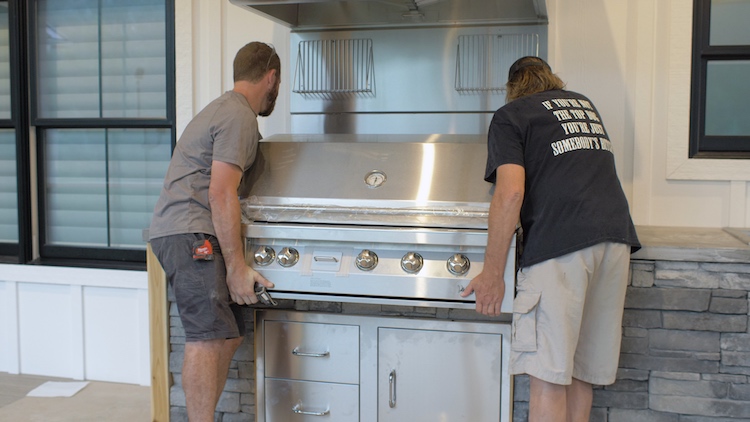
Then we slid it in place and connected the gas line and power cord (for the lights and rotisserie) below.
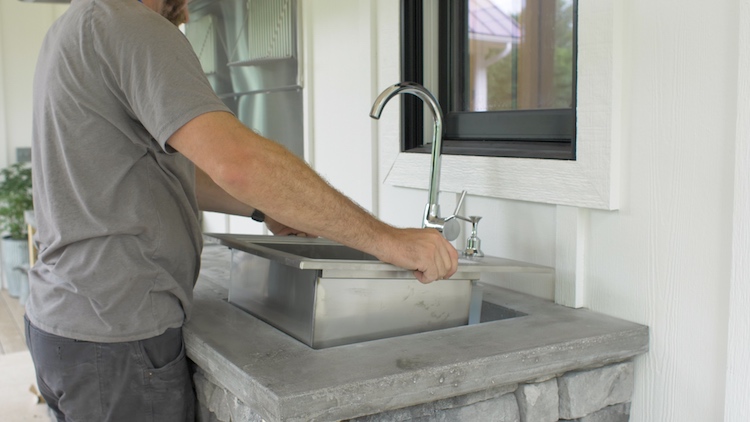
When it came to the sink we went with a stainless steel outdoor drop-in sink that came with the faucet and drop in cutting board.
I then installed the plumbing below the sink so that it drains into a reservoir underground filled with gravel and holes in the bottom to allow it to drain into the ground. This sink will just be used for rinsing so no harmful chemicals will be flush down it.
Sealing and Protecting
Before we could use our outdoor kitchen for the first time we needed to do a few things to make sure everything was protected.
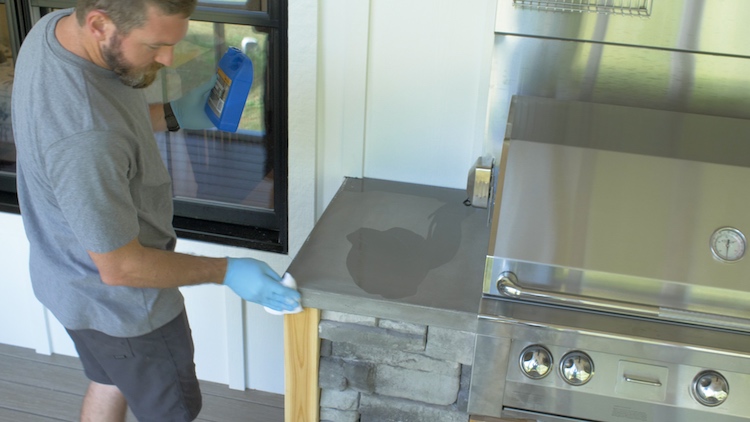
To start we sealed the countertops with several coats of Miracle 511 sealer to maintain the look of concrete but protect it from staining.
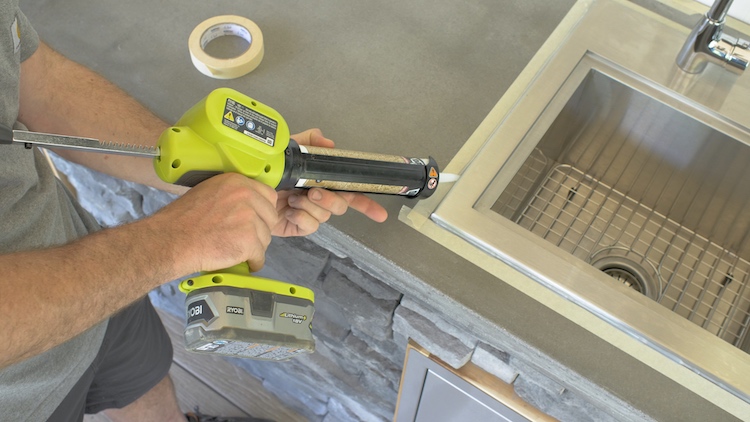
Around the sink, grill and against the house we needed to create a waterproof seal to prevent and water from getting into the cracks and causing issues. For that I used DAP Silicone Max because it is not only 100% waterproof but it is food safe.
Silicone can get a little messy so I made sure to tape off the areas that I didn’t want to get any. I also applied the silicone with the RYOBI 18V Caulk Gun which is a really nice tool to have.
Now we are finally able to sit back and enjoy our new outdoor kitchen and I couldn’t be happier with how it turned out!
If you have any questions feel free to post below in the comments or upload a photo of your outdoor kitchen build! Be safe and happy building!

