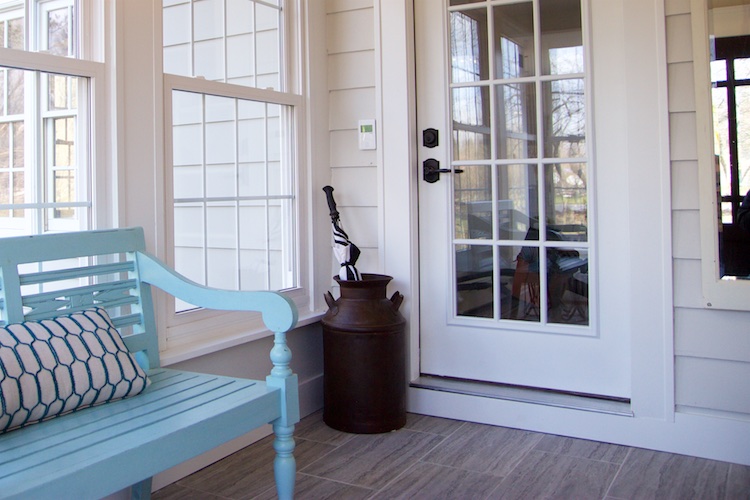
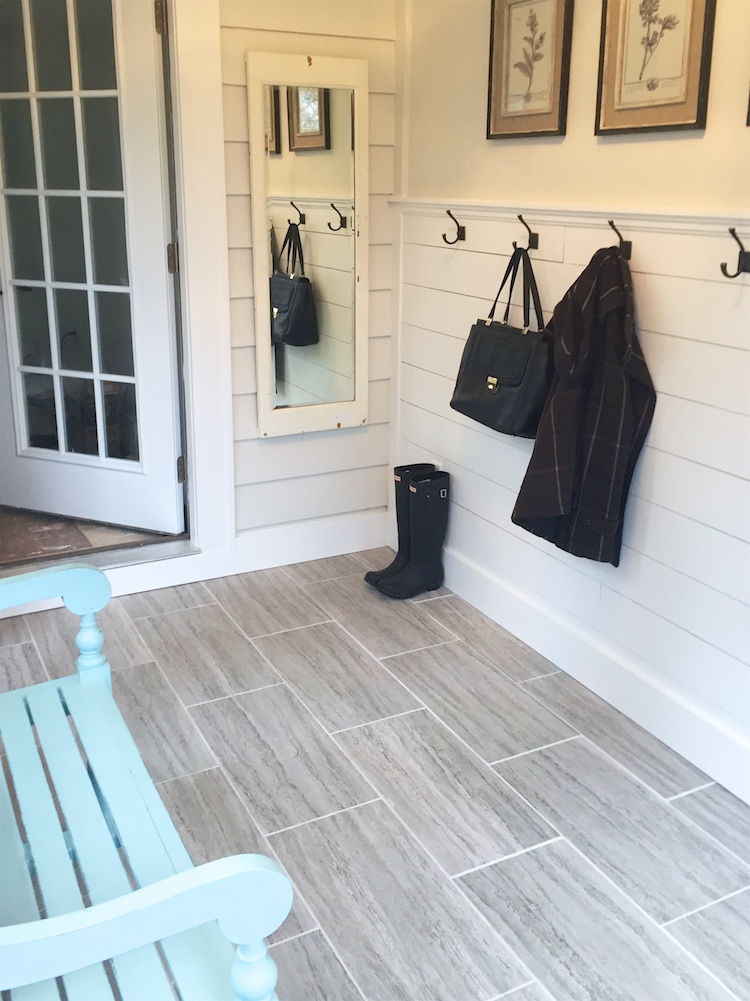
If you didn’t know, we bought a house about a year ago to completely renovate. To see what we started with make sure you check out the before tour. This house was a two bedroom one bath built-in the 1950s. At one point the owners added on to the front of the house, creating a larger master bedroom and a front entryway. While the bedroom was conditioned, the front entryway was not. As you can imagine, in Michigan we have pretty cold winters. So we decided it would be a good idea to temper this space with a heated tile floor. I’ve never laid a heated tile floor before but I knew there couldn’t be that much to it, so I enlisted the help of my father-in-law who happens to know a bit about flooring and we got started. Follow along to see how it all went down.
Don’t forget to subscribe on YouTube and for sneak peeks of our upcoming projects be sure to check out Our DIY Life on YouTube, follow us on Facebook and Instagram. Also, follow me on Pinterest to get tons of projects plans from all around the web!
Installing a Heated Tile Floor on a Concrete Slab
For this project we went with the DITRA-HEAT mat from Schluter. Not only does this product gives us the stud structure that will accept the heat wire but it is a waterproofing membrane and it has an uncoupling feature. The uncoupling feature of the mat allows the tile and the floor to move independently of one another, therefore reducing the chances of cracking. Schulter has a great set of instructions that will go into much more detail however, I am going to give you a quick look at how my project went.
Laying the Mat
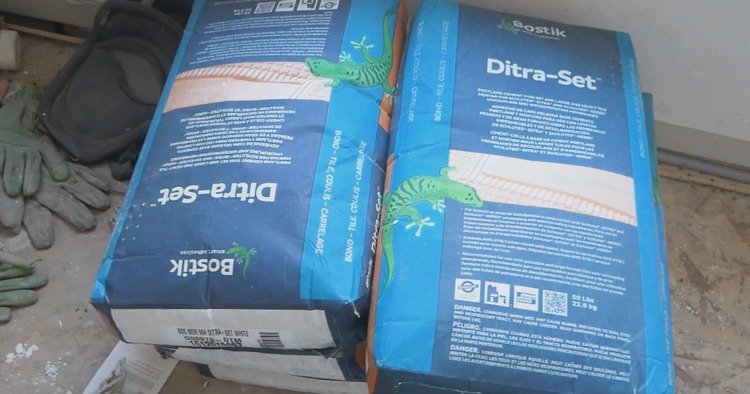
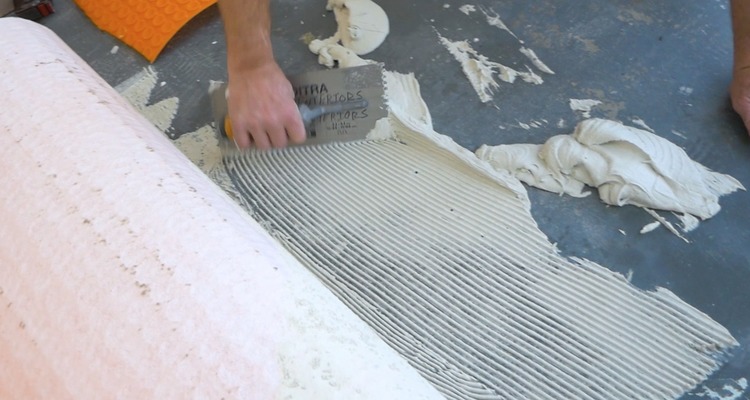
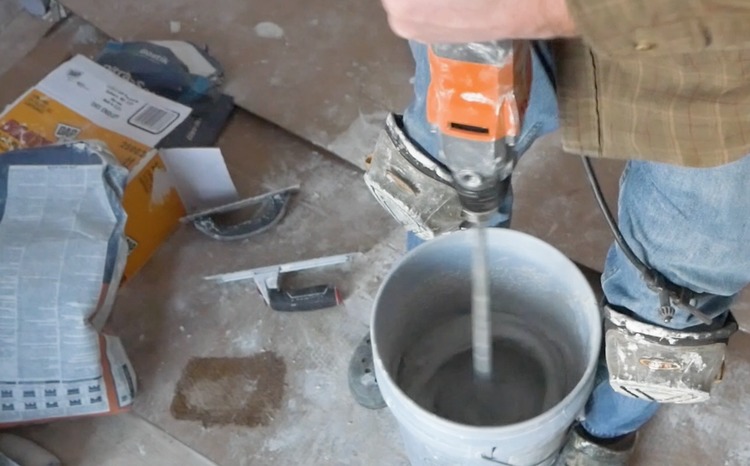
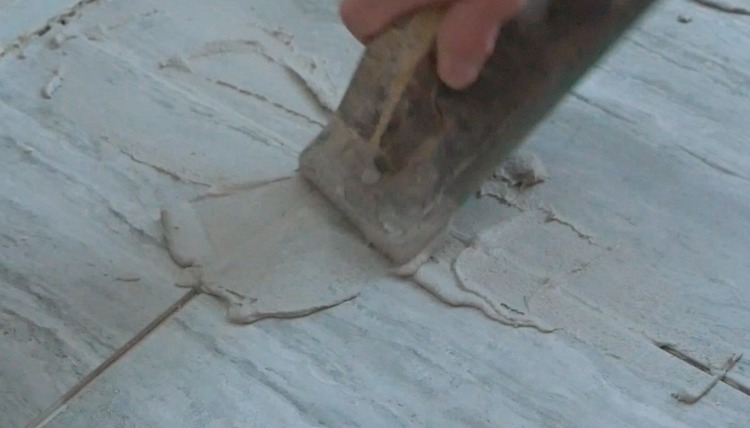
Adhere the mat to the floor with thin-set mortar. Mix it with water to a consistency that will drip but still hold a trowel notch.
Spread the thin-set with a 1/4″ x 1/4″ (6 mm x 6 mm) square-notched trowel making sure you have complete coverage under the mat.
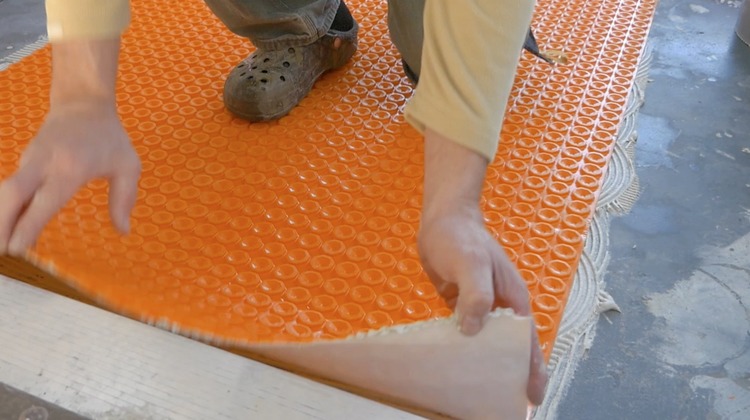
Roll the mat into place and press down firmly all over. Then peel back a section of the mat to assure the thin-set has soaked into the fleece on the back of the mat completely.
Installing the Heating Element
Before you start doing this there is a bunch of testing you are supposed to do to verify the heating element is working as it should. All that info is in the Schluter handbook and very boring so I’m going to skip those details in this article. If you are doing this yourself I recommend following the Schluter handbook.
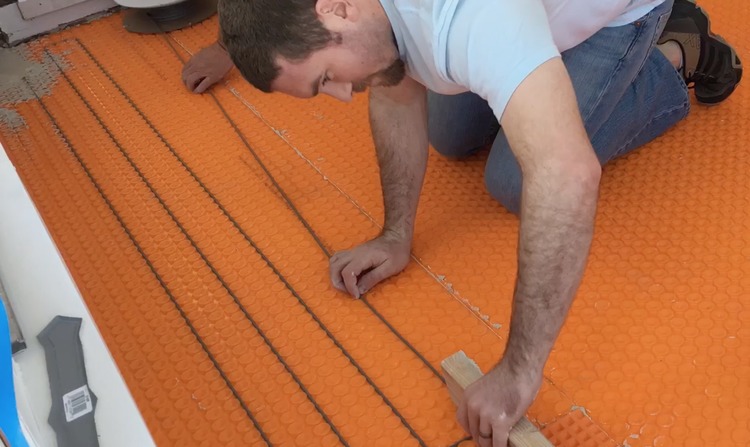
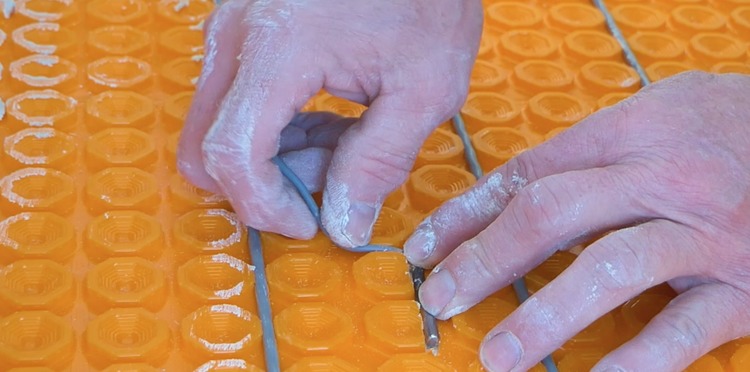
Installing the heat wire into the mat is pretty simple. Just press it in between the studs with a piece of wood or a tile float, spacing the wire 3 studs apart.
We also need to install the thermostat sensors. They give you two to install just in case one starts acting up, you can switch over to the other without having to replace the floor to put in a new sensor. Not a bad idea.
The end of the heating element and sensors that connects to the thermostat should be ran up the inside of the wall to the wall thermostat electrical box location. Some areas require conduit by code.
Laying the Tile
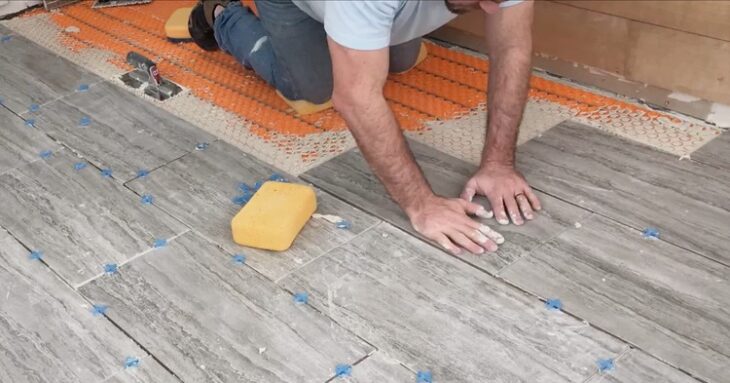
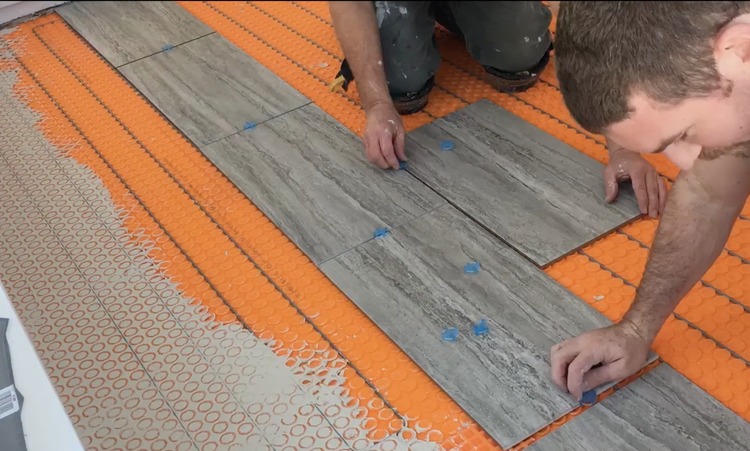
To lay the tile, first mix up some unmodified thin-set mortar and fill in between the studs by pushing it into the mat and towelling over the top until the mat is full of thin-set. Then, do a dry layout of your first row with spacers to see how to cut the end tiles to center the row within the room.
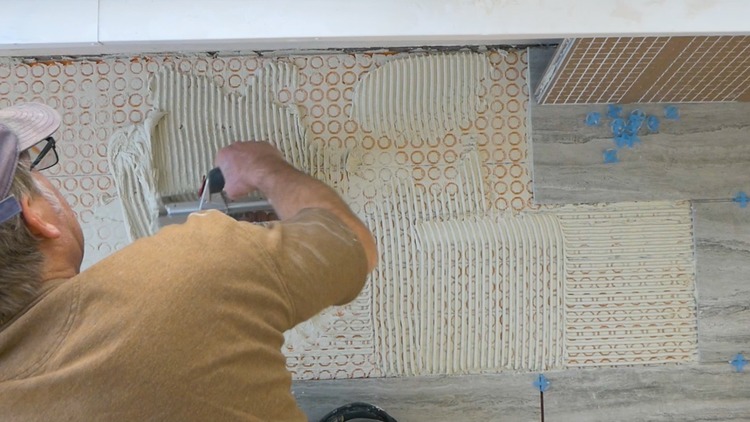
Now spread the thin-set with an appropriate size trowel for your tile.
3/16″ to 1/4″ V-notch = Mosaics tiles
1/4″ x 1/4″ Square notch = 4″ to 8″ tile
1/4″ x 3/8″ Square notch = 8″ to 16″ tile
1/2″ x 1/2″ Square notch = 16″ and larger
When laying the tile it may be necessary to back butter the tile to ensure good coverage. You can check this by lifting a tile after setting it and checking the bottom to see how much thin-set actually makes contact with the bottom of the tile. Also make sure to use spacers for even spacing and assure the corners and edges of the tiles are level with the adjacent tiles.
Grouting
Mix up the appropriate grout for your tile gaps to a peanut butter like consistency.
Sanded Grout = gaps < 1/8″
Unsanded Grout = 1/8″ < gaps < 3/8″
Heavily Sanded Grout = 3/8″ < gaps
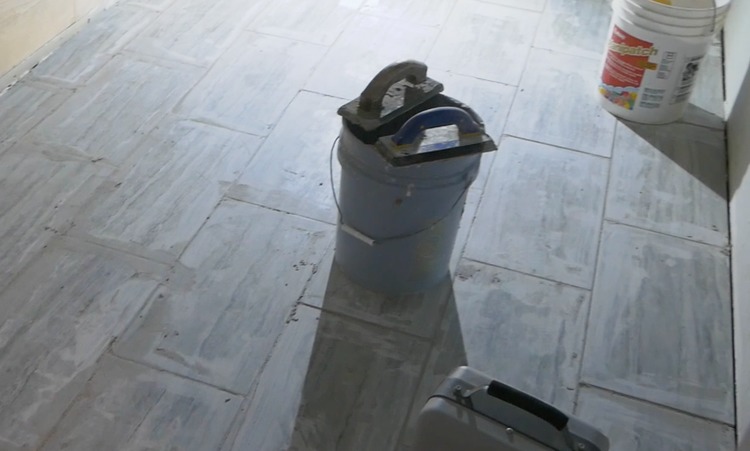
Then spread the grout into the joints with a tile float.
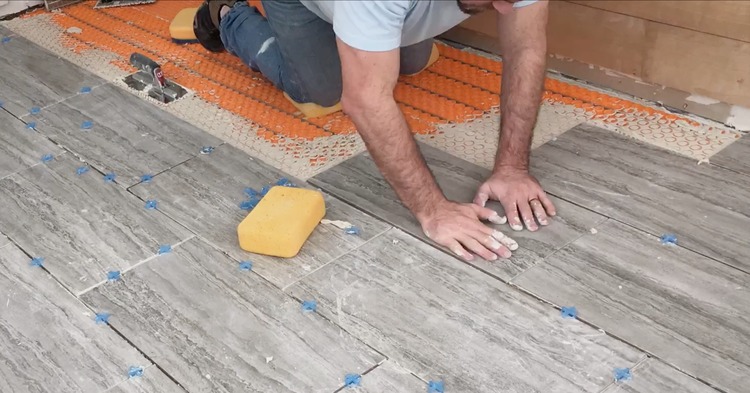
Remove any excess grout and wipe off with a clean wet sponge. Use a bucket of water to clean the sponge after every few passes or else you’ll end up with streaks.
Installing the Thermostat
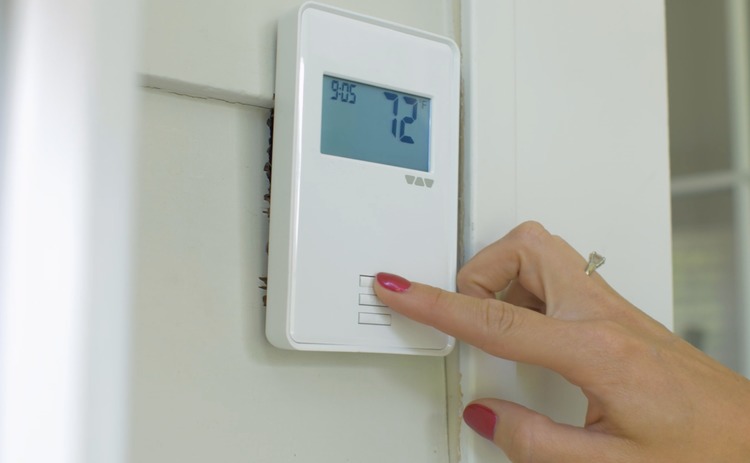
You’ll need power at the thermostat so if you don’t know how to do this consult an electrician. With power at the box (breaker turned off) connect your power, sensor and heating element to the thermostat per the instructions and install into the electrical box. Flip the power on, set your floor temp and enjoy!
Questions? Comments?
As always, if you have any questions don’t hesitate to comment below and especially don’t forget to post pictures of your finished products in the comments! ENJOY!

