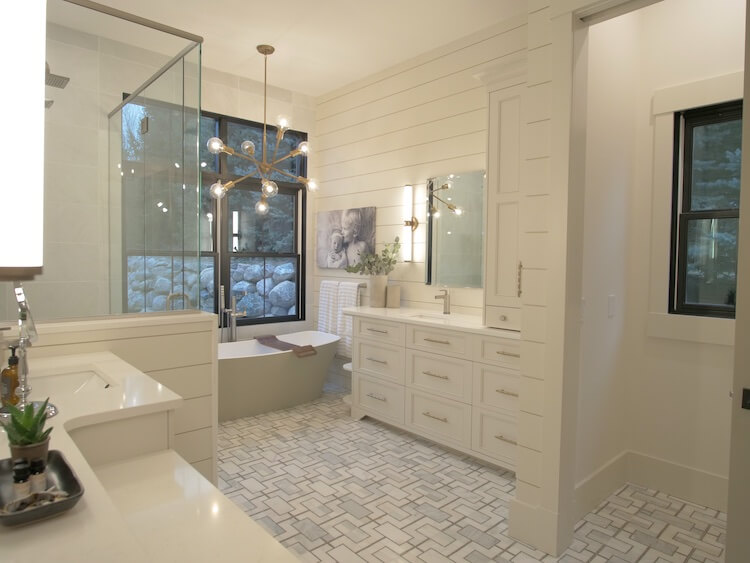
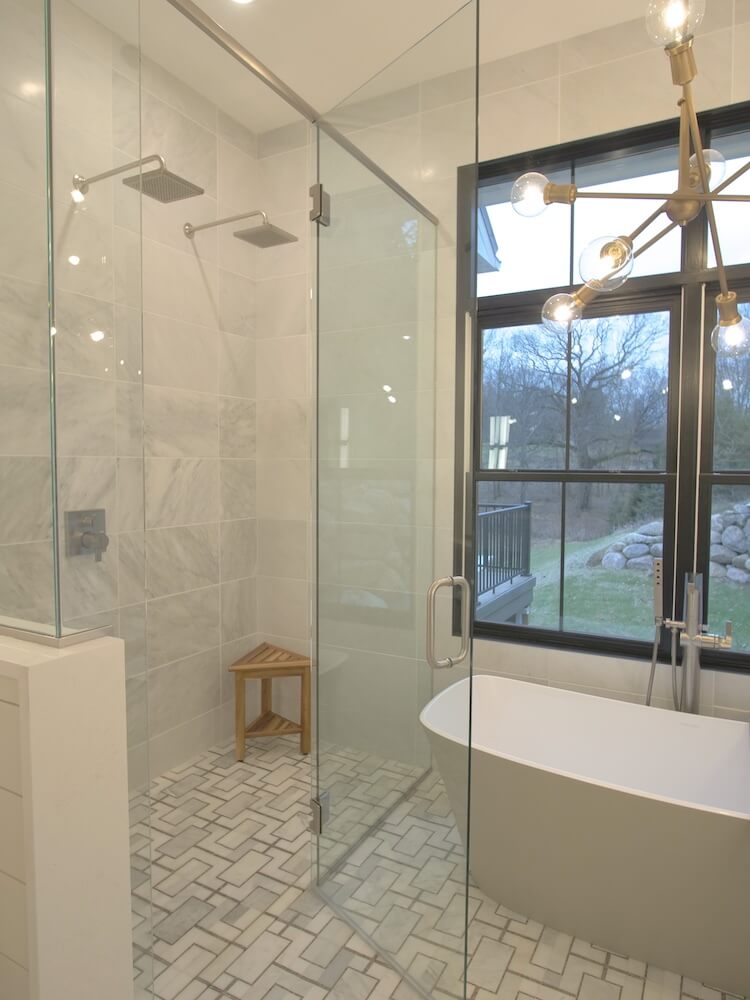
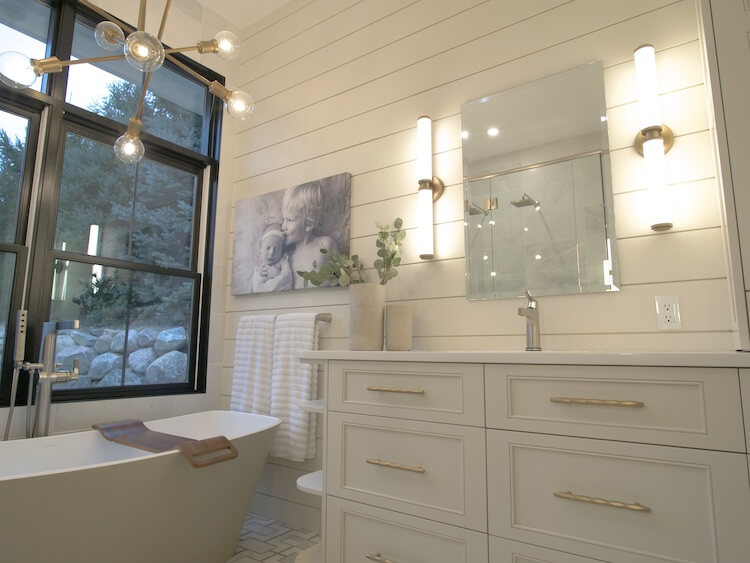
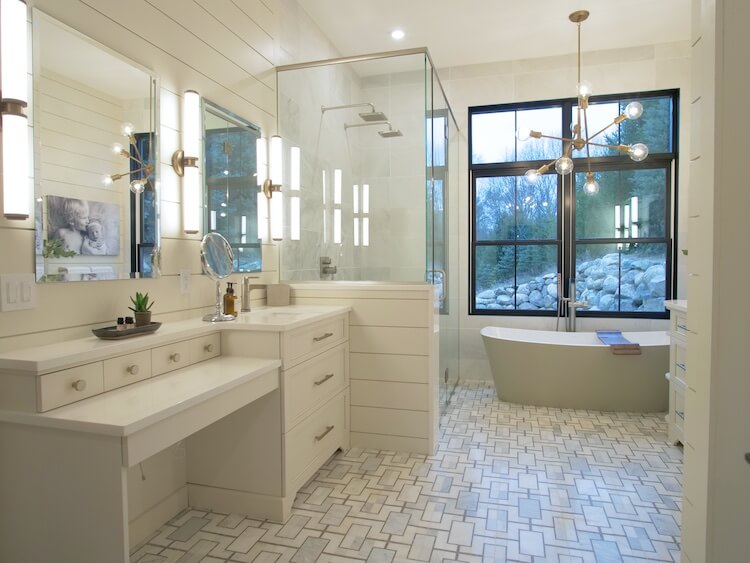
This episode will detail the process of finishing off two of our favorite rooms in the house; the master bathroom and the guest half bathroom. These rooms are pretty amazing so be sure to read on to see how it all came together.
But first, don’t forget to subscribe on YouTube and for sneak peeks of our upcoming projects be sure to follow our Instagram stories, follow us on Facebook and check out Our DIY Life on YouTube. Also, follow me on Pinterest to get tons of projects plans from all around the web!
Master Bathroom
When it came to the master bathroom we wanted to create a space that was luxurious but somewhat modern. We wanted several unique features that we thought could make a big impact on the look and feel of the bathroom.
Dropping the Shower Floor
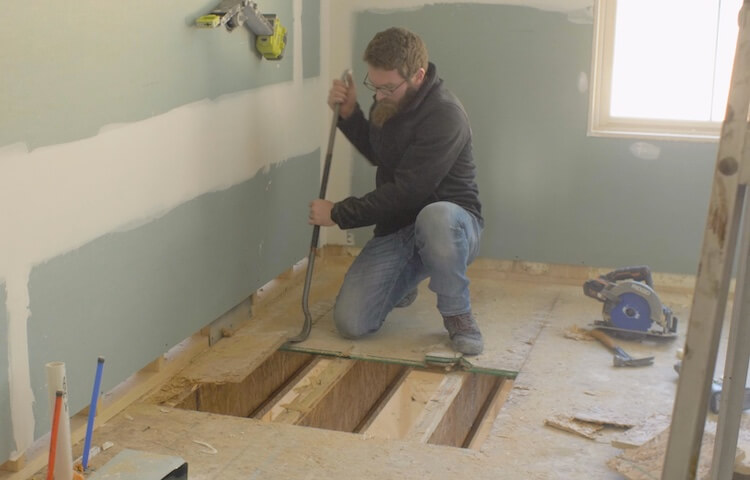
One of the things we wanted in our master shower was to create a “curb-less” entry. This meant that the bathroom floor continues into the shower seamlessly. In order to accommodate the shower pan, this meant we had to drop the floor.
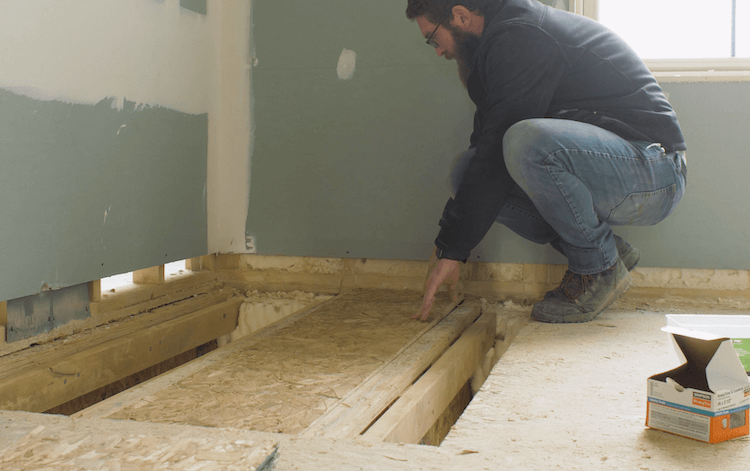
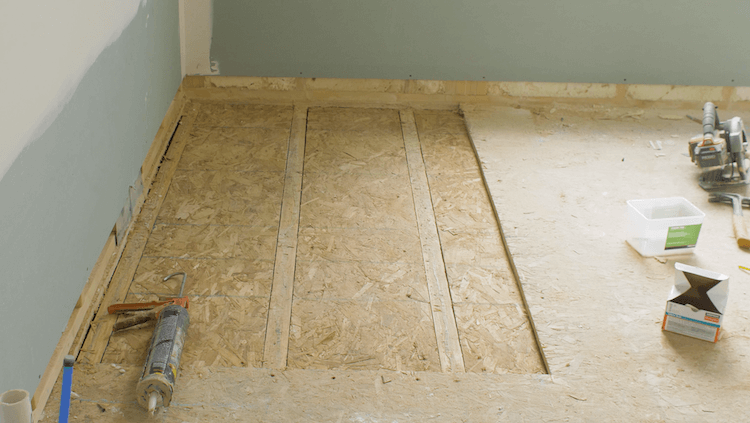
That started by cutting out the subfloor where the shower would go and lowering it to be level with the top of the floor joists. To do so, I used large lag bolts and created rails that were screwed through the web of the floor joists and into solid wood on the other side.
This created a solid surface to screw and glue the new, lowered, subfloor down too.
Half Wall with Hidden Niche
Another thing that we wanted in our shower was to have a hidden niche. Most people place their niche in the most visible area and add a decorative back to dress it up. The problem with that is the niche serves a purpose.. to hold shampoo bottles and other crap. Instead of having a decorative niche on display you end up having all your shampoo bottles.
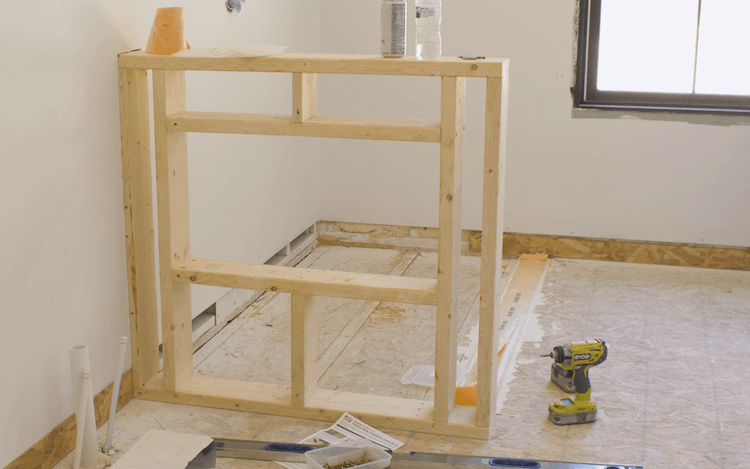
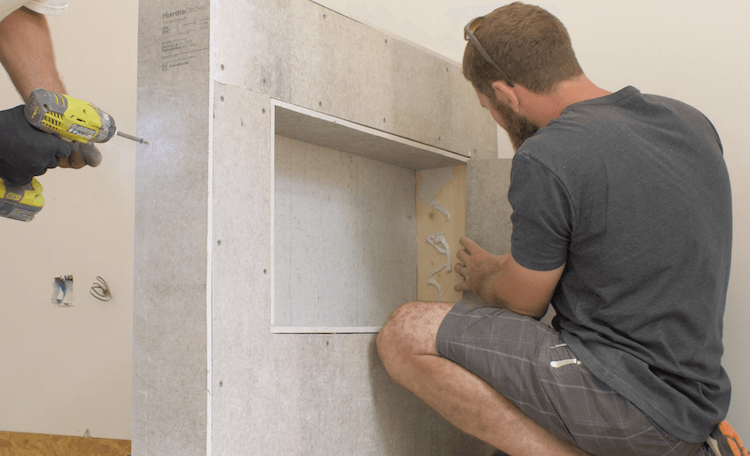
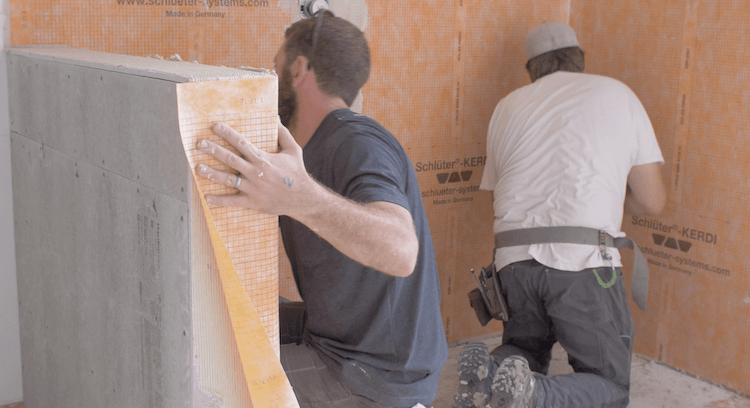
So we decided to frame out a half wall with 2x6s so that the niche was deep enough to accommodate larger shampoo bottles. Then we glued and screwed cement board to the structure. This gives us a surface to tile on that will not expand or contract.
Here is how our niche turned out. The tile that we picked for the inside the shower and niche itself is 12×24 marble tile. Rather than “picture framing” the niche with bullnose tile we opted for stainless steel tile edging to get it a modern accent. The top and front face got capped with the same quartz from Diresco that we used for the countertops.
Linear Drain
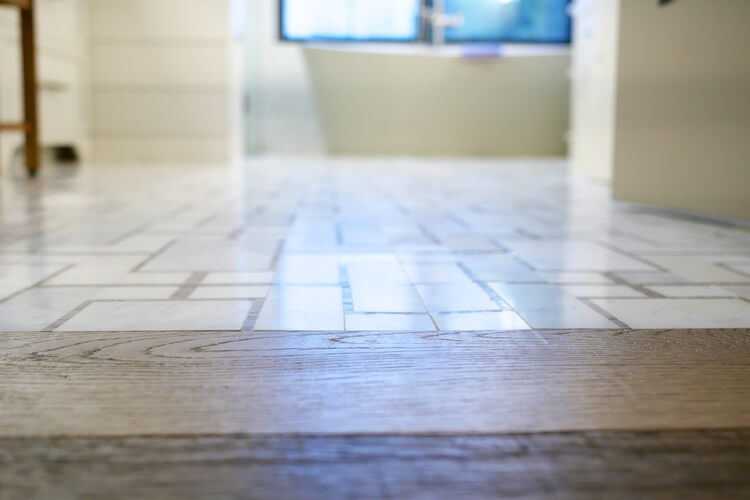
Even with the shower floor dropped we still had a dilemma. While we wanted a curbless shower entrance, we also wanted zero transition in height from the wood floors in the other rooms to the tile floors in the bathroom.
This meant that the shower entrance needed to be the low part of the shower. Therefore, the shower is pitched toward the entrance.
In order to catch all of the water before it ran out of the shower we installed a linear drain that spanned the entire width of the shower. The cool thing about this drain is that we could get a tileable insert for it making it virtually disappear.
Shower Pan
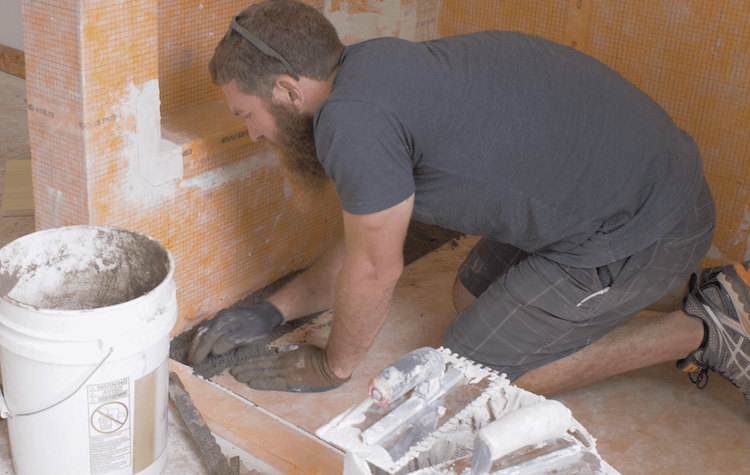
With the drain installed we could move on to the shower pan. We ended up using a prefabricated shower base which made thing a lot easier and quicker, however it wasn’t wide enough. That meant that we needed to fill in the sides with a dry mortar pack before waterproofing it.
Waterproofing the Shower
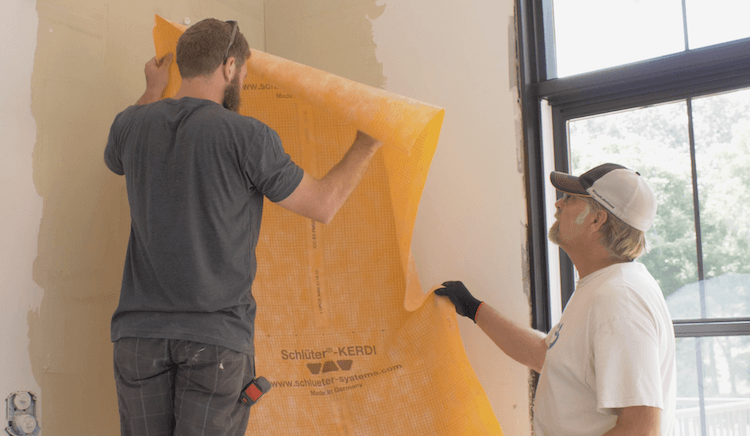
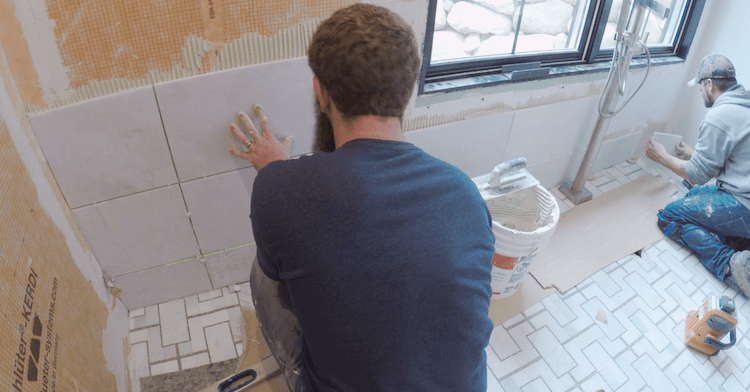
Then we waterproofed the shower walls with Kerdi waterproofing membrane which goes up quick and easy with thinset and a v-notched trowel.
The membrane is overlapped, Kerdi-band it applied to butt joints and wall to floor joints, and Kerdi corners are used to completely waterproof the shower.
After getting everything waterproofed we had to build a fake curb, plug the drain and fill the shower with 2 inches of water for the inspector to pass the shower pan inspection. Unfortunately, I don’t have a picture of this but we simply screwed a 2×4 to the outside of the shower and turned the kerdi membrane that was attached to the drain up since it wasn’t yet mortared in place.
Floor Tile
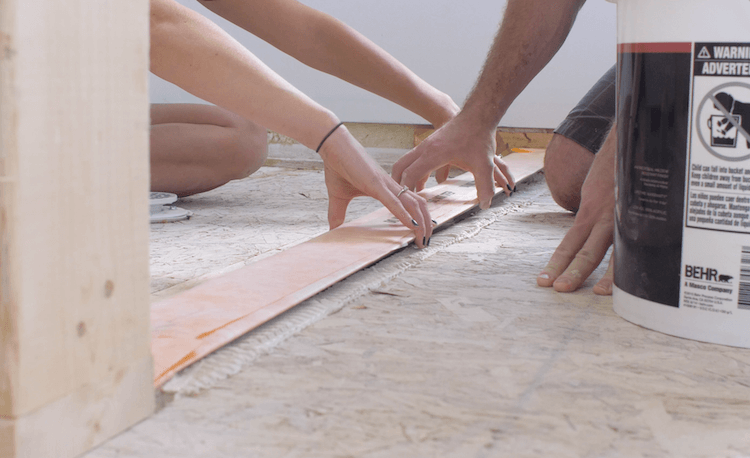
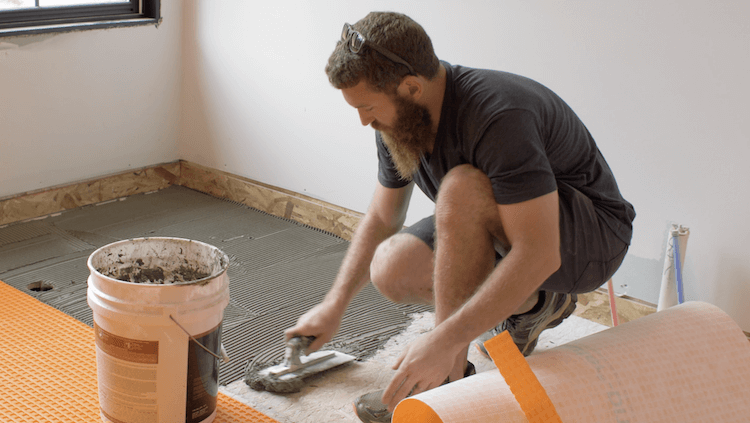
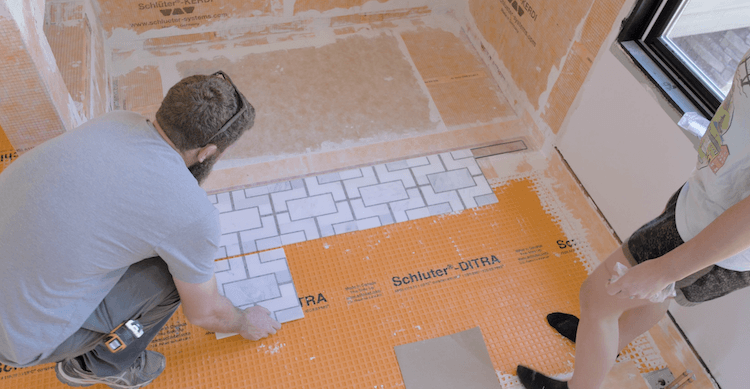
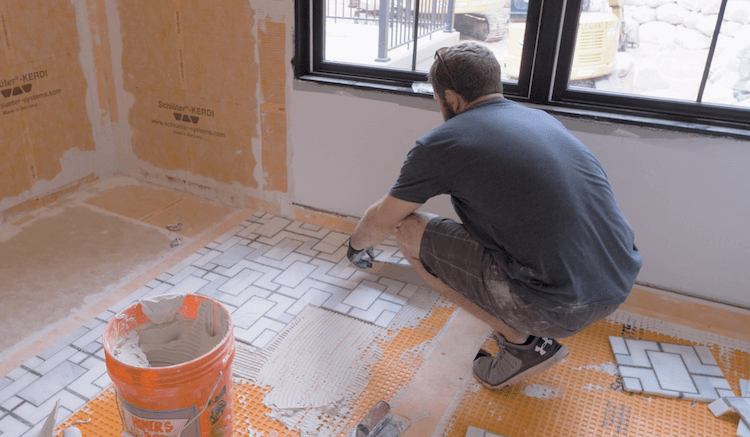
The problem with tiling over a wood subfloor is that the wood expands and contracts while the tile and mortar do not. This causes cracking. Some people put down cement board over the subfloor however we opted for a product called Ditra. This is a crack isolation membrane that is easy to work with and is also waterproof. It gets cut with a utility knife to fit and then mortared in place with a modified thinset.
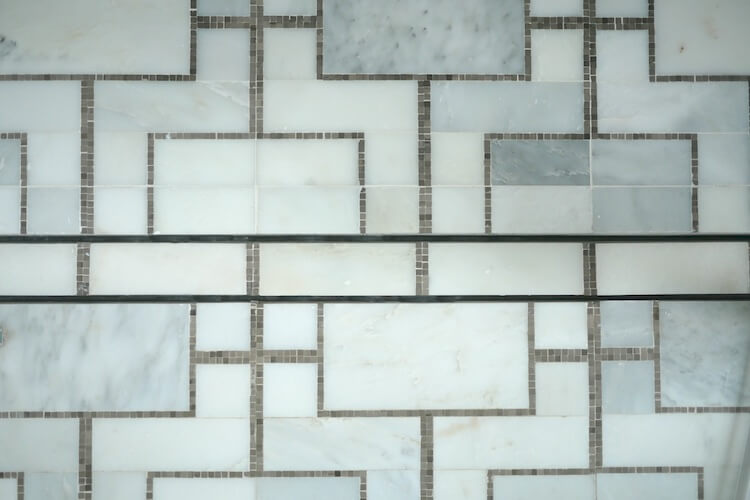
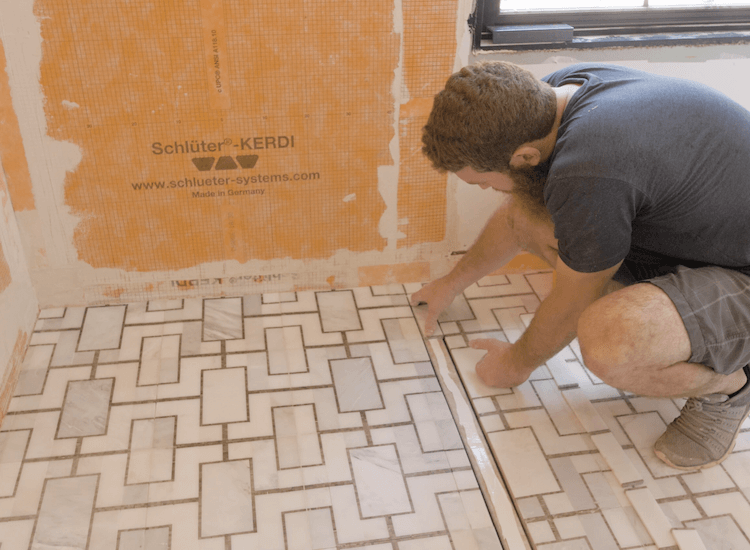
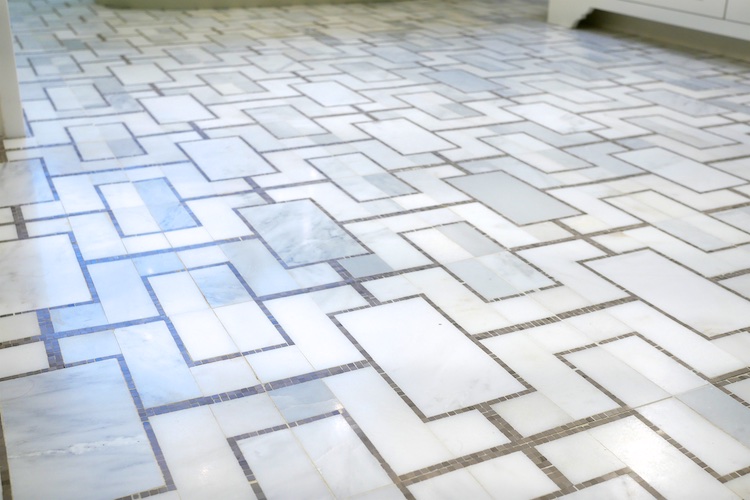
After a long search we ended up with this amazing marble mosaic from Esquire Interiors. Since we wanted the linear drain to blend in, we decided to base the layout of the floor tile on that. Luckily, the tileable drain insert worked out perfectly with the width of our tile pattern.
Starting from the floor drain I tiled across the back of the room and fished up at the door. I intentionally did not tile the shower floor until the next day to make things easy on myself.
Then the shower floor and drain insert could be tiled. Rather than mortaring the tile to the drain insert I wanted to use something a little more flexible as the drain itself could flex when stepped on or when removed for cleaning. So for that I went with Kerdi Fix and so far it has worked well.
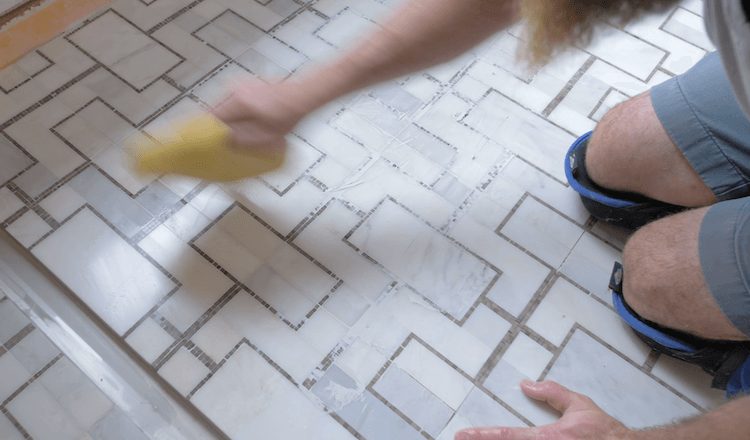
Before grouting we sealed the tile with natural stone sealant. This is because the grout can actually stain the marble if it is not sealed. Then we grouted the floor with an unsanded grout since our grout lines were less than 1/8″. We also added an additive to our grout that makes it more stain resistant.
After grouting we followed up with another application of sealer. This is because the grouting process wears down the sealer. It is also a good idea to apply sealer to natural stone like marble every 3-6 months .
Wall Tile
For the wall tile we installed 12×24 marble tiles with a 3/16″ spacing. This was the most challenging of the tile jobs we did in the house. This is mainly due to the size of the tile. Making sure all the tiles are even and flat with one another. A large level help make sure the tiles were flat and a laser lever helped with leveling.
We also decided to install matte black tile edge trim around the window to minimize the trim as much as possible.
Bathtub
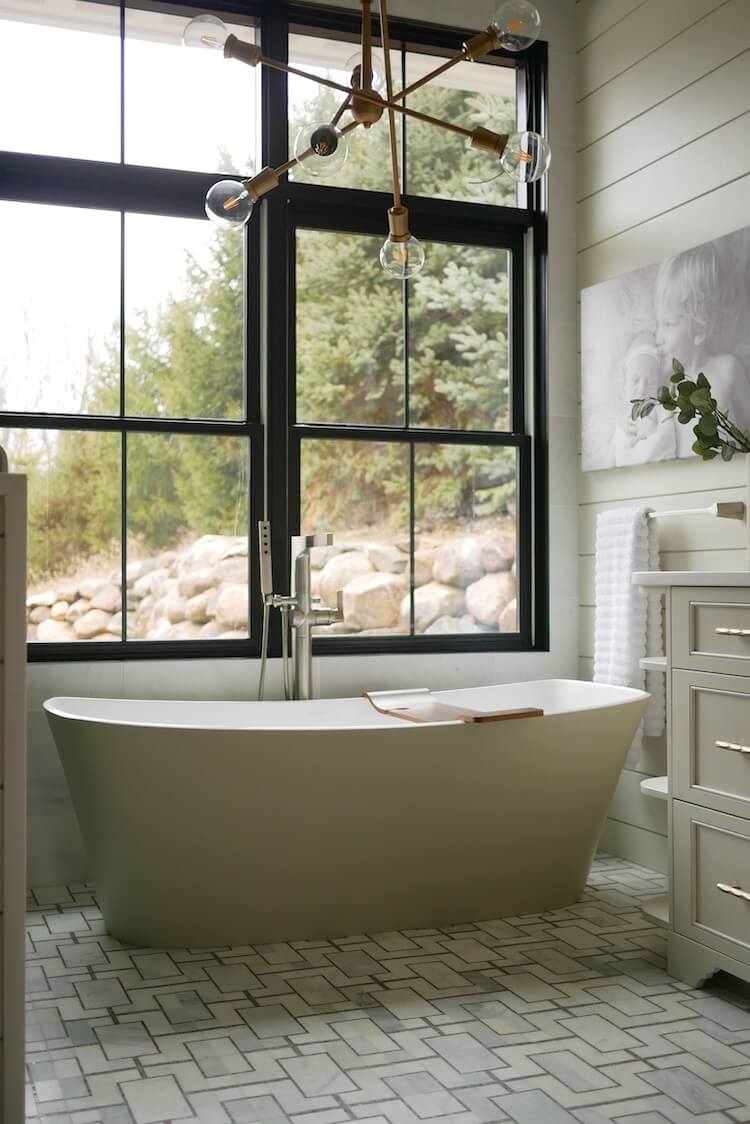
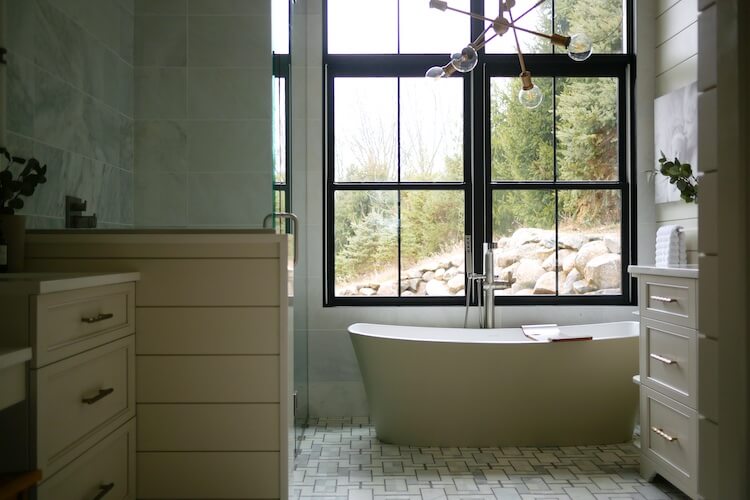
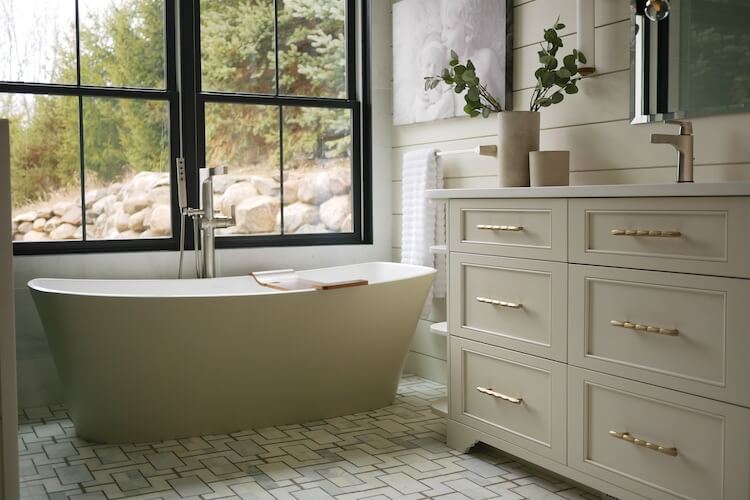
When it came to the bathtub we knew we wanted something amazing. It had to be freestanding and eye-catching. We ended up selecting the Trivento from Victoria + Albert painted in Light Gray.
This thing is exactly what we wanted. The modern but classic styling of this massive double ended tub goes so well with the overall style of the bathroom. The tub is made from ENGLISHCAST which is a one piece casting made with Volcanic Limestone and resin. This is a strong material that naturally has that glossy white finish and allows for a thinner wall. Plus it comes with a 25 year warranty!
Vanities
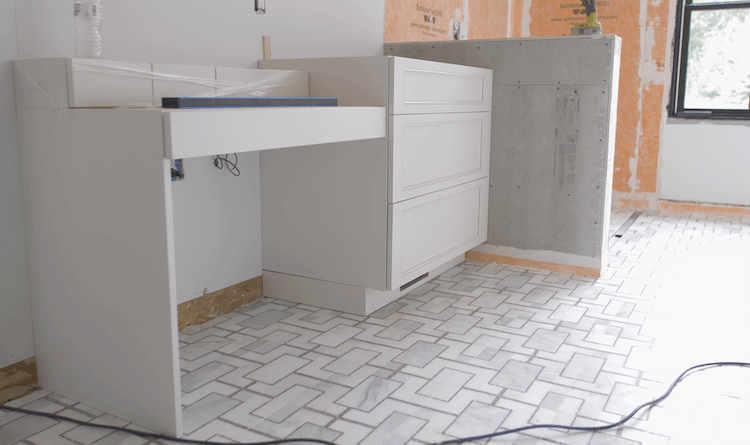
When it came to the vanities we knew we wanted something custom. Since we already had our local Amish cabinet-maker working on some cabinets for the kitchen and laundry room we decided to add these to the list.
Once the vanities were delivered we got them in place, leveled and secured them to the wall studs. Jamie’s sink vanity and makeup vanity is pictured below.
If you are somewhat close to Homer, Michigan (or willing to make the drive) and need some cabinets, I highly recommend Maple Lawn Wood Products. Since they are Amish, don’t count on a website or social page. You’ll need to give their shared phone line a call at (517) 542-3050. Ask for Mark and tell him Jamison sent you!
Hardware
When it came to the hardware we fell in love with the St. Vincent pulls by Amerock in the color golden champagne. For the smaller drawers we went with the Oberon knob that matches perfectly.
Countertops
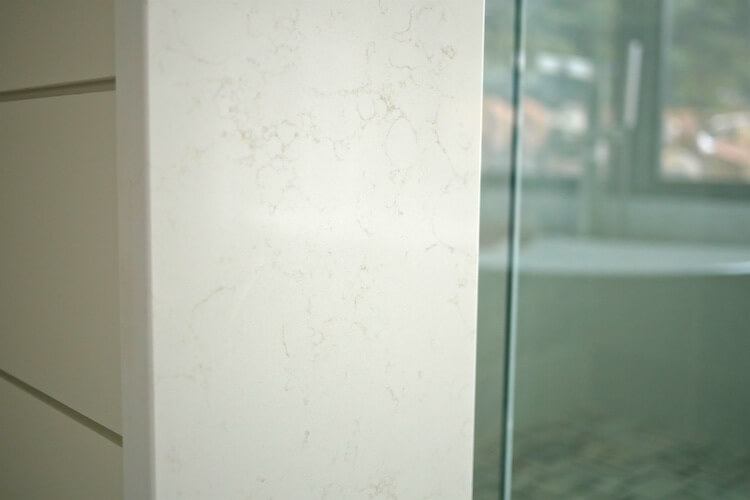
For the countertops we ended up going with the same quartz as we did in the kitchen and laundry room. The color we went with is called Venato Supremo in a Poli Finish from a Belgium based company called Diresco which produces UV resistant quartz using environmentally responsible principles. They make an amazing product and we loved that the veining in the stone was more subdued and didn’t try to steal the show.
Shiplap
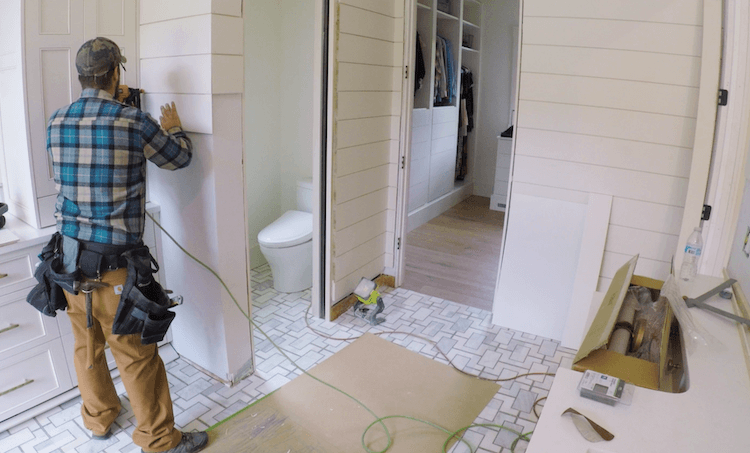
We’ve always loved the clean lines that shiplap gives so we decided to install shiplap on the remaining walls. We chose to go with a 1×8 board that has a true shiplap profile. This gave us a wider plank and what I think is a better look.
Lighting
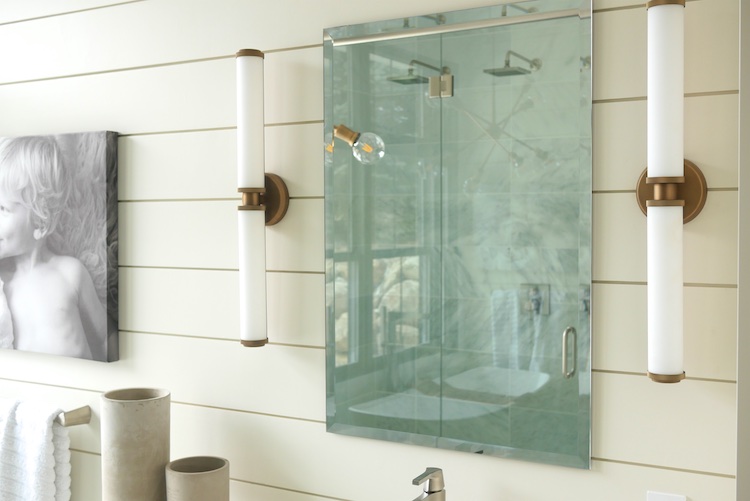
Lighting in the master bathroom was very important to us and for some time, Jamie knew just the fixtures she had to have in our bathroom. For the sconces that flank each of the mirrors we went with the Indeco 27″ Linear LED light from Kichler and they are amazing!
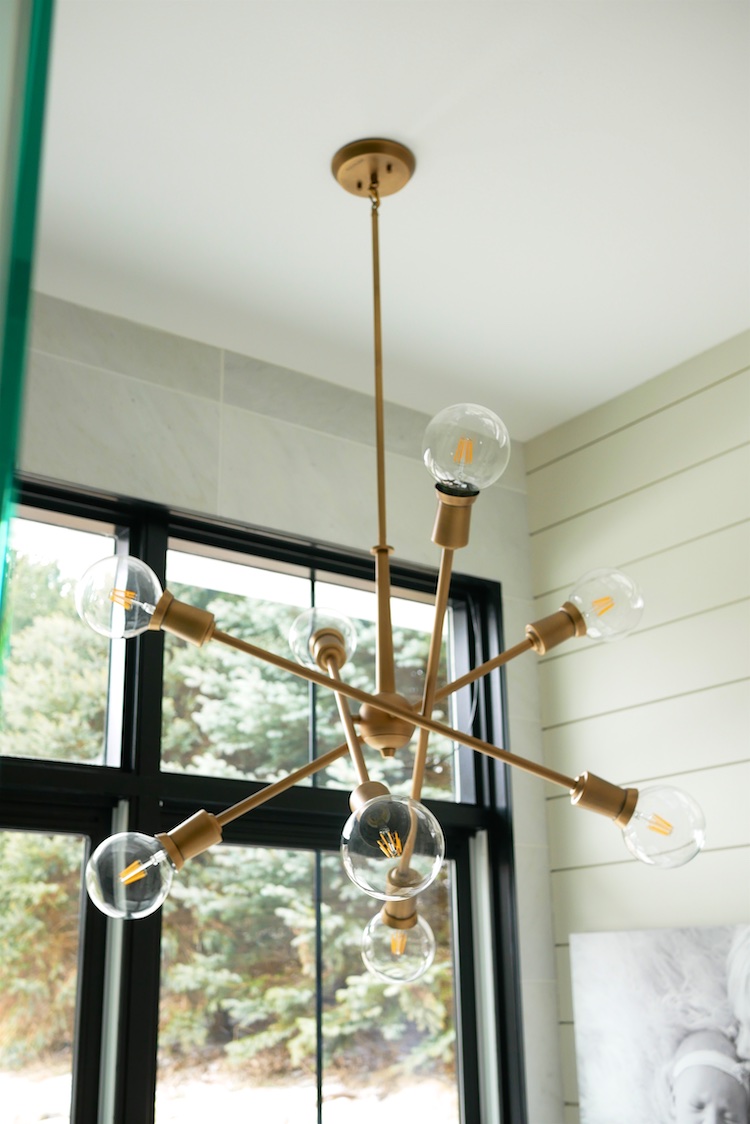
Then there was the chandelier over the tub. The one she had picked out for this was the Armstrong 8 light chandelier in a natural brass finish. Now I know this is technically not to code so it was something we did after the final inspection and are mindful of the issues.
Faucets
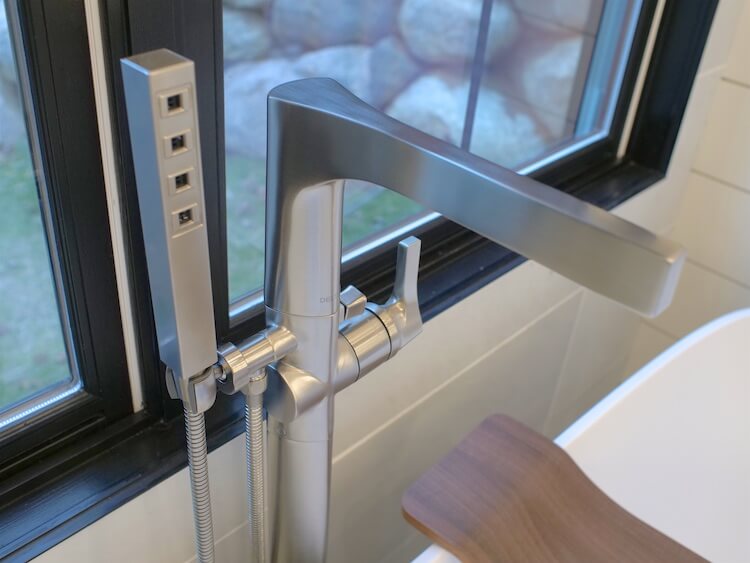
The faucets we chose for our master bathroom are from Delta Faucet’s Zura Collection. The impressive stainless Zura tub filler is a large modern filler that blends nicely with the bathtub we selected and has a convenient spray wand.
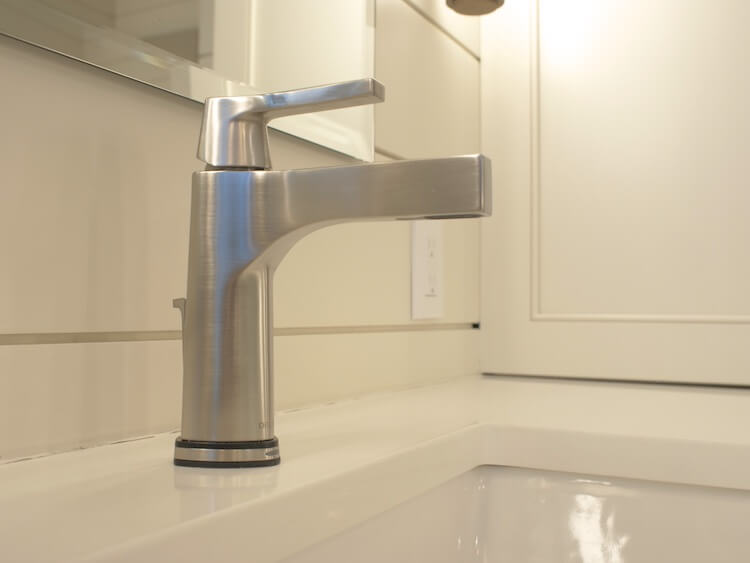
The sink faucets are essentially a smaller version of this with the handle on top. However, these faucets have a trick up their sleeve because they can be turned on and off without even being touched. The Touch2O technology senses the presence of your hands whenever they come within 4 inches of the faucet. The faucet can be operated manually, by touch, or full auto just by putting your hands under it (turns off seconds after removing hands).
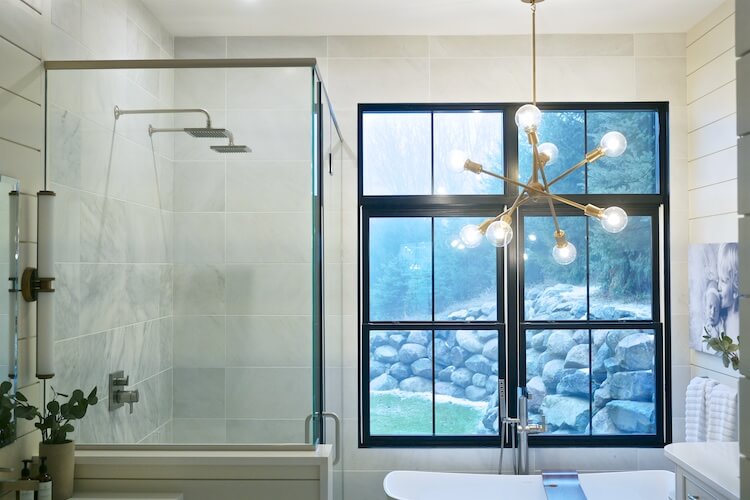
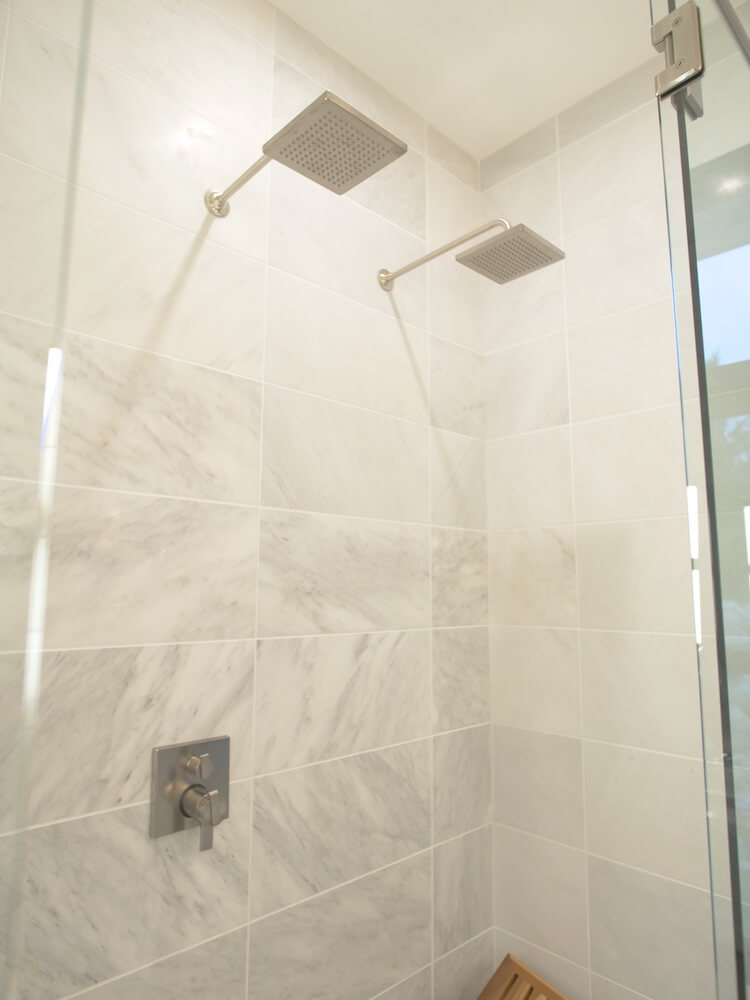
In the master shower we wanted two large rain shower heads. The square rain shower heads from Delta have great flow and the inevitable mineral build up on the rubber holes can be easily knocked off with the swipe of a hand. The shower valve is the Ara 17T with TempAssure and 3 setting diverter. We love the ability to set the temperature and turn on the rain heads independently or both at the same time all through a simple, modern looking valve.
Toilet
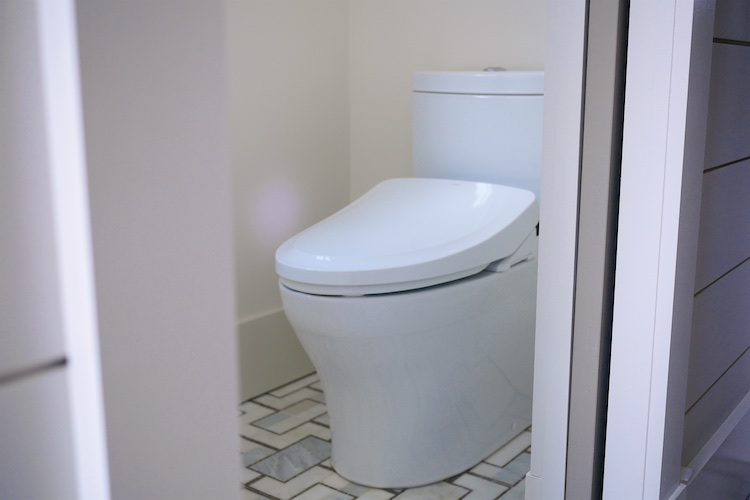
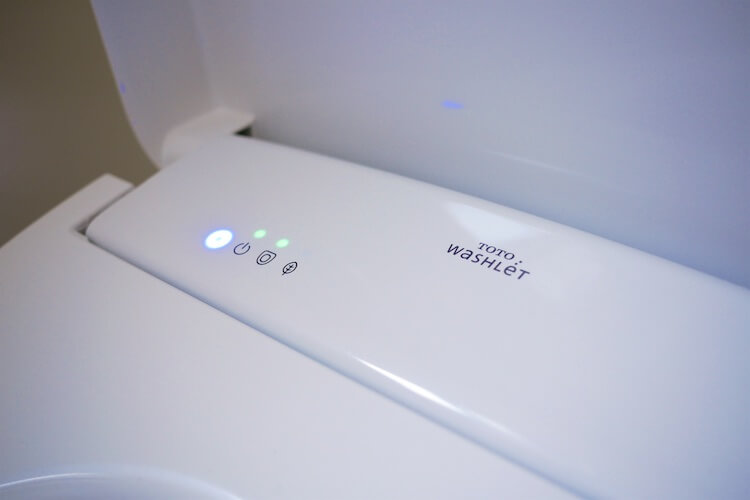
In our bathroom we decided to splurge on the toilet. We went with the 2-piece Toto Aquia IV tank & bowl with S550e Washlet attachment.
And don’t knock the bidet (Washlet) until you try it. This thing is loaded with features including auto open and close, heated seat, deodorizer, night-light, heated water and all the typical bidet features.
Completed
This bathroom wouldn’t be the same without that large set of windows. Even when not in use the natural lighting is amazing and the materials we used really work well together.
When in use the lighting really transforms the bathroom making it the perfect place to get ready or unwind at the end of the day.
We did get a lot of strange looks when we told some of our contractors our plans with the shower drain. Most said that is would never work, water would surely run over it and flood the floor. I am here to say that besides the water dropping off of you when getting out of the shower we are good to go. But just in case, we waterproofed the entire bathroom floor!
Guest Bathroom
When designing our house we knew we wanted a dedicated 1/2 bath for guest only. A powder room, some might call it. Basically a bathroom that looks nice all the time (so the kids aren’t allowed in there).
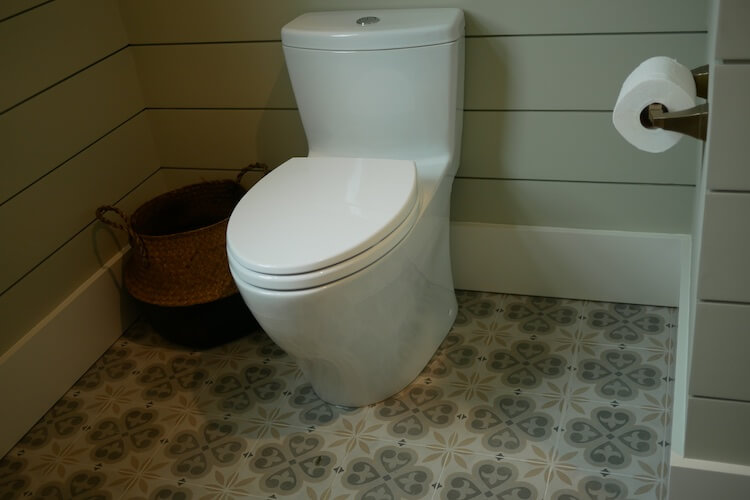
Floor Tile
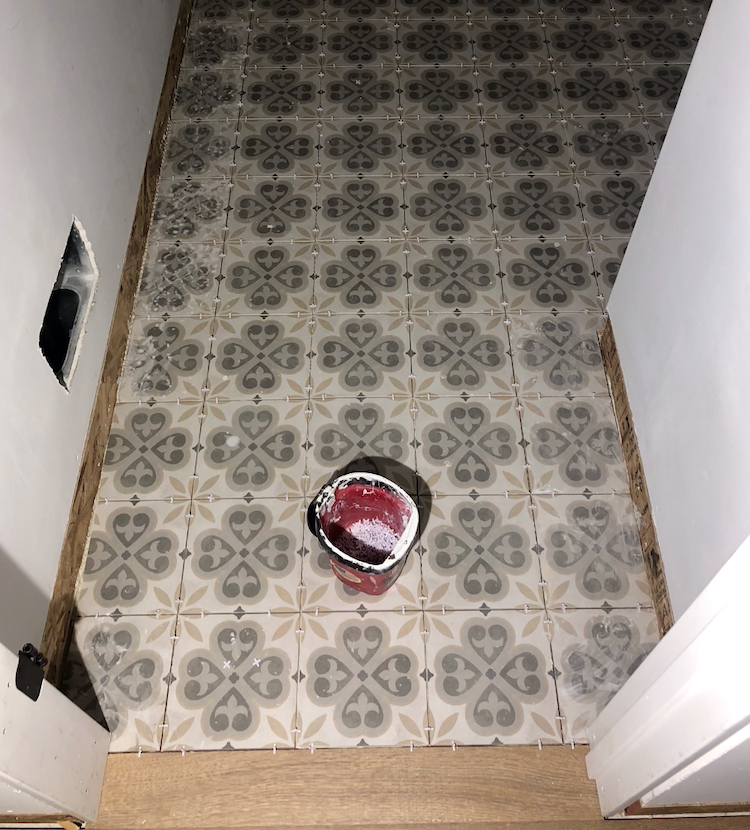
The first thing we did was laying the floor tile. The tile we went with is from Esquire Interiors. This was one of those jobs that I lost track of time. Starting by just wanting to lay the Ditra (like in the master), next thing I know it’s 1am and I have the tile laid too!
When setting this tile I wanted to make sure the first row was a full tile. So I started there, then worked down the wall on the left, and across the back working my way back to the door. Let’s just say that it ended up being a game of twister there towards the end.
Shiplap
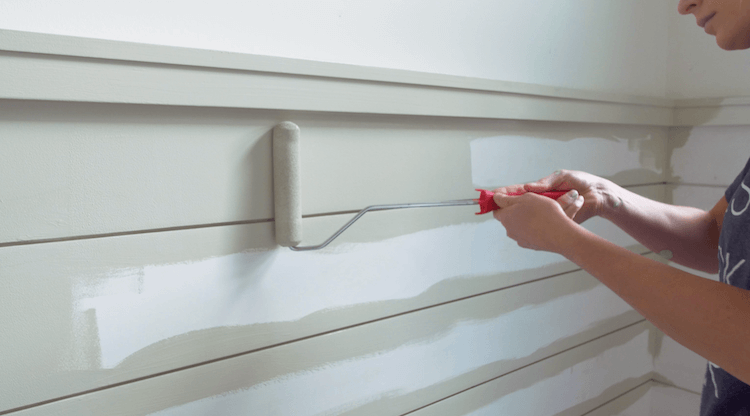
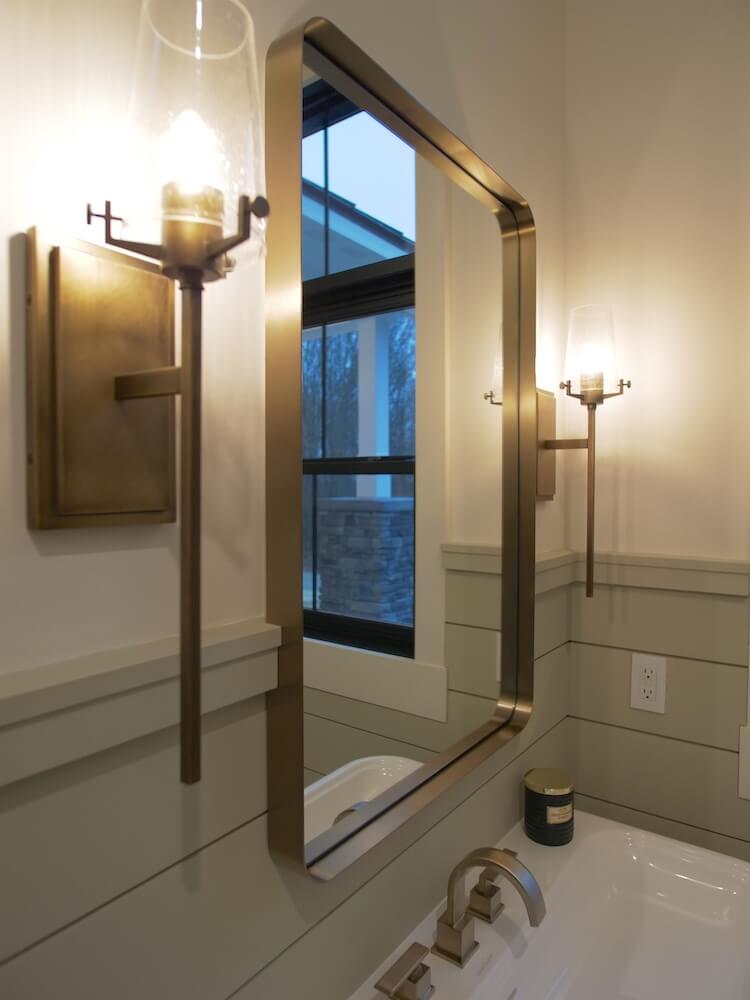
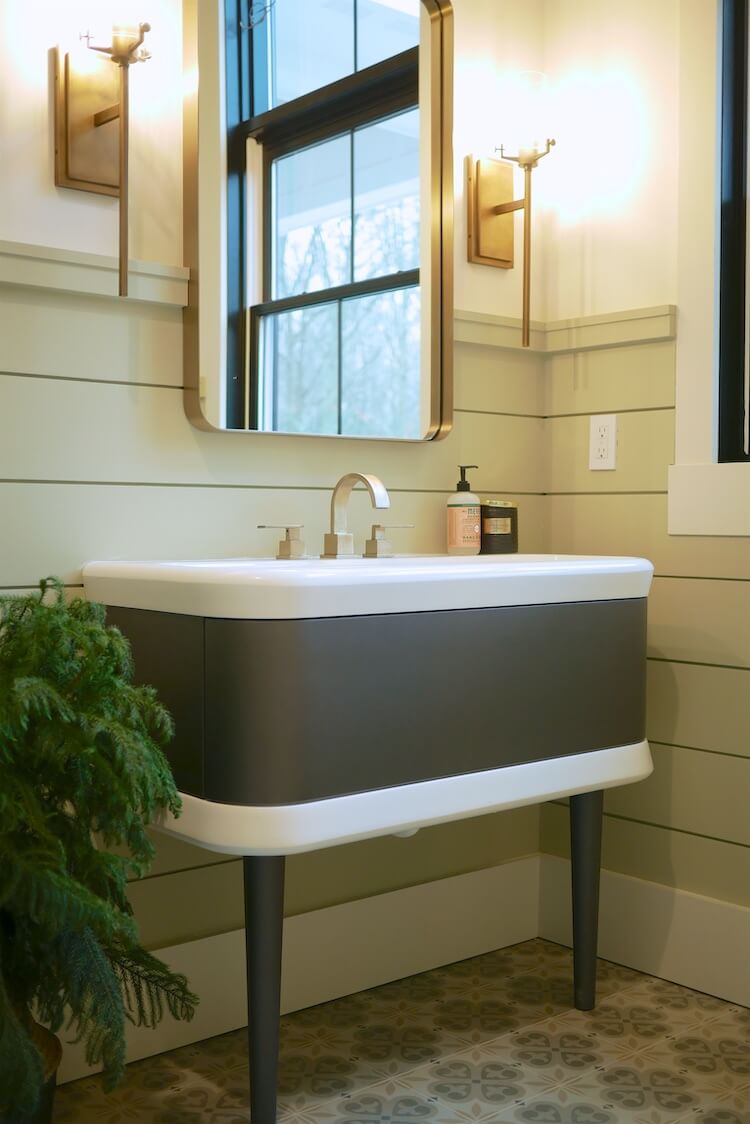
When designing this bathroom we knew that the combination of tall ceilings and a smaller room size might make you feel like you are standing in a silo. That’s why we decided to add shiplap, but only about to chest height, with a cap. We painted this wall treatment a color called Dune Grass from Behr. The color brings some warmth to the room and the horizontal lines make the room feel not as tall.
Vanity
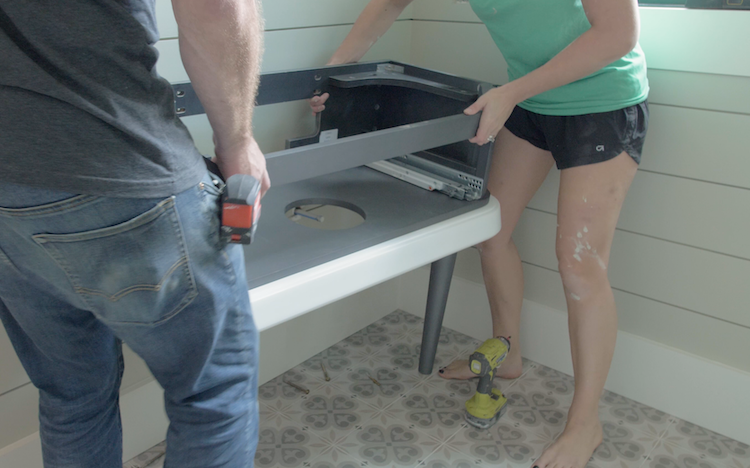
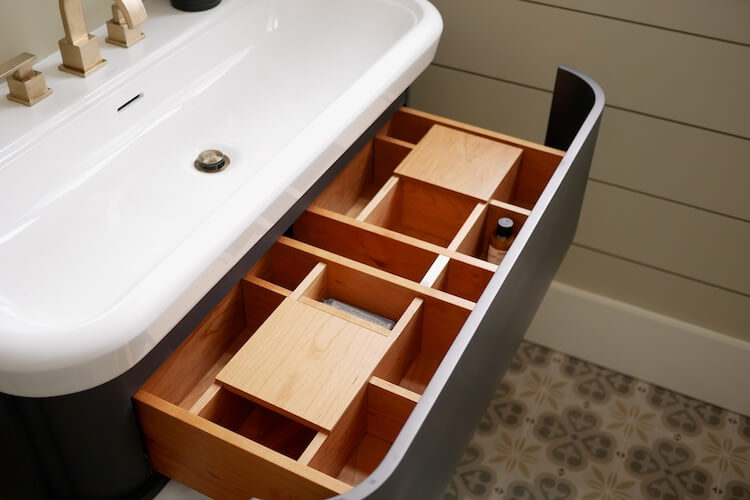
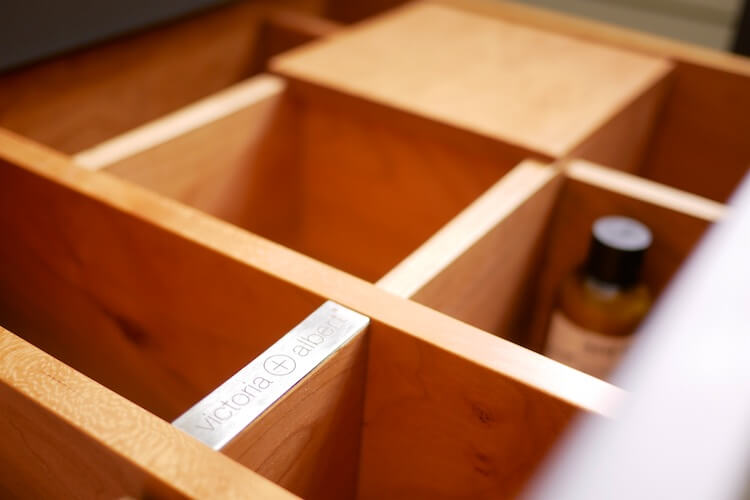
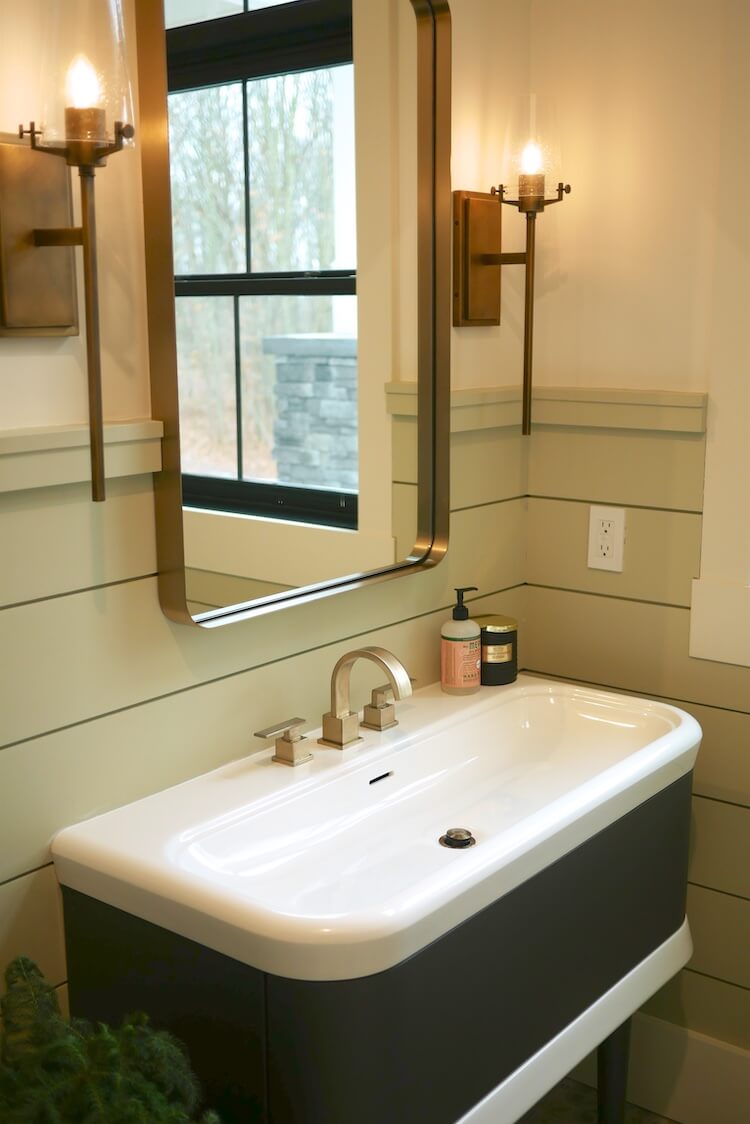
The vanity in this bathroom is the showstopper. The Lario 100 from Victoria + Albert is truly an amazing piece of furniture. Their attention to detail and high quality materials make this vanity what it is.
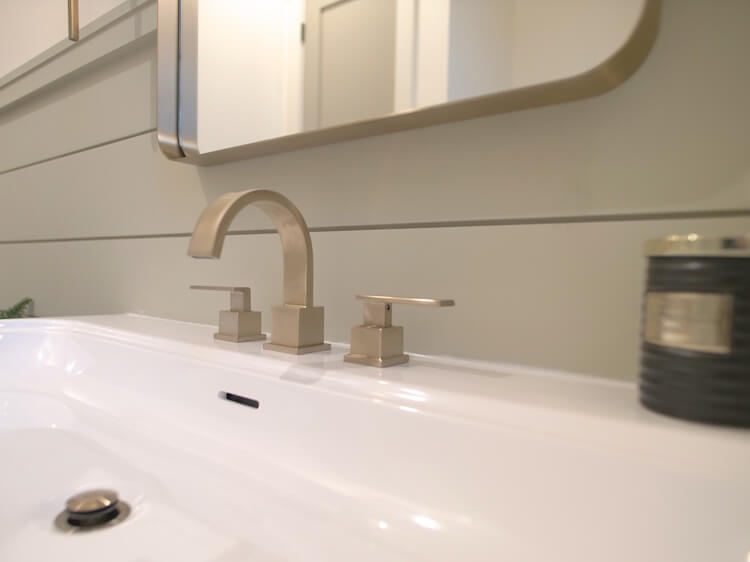
After removing the top and drawer, the frame gets lagged into the wall studs and the plumber came to connect the drain and install the amazing Vero widespread faucet from Delta.
This vanity is pretty amazing. From the massive volcanic limestone sink to the push-to-open solid cherry drawers, I couldn’t dream of a better vanity.
Toilet
In every bathroom there must be a toilet. In this bathroom we went with a higher end toilet from Toto, the Aquia skirted toilet.
Finishing Touches
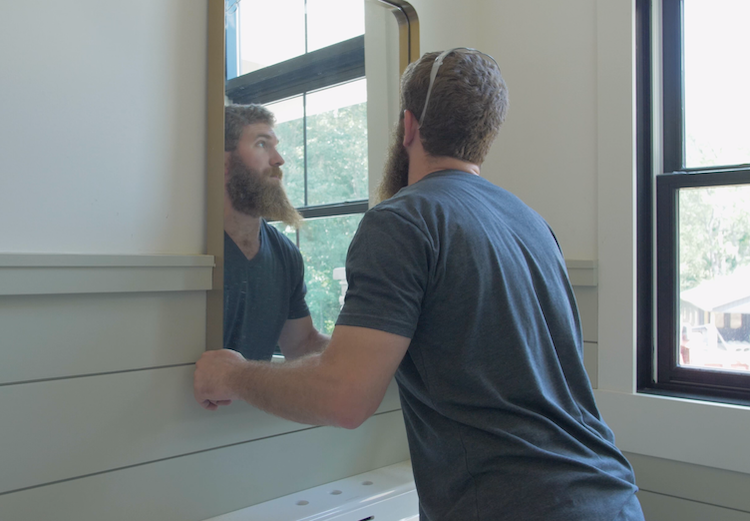
The mirror we chose for this bathroom is the Hamilton Hills Contemporary mirror in gold to match the faucets. The cool thing about this mirror is that the frame is nearly 2″ deep which allowed us to back cut the cap on the shiplap and set it flush with the shiplap.
Lighting
Now comes the lighting! We went with the Alton sconces from Kichler and they all matched perfectly. The stem of the sconce overhangs the shiplap just enough to create a unique look.
Completed
Overall this powder room turned out just how we wanted. The space is warm, inviting, and luxurious for our visitors. Now the question is, can we keep our kids from messing it up?

