

Reclaimed Wood Console Table
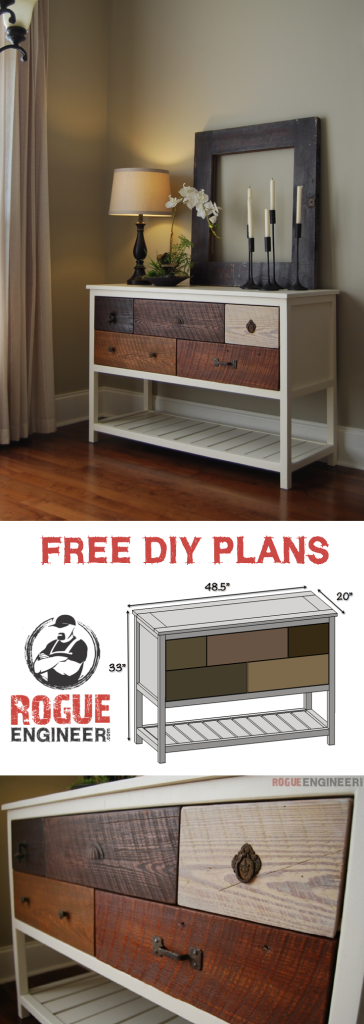
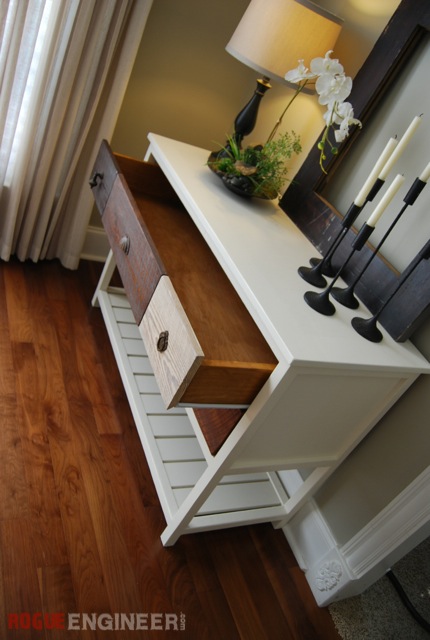
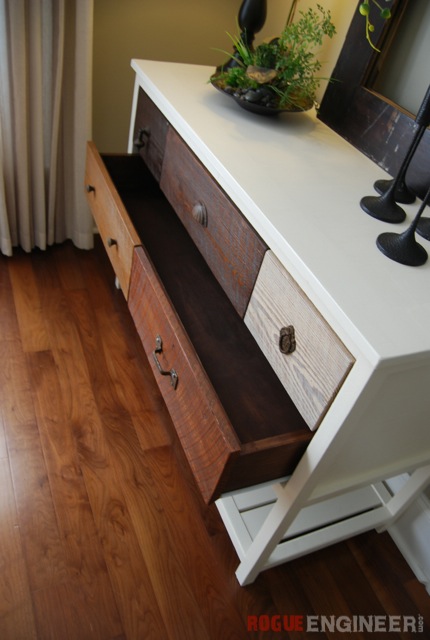
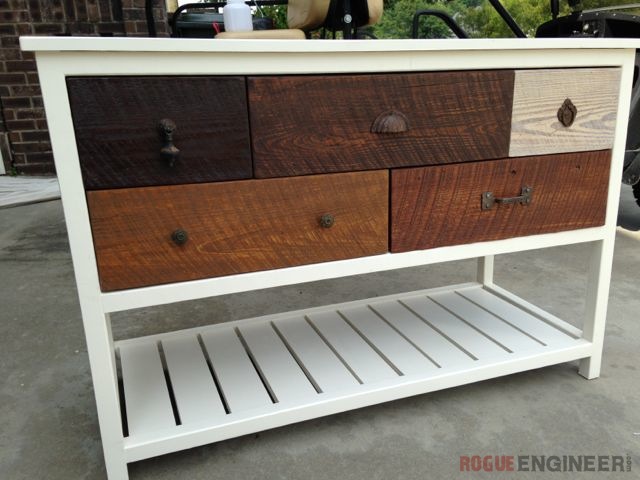
So here it is! This console table turned out absolutely perfect! If you don’t already know, Ana White has played a major role in me wanting to create this site. With all the inspiration she has given me I wanted to give back to her and her site. So the console table plans that I would normally post on here can be found here at Ana’s site. Working with Ana on this project has been great and I can’t want to collaborate in the future again.
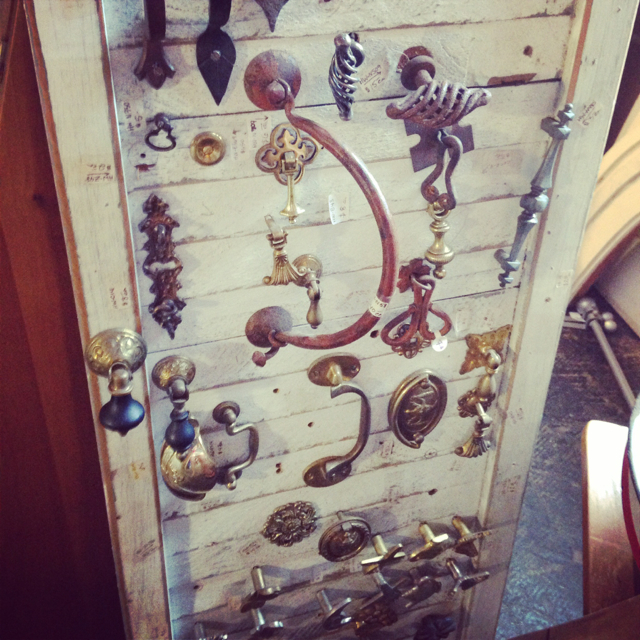
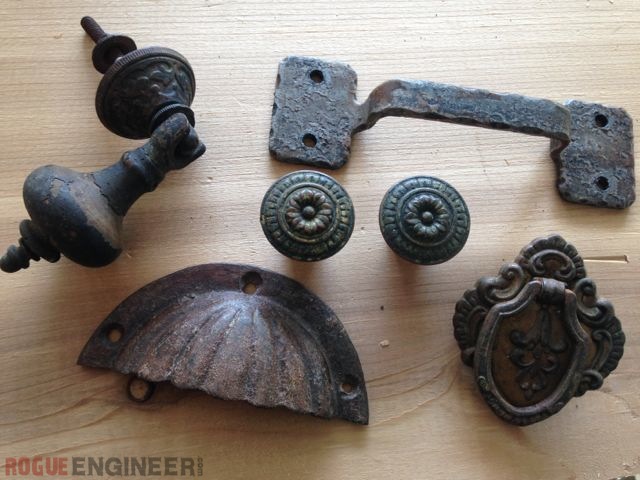
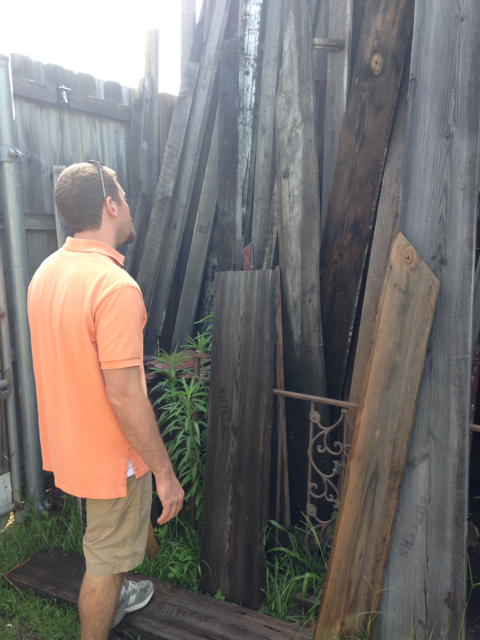
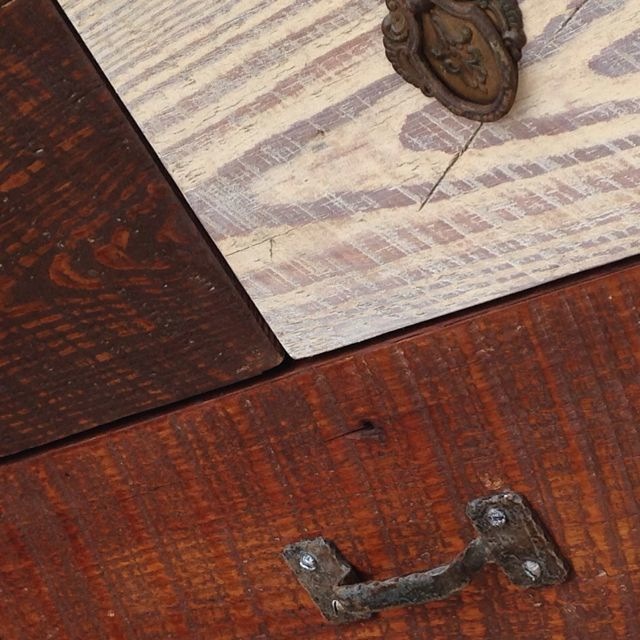
Shopping for antique hardware and salvaged wood was so much fun! In Savannah, Georgia there is a plethora of antique and vintage stores with all kinds of cool stuff salvaged from historic buildings.
The Build Process (Click here for PLANS!)
Cut Wood
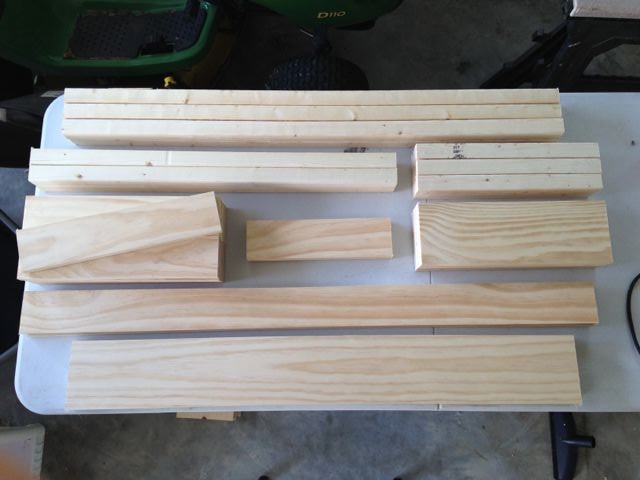
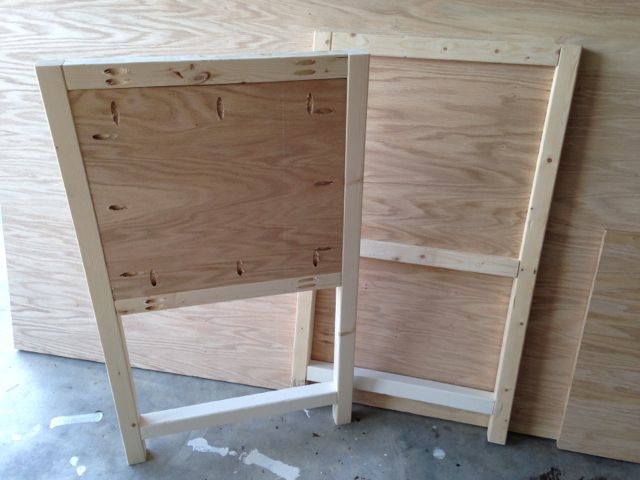
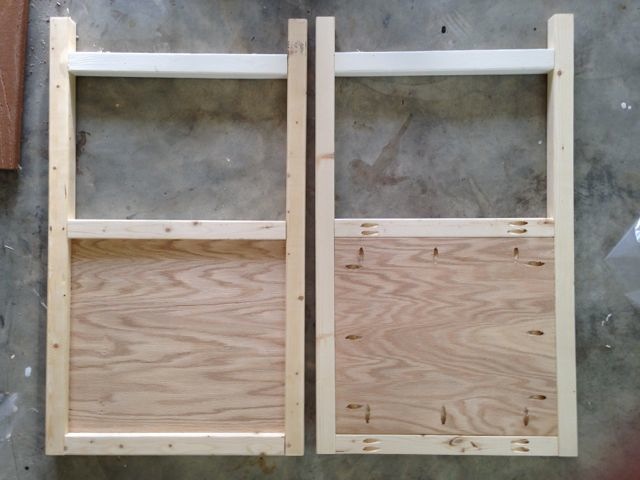
Step 1: Assembling the Sides
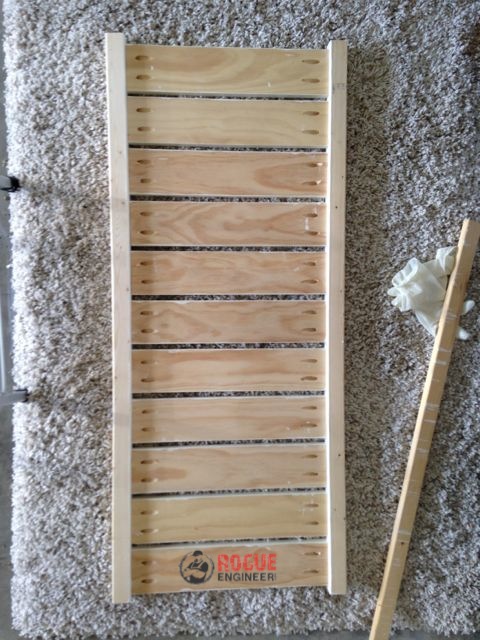
Step 2: Assembling the Lower Shelf
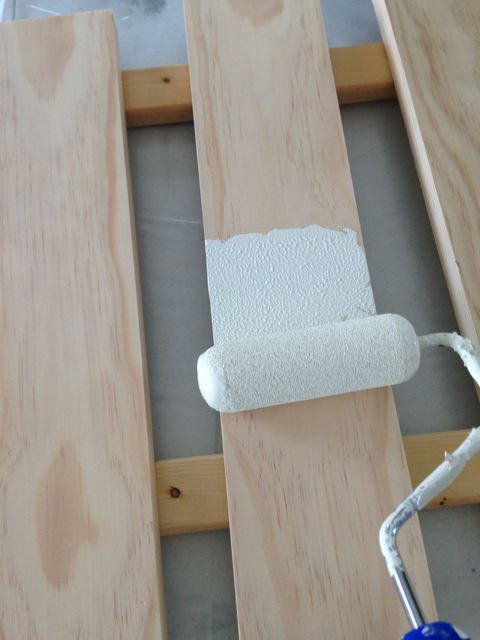
I choose to go ahead and paint the slats before assembling the shelf since once they are installed, 1/2″ apart, it would be very hard to do so.
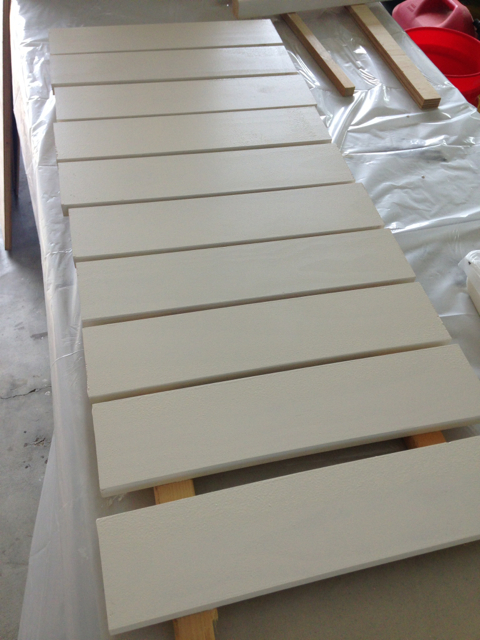
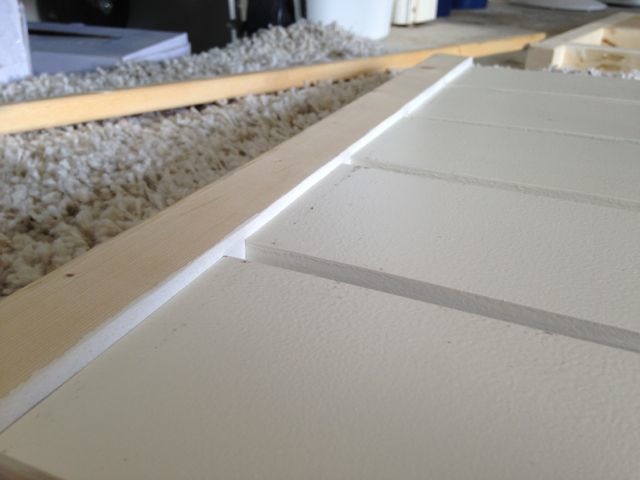
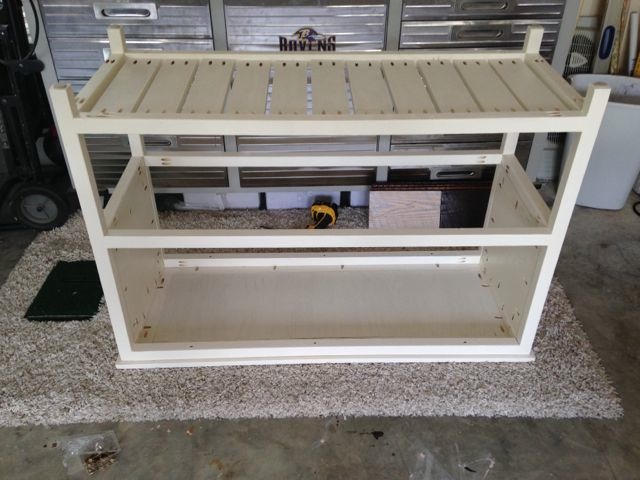
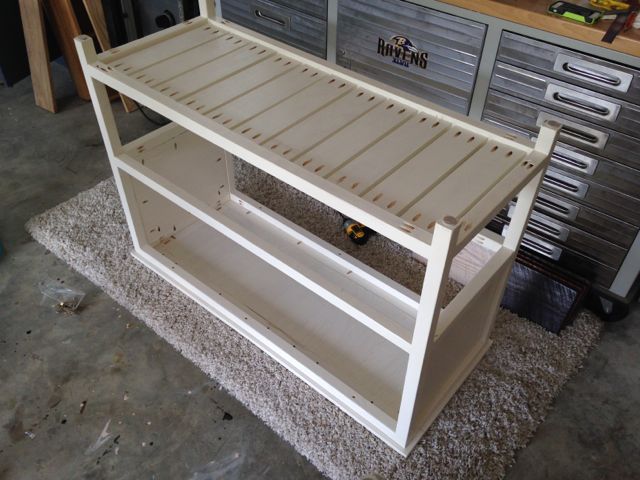
Step 3: Assembling the Base
Yes, I realize there is no picture of this step and the reason for that is that I was so frustrated when I did this (see picture below) that I completely forgot to take a picture. So if your at this step please be careful. The base is fragile when not attached to the top.
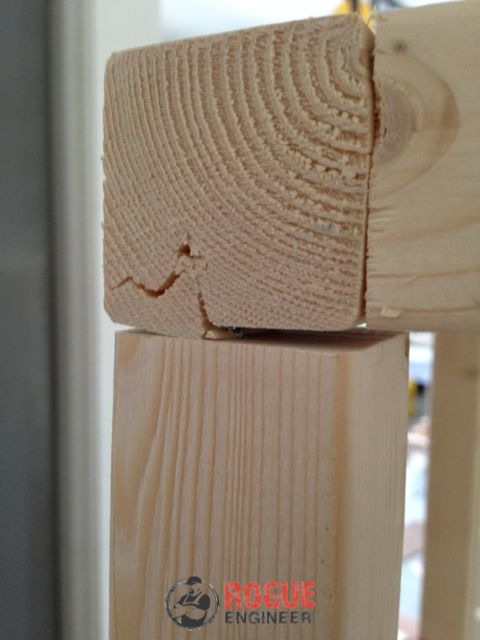
Step 4: Assemble the Drawers
I choose to cut a 1/4″ grove in the sides of the drawers with a dado blade and inset the drawer bottom. This creates a stronger drawer bottom. Not that I’ll be putting a lot of weight in there, just like the looks of it.
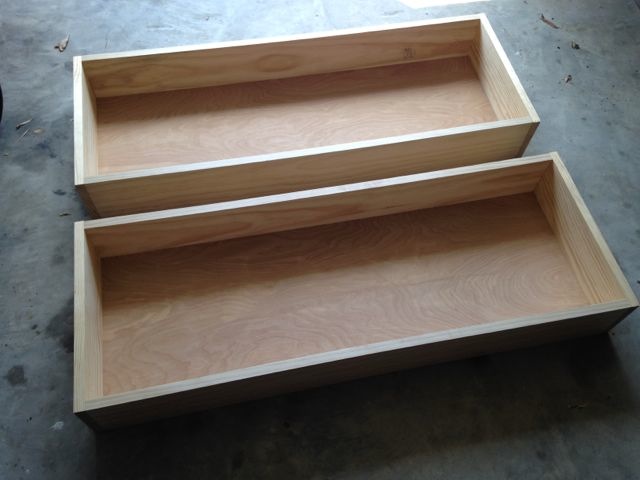
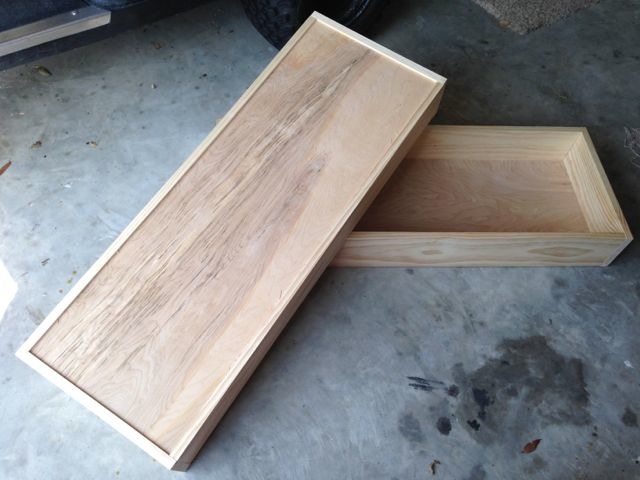
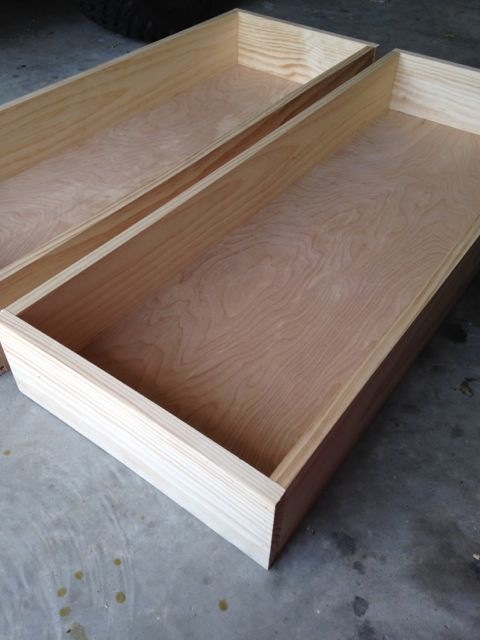
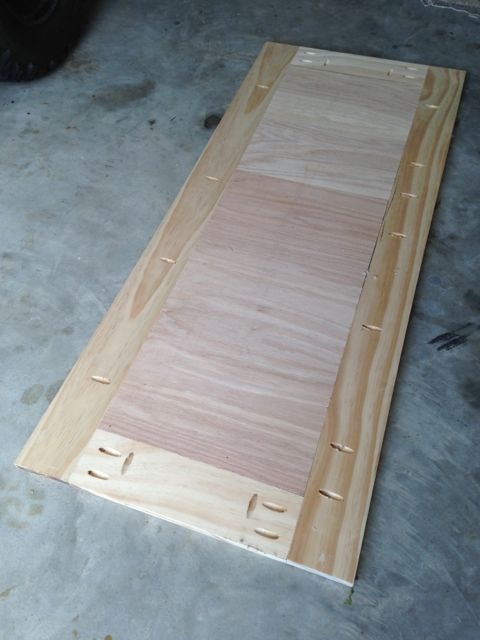
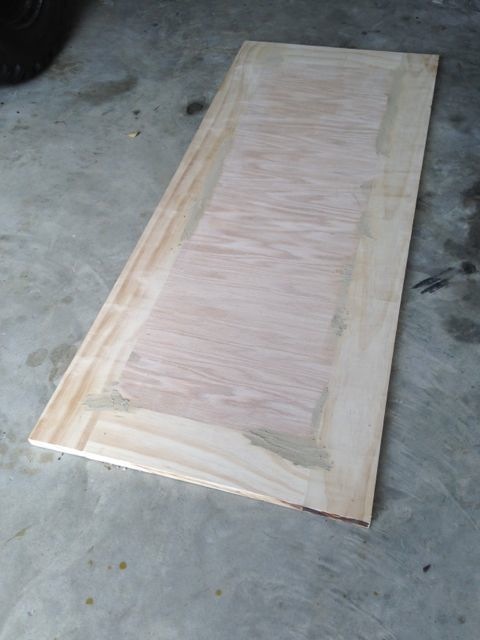
Step 5: Assemble the Top
Once I assembled the top I went ahead and filled the gaps and sanded it all down since it was bothering me so much. Thank God for wood filler!
Step 6: Attach Top to Base
After doing this, it is a good time to paint the base since the next step is to install the drawers and I wanted mine stained.
Step 7: Install the Drawers
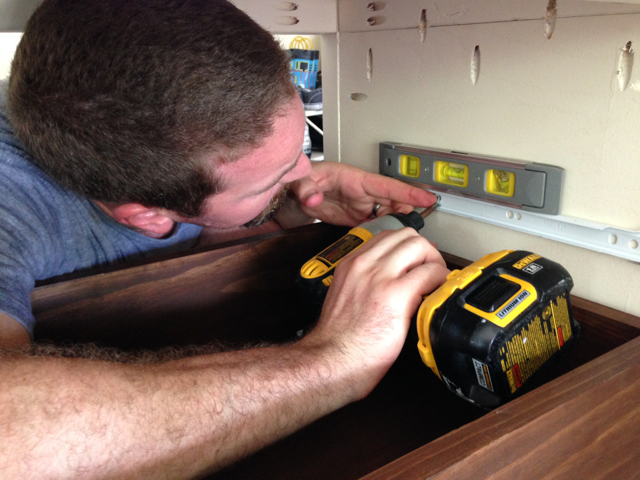
I’ll start off by saying, I HATE THOSE LITTLE SCREWS! Other than that, I will say, the small magnetic level pictured sure came in handy! Oh and its a good idea to stain the drawers before installing.
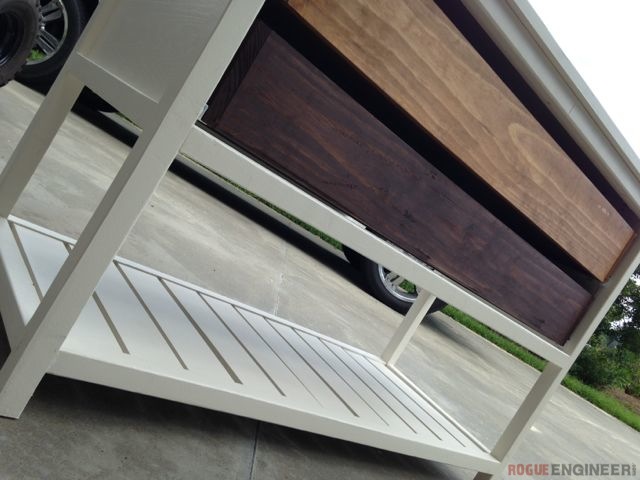
Step 8: Installing the Drawer Fronts and Hardware
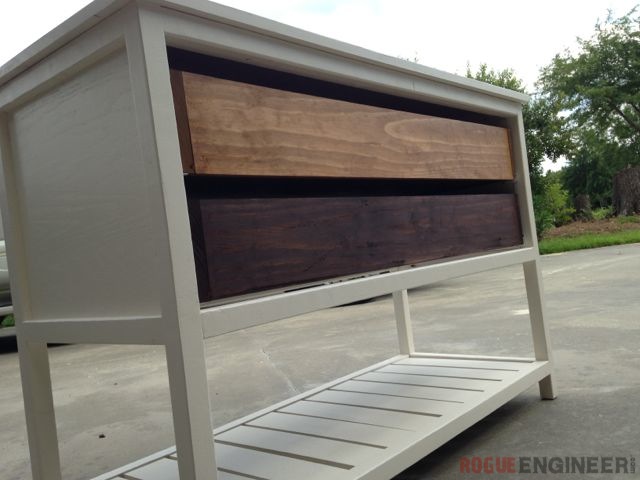
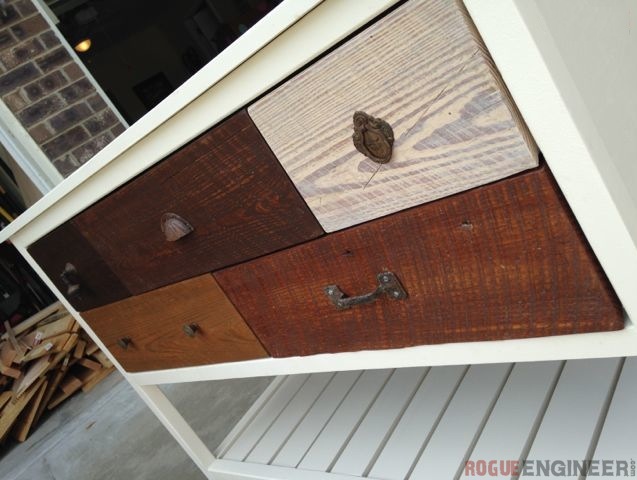
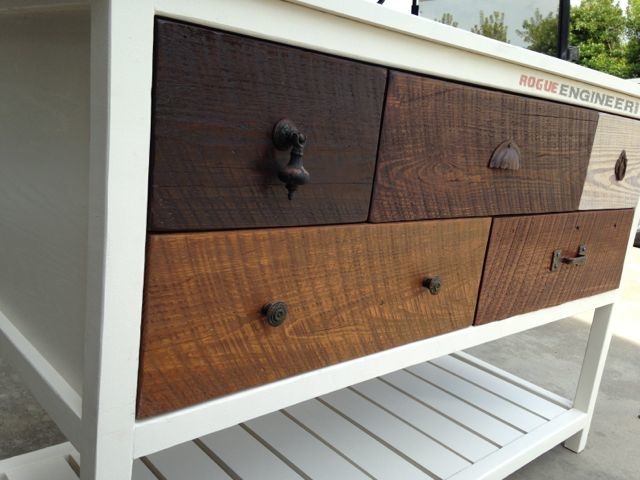
This was our favorite step! After staining the drawer fronts we were so eager to get them installed along with the hardware.
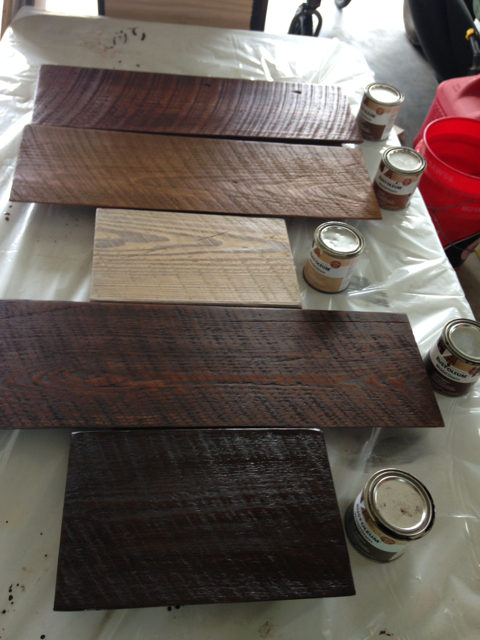
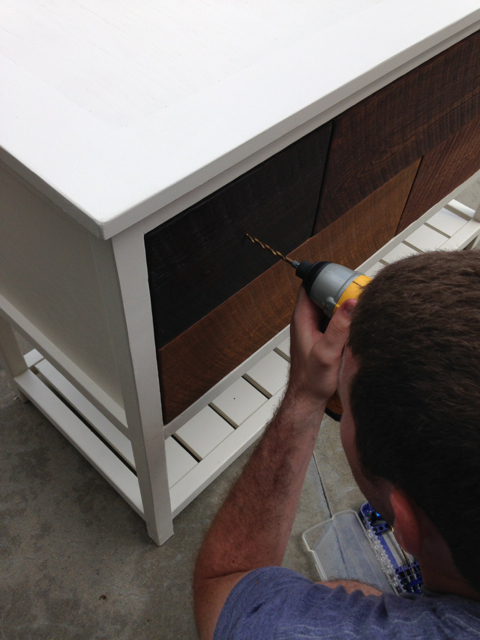
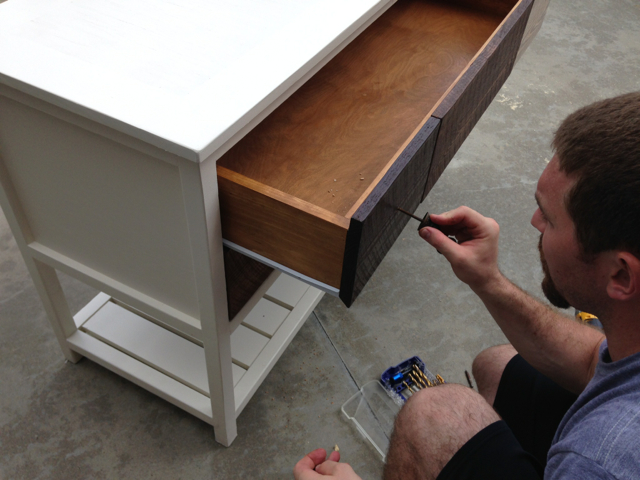
Step 9: Attach the Back
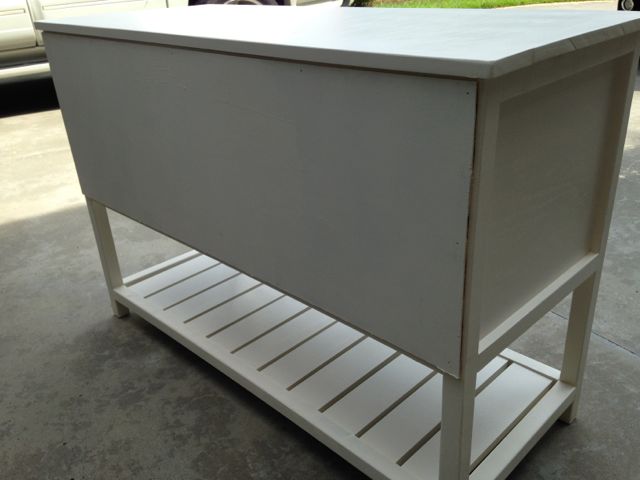
First we painted the back and then nailed it on the base and we are DONE!
As always if you have any questions don’t hesitate to comment below and especially don’t forget to post pictures of your finished products in the comments! ENJOY!
I love this console table. Simple Beautiful!
Only question I have is what size of drawer slides did you use? I can’t wait to start on this project. Thanks for the very detailed plans.
Did you spell that wrong and mean Patti White…..
Thanks Grammi Garage The drawer slides are 16″ in length. I look forward to seeing your finished project. Be sure to post a pic here in the comments.
@Patti Reese White you’d have to fight Jamie for this one!
What is the stain color on the upper middle drawer? And also wondering what your wall color is… It’s so cozy!
Leah, Thanks! The stain color for the middle drawer is Carrington from Rust-oleum and the paint color is Northern Cliffs from Benjamin Moore.
This is amazing! Thank you for posting plans! So beautiful. I’ve been needing something like this for my entry and nothing I could find was quite right. This is perfect!
Thanks so much @LSH! I’m glad I could help!
I love this! Definitely on my list of what to build next…as well as re-inspiring the colors for my future table. Just wondering what color paint you used for the rest of the console? Thanks for posting this!
Thanks lisagrow05 ! The paint color is Seaside Sand by Behr!
http://www.homedepot.com/p/BEHR-Premium-Plus-Ultra-8-oz-740C-1-Seaside-Sand-Interior-Exterior-Paint-Sample-740C-1U/202182704
We would love to see your results so make sure you post a pic of your table here in the comments when your done!
this is gorgeous!
About how much would building this cost?
Thanks @FunkyJunk Donna !
@MCG This cost me about $250-$300 but I splurged on the hardware. It could be done pretty easily for $200-250.
I love this except for the spelling of “you’re” and “your”. If it is short for “you are” it is spelt you’re. You’re a great designer. If it is your idea then it is spelt “your”.
Lovely table. Thank you for sharing! Looking forward to your future projects!
Ha. Yea you and my english professor both! For you I will try to be better about this in the future but I have to warn you, as an engineer, this is not easy for me.
Thanks so much Piet!
this is awesome! Love the different color drawers!
SewWoodsy Thanks so much! The drawers really set it off IMO!
Jamison,
Very nice console table and plans. I understand the frustration point, we all have been there.
Thanks,
Dave
Thanks Dave!
I’m so in love with this console. I need to make a dresser for my bedroom and I’m trying to change this up by adding more drawers on the bottom. What do you think it would look like if I just stained the body (white parts) and stayed with your stain colors for the drawers? My husband does not like the white paint like I do so I need to compromise.
Mary Ann, thats a great idea! If you look at the link I shared as my inspiration, it actually has three rows of drawers but I choose to only go with two rows.
As for staining in lieu of painting, the intent here is to make the drawer fronts pop. I would suggest using a dark stain for the table and an array of lighter stains for the drawer fronts, or vise versa. Hope this helps! Good luck and be sure to post a picture, I would love to see how it turns out!
[…] This beautiful console table is very eye-catching thanks to its various drawers, and today we’ll tell you how to make it yourself! Paint the slats before assembling the shelf since once they are installed, 1/2″ apart, it would be very hard to do so. Cut a 1/4″ grove in the sides of the drawers with a dado blade and inset the drawer bottom because it creates a stronger drawer bottom. Once you assemble the top, go ahead and fill the gaps and sand it all down. After doing this, it is a good time to paint the base since the next step is to install the drawers. Continue reading the instructions here. […]
What type of wood is used both on the drawers and the rest of the table?
Hey Matt, I used the stud grade pine 2x2s, select pine for the 1x’s, birch is good for plywood, and the drawer fronts are some reclaimed wood that I got from a local salvage store. I did however design it so any 1×8 (actual 7.5″) would do, so red oak or something cool would be a good choice.
I love this table! Is is possible to change this from two drawers to two doors with a shelf inside?
Thanks Sheila,
That’s totally possible, just omit the bottom drawer and add a shelf in its place. Great idea!
Here’s my final build!
Hey Sheila it looks like you photo didn’t come through. I’d love to see it however so feel free to email it to me at @Jamison Rantz.com">jamison@Jamison Rantz.com and I’ll post it here.
What measurements did you use for the drawers when you put the liner in with dado blade?
Thanks
Beth, the drawer bottoms that were used with the dado grooves should be 42-1/2″ x 15″ this would allow for 1/4″ set into each of the four sides.
[…] searching for DIY console tables with drawers. It didn’t take too long before I found this plan and knew it was the look I wanted in my […]
I know you stated the base is unstable without the top. With using the 2x2s do you feel it would be sturdy enough to install a sink in this? Whether you cut to install or shorten the height for a vessel sink.
Hey Jessica, I do think this would be plenty sturdy as long as you added some intermediate supports on both sides of the sink under the top to help carry the load. Very cool idea btw!
https://uploads.disquscdn.c… I Used the carcass of this table to build this vanity. I will be building another with cabinet doors on the left and three stacked drawers on the right. Thanks for the plans!
Thanks for the plans – I made one for myself (I have very limited experience). Would love to show it to you but the image size is too big.
Tasha, I compressed the image size you emailed me. I had to share your awesome table on the site! Thanks again!
Reattaching photo that was removed
please tell me about the height of this drawer
Zahra, I’m not sure if you are referring to the overall height which is 33″ or the hight of each drawer which is 8″. I hope this helps.
[…] Jamison from Rogue Engineer’s wife showed him a picture of a console she loved on Pinterest with no name, dimensions, or idea at […]
Can you give me a rough idea of the internal spacing of the drawer slides. I have the farm built, the top on, the bottom on, and the drawers minus fronts built. My plan was to install the bottom drawer first, then subtract the height of the unfinished upper drawer, split the remaining distance and use that number as the height above the bottom drawer to install the upper slide. Does this make sense and should it get me there?
Alex
Hey Alex, I’d say the easiest way will be to mark where the bottom of your drawer faces will fall on the inside of the sides. Then come up about a 1/2″ or so and make that the bottom of your drawer. Install the slides accordingly and then attach the drawer front so that it fits nicely. I hope that makes sense.
[…] A console table is a great item to make from […]
So nice, Jamison, what kind of the paint (white) that you used to paint it? Thanks…
I used a white latex paint in a semi-gloss
This is so awesome! My daughter needs a console in her new apartment! This will be one of her Christmas presents!
Hi, you create some awesome things, why do almost all of the U.S plans feature pocket holes. They are quite difficult to get hold of here and the screws are very expensive and difficult to get as well. Is there an easy way to just use normal screws or possibly just change the pocket holes to dowel joints?
Hi Cannot seem to get to the site for the pattern/instructions for this.
The plans can be found here:
http://ana-white.com/2014/06/plans/reclaimed-wood-console-table
thank you.
Thanks lisagrow05 ! The paint color is Seaside Sand by Behr!
http://www.homedepot.com/p/…
We would love to see your results so make sure you post a pic of your table here in the comments when your done!
https://uploads.disquscdn.c…Shortened the length a bit for a spot in our office. Great plans, easy to follow.