
“EAT” Rope Sign
Tis the season… TO EAT! With Thanksgiving and Christmas right around the corner,I thought this little sign would be a great addition to the kitchen. Plus scrap wood projects are my fav! How can you beat free?! This is a simple and fun project, that you can customize to fit your space. Enjoy!
For sneak peeks of our upcoming projects be sure to follow me on Facebook and Instagram. Also, follow me on Pinterest to get tons of projects plans from all around the web!
Required Tools
Materials
- Qty 1 – 1 x 4 Scrap
- Qty 1 – 1 x 6 Srap
- 1-1/4″ Kreg Pocket Hole Screws (Coarse)
- Rope
- Glue Sticks
Disclosure: The links provided in the “materials” and “required tools” sections are affiliate links. If you would like to support our site and help keep our content free come find out more about how we can make money with no extra cost to you.
How to make a Rope “Eat” Sign
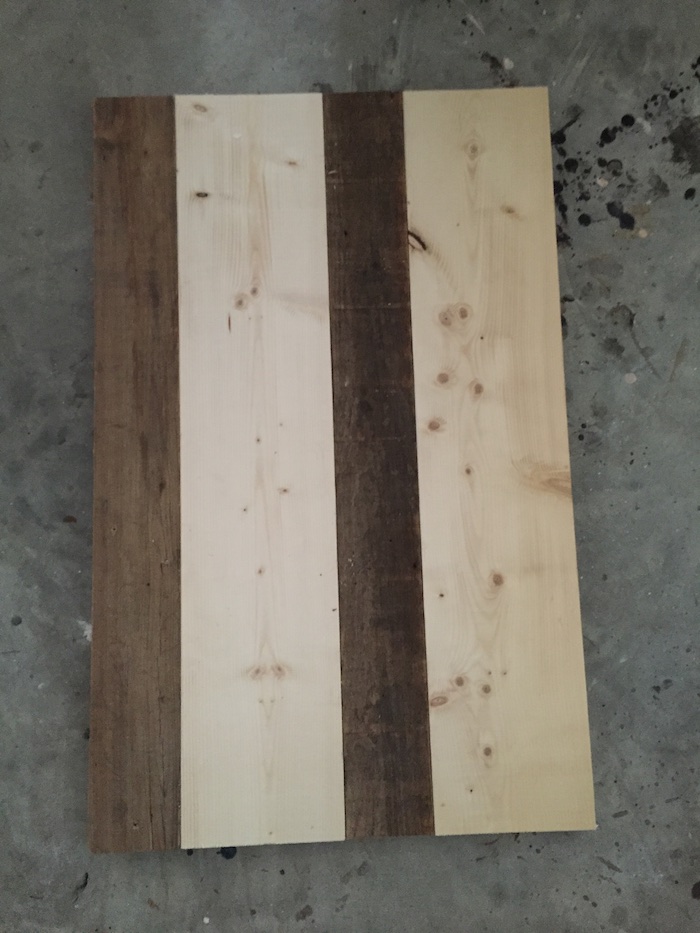
Step 1: Cut Wood
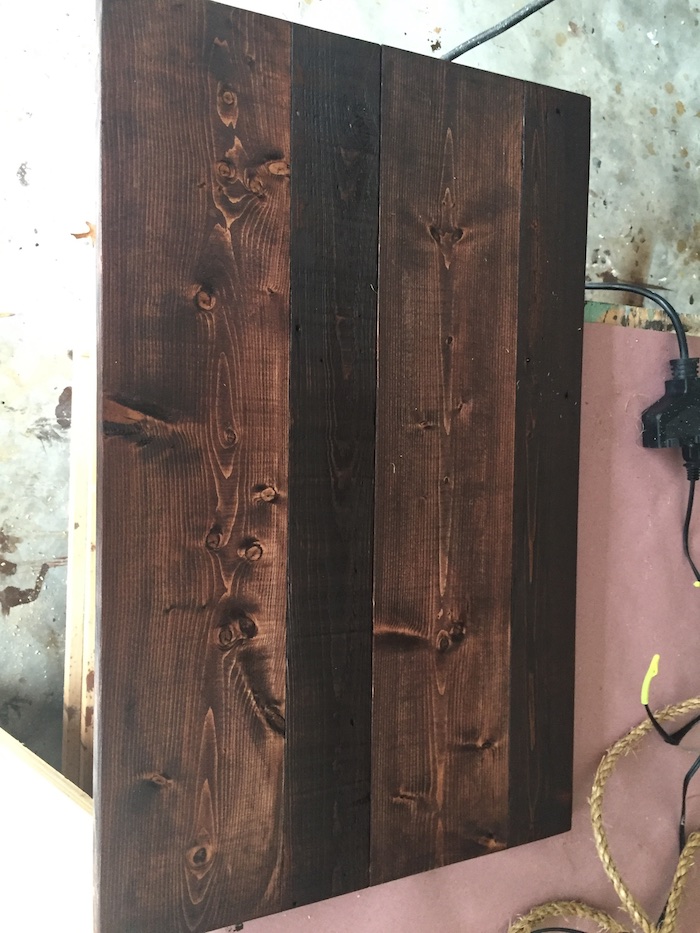
For this step I cut my scrap wood to 27″ using the miter saw. I used 2 pieces of 1×6 scrap, and 2 piece of reclaimed pallet wood.
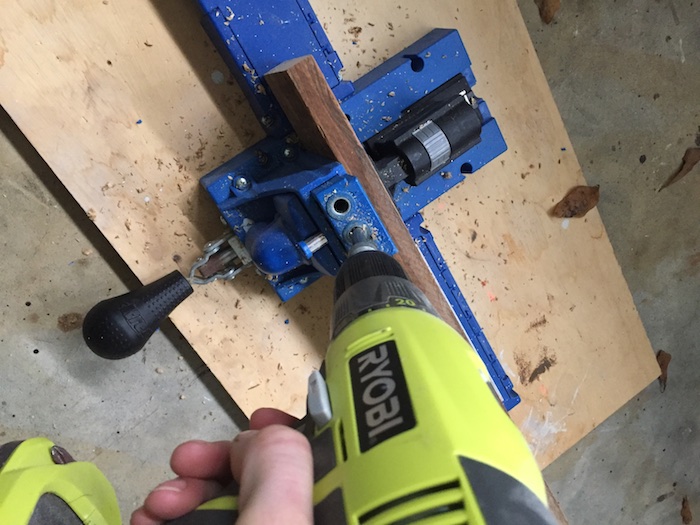
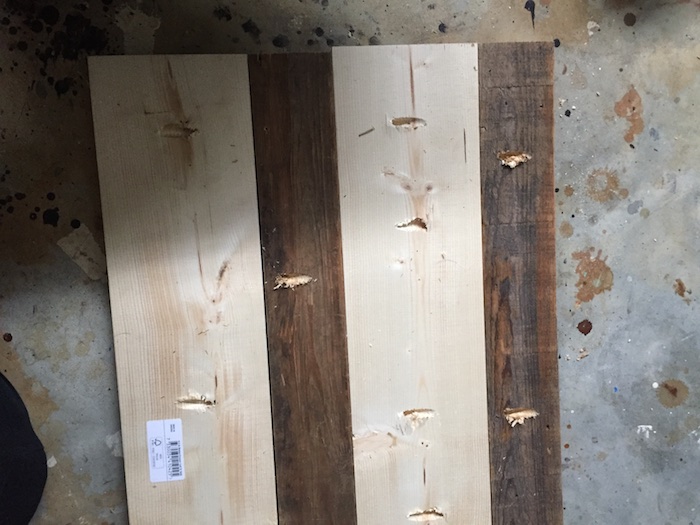
Step 2: Assembling boards
Using the pocket hole jig, drill pocket holes in each board to attach them using 1 1/4″ pocket hole screws.
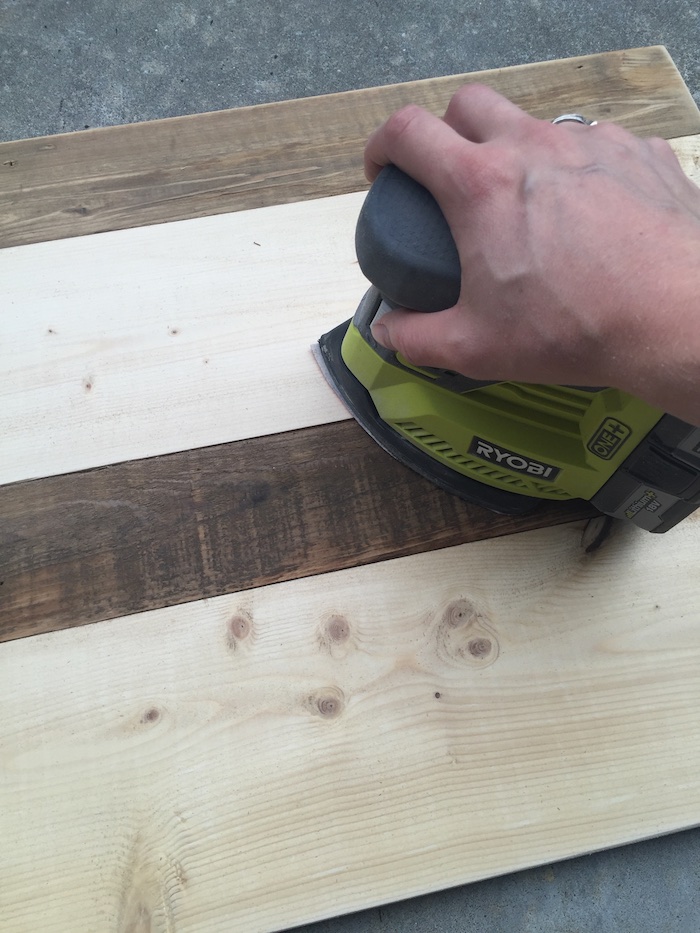
Step 3: Sand and Stain
Using 220 grit sand paper, I rounded out the edges and sanded to prepare of stain. Be sure to wipe the surface clear of any debris before you apply stain.
Using a stain rag, I applied 1 coat of Varathane Carrington, and wiped clean using a stain rag. Allow to dry before adding the rope lettering.
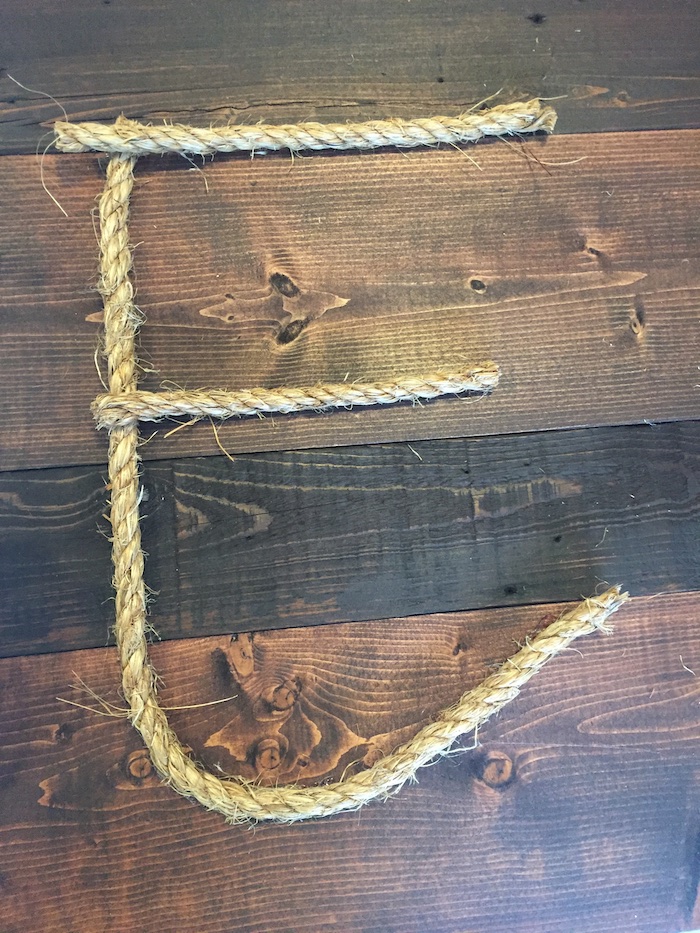
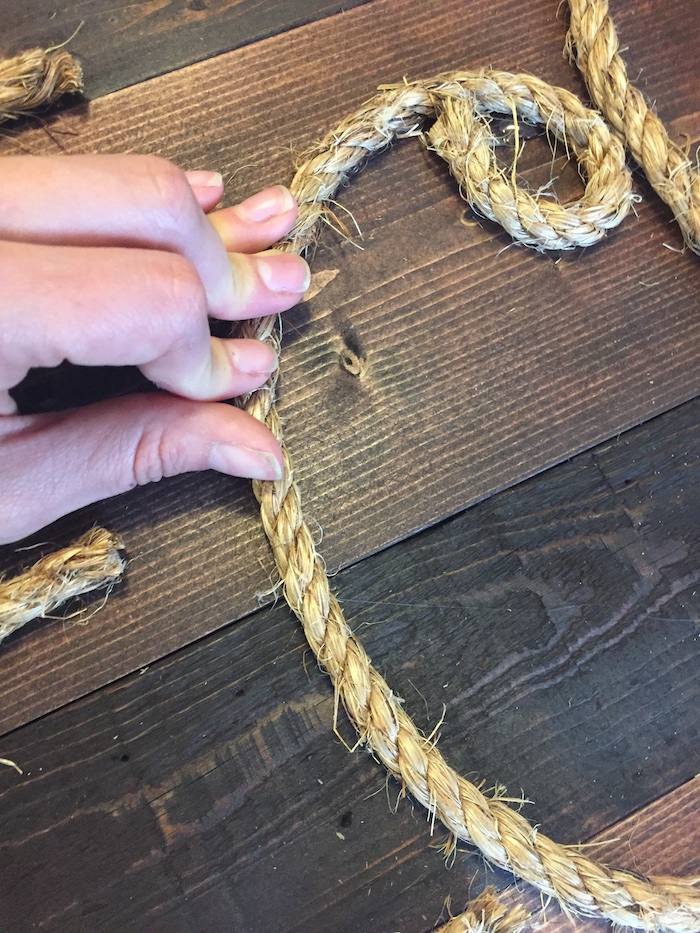
Step 4: Attach Rope Lettering
For this step I cut the rope as I went. I stared laying out the “E” and applied hot glue and laid the rope down in sections. For the longer pieces I found it easier to apply the glue to the wood and stick down the rope, and for the short pieces apply the glue to the rope.
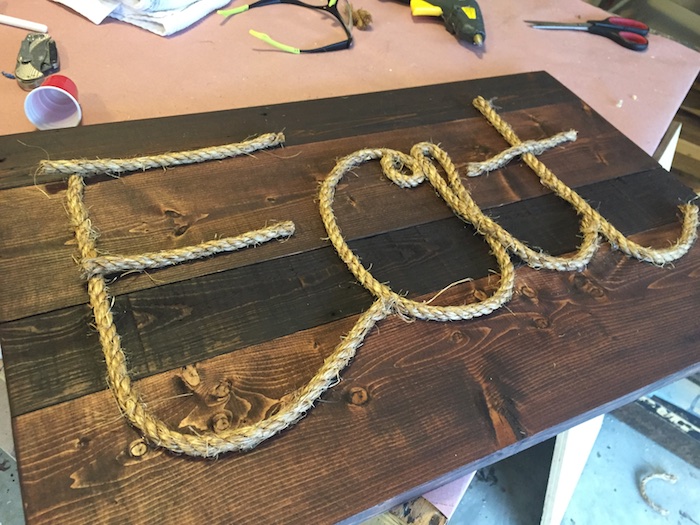
Well there you have it. Simple, cute, and would make a perfect gift this holiday season!

Questions? Comments?
As always, if you have any questions don’t hesitate to comment below and especially don’t forget to post pictures of your finished products in the comments! ENJOY!