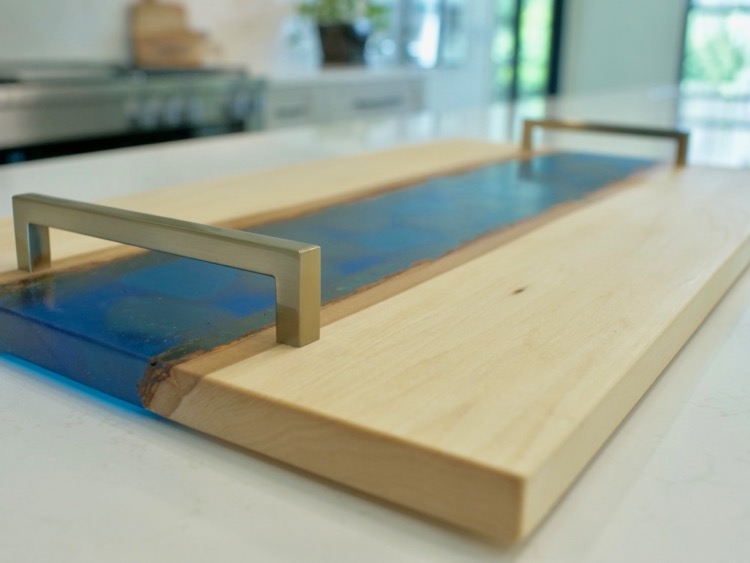
Epoxy River Serving Tray
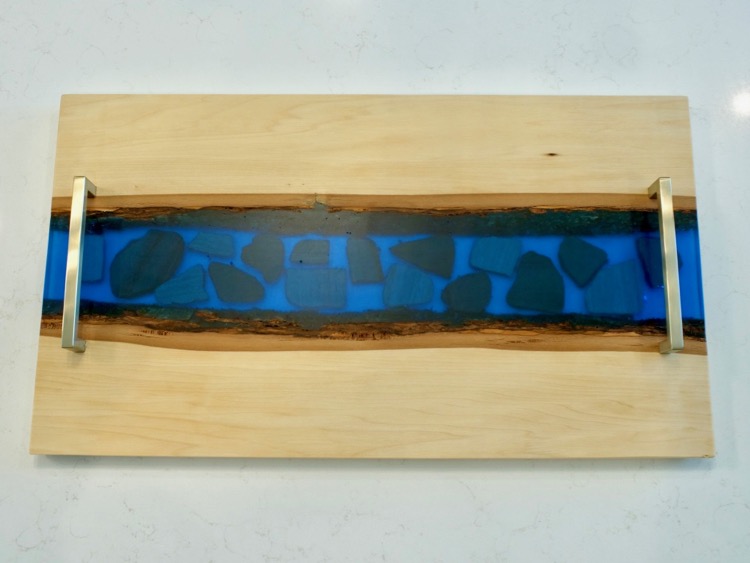
Epoxy pours and river tables have been quite the craze these past few years. However, for some reason, I haven’t really experimented with epoxy that much. When Varathane sent me their new Super Glaze Tinted Epoxy, I knew I had to try some form of a river something. I ultimately opted for a serving tray which has proven great for late night snacking in bed!
If you want to see another project I used their tinted epoxy on, check out my epoxy and live edge side table made from a giant frisbee! Either way, I’ve got the details on both in my latest YouTube video below.
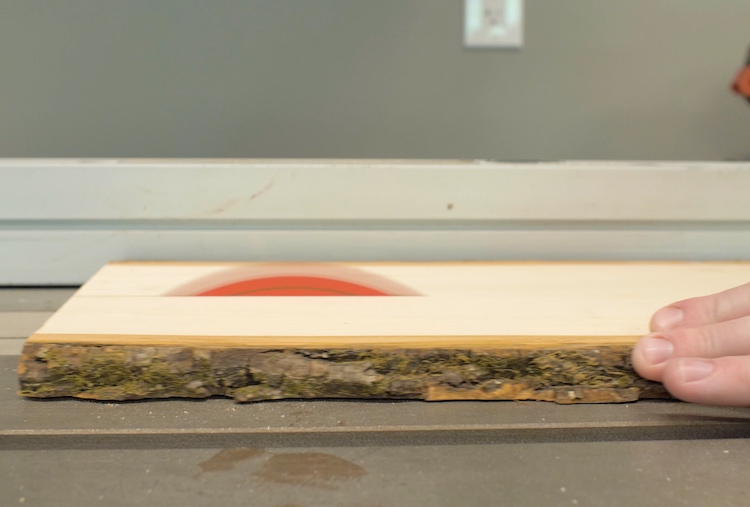
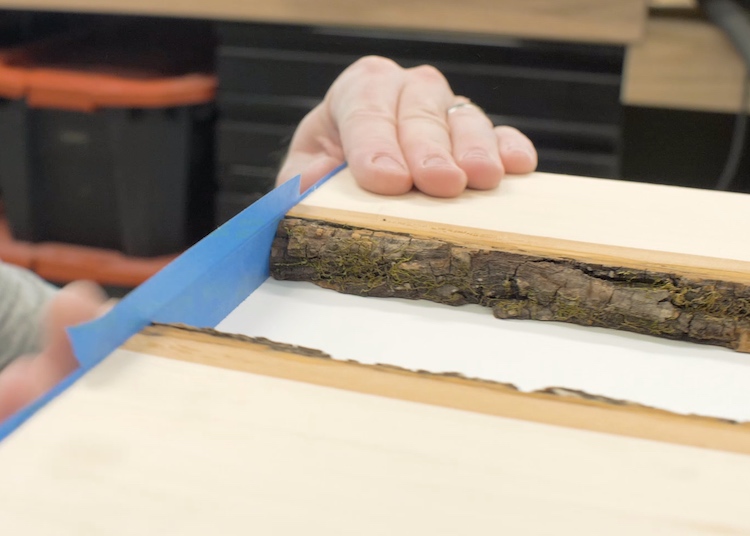
Ripping in Half
This can be done with a table saw or circular saw. Find the middle of the plank and rip it in half.
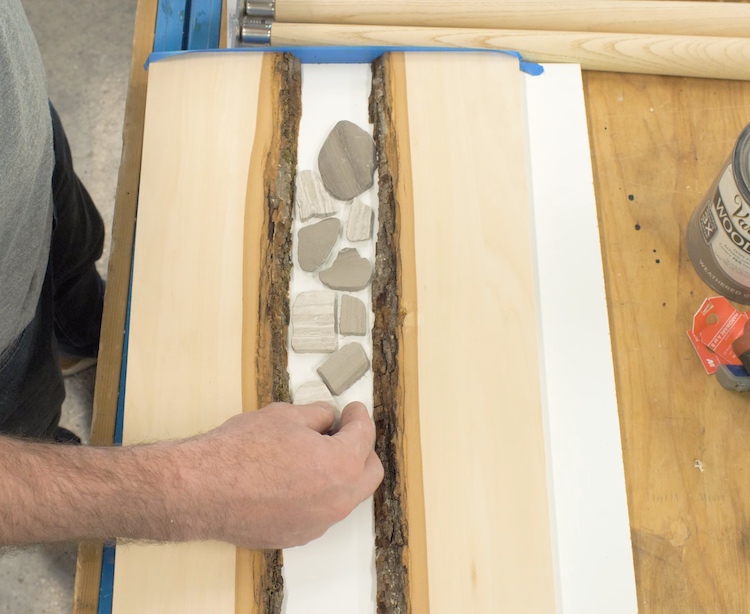
Creating a Form
For this I used a piece of melamine. If you have some plywood laying around that could work too but make sure to cover it in some sort of moisture resistant tape like tuck tape. Space the two parts of the slab as desired and secure from below with screws. This will suck the wood down to the form and prevent the epoxy from creeping under.
Use tape or extra melamine to create a dam at each end of the form.
I opted to add rocks (from a tile mosaic) that I found to the pour, but this is totally optional. Full disclosure, they did end up trapping some air and causing little air bubbles. Also, make sure to leave 1 inch or so at each end with no rocks for the final cuts.
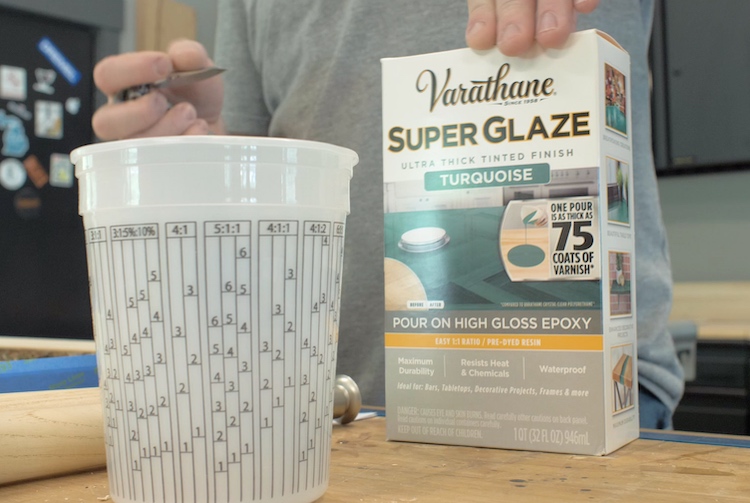
Epoxy Pour
After getting the mold ready to go you can start to mix the epoxy. I used Varathane’s Super Glaze In Turquoise and I love how easy it was to use.
After mixing the epoxy per the instructions, use a small paint brush to paint it onto the edge of the bark. This is a step that I skipped but it will help prevent air bubbles being trapped in the bark. Then pour the remainder of the epoxy into the form.
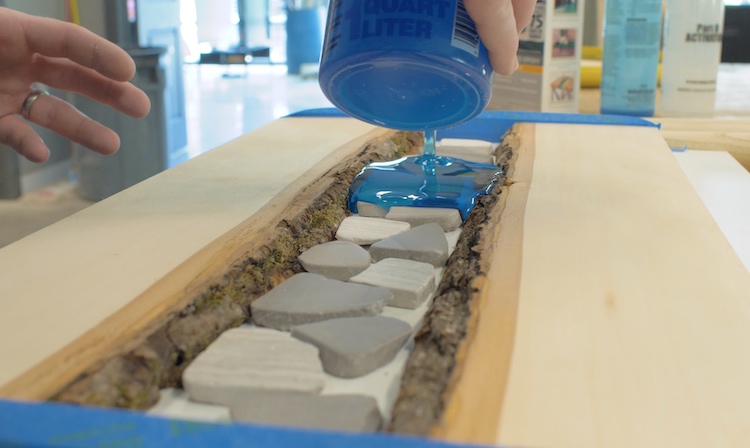
I also want to point out the the turquoise is very blue, this is because it is such a thick pour. If it was a thinner coating it would be indeed turquoise.
Getting the Air Bubbles Out
Most of the air should work itself out of the epoxy but to help it along you can use a heat gun or a blow dryer.
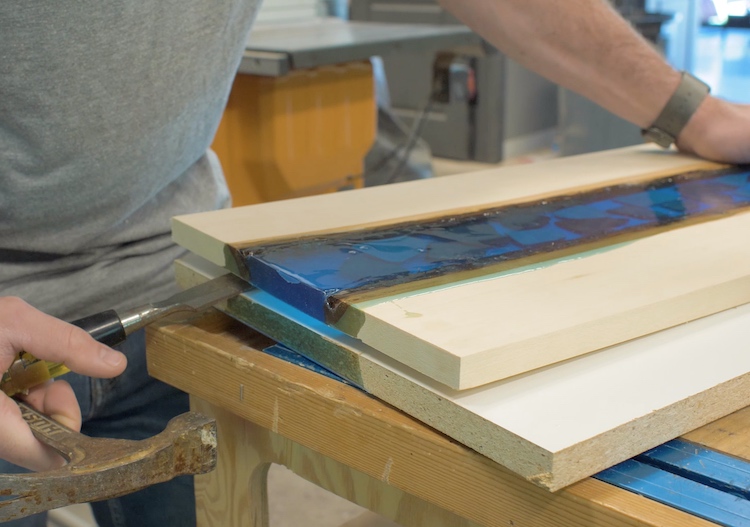
Removing from the Form
This is somewhat of a delicate process. Unscrew the wood from the bottom and use a chisel or pry bar to wedge between the wood and the form and pry it away.
Planing the Tray
Since the tray can fit in my planer I was able to quickly remove the over pour and flatten the top. This worked remarkably well.

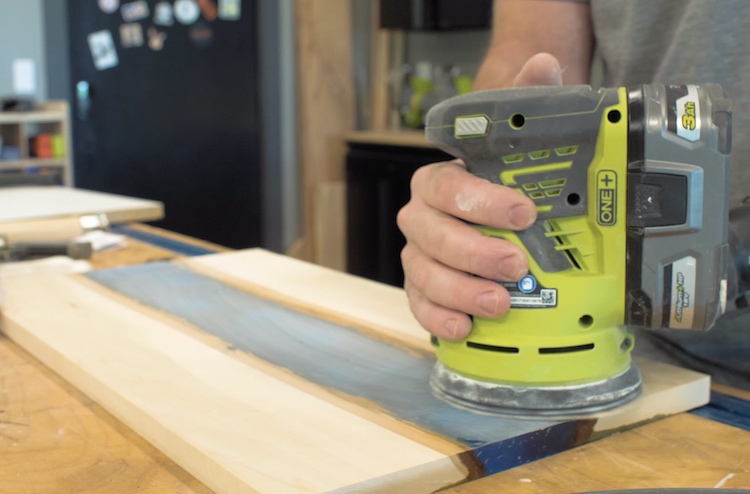
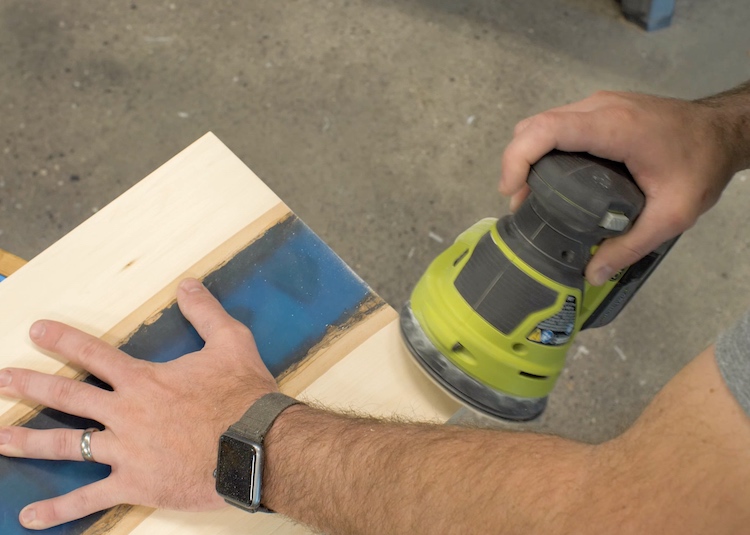
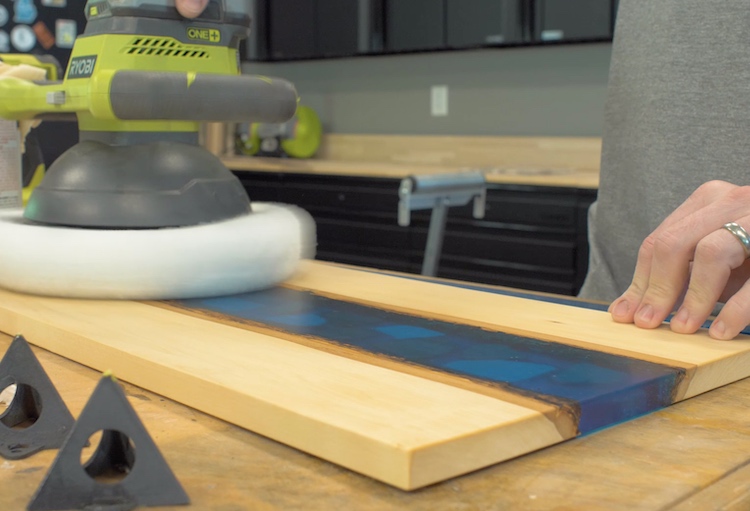
Sanding
I recommend a net type sandpaper like Diablo’s SandNet which won’t clog up as easily as traditional sandpaper. I sanded with 220 grit and finished with 400 grit to remove any defects.
Cutting Down to Size
I left the tray a little long so that I could come back and cut it down to size on the miter saw.
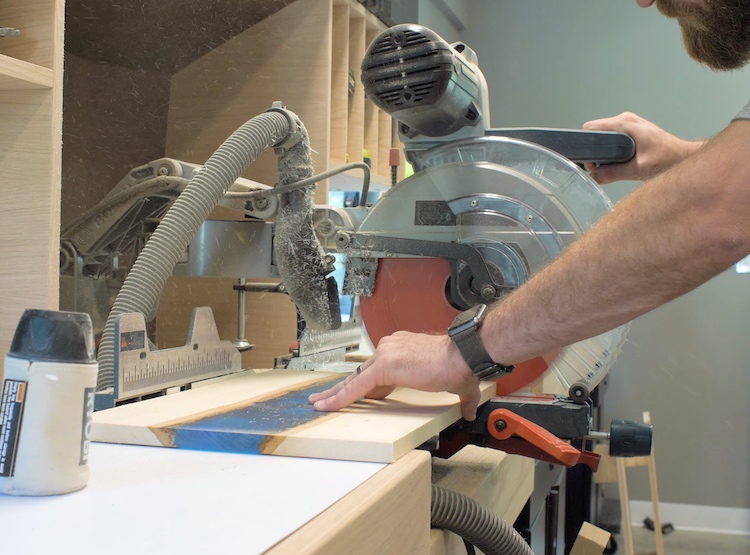
Then I took it back to the table saw to straighten out the sides.
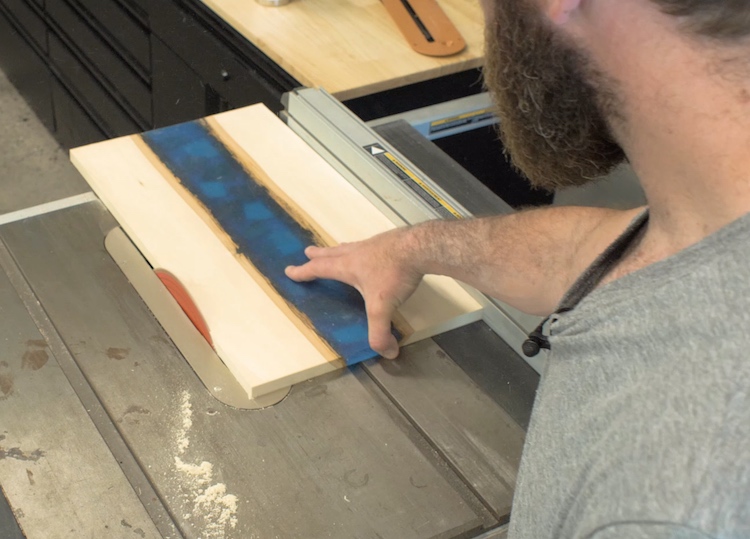
Finally, I knocked down the sharp corners with a sander to get ready for finish.
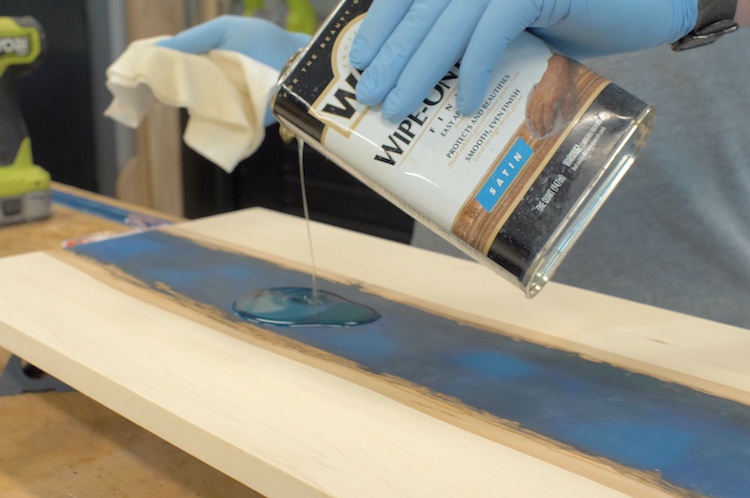
Applying a Finish
For this serving tray I used a wipe on polyurethane finish. Applying 3 coats in total.
It’s a really easy to use product and will protect and accentuate the wood.
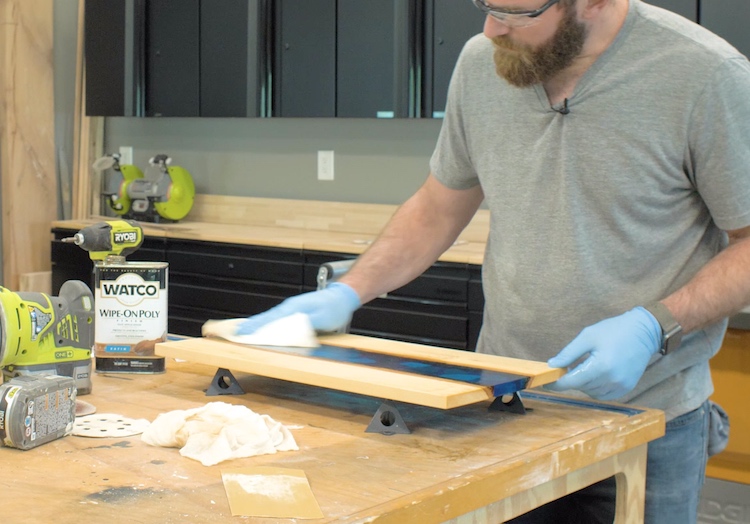
I followed up with a buffer to put a final polish the top and it turned out great!
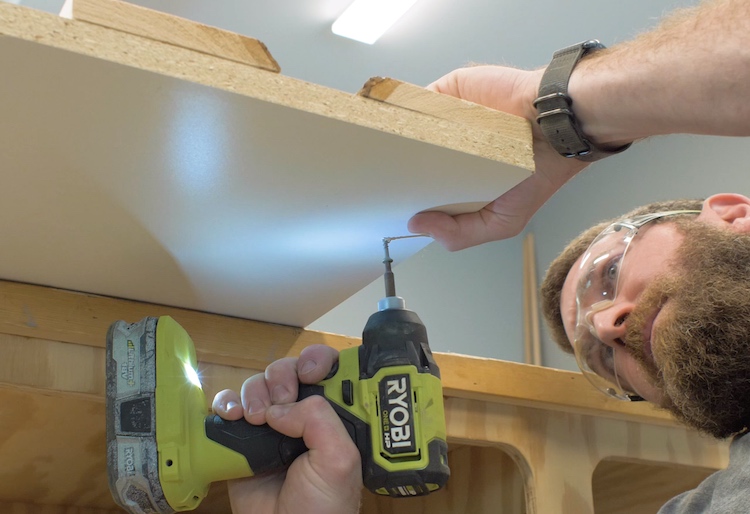
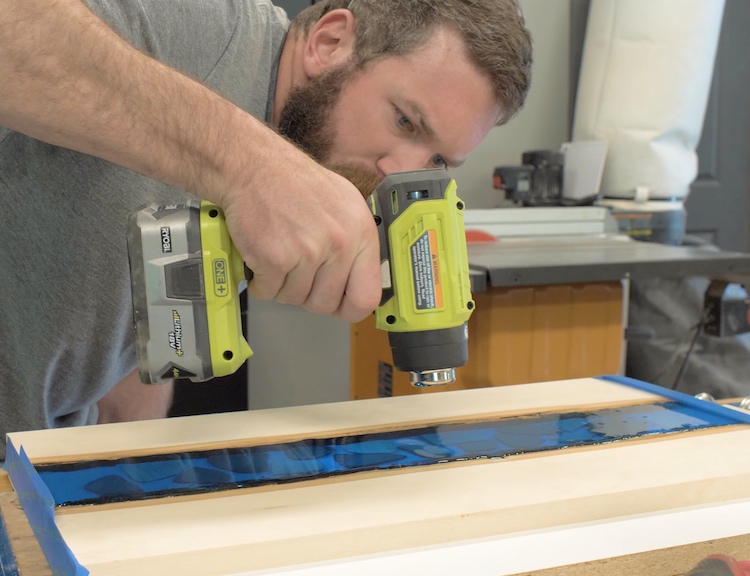
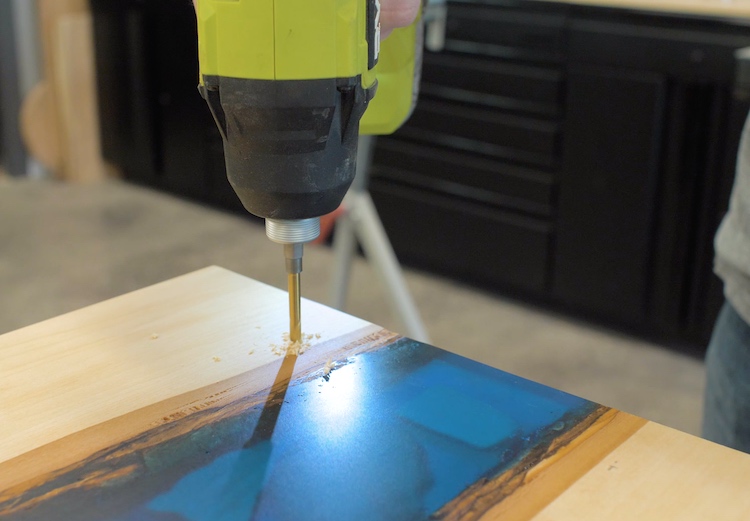
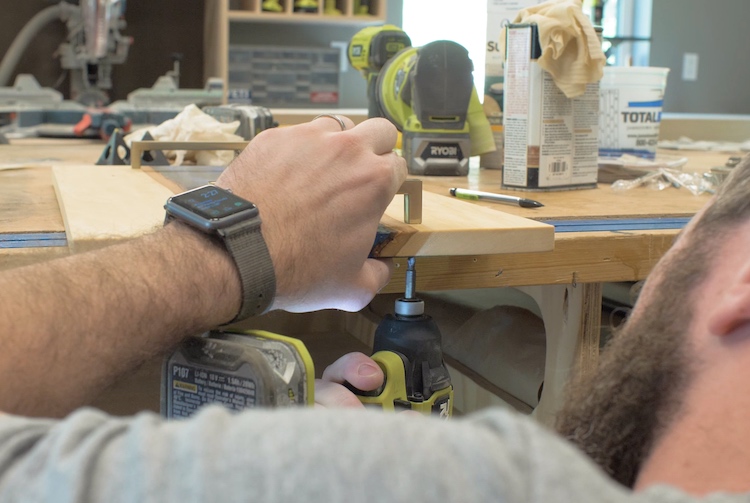
Installing the Handles
Locate the handles as desired and drill the holes.
Attach the handles with the provided hardware from below.
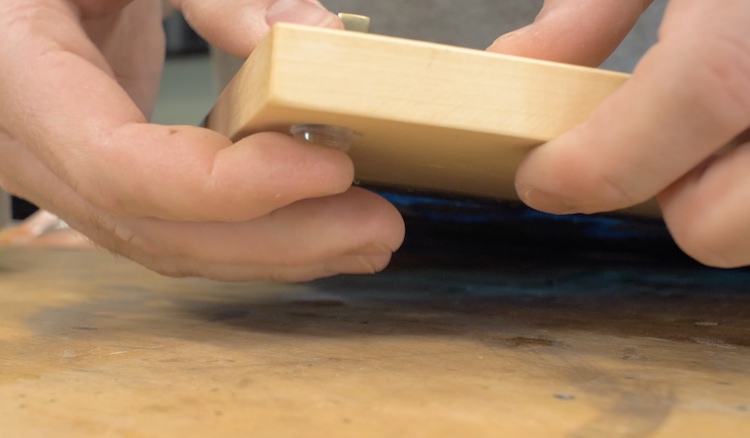
Add rubber bumpers to the bottom corners to finish off the table.
As I said before, I’m not super experienced with epoxy but I love how this project turned out! Let me know in the comments what you think or if you have any tips for others that might be attempting this project.