Disclosure: This project is sponsored by The Home Depot but the opinions are 100% my own. Enjoy!
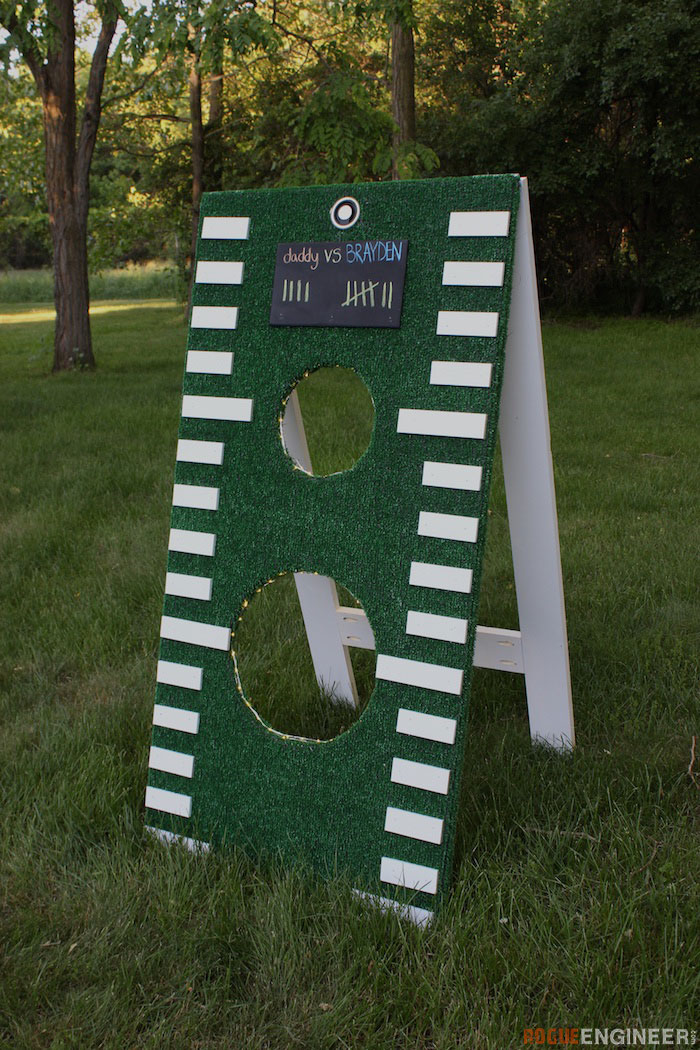
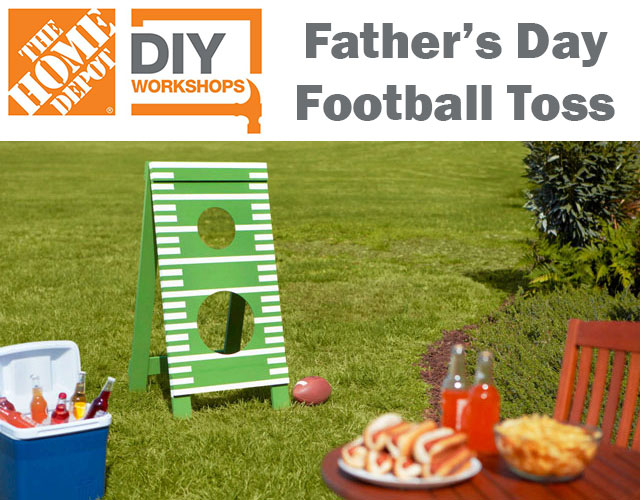
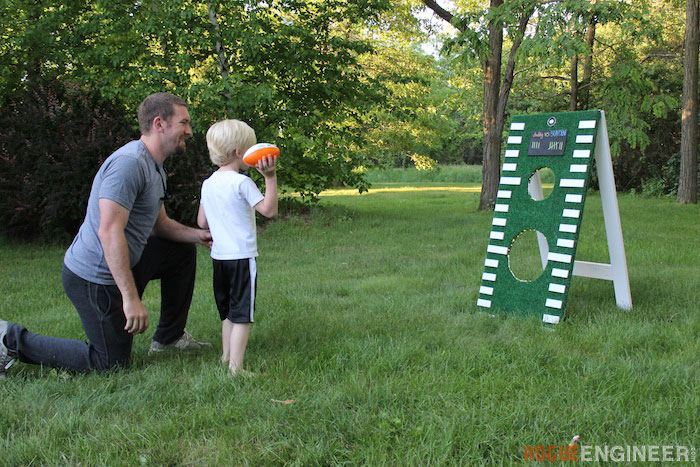
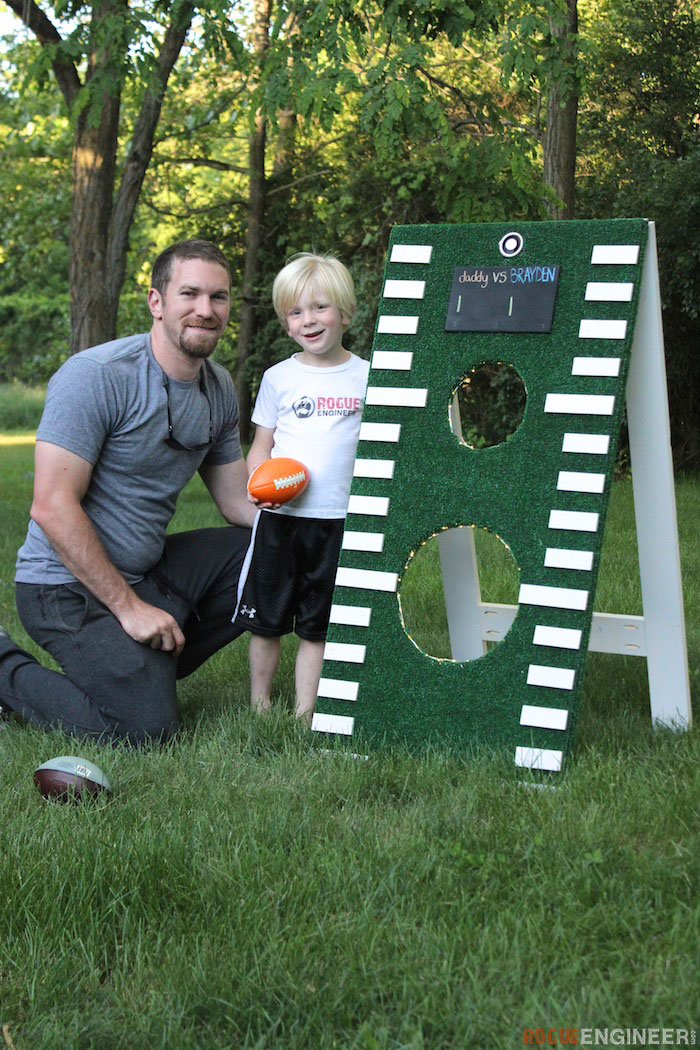
My friend Brad from FixThisBuildThat asked me to be part of the Home Depot Father’s Day workshop virtual party, I knew my son would be stoked which made this Father’s Day football toss build even more awesome. We customized our version of the football toss by adding astroturf, some LED lights and a wireless bluetooth speaker. Needless to say, we had tons of fun with a little father vs son football match. You can sign up at your local Home Depot to learn how to build a football toss game on June 18th, 2016. Don’t miss out on your chance to build an awesome Father’s Day gift that both dad and kids will enjoy! #DIYWorkshop
REGISTER HERE
For sneak peeks of our upcoming projects be sure to follow me on Facebook and Instagram. Also, follow me on Pinterest to get tons of projects plans from all around the web!
Required Tools
Materials
Disclosure: The links provided in the “materials” and “required tools” sections are affiliate links. If you would like to support our site and help keep our content free come find out more about how we can make money with no extra cost to you.
How to build a Football Toss Game
Step 1: Cut out holes
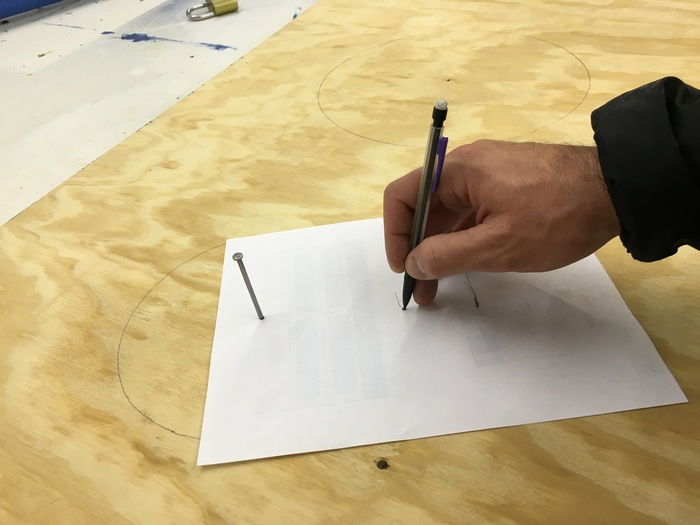
I started by marking the board into thirds, one at 16″ and one at 32″ from the top. Then using a nail, pencil and paper I drew 8″ and 12″ diameter holes (4″ from center, and 6″ from center).
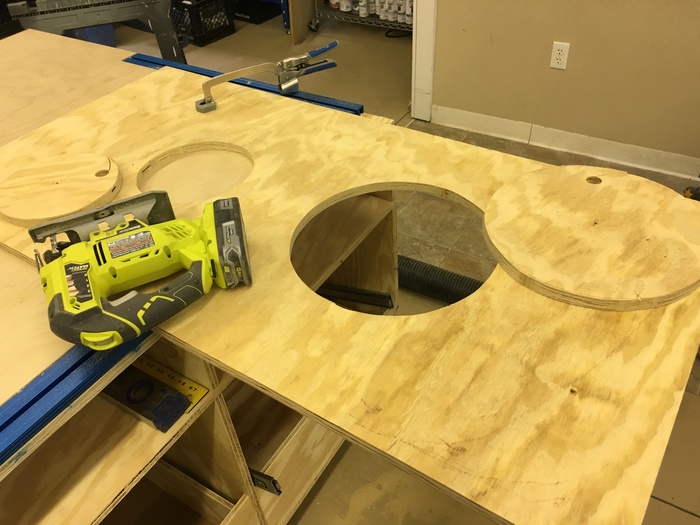
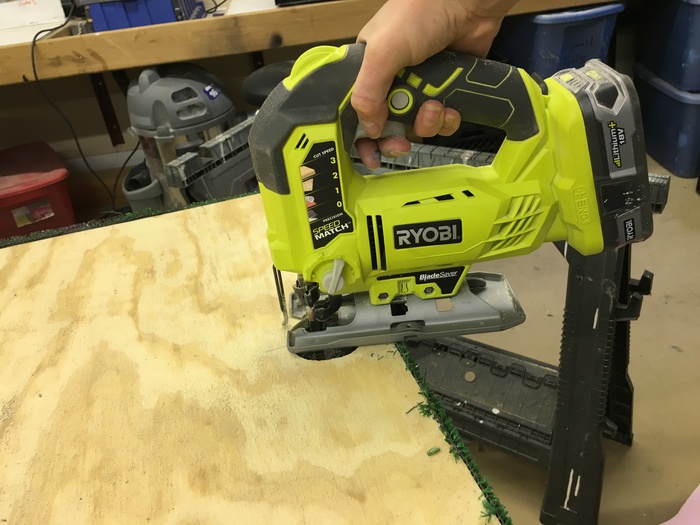
Drill a starter hole into the board and cut using a jig saw.
Step 2: Cover board
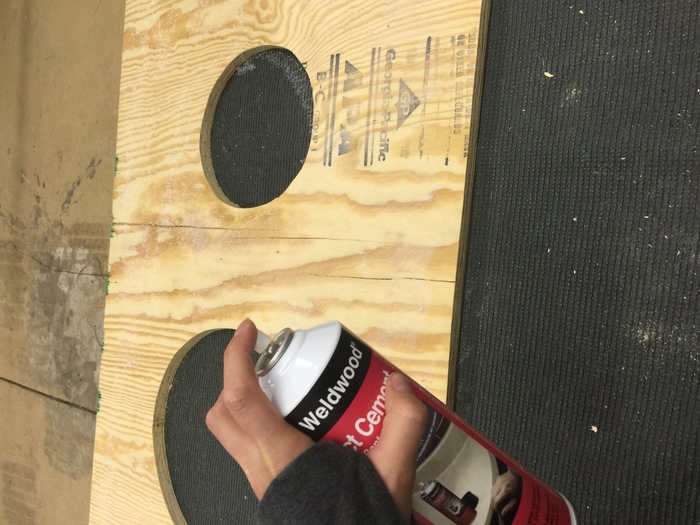
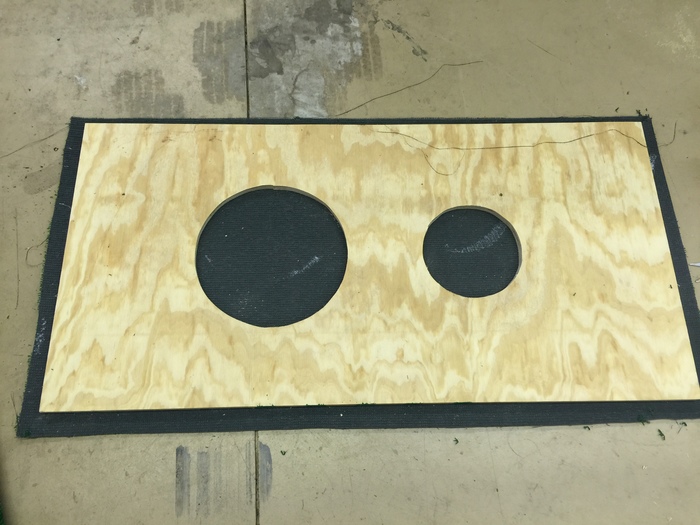
Spray the board with the contact cement and lay flat onto the artificial grass rug.
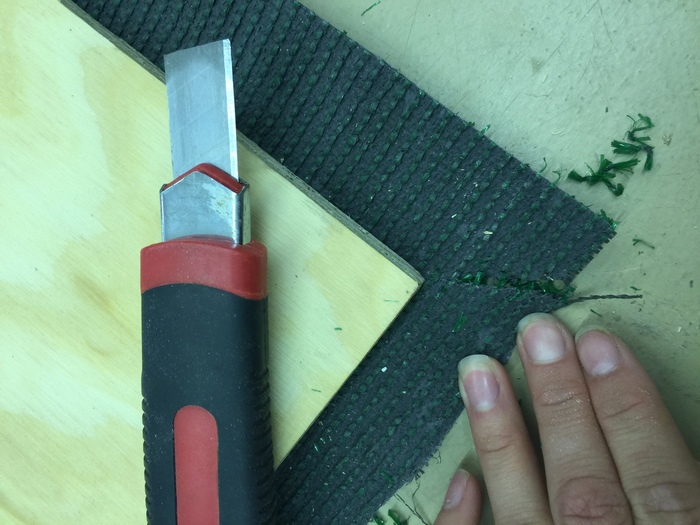
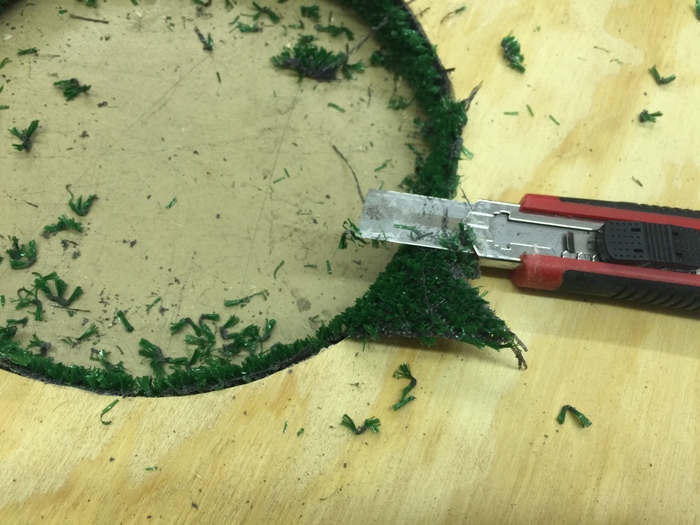
Using a razor I trimmed the rug to leave about 1″ all the way around.
Cut the corners inward to make wrapping the corners easier.
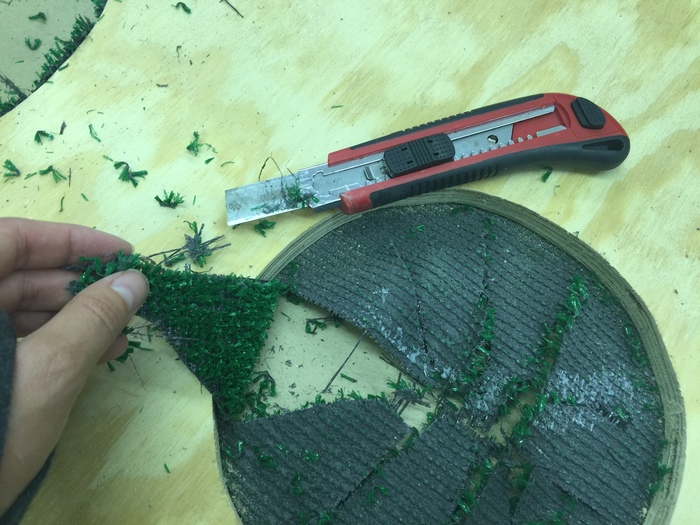
Cut the center into pie shaped pieces to allow you to wrap the inside of the circles with the artificial grass.
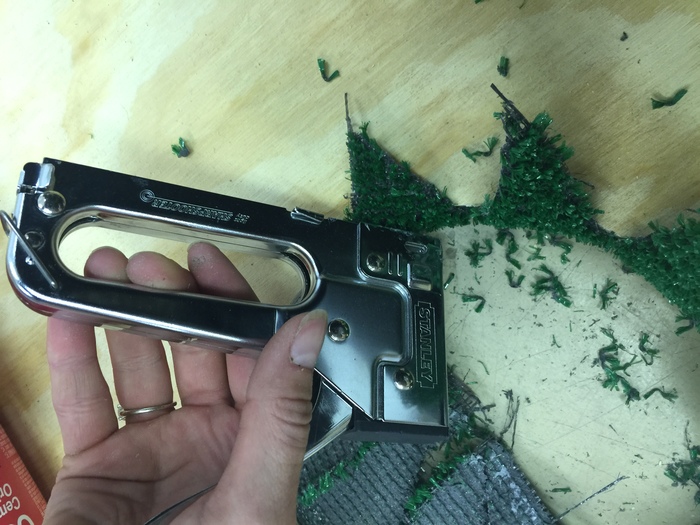
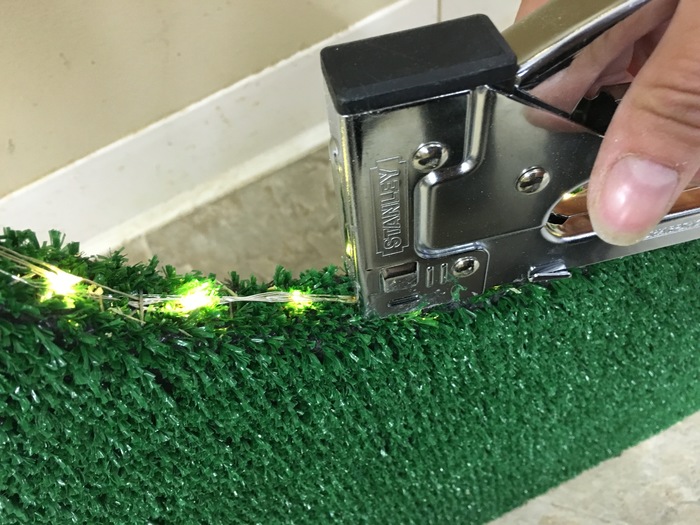
Using the table gun, staple the artificial grass in place around each hole and outside of board.
Using a razor I trimmed off the excess.
Step 3: Attach lights and Speaker
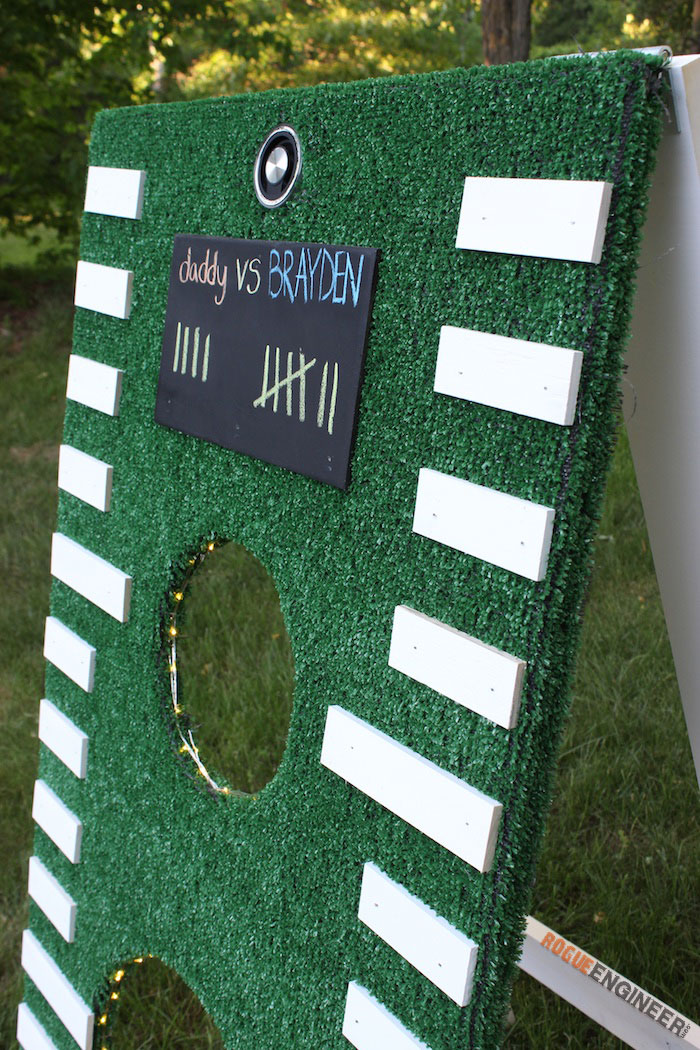
I attached the LED lights using a stapler. Just be careful not to cut the wire with the stapler… lesson learned.
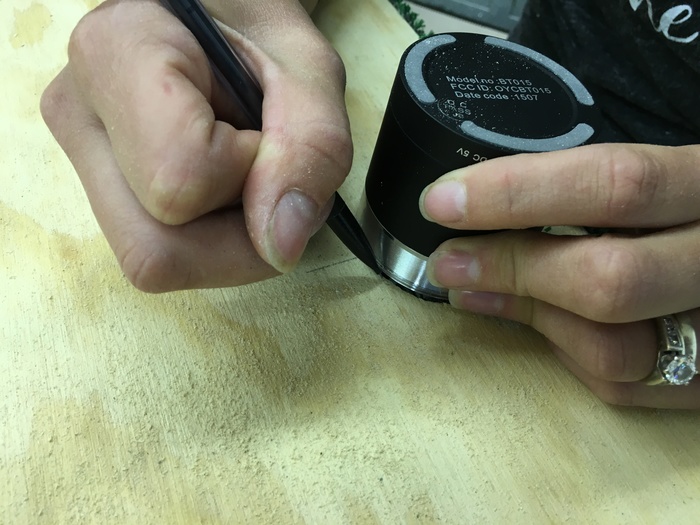
Mark the center along the top of the board and trace the bluetooth speaker. Drill a starter hole and cut artificial grass in a X and tuck under to expose wood. This could have been done in the pervious step, but ya know.. things happen!
Using the jig saw, cut the hole for the speaker, tuck and staple the artificial grass around inside of the hole.
Step 4: Cut and Attach Frame
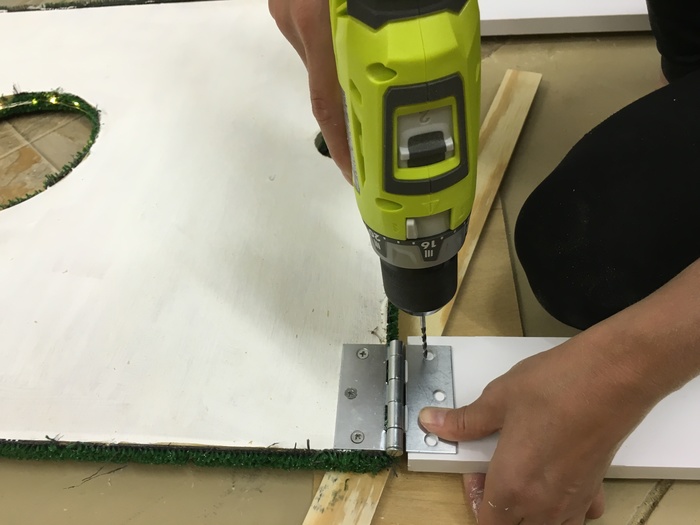
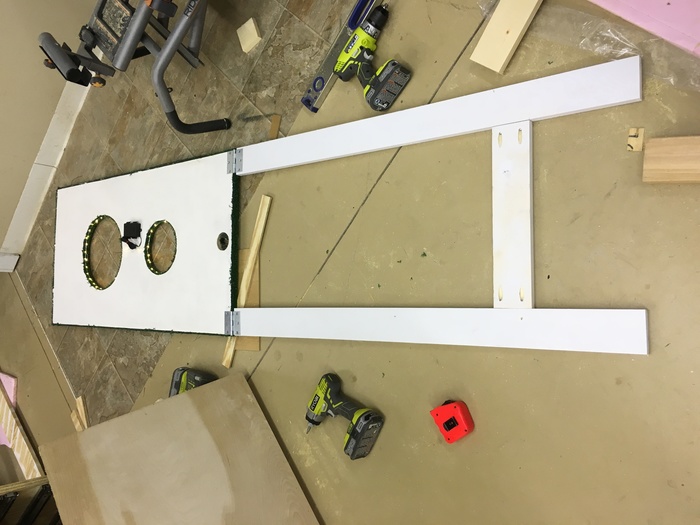
Cut two 1 x 4’s at 48″ and one 1×4 at 17″. Drill pocket holes on each end of the 17″ board and attach using 1-1/4″ pocket screws to the 48″ pieces. Once the base is assembled attach to the base to the board using the hinges.
I pre-drilled the holes to make things a bit easier.
Step 5: Attach yard markers
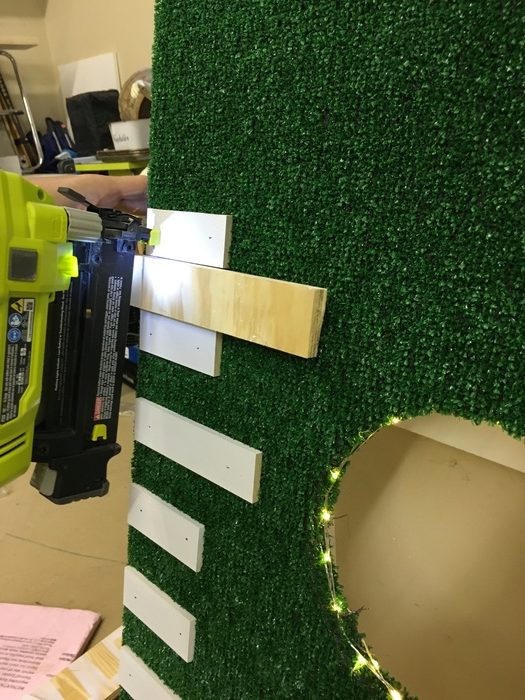
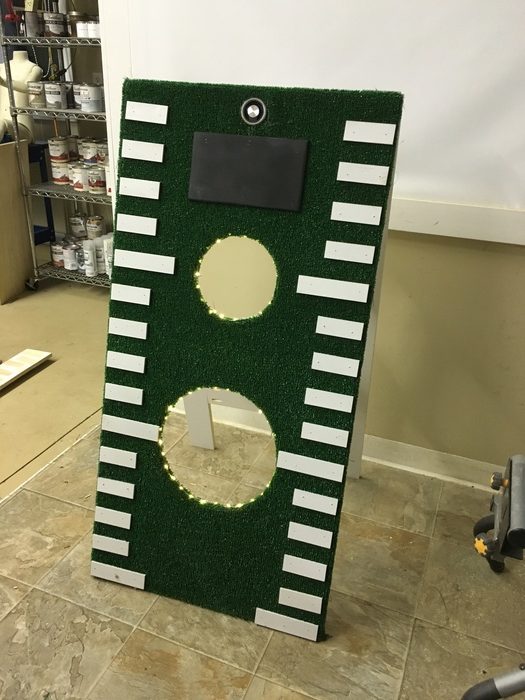
I used a scrap piece of wood as a spacer for my yardage markers. Nail into place with 1 inch brad nails.
I also added a scrap 1/4 plywood chalkboard to keep score!
Thanks for reading and have a happy Father’s Day!
Be sure to check out other custom versions of this football toss by a few of my friends!
Fix This Build That
Field Treasure Designs
John Malecki
The Handmade Home
Mom 4 Real
House by Hoff
Her Toolbelt
Life On Virginia Street
Infarrantly Creative
Cherished Bliss
Pneumatic Addict
Here Comes Sun
Remodelando La Casa
Build Basic
House of Wood
Confessions of a Serial Do It Yourself Blog
Our Pinteresting Family
Salvage Sister and Mister
H2O Bungalow
That’s My Letter
Finding Home Farms
I am a Homemaker
Reality Daydream <
The Rugged Rooster
Questions? Comments?
As always, if you have any questions don’t hesitate to comment below and especially don’t forget to post pictures of your finished products in the comments! ENJOY!


