
How to Install a Mini-Split
It is possible to cut out the HVAC guys and install your own mini-split then you are in the right place. Installing a mini split is an easy way to bring heating and cooling to a space. Mini splits can be ducted to multiple spaces or ductless. Today we are talking about a totally DIY ductless system from MRCOOL which is what I will be installing in my workshop. With the spray foam insulation that we have this should be more than enough to cool the building in the summer. Read on to get all the details of how the install went, start to finish.
If you love this stuff as much as we do, you might want to consider following us on Instagram where we post sneak peeks and behind the scenes stuff in our stories. Also, did you know you can get tons of projects plans from all around the web when you follow us on Facebook and Pinterest!
Disclosure: This tutorial contains affiliate links and was sponsored by MRCOOL however the opinions are 100% my own.
Full Project Video
Wanna see how it all came together? Check out the full project video below and don’t forget to subscribe on YouTube so you won’t miss future videos!
What Size Mini Split Should you Buy?
Below, I have put together what I think are appropriate sizes for each of the units. However, these sizings are based on ideal conditions and there are a lot of other variables that should be considered. For instance, if you have high ceilings, poor insulation, and/or live in an area that experiences extreme temperatures, you will more than likely need to scale up the size of your mini split.
| Conditioned Space | Unit size | Cost |
| up to 500 sq ft | 12k Btu Bundle | ~$1,180 |
| 500 – 1,000 sq ft | 18k Btu Bundle | ~$1,360 |
| 1,000 – 1,500 sq ft | 24k Btu Bundle | ~$1,540 |
| 1,500 – 2,000 sq ft | 36k Btu Bundle | ~$2,550 |
Installing a mini split 100% on your own can be done with the new DIY system from MR COOL. This is an example of how we installed the 36k Btu bundle in our detached workshop, the Rogue HQ.
Total Time: 2 days
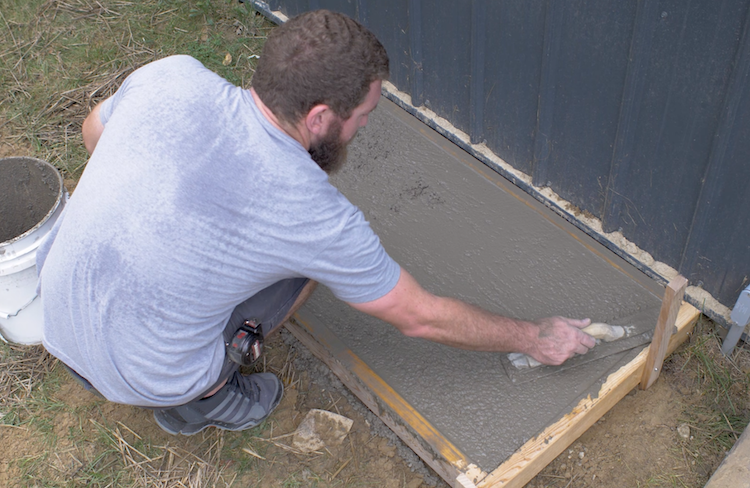
Installing a Solid Base for the Outdoor Unit
A solid mounting area is needed for the outdoor unit. We decided to pour our own concrete pad for the unit which was 2ft x 4ft. This took about six 80lb bags of concrete. We first removed the top soil, then framed out the pad and leveled the frame, followed by mixing the concrete, pouring into the frame and using a board to screed it flat, filling all the low spots. Once the concrete started to set up a bit, I troweled it smooth. Unfortunately, the dog walked over it not once, but twice. Luckily there is a big unit sitting on top of the paw prints.
Another option is to attach a mounting bracket to the side of the building. However, we needed to get it as low as possible due to a window above it.
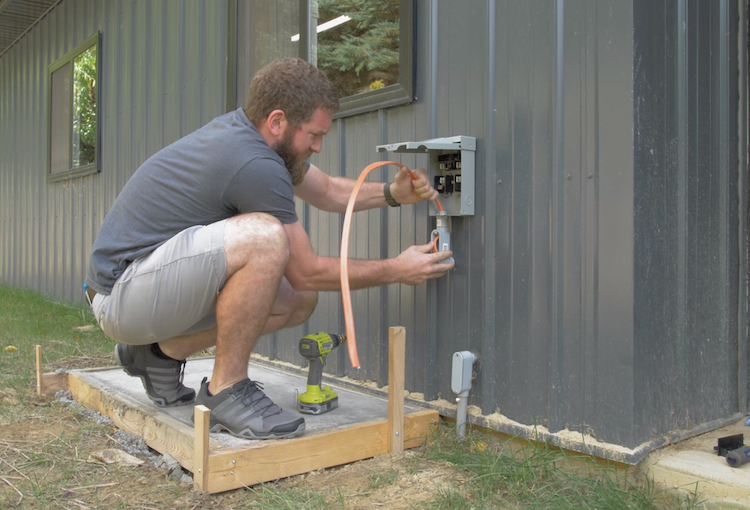
Roughing in the Electrical
Luckily, we still had access to all the interior walls so we pulled a 10 AWG, 3 conductor wire with ground from the panel, through the interior walls to the location we were going to install the outdoor unit.
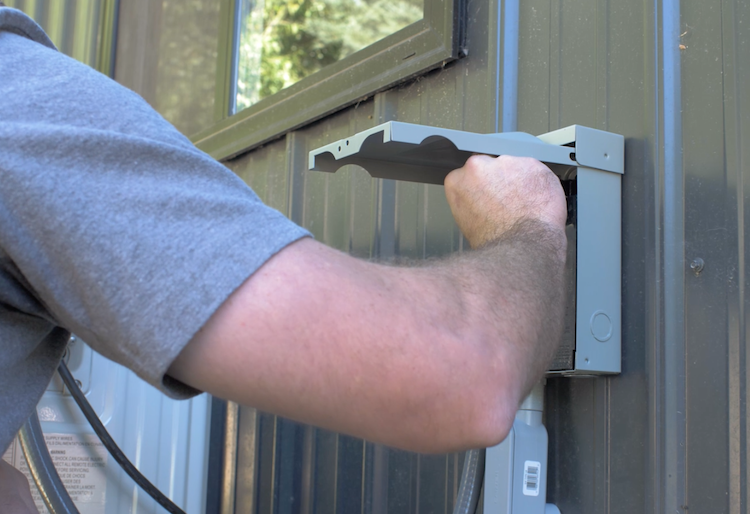
Then, we drilled a hole in the exterior wall, and attached weathertight conduit to a 30 amp fused disconnect box which is where we connected the end of the 10/3 wire to.
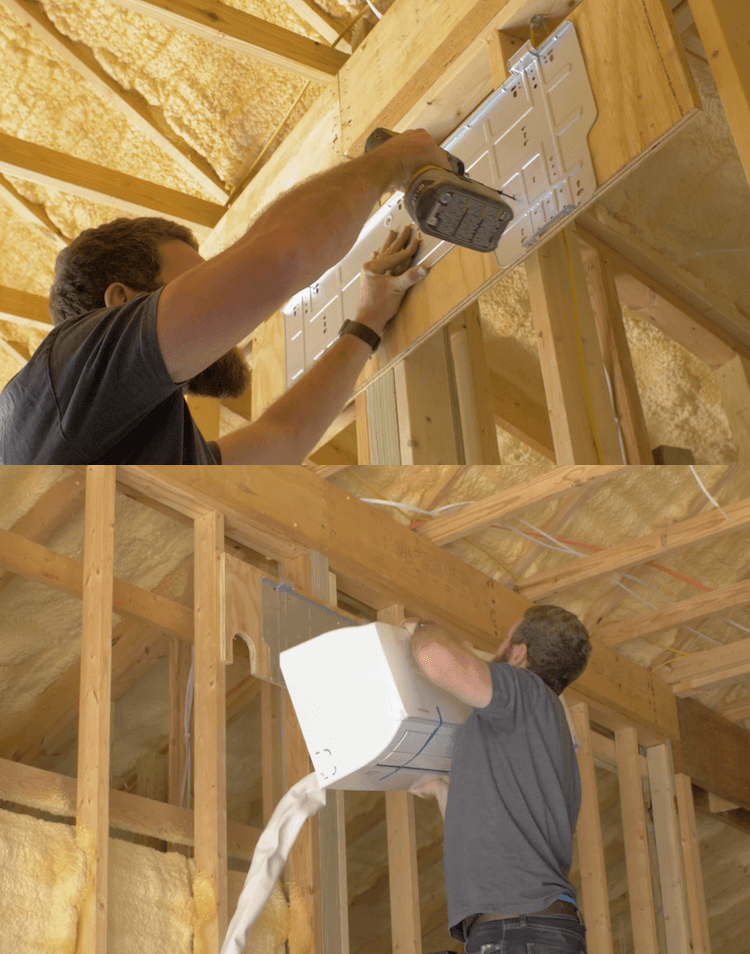
Mounting the Indoor Unit
Now it was time to move inside and mount the indoor unit. Since we have no drywall I need to attach a 1/2″ piece of plywood to the studs. This piece was made slightly smaller than the footprint of the unit so that when drywall is installed it would fit right behind it.
Then, the mounting bracket was leveled and screwed to the plywood and studs. Next, I cut out a spot for the lines to run, attached the drain line to the unit and mounted the indoor unit in place.
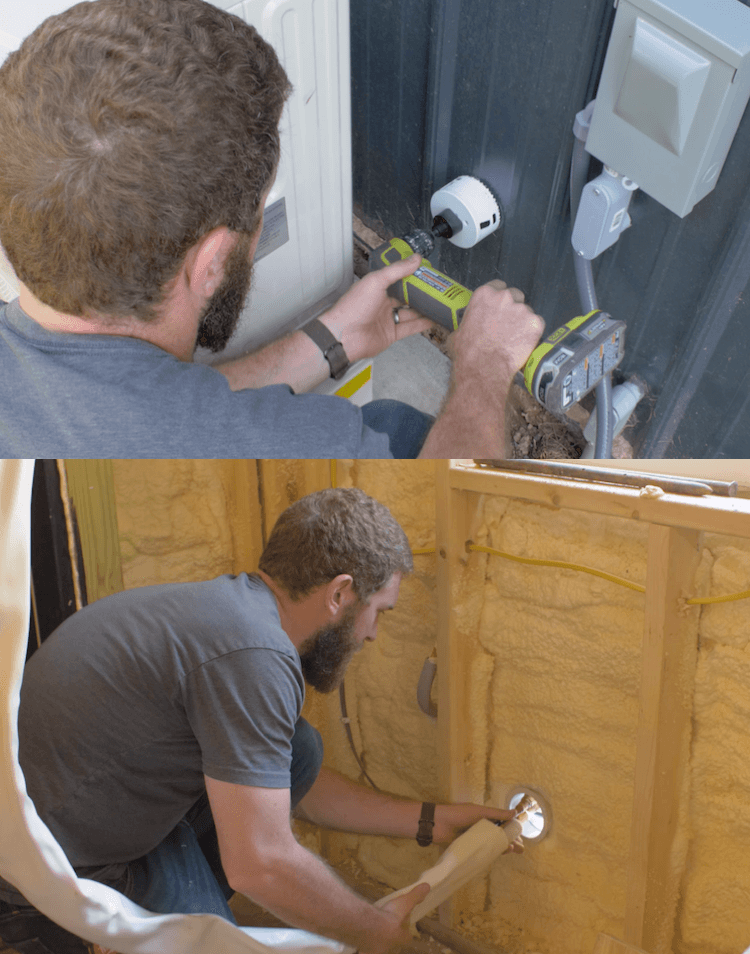
Routing the Piping and Drain
In most other cases this unit would be mounted to an exterior wall and the lines would be routed through a hole in that wall and outside. However, since we have access to the walls and have some dead space behind the unit to route the excess lines we were able to have the lines exit the building right where they need to be.
The bundle come with a cylindrical sleeve that can be cut down to length and used to seal the hole off nicely. The lines are then ran through this hole and outside to the exterior unit.
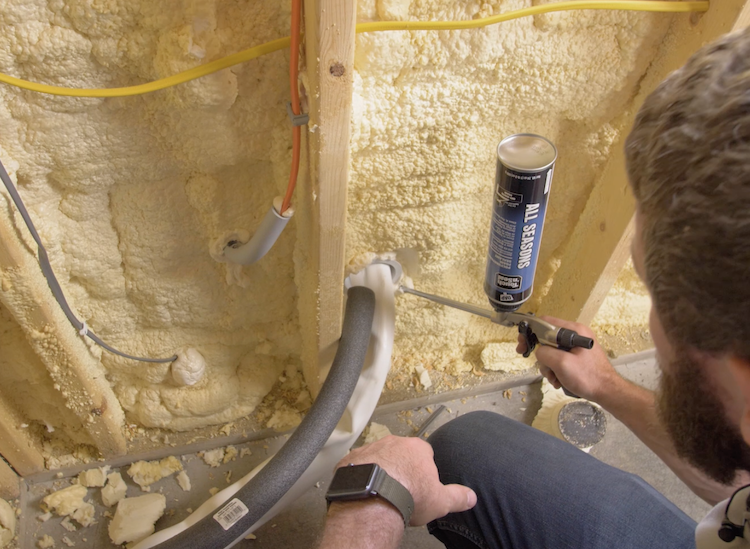
The drain line is also routed through this hole, however, extra care must be taken to make sure the drain line is pitched appropriately and drains freely with no traps in the line. Since my line was mostly ran on the interior of the building I needed to insulate it to make sure the line didn’t sweat.
Sealing the Exterior Wall Penetration
After finalizing the routing I then sealed up around the sleeve and inside of the sleeve with spray foam insulation to prevent any outside are from getting in.
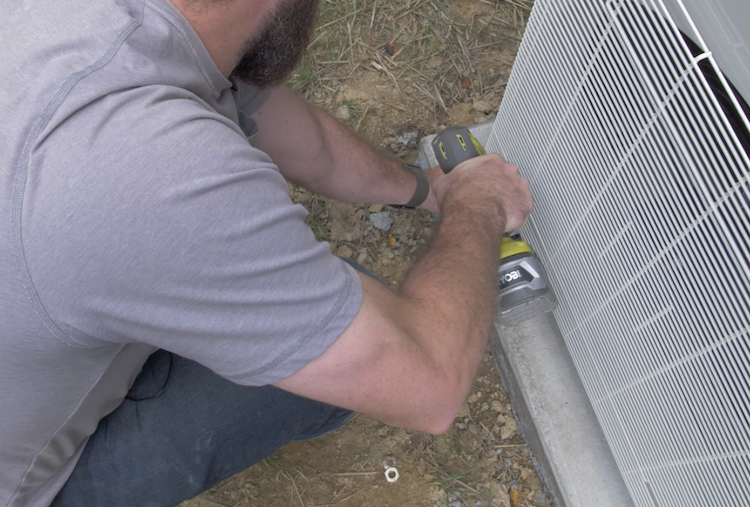
Installing the Outdoor Unit
The outdoor unit is already in place but we needed to make sure it didn’t move around so we anchored it to the slab using Tapcons with the rubber vibration pads in-between the unit and the concrete.
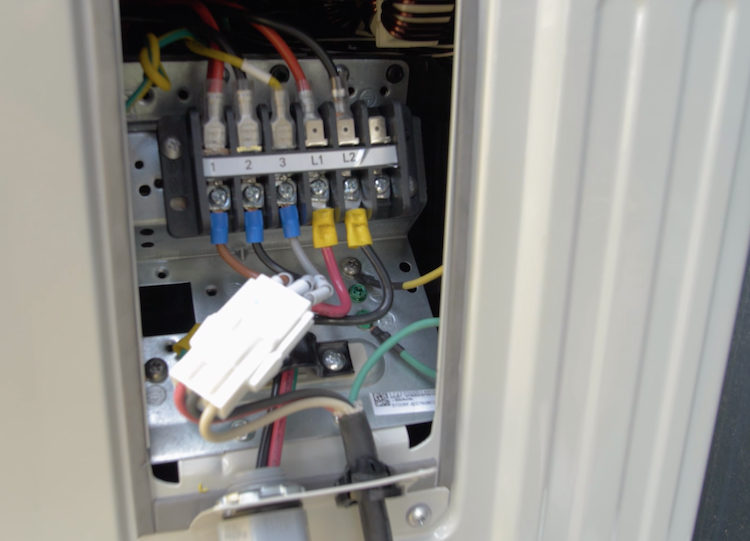
Wiring the Outdoor Unit
Within that white sleeve there is a black electrical line that runs back to the indoor unit. That gets connected to the outdoor unit and provide power to the indoor unit. There is a white connecter and a ground wire that are used to do so.
The power to the outdoor unit from the 30 amp disconnect is ran using a preassembled liquid tight conduit. The wiring is already there and it can be cut to length. The red and black wires are both hot wires and will connect to the L1 and L2 lines using yellow crimp on fork connectors. Then, all that’s left is the ground wire that gets connected to the metal plate below the connections.
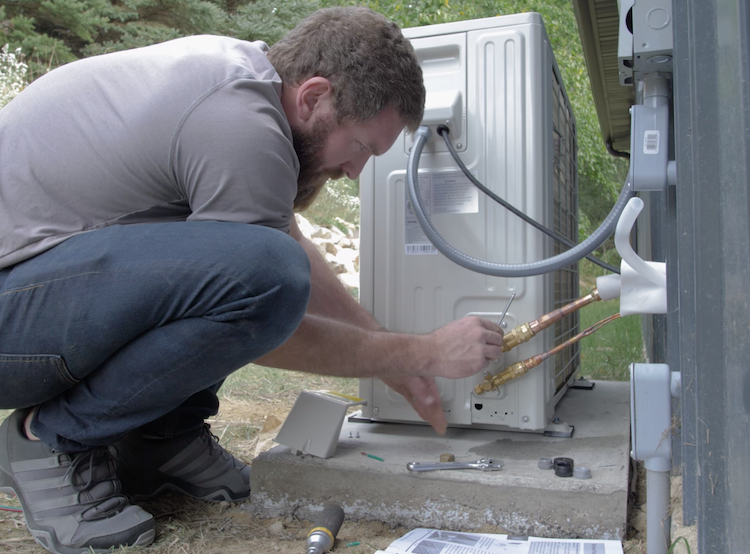
Connecting the Refrigerant Lines
The refrigerant lines get threaded onto the connections. They are both different sizes, so you can’t screw it up. Once they are tighten down you can then remove the caps on the side of the lines to expose an allen wrench key that gets turned until it stops to release the refrigerant in the lines and pressurize the system.
This is the part of the system the differentiates it from other mini-splits. With most other units the refrigerant is added after the fact using a system that most professionals have. Having the refrigerant in the lines and being able to pressurize your own system makes this process totally DIY.
Inserting the Fuses
Now the 30 amp fuses can be inserted into the fused 30 amp disconnect. Do note that the fuses do not come with the disconnect. They have to be purchased separately.
Bringing the Wire into the Panel
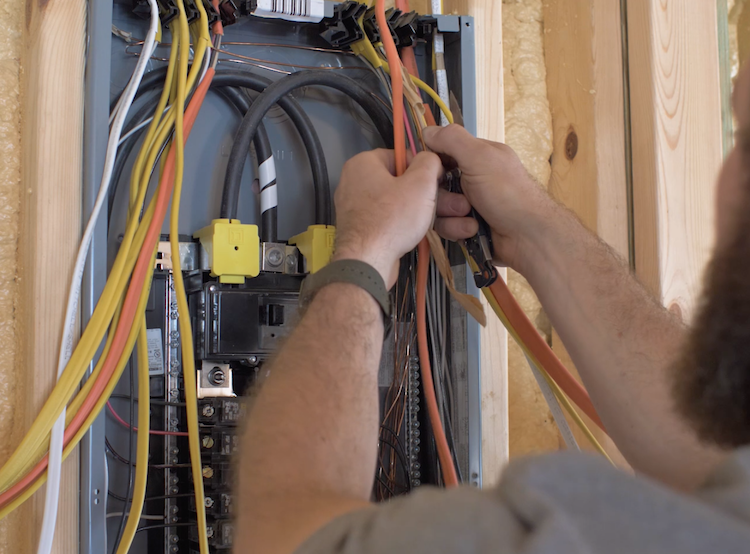
Lastly, you’ll need to tie the wire into the panel. If you don’t feel comfortable doing this, by all means, hire a professional. I am not a licensed electrician and don’t claim to be. Also note that the photos below show a panel that is currently under construction so there are a lot of wires that are not tied in yet.
To start, the main breaker (big switch at the top) needs to be turned off, the face of the panel can then be removed and the insulation should be removed from the wire after it enters the panel.
Connecting the Ground and Common Wires
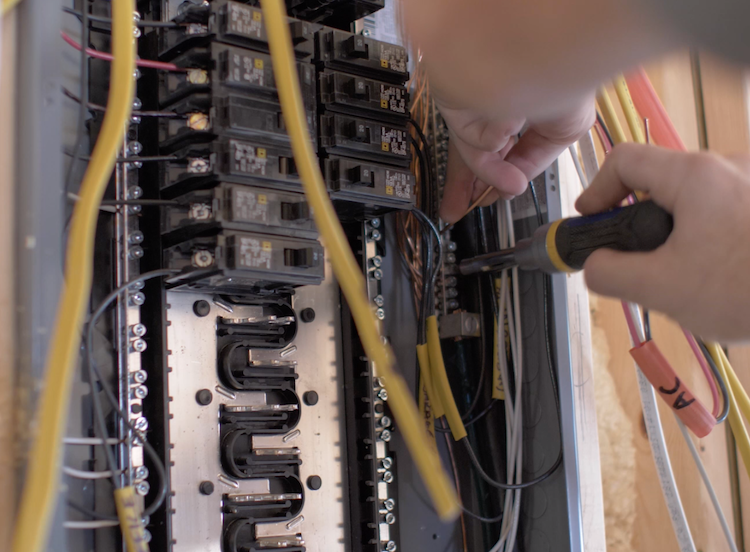
Then, the ground wire gets stripped and tied into the ground bar. This is usually towards the outside of the panel. While the white wire (common wire) gets tied into the common bar which is usually near the breakers.
Installing the Breaker
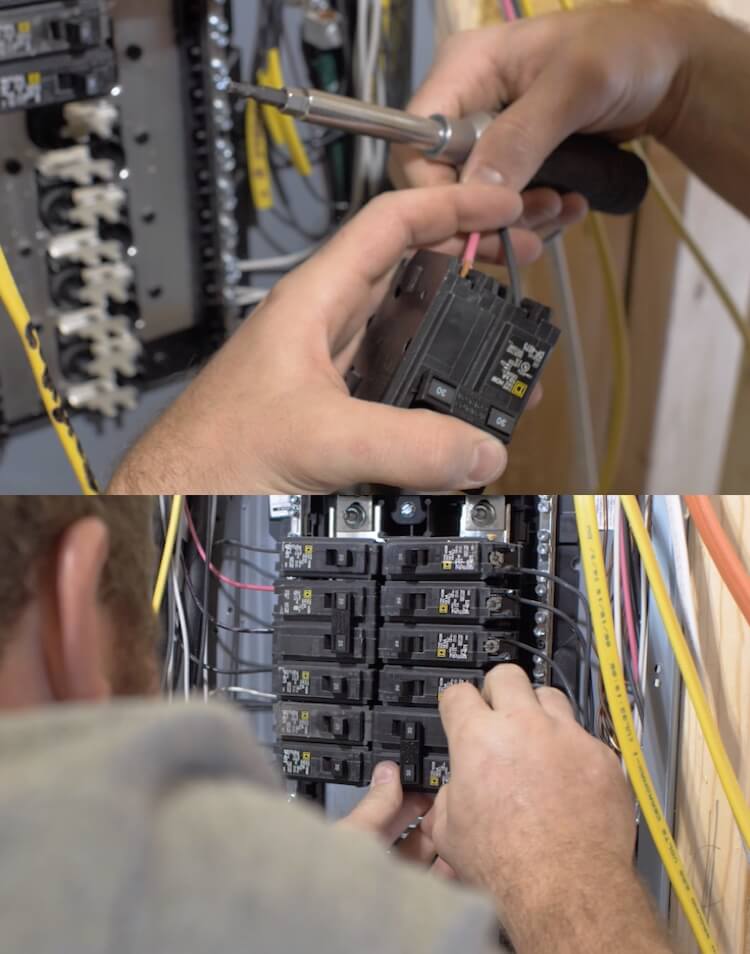
Now for this breaker we will be using a 30 amp double pole breaker. This means that two wires are hot. So two 110 volt wires will travel to the unit and provide a combined voltage of 220. Therefore, both the red and the black wires get stripped and tied into the breaker.
The break then gets inserted into an open slot on the panel. Not all panels are the same so yours may look a little different.
Once you get the breaker in you can then replace the face of the panel and flip the main breaker back on. This should complete the install.
Adding the WIFI Adapter
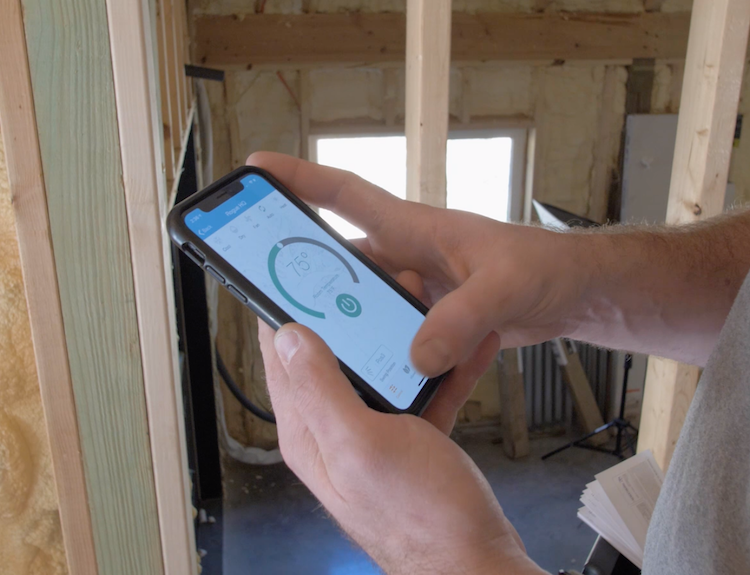
This is pretty straight forward, there is a usb adaptor that gets plugged into the back of the front panel. Flip up the front panel to expose it and plug it in. Once you run through the steps in the app you’ll have the unit connect to your wifi which will allow you to set up schedules, monitor the required maintenance, and enable “follow me” mode which make you unit aware if you are in the building or not and heat or cool accordingly.
Conclusion
Honestly, I was a little intimidated when I got started. The wiring freaked me out a little because I had never installed a breaker before and the overall process was totally new to me so I was learning as I go. That being said, there’s really not much to it. After the install, I was amazed by just how easy it was. Even the wiring and panel work wasn’t bad at all. With a little effort you can save yourself a ton of money by installing this unit on your own.