When it came time to insulate our workshop I wanted to make sure we did it right. After all, this will be my office and studio as well so I’ll be spending a lot of time in here. With the temperature swings in Michigan we need to make sure this building performs well to reduce the energy required to heat and cool the building.
In this episode we will show you how we insulated the Rogue HQ (our detached workshop/office) with closed cell spray foam from Touch ‘n Seal to create an airtight building that will help create a more efficient space.
If you love this stuff as much as we do, you might want to consider following us on Instagram where we post sneak peeks and behind the scenes stuff in our stories. Also, did you know you can get tons of projects plans from all around the web when you follow us on Facebook and Pinterest!
Disclosure: This episode was sponsored by DAP / Touch ‘n Seal however the opinions are 100% my own.
Full Project Video
Wanna see how it all came together? Check out the full project video below and don’t forget to subscribe on YouTube so you won’t miss future videos!
Products Used
Safety
Spray Foam Insulation
We recently had our home insulated with spray foam and Jamie found the process weirdly satisfying and really wanted to do it. Unfortunately, the guy that installed our spray foam was not interested in the safety of his health so we stayed out of it.
When it came to the barn, we knew it was a lot of surface area for us to spray, but it was a fairly simple job that we knew we could handle.
Open Cell vs Closed Cell
When it came time to decide between open cell and closed cell foam we took a look at the pros and cons of each.
Open Cell
- Expands More
- Quicker to Install
- Cheaper than Closed Cell
- Air Barrier
- Not a Vapor Barrier
- Less R-Value than Closed Cell
Closed Cell
- Higher R-Value than Open Cell
- Adds to Structural Integrity
- Vapor Barrier
- Air Barrier
- Expensive
- Take Longer to Install
Either are a great choice since they create an air barrier and ultimately that is what you want. Air leakage results in an inefficient building and can create moisture issues given the right conditions. Since we wanted to add more structural integrity to the metal siding as well as achieving that vapor barrier that wasn’t there, we bit the bullet and went with closed cell foam.
Then we measured up all the surfaces and calculated the board feet needed to complete the project. Then we could figure up how many tanks we would need based on their capacity.
Protecting Finished Surfaces
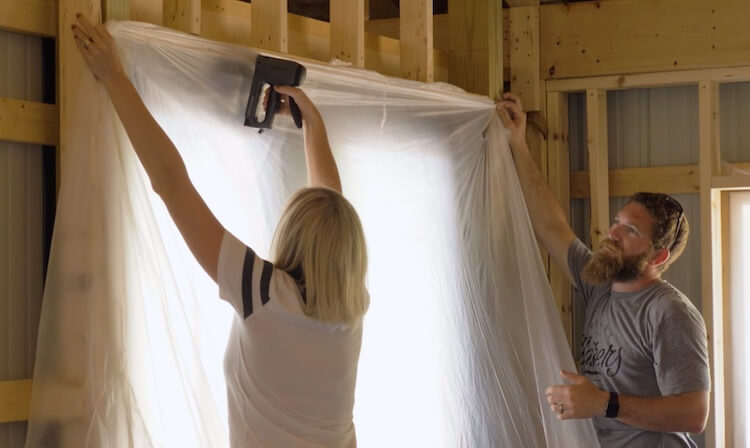
We started by protecting any surface that was finished. The windows and doors got plastic sheeting stapled over them.
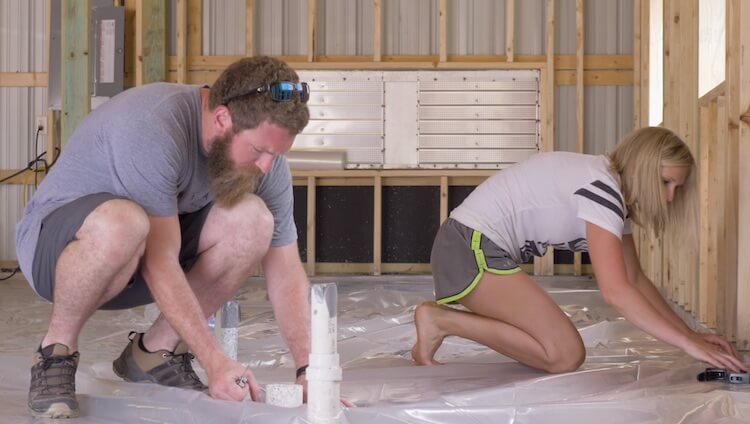
And since we had the concrete ground and polished in the last episode we wanted to make sure that was covered as well.
Setting up the System
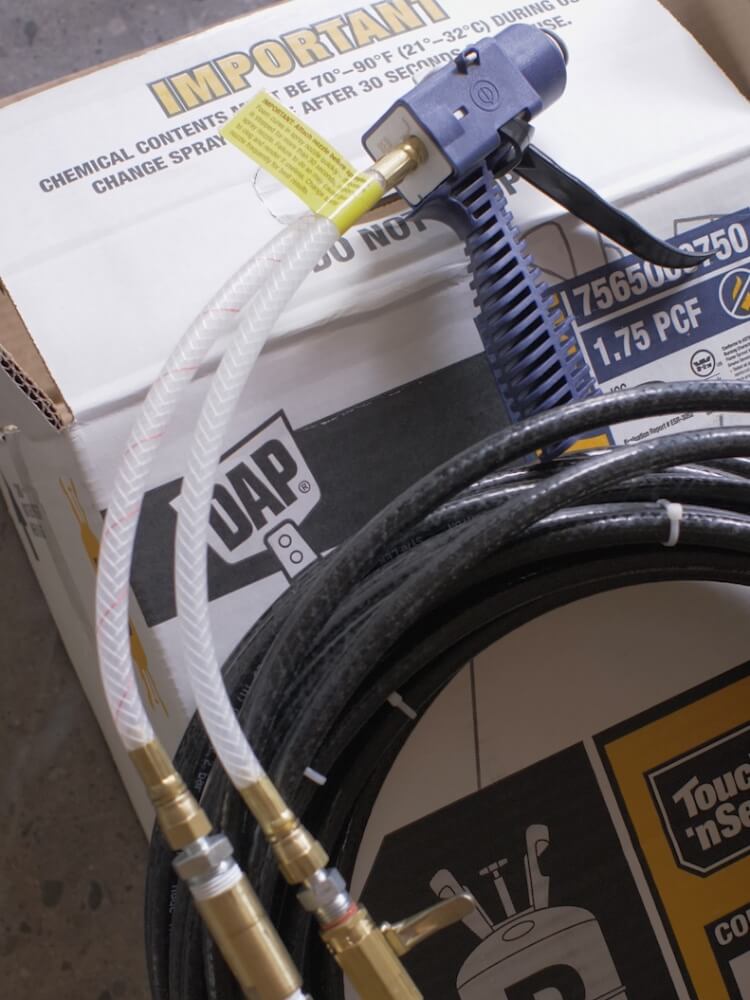
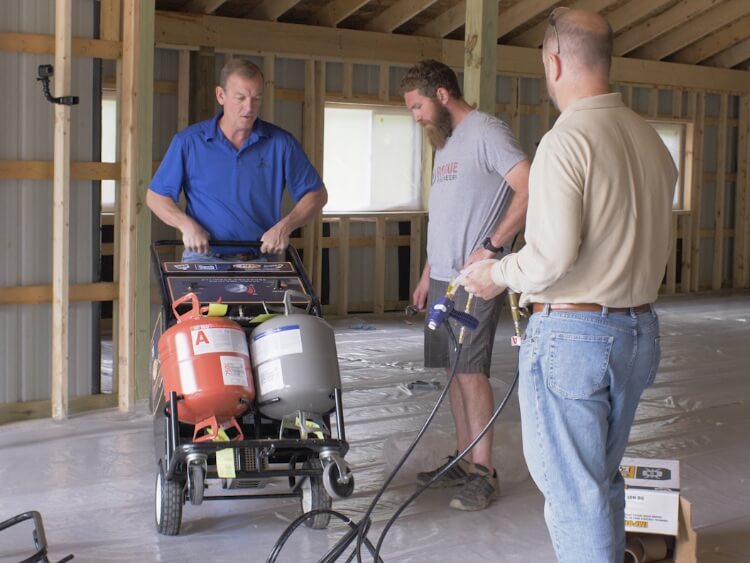
We started by pulling out all the accessories and connecting them. The setup is fairly basic; there are two long hoses that connect to two different, pressurized, tanks that get mixed through a gun and shot out a nozzle.
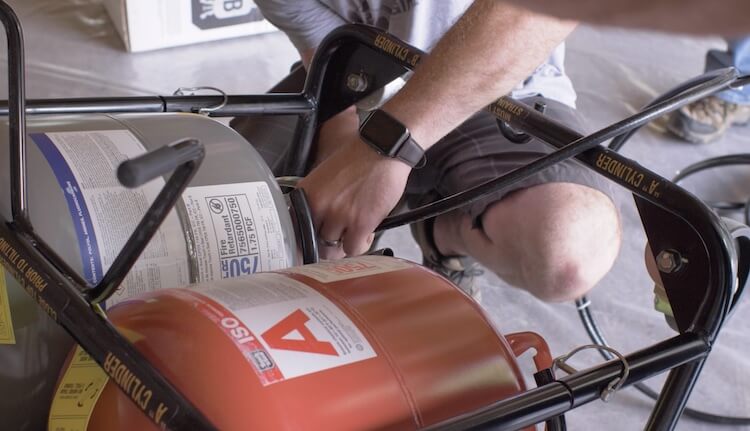
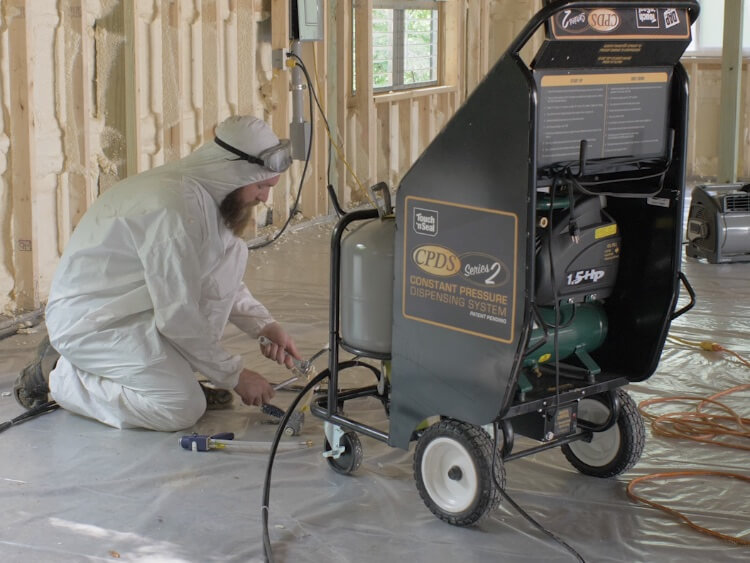
In a 2-component foam there are two liquids, a Part A and a Part B, and when they mix together they create the foam that will coat our walls. These pressurized, disposable tanks can be all you need. However, if you are planning to add this to your service offerings as a contractor or doing a very large job, like we did, then I highly recommend the CPDS (Constant Pressure Dispensing System)
We were lucky enough to have some guys from the Touch n’ Seal team come out and show us the ropes on the CPDS. It’s not a complex setup but it was nice to make sure we did it right. The tanks for this system are designed with a port on the top and bottom. One port gets connected to the gun and the other to the CPDS which houses an air compressor. The system makes sure the pressure in the tanks remains constant, that way the liquid in the tanks gets dispensed at a constant flow rate.
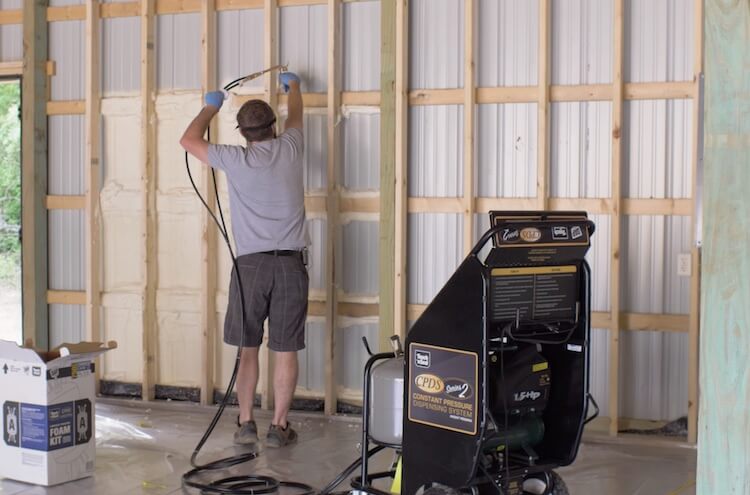
Then, we started testing the application of the spray foam on an easy to apply area. There are two different nozzles, a conical nozzle and a fan nozzle. We decided that the conical nozzle was good for sealing the 2x4s to the metal and the fan nozzle for filling in large sections.
When we calculated how many tanks we would need, we wanted to end up with 2-3 inches of closed cell foam.
Getting Suited Up
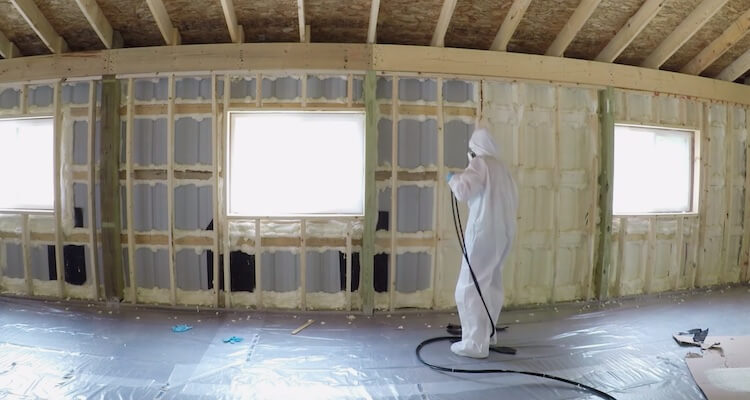
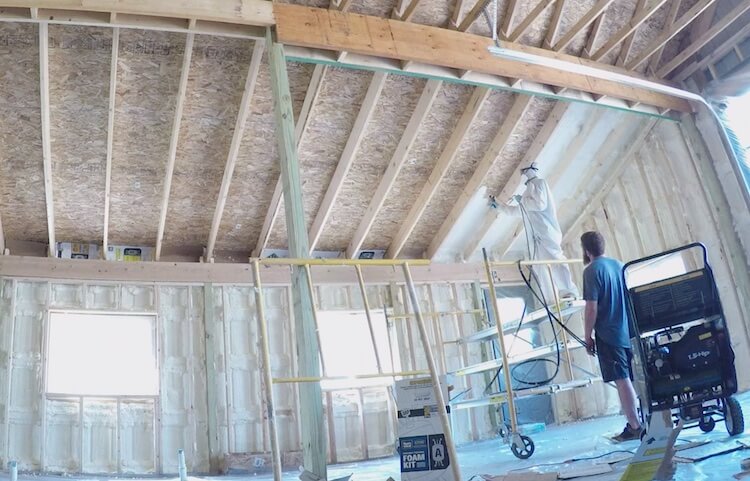
Spray foam sticks to just about anything and the vapors it creates when mixing are not exactly healthy so PPE (personal protective equipment) is a must. This consists of a respirator, safety goggles, Tyvek suit and gloves. Basically, cover everything that matters.
Spraying the Walls
We started with the conical nozzle and air sealed the purlins (horizontal 2x4s) to the metal siding, filling all the gaps. Then we came back with the fan nozzle and applied a 1-inch thick layer (max thickness per layer). We would come back after it is cured to reapply and get to the final desired thickness of 2-3 inches which will give us the air and vapor barrier that we were looking for.
The tanks covered about 750 board feet which is equivalent to a 1-inch thick layer that covers 750 square feet. This meant we went through quite a few tanks. Luckily, swapping out the tanks wasn’t that big of a deal.
Connecting Walls to the Roof
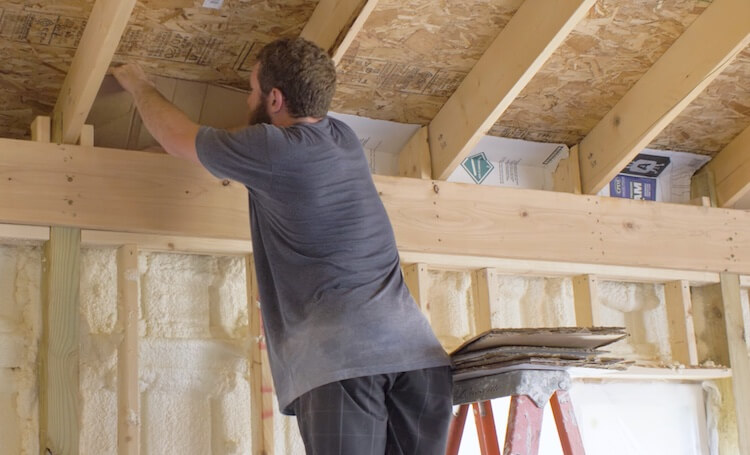
This is often called a “hot roof”. This is when the insulation is applied to the back of the roof, therefore there is no venting from the eves to the ridge vent. So we needed to create a surface to spray against to connect the walls to the roof. We did so with the cardboard that the tanks came in.
Once the foam was sprayed on the cardboard the walls were then connected to the roof and we created that air and vapor tight shell.
We also filled the ridge vent so that no foam would escape through it and we could seal that off as well. Therefore, any ducting that we need to run in the attic will be conditioned as well which adds to the efficiency of the building.
Filling Small Gaps
Finally we could take all the plastic off the doors and windows and fill all the small gaps and cracks around them. To do so we used the All Seasons Foam and Sharpshooter Applicator Gun which worked really well and the Poly-Clean makes clean up easy so that we can actually use the gun again and again.
Conclusion
Overall, the process of spray foaming was not that difficult and we are excited for all the benefits that it will bring to our new building. Smaller jobs like insulating rim boards in a basement or air sealing leaks in a home are the perfect way to get started with spray foam and creating a more efficient home.

