


Outdoor Chaise Lounger
$10.00
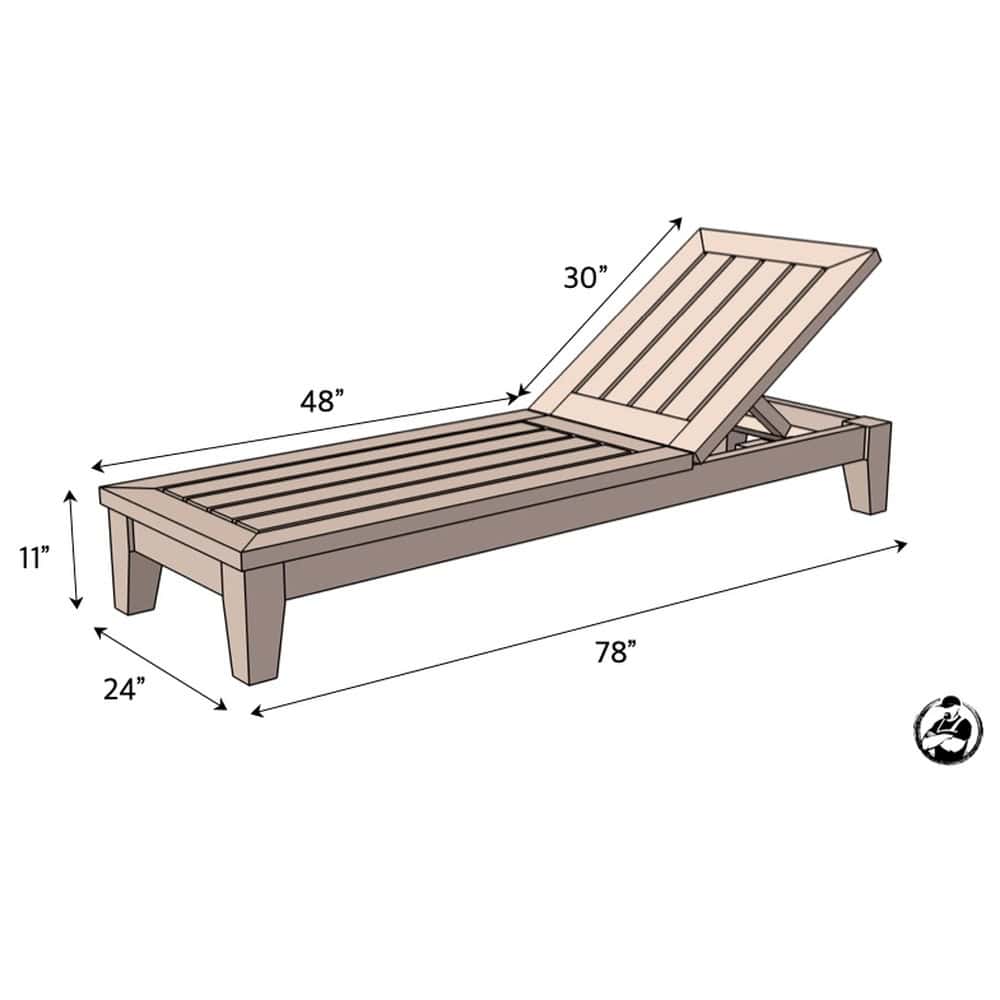
Printable outdoor chaise lounge plans for a 78″ long, 24″ wide lounger with an adjustable back that fits a store-bought cushion. Built from one 4×4 and nine 2x4s with pocket holes in about a weekend. Instant PDF download with full dimensions, cut list and step-by-step diagrams.
✓ Instant download · Personal use license · Secure checkout via Stripe
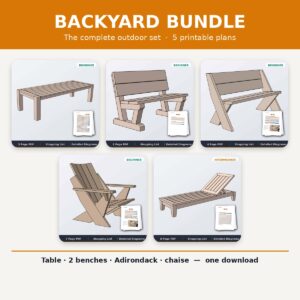
Build the whole setGet this plan plus 4 more outdoor favorites in the Backyard Bundle$34Save $21See the bundle →Description
Outdoor chaise lounge plans with an adjustable back
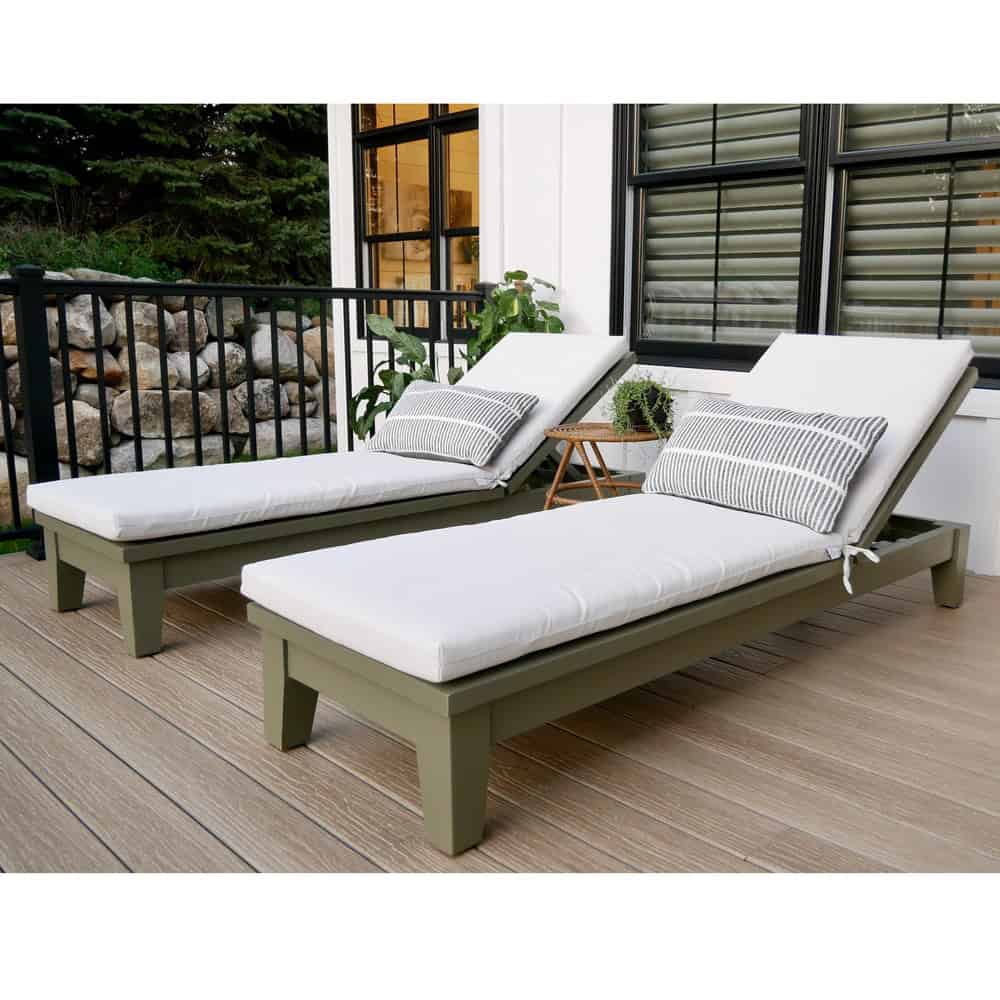
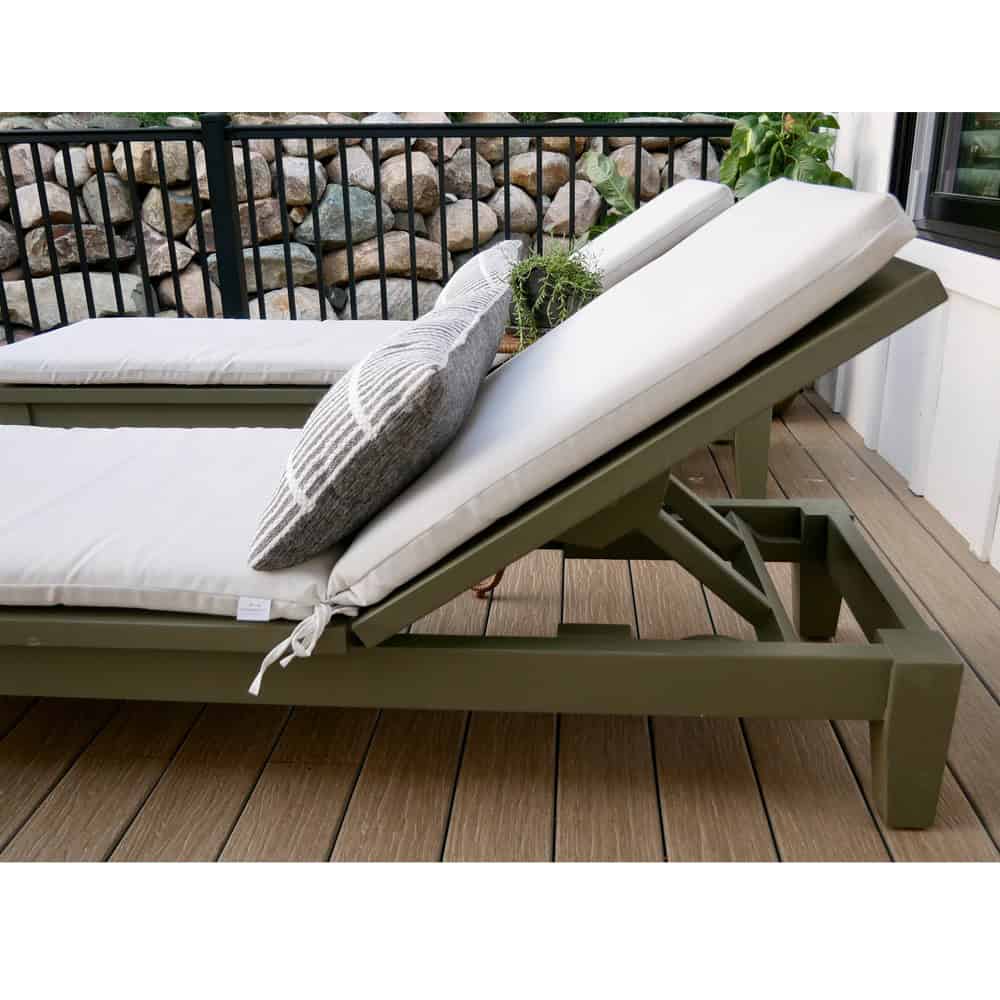
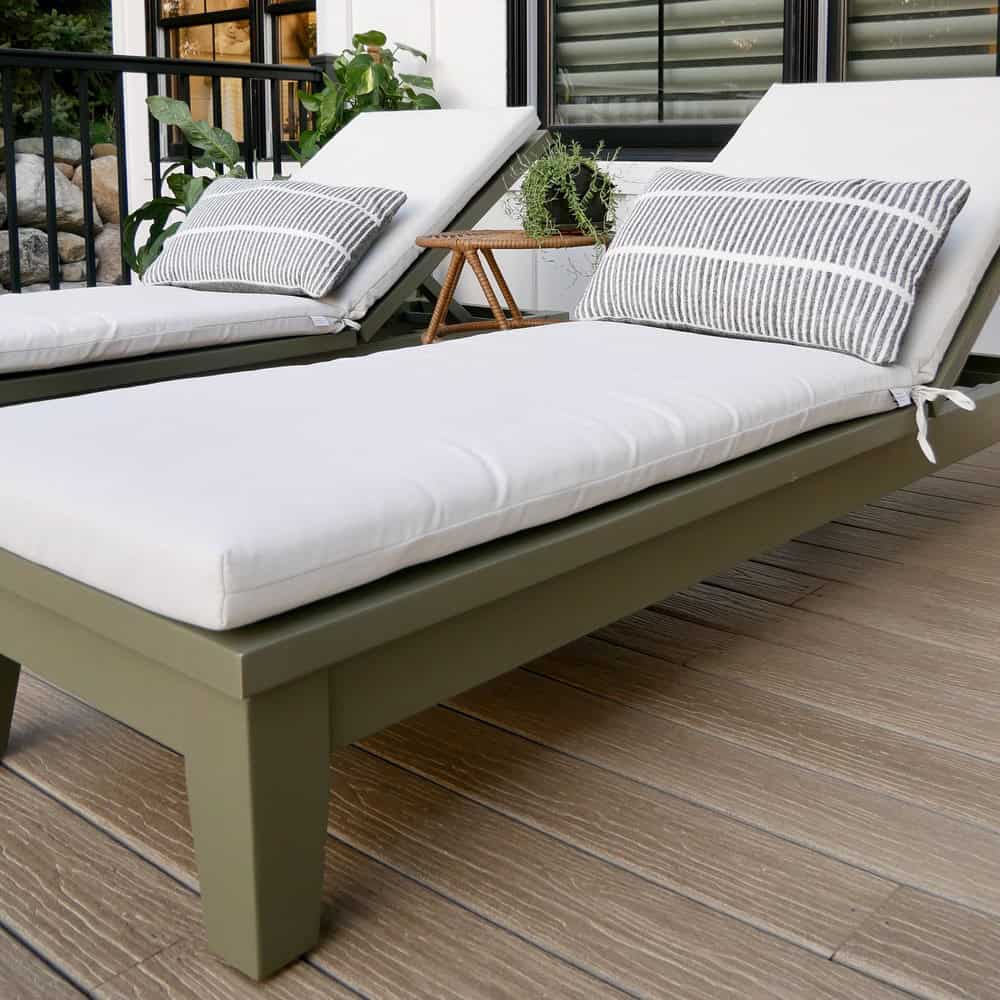
These are the plans for the chaise lounges I built for our back deck after I caught Jamie lying flat on the deck boards trying to catch some sun. The back props up on a swinging support arm, so you can lie flat or sit up and read. It’s built from one 4×4 and nine 2x4s in Douglas fir or cedar, joined with pocket holes, and it’s sized to take a store-bought replacement cushion from Target. Plan on a weekend.
Watch the build
What you get
- Printable PDF plan, instant download
- Full dimensions
- Complete cut list
- Step-by-step diagrams for every assembly, including the adjustable back
- Tools and materials shopping list
Specs
- Overall size: 78″ long x 24″ wide, with the seat frame 11″ off the ground
- Seat and back: 48″ flat seat section plus a 30″ adjustable back
- Cushion: sized for a standard Target chaise replacement cushion
- Build time: about a weekend
- Skill level: Intermediate
- Estimated cost: $50 to $100
Lumber you’ll need
- 1 board, 4x4x8′ (legs)
- 9 boards, 2x4x8′ (frame, seat slats, back and supports)
- That’s for one lounger, so double it for a pair
- Douglas fir or cedar both work
Hardware and supplies
- 2-1/2″ exterior pocket screws
- 2 galvanized carriage bolts, 1/4″ x 5″, with washers and nuts for the back support pivots
- 1-1/4″ exterior wood screws and exterior wood glue
- 2 exterior hinges, 2-1/2″
- Thread locker (I use DAP Tank Bond Thread Stopper) so the pivot nuts stay put
- Optional: wheels for rolling it around the deck
- Spray adhesive for the free cutting template
- Exterior wood filler, primer and exterior paint or stain
Tools you’ll need
- Pocket hole jig
- Drill/driver and a 3/8″ drill bit for the back support pivots
- Miter saw
- Table saw
- Band saw or jigsaw for the curved supports
- Tape measure, pencil, safety glasses and hearing protection
Common questions
How does the back adjust? A support arm swings on a carriage bolt and props the back up at different angles. Don’t crank the nut down or the arm won’t swing. Put thread locker on the threads and hand tighten it.
Do I have to cut the curves freehand? No. There’s a free printable cutting template for the curved supports. Stick it to the board with spray adhesive and cut it out on a band saw or jigsaw.
Paint or stain? Either. Mine are primed and painted with exterior paint. Leave the seat slats off until the paint is done, it’s a lot easier.
Want to see the build first? The full walkthrough and video are on the blog: DIY outdoor chaise lounge chair. It pairs with the modern Adirondack chair, or browse all our outdoor furniture plans.
You may also like…
Quick answers

23 reviews for Outdoor Chaise Lounger
There are no reviews yet.