Since we are getting ready for drywall this meant that we had to get all the plumbing, electrical, gas lines, network cable, and air lines installed and inspected before we could proceed. So, in this episode, we go over hooking up the radiant heating system to get ready for winter and everything that is going to be buried inside the walls.
If you love this stuff as much as we do, you might want to consider following us on Instagram where we post sneak peeks and behind the scenes stuff in our stories. Also, did you know you can get tons of projects plans from all around the web when you follow us on Facebook and Pinterest!
Disclosure: This episode was sponsored by DAP however the opinions are 100% my own.
Full Video
Wanna see how it all came together? Check out the full video below and don’t forget to subscribe on YouTube so you won’t miss future videos!
Plumbing & Radiant Heating
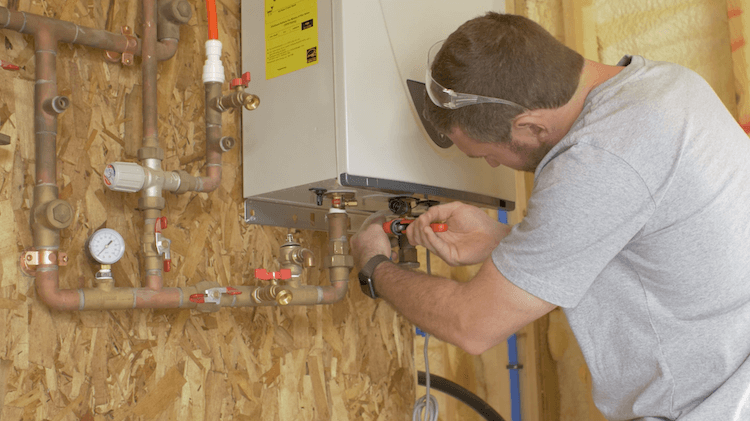
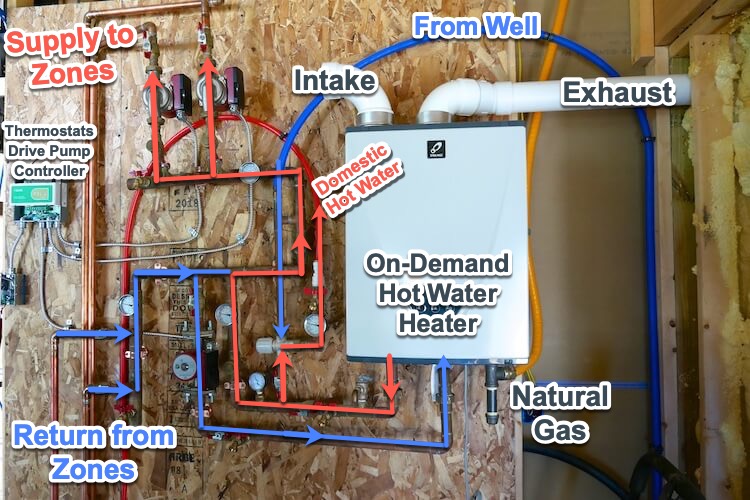
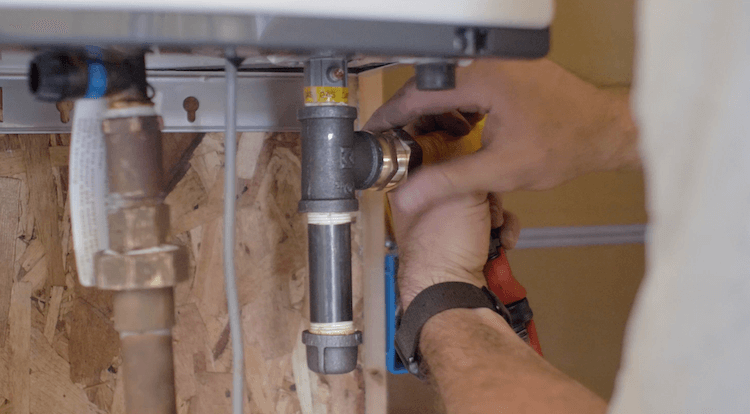
As seen in Episode 2, we embedded PEX tubing in our concrete slab that will be heated by running hot water through it. Now it is time to connect the pumps and hot water heater. We chose to go with an open system from the Radiant Floor Company which means that one on-demand hot water heater will be used for the radiant heating as well as heating our domestic hot water. The nice thing is that most of the hard work was already done. The Radiant Floor Company sent a manifold and hot water heater that connect rather simply. Once everything was mounted on the wall, we had our plumber come in and connect it to the slab manifold that is embedded in the slab as well as run the water lines to the sinks and bathroom.
Below is a diagram I put together that shows hows the system works.
Natural Gas
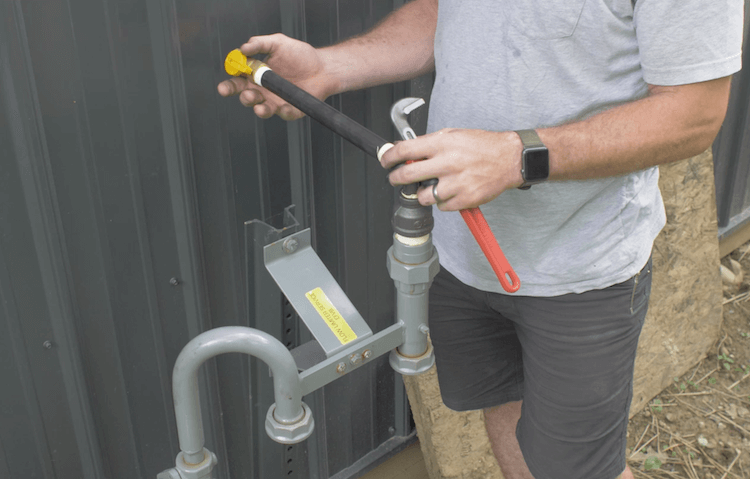
Since the gas company installed the bracket for the meter, we could now connect the gas line to our hot water heater. We started by reducing the gas line from 1-1/4″ down to 3/4″ and routing it inside with a shut off valve.
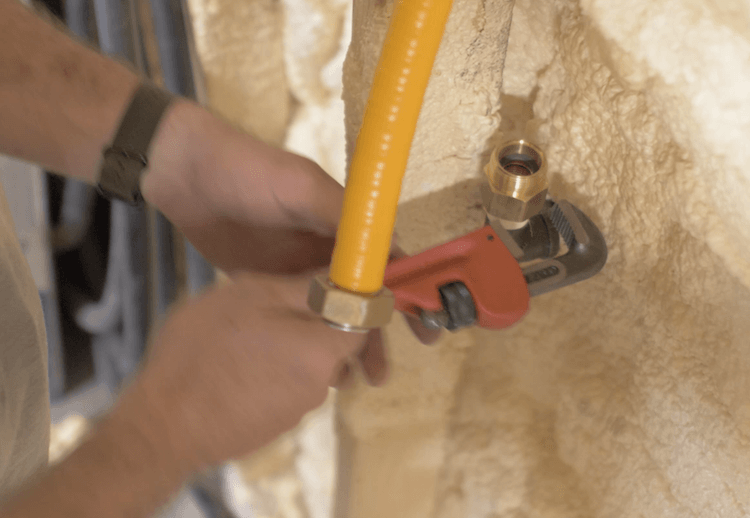
Once we got inside, we went the easier route of running a CSST flex line. This line is corrugated stainless steel that can be cut to length and then a variety of connections can be installed on each end.
Electrical
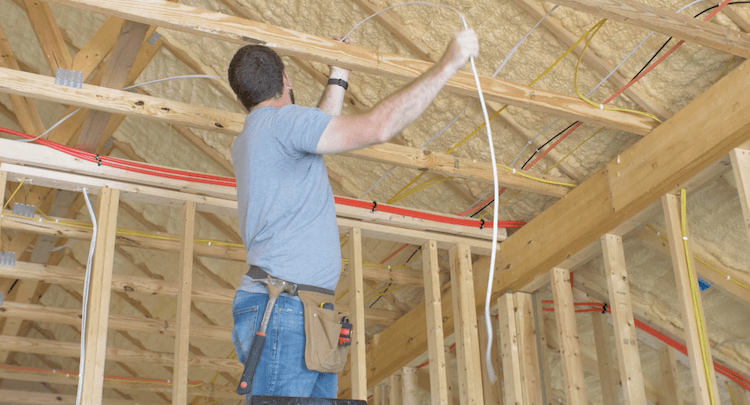
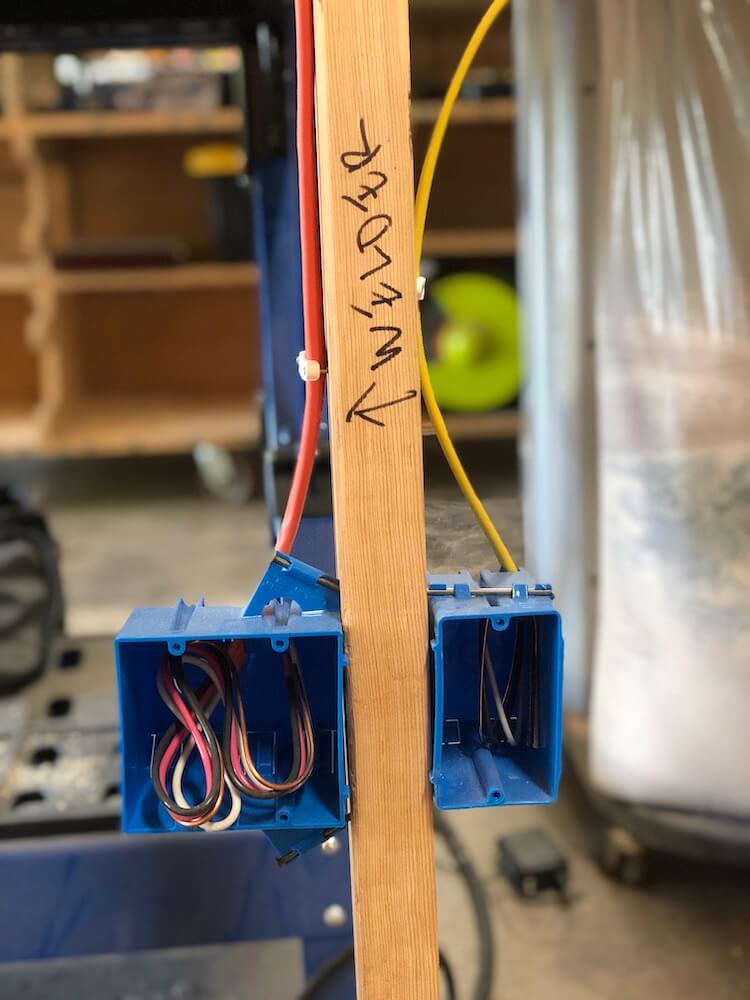
When it came to running my own electrical, I wasn’t quite comfortable with that. So I nailed up all the boxes and had a friend/electrician come run most of it while I followed along and helped when I could. I learned a ton and he left me some work to do on my own. After seeing it done, I realized that it really isn’t that difficult.
When it comes to wiring, typical wire is white and that is 14 gauge wire, which is fine for standard needs up to 15 amps. We used 12 gauge wire (yellow) for all of the outlets in this shop just in case we needed to run up to 20 amps through it. We also ran two separate welder locations and a circuit for our mini split air conditioner that are in 10 gauge wire (orange) for up to 30 amps.
On another note, wire is commonly referred to as “gauge” – “qty”. So 14-2 would be two 14 gauge wires (white and black). The package should also specify “with ground” which is the bare copper wire. 14-3 is something that would be used for a 3 way switch and only between switches.
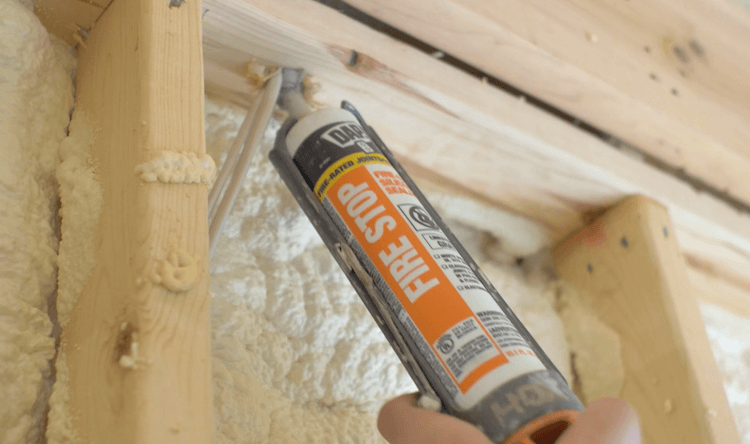
After running all the wire, then the holes in the top plate of the walls, needs to be filled with fire stop caulk. This caulk will resist fire for up to 4 hours which will prevent any fire that starts in the wall from spreading rapidly into the attic.
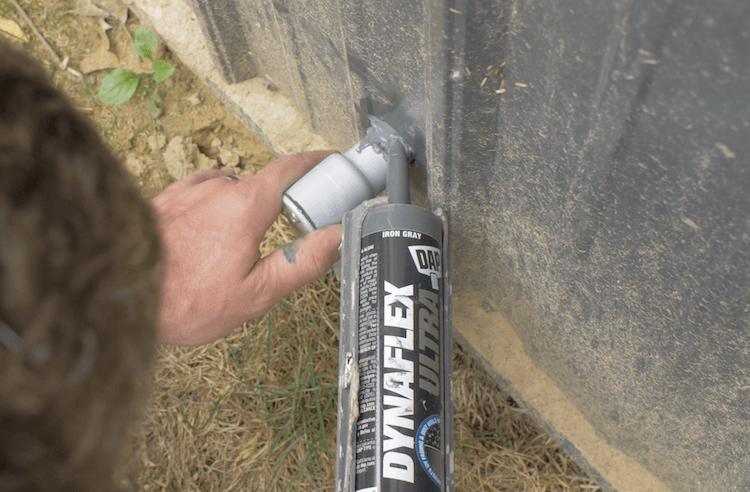
We also had to run some electrical outside so with that, the gas line penetration, and the exhaust from the hot water heater, we needed to seal up all those holes. We did so with DAP’s DynaFlex Ultra which is an exterior sealant that is 100% waterproof and perfect for this application.
Networking
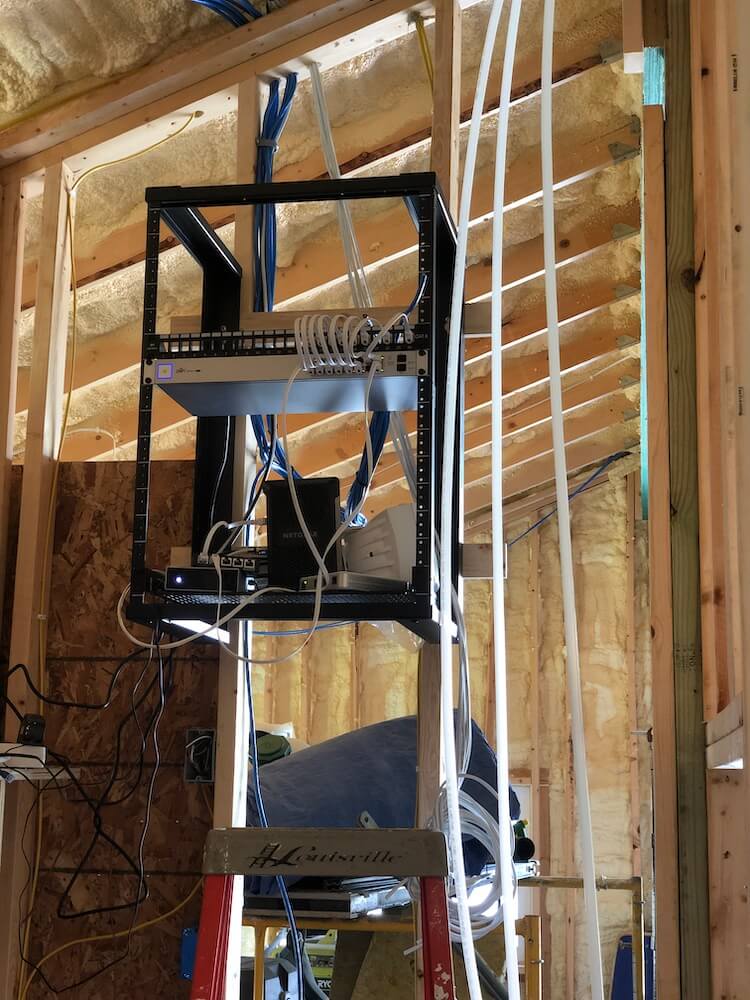
Being the nerd that I am, of course I have a network rack in the Rogue HQ. This will house the modem, router, network switch, and sound system. The switch acts like a splitter and spits up the internet to different devices such as the access points, cameras, surveillance video recorder, computers and TVs. It also has a cable that runs underground to our house and connects to another switch inside which then distributes the internet to all of our devices in our home.
Air Compressor Lines
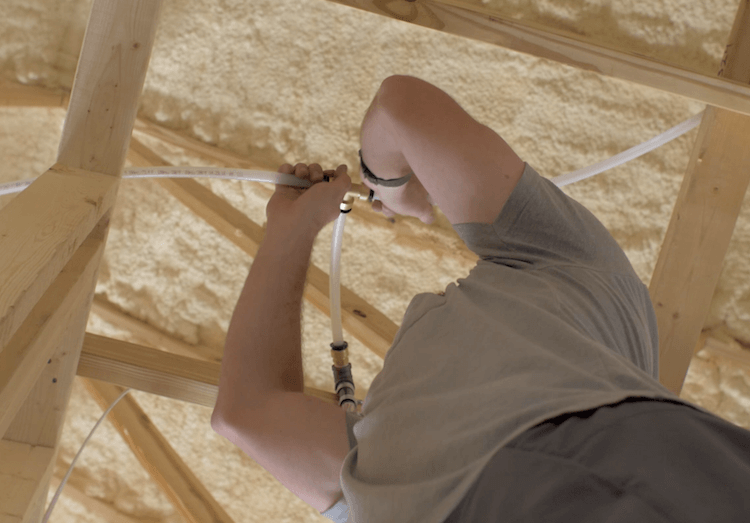
I knew I wanted to run air lines in the walls while I had the chance. So we ran a line to the paint booth for an HVLP sprayer, two lines to the shop for a blower line and a pneumatic tool line, as well as a line to the garage area for general vehicle maintenance. That being said, it was really easy to run with PEX tubing. We used PEX that has a pressure rating of 160 psi which is more than enough for what we needed and Sharkbite fittings made the connections easy to do.
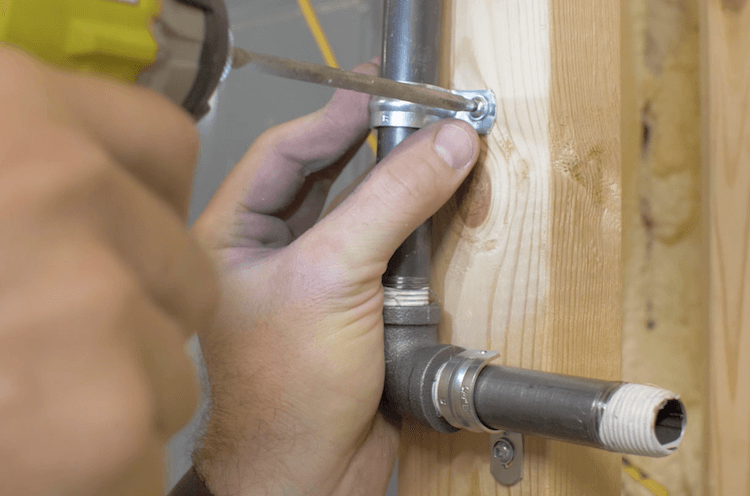
When it came to end of each run we terminated the lines with black steel pipe hard lines and secured them with clamps in multiple directions so that when we did add ports the lines will be nice and secure.
Overall, I like to think that I’ve thought of everything that needs to go inside the walls before drywall starts but if you can think of something I’ve forgot I would love to hear it in the comments!


